Decoupage of New Year's Christmas balls
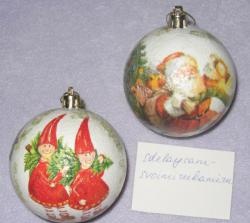
New Year is coming soon, and we want to decorate our Christmas tree in something very beautiful and at the same time original and unusual. Therefore, today’s master class will come in handy for us, thanks to which we will independently decorate plastic balls using the technique decoupage.
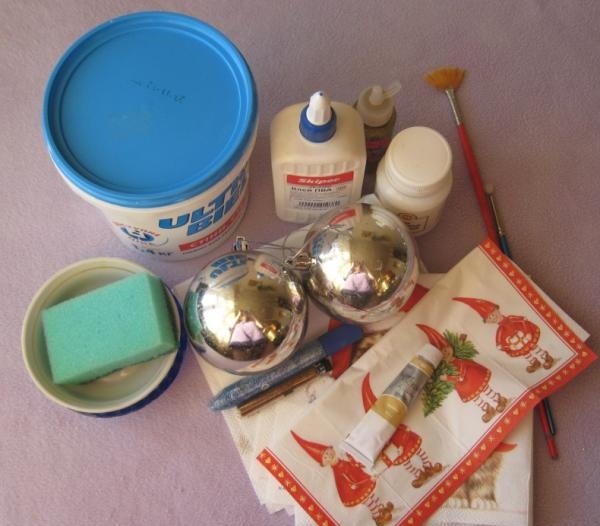
Materials we will need:
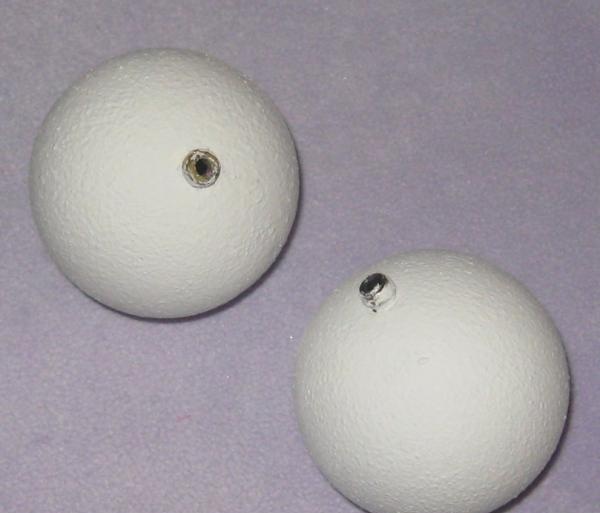
• Two large plastic balls with a diameter of 8-9 cm, it is better to take a silver color so as not to shed;
• Two napkins for decoupage: with New Year's gnomes and Santa Claus;
• White acrylic paint;
• PVA glue;
• Acrylic varnish for decoupage;
• Fan-shaped brush;
• Glass or ceramic plates;
• Kitchen foam sponge;
• Sequins for decoration;
• Two bamboo sticks.
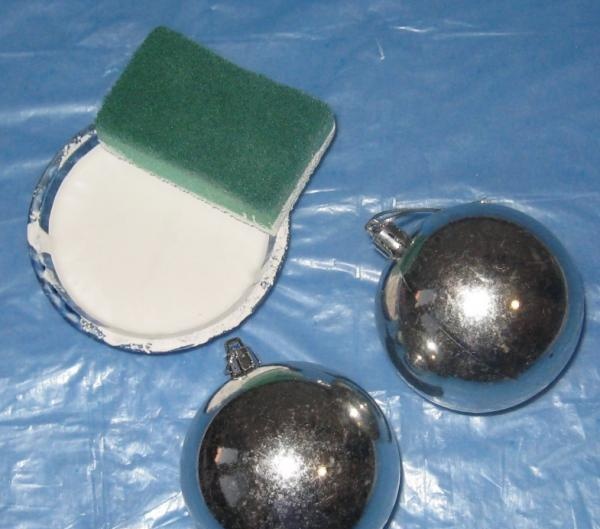
Place the bag on the table, remove the top caps from the balls, and take the ball by the top. Now pour white paint into one plate, dip a sponge in it and begin to paint the ball. First, we paint one ball, carefully place it on a bamboo stick and leave it to dry, then we paint the second ball, and also place it on the stick.
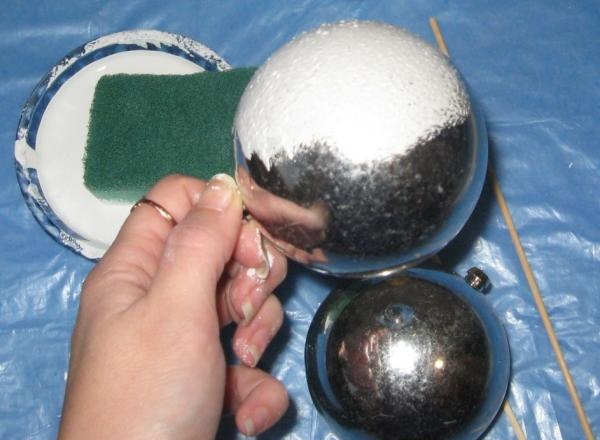
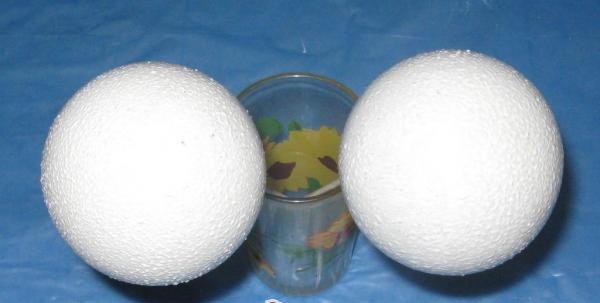
The first coat of paint takes about an hour to dry on the plastic. Then we paint with a second layer and a third with intervals for drying.
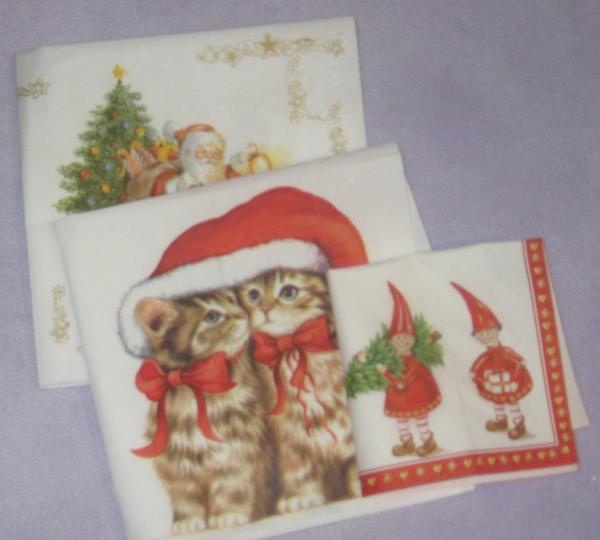
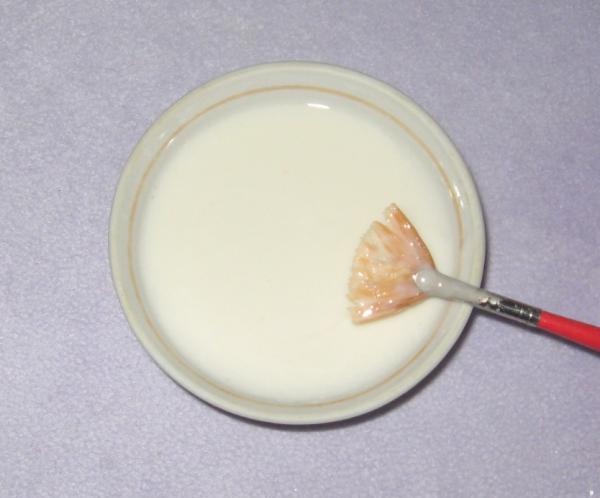
Preparing napkins for decoration. We iron them and unfold them. In a second bowl, dilute water with PVA nanopoly glue and stir thoroughly.
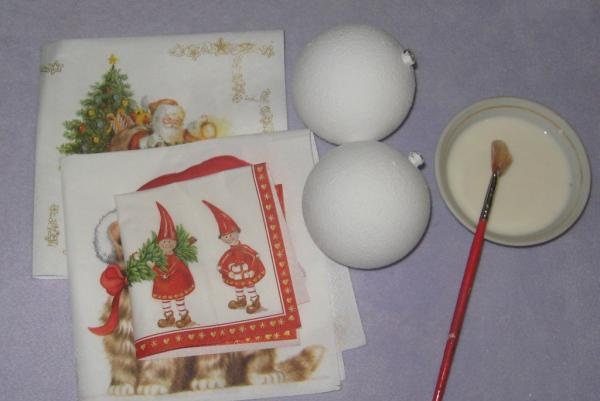
Immediately tear off the fragments with drawings onto napkins.
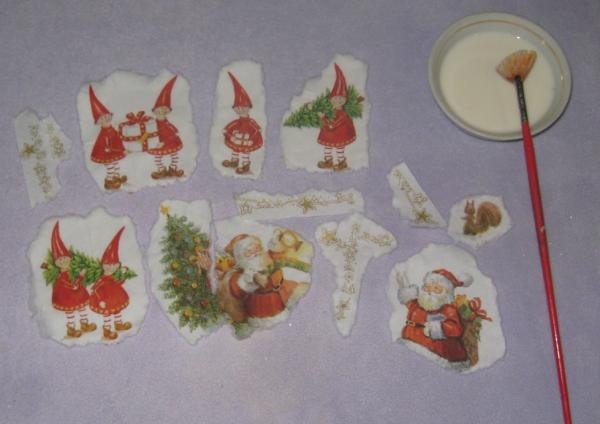
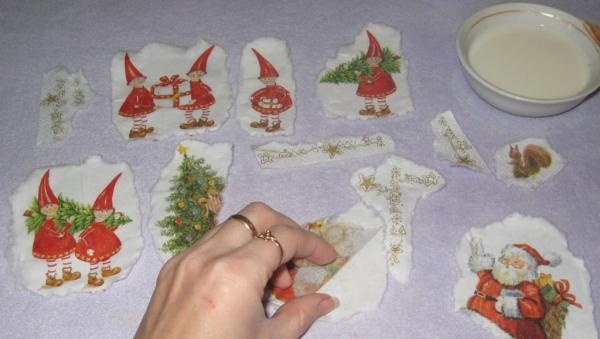
We remove the top layers from each fragment of the napkin, we get these blanks.
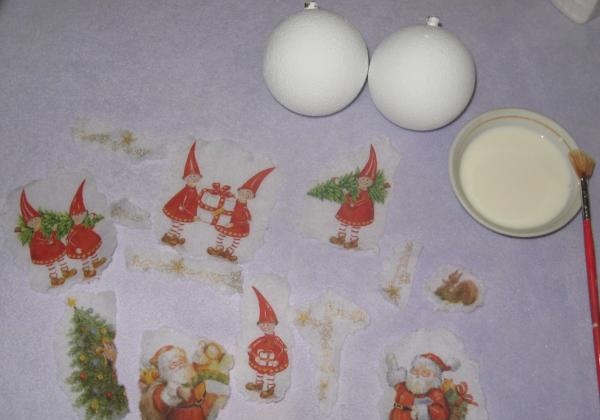
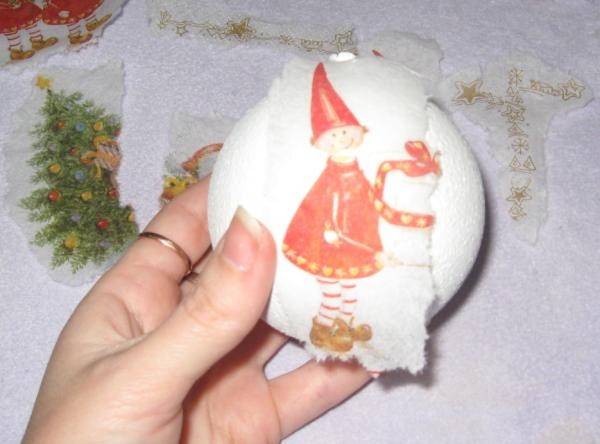
We apply one design to the ball and carefully dip the brush into the glue mixture, glue the design to the ball, then the second fragment in a circle.
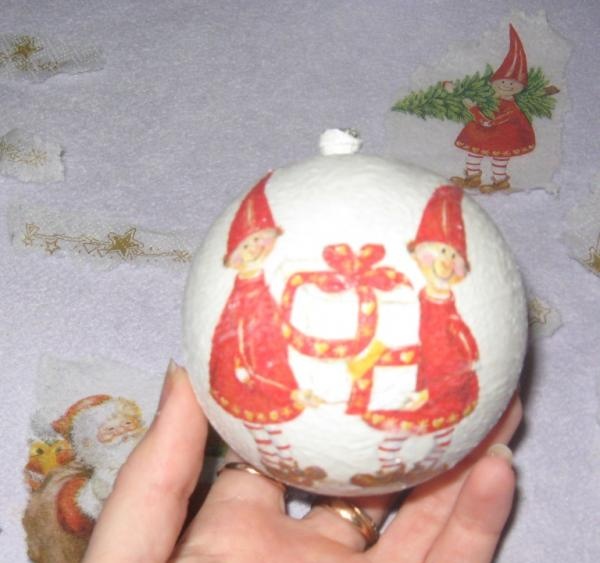
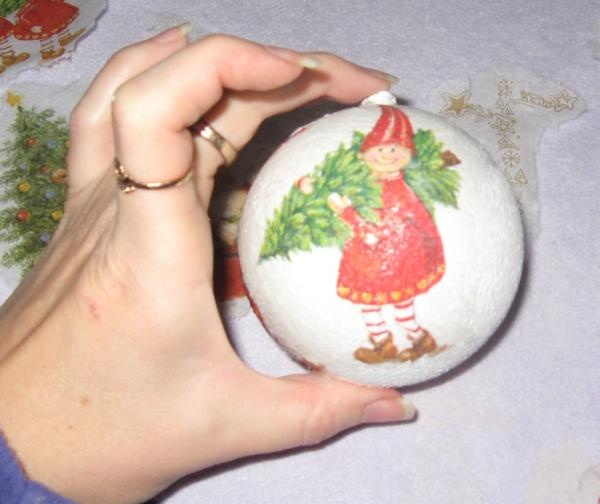
Also the third and fourth. Let the surface of the ball dry completely. For now we decorate the second ball in the same sequence.
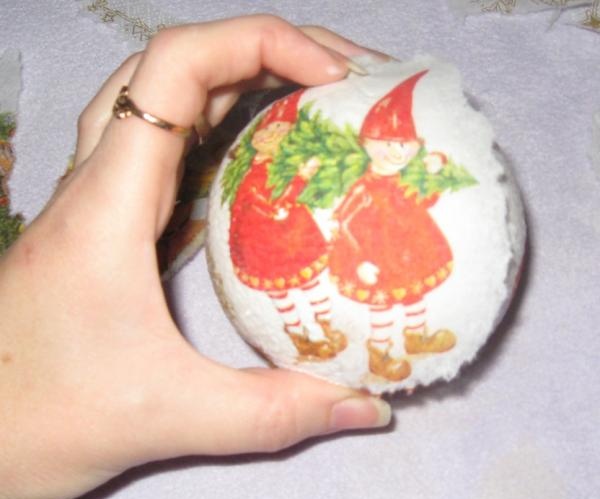
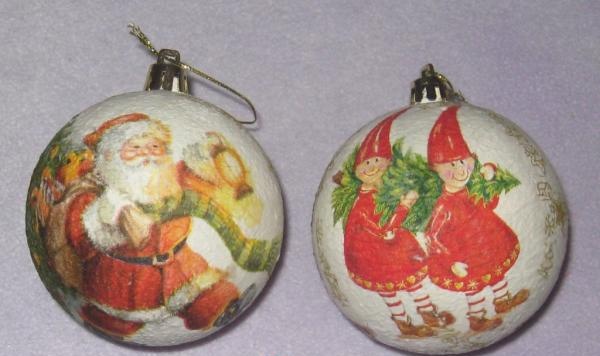
Both balls dry, put caps on them and begin to varnish them.
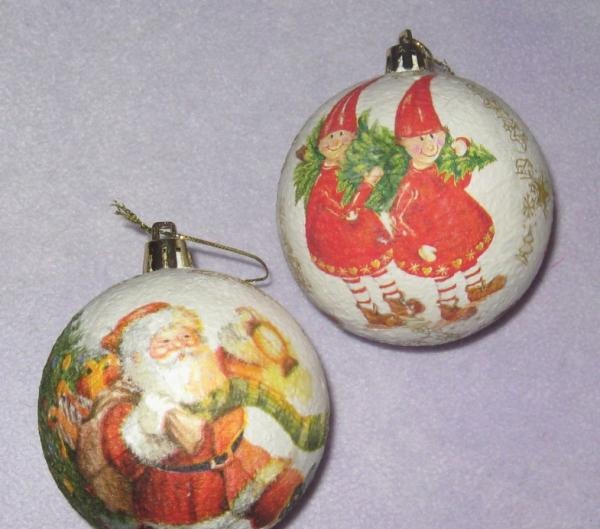
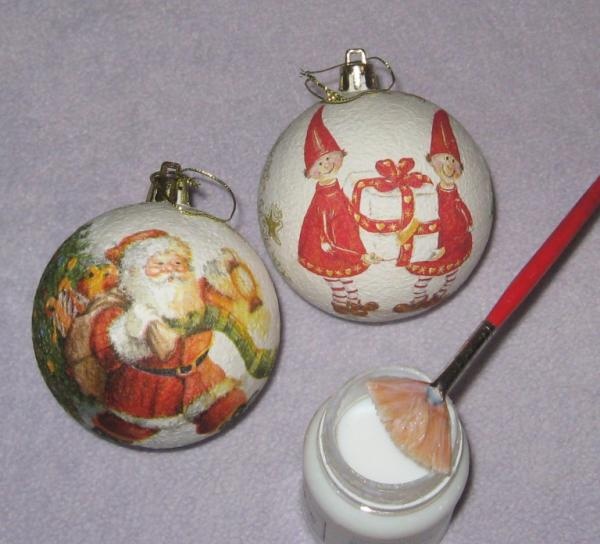
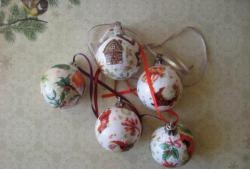
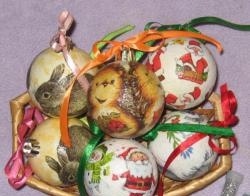
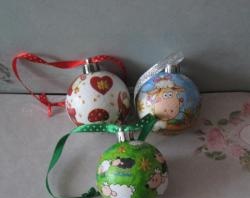
We cover the balls with 3-4 layers of glossy acrylic varnish. The balls become shiny and can be sprinkled with glitter for decoration. This is how we got handmade Christmas tree balls.
Materials we will need:
• Two large plastic balls with a diameter of 8-9 cm, it is better to take a silver color so as not to shed;
• Two napkins for decoupage: with New Year's gnomes and Santa Claus;
• White acrylic paint;
• PVA glue;
• Acrylic varnish for decoupage;
• Fan-shaped brush;
• Glass or ceramic plates;
• Kitchen foam sponge;
• Sequins for decoration;
• Two bamboo sticks.


Place the bag on the table, remove the top caps from the balls, and take the ball by the top. Now pour white paint into one plate, dip a sponge in it and begin to paint the ball. First, we paint one ball, carefully place it on a bamboo stick and leave it to dry, then we paint the second ball, and also place it on the stick.


The first coat of paint takes about an hour to dry on the plastic. Then we paint with a second layer and a third with intervals for drying.


Preparing napkins for decoration. We iron them and unfold them. In a second bowl, dilute water with PVA nanopoly glue and stir thoroughly.


Immediately tear off the fragments with drawings onto napkins.


We remove the top layers from each fragment of the napkin, we get these blanks.


We apply one design to the ball and carefully dip the brush into the glue mixture, glue the design to the ball, then the second fragment in a circle.


Also the third and fourth. Let the surface of the ball dry completely. For now we decorate the second ball in the same sequence.


Both balls dry, put caps on them and begin to varnish them.


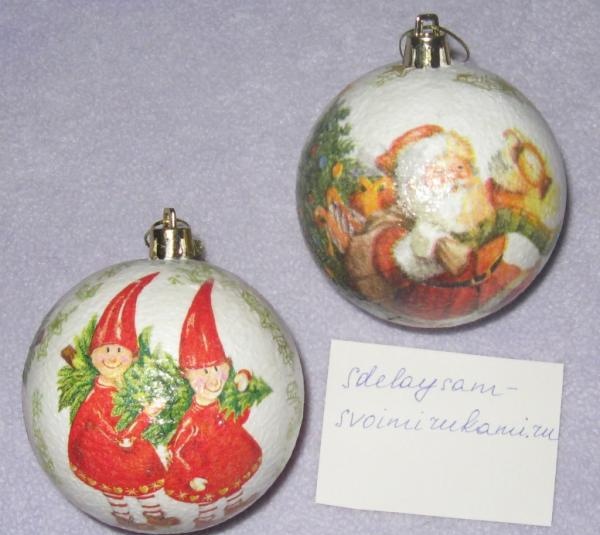
We cover the balls with 3-4 layers of glossy acrylic varnish. The balls become shiny and can be sprinkled with glitter for decoration. This is how we got handmade Christmas tree balls.

Similar master classes
Particularly interesting
Comments (1)

