Let's clean the laptop cooler from dust
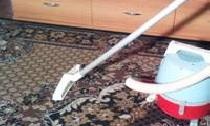
Most often, after buying a laptop, we don’t even think about its condition - once you buy it, it means you can use it as much and as you like! Place a carpet, a blanket on your knees, sit the cat next to you and enjoy watching a movie with a cup of coffee/tea.
But it's not that simple. Literally after six months of such use, the laptop begins to make noise, crackle, hum, knock and make other alarming noises. And not only to emit noise, but to overheat or even turn off. What happened to the computer?
The fact is that there is a cooler inside the laptop, thanks to which the entire internal system is cooled. And when the computer is forced to stand on a soft surface, its ventilation is simply covered with a blanket, rug, etc. Dust is drawn inward, after which the color becomes clogged. Let's take a step-by-step look at how to clean your laptop from dust yourself.
Step one.
Let's look at reading on a Lenovo laptop. In fact, there is no fundamental difference, except that the lid may be offset or located in the middle of the laptop. In my case, the upside down computer looks like this:
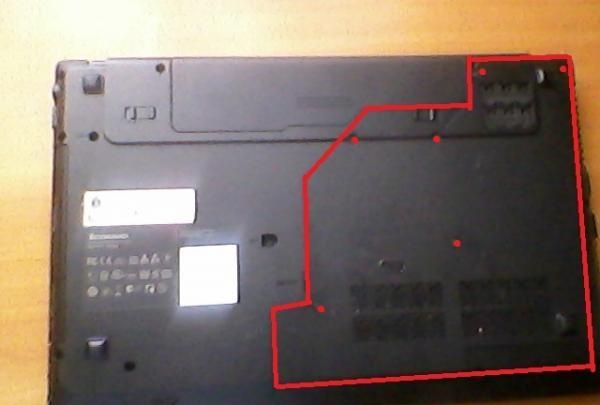
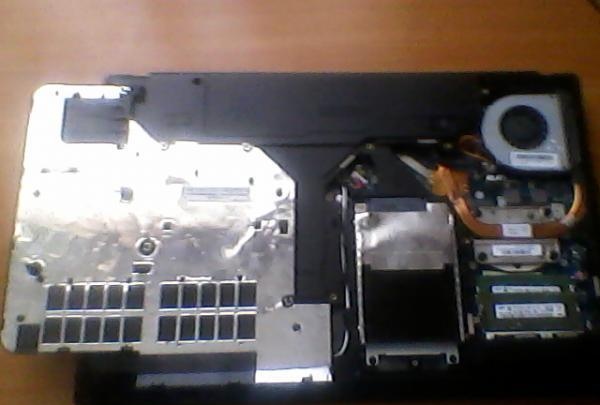
And here is the cover itself with 6 small screws that we need to unscrew.This is what the laptop looks like with the lid unscrewed.
Step Two.
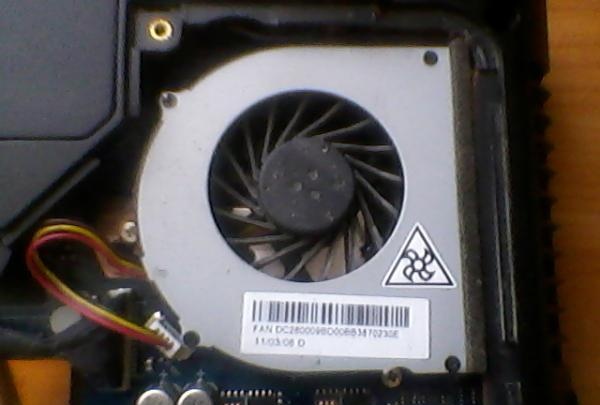
So we got to the cooler itself. As you can see in the figure, the cooler is protected by a small plate held on by 4 screws, which we also need to carefully unscrew. Attention! Don't lose the screws, they are very small, but if you lose them, we won't be able to work with the laptops.
Before:
After:
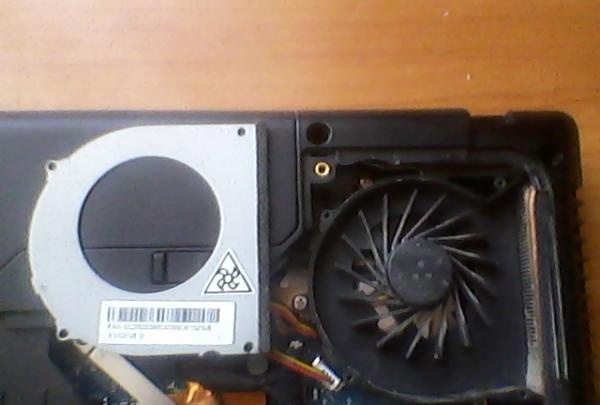
Now that the cooler is open, we can directly begin cleaning.
Step Three.
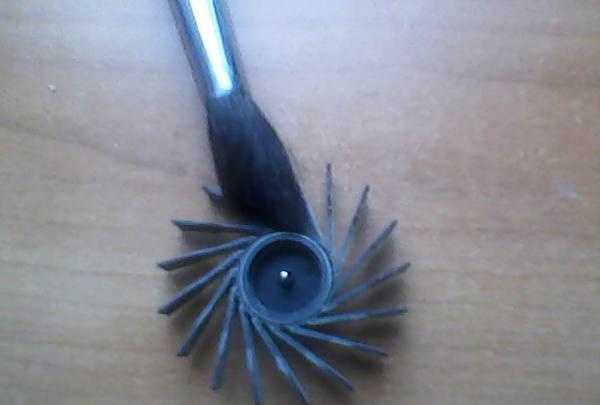
We carefully take out the fan, and, using the most ordinary brush, begin to clean each of its blades from dust:
After cleaning, pay attention to the place where the fan was located:
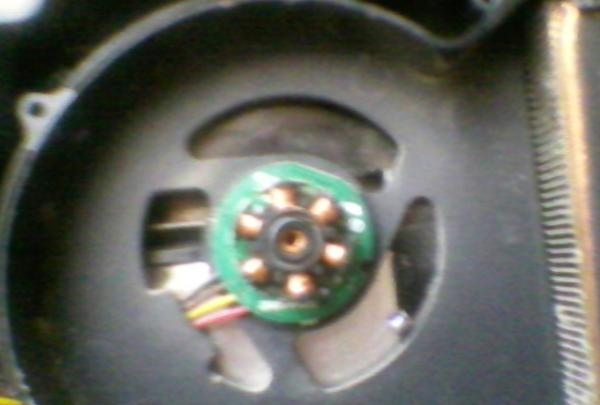
And here is the grill itself, through which the laptop is cooled.
Before cleaning:
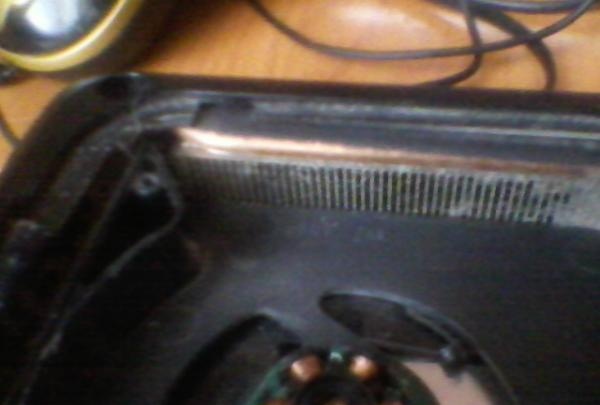
After:
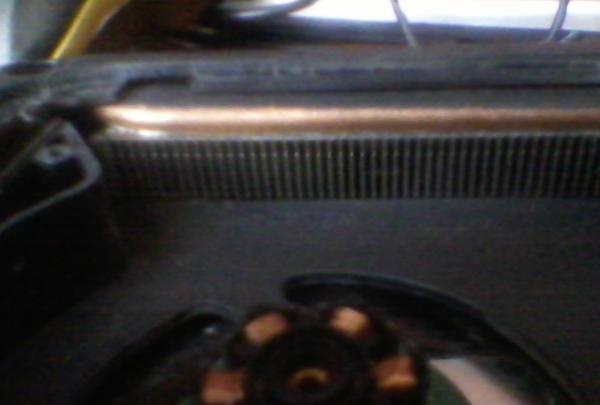
Clean the grate using the same brush.
Step Four
And finally, the last step before assembling the laptop is to lubricate the fan axis:
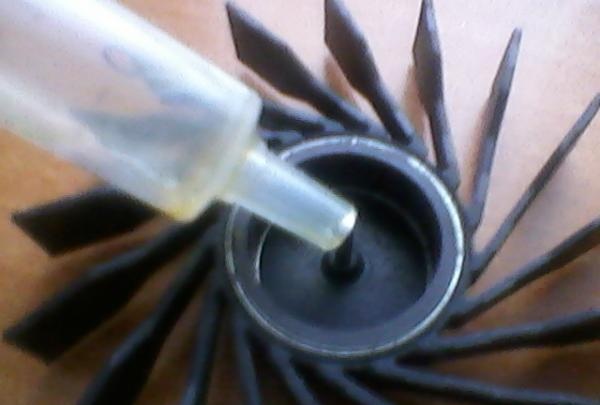
Regular machine oil, for example, from sewing machines, is suitable for this. I had purified oil specially purchased for cleaning the cooler, which was almost gone. But a couple of drops is enough for us.
Step Five, Final.
Now all that remains is to return everything to its place - insert the fan, tighten the plate and cover. Now your laptop will delight you with its quiet operation for at least a month. Even if after this period there is no noise, we recommend cleaning it every two months. Good luck!
But it's not that simple. Literally after six months of such use, the laptop begins to make noise, crackle, hum, knock and make other alarming noises. And not only to emit noise, but to overheat or even turn off. What happened to the computer?
The fact is that there is a cooler inside the laptop, thanks to which the entire internal system is cooled. And when the computer is forced to stand on a soft surface, its ventilation is simply covered with a blanket, rug, etc. Dust is drawn inward, after which the color becomes clogged. Let's take a step-by-step look at how to clean your laptop from dust yourself.
Step one.
Let's look at reading on a Lenovo laptop. In fact, there is no fundamental difference, except that the lid may be offset or located in the middle of the laptop. In my case, the upside down computer looks like this:

And here is the cover itself with 6 small screws that we need to unscrew.This is what the laptop looks like with the lid unscrewed.

Step Two.
So we got to the cooler itself. As you can see in the figure, the cooler is protected by a small plate held on by 4 screws, which we also need to carefully unscrew. Attention! Don't lose the screws, they are very small, but if you lose them, we won't be able to work with the laptops.
Before:

After:

Now that the cooler is open, we can directly begin cleaning.
Step Three.
We carefully take out the fan, and, using the most ordinary brush, begin to clean each of its blades from dust:

After cleaning, pay attention to the place where the fan was located:

And here is the grill itself, through which the laptop is cooled.
Before cleaning:

After:

Clean the grate using the same brush.
Step Four
And finally, the last step before assembling the laptop is to lubricate the fan axis:

Regular machine oil, for example, from sewing machines, is suitable for this. I had purified oil specially purchased for cleaning the cooler, which was almost gone. But a couple of drops is enough for us.
Step Five, Final.
Now all that remains is to return everything to its place - insert the fan, tighten the plate and cover. Now your laptop will delight you with its quiet operation for at least a month. Even if after this period there is no noise, we recommend cleaning it every two months. Good luck!
Similar master classes
Particularly interesting
Comments (6)

