Lamp
The power of the play of light in terms of organizing comfort and coziness in the home has long been proven. Sconces, floor lamps, lamps - each of these lighting devices creates its own, unique contribution to the overall ambiance of the apartment.
Sometimes, looking at a truly interesting and non-standard thing, we mentally try it on for the interior of our home. And it doesn’t matter where you saw the masterpiece you liked - visiting friends, in a store, at an exhibition, or found it in the vast expanses of the Internet. If the thought that this lamp is the only thing you currently lack for complete happiness gnaws at you endlessly and dreams of living, then there is a great way out of the situation - try to create it with your own hands. Moreover, most often, for a creative experiment, you can use the simplest objects and unnecessary things lying around the apartment uselessly.
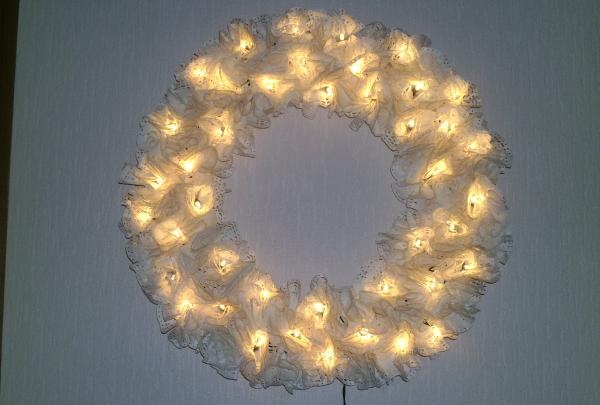
As an example, here is such a wonderful romantic lamp, created in one evening from improvised materials
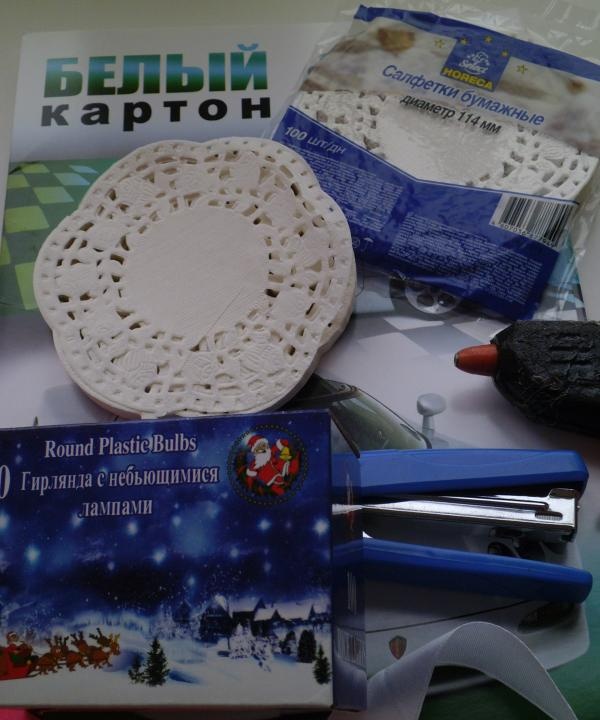
We needed:
• sheet of foam plastic (left over from the time of repair and insulation of the balcony)
• 2 packs of small openwork napkins
• packaging of an old, half-dead garland
• stapler
• hot glue gun
• masking tape
From a sheet of foam plastic we cut out a circle of the same diameter that you have determined for your future lamp.
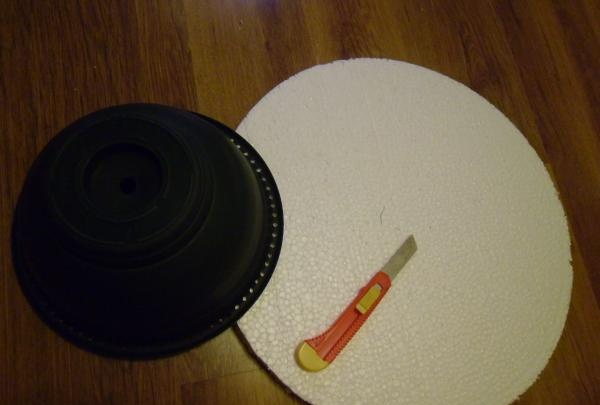
Create empty space inside the circle.
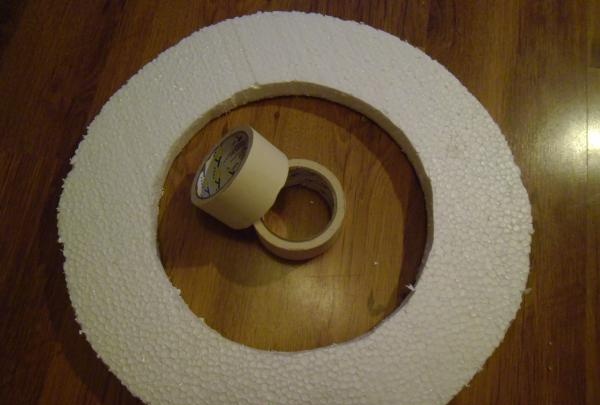
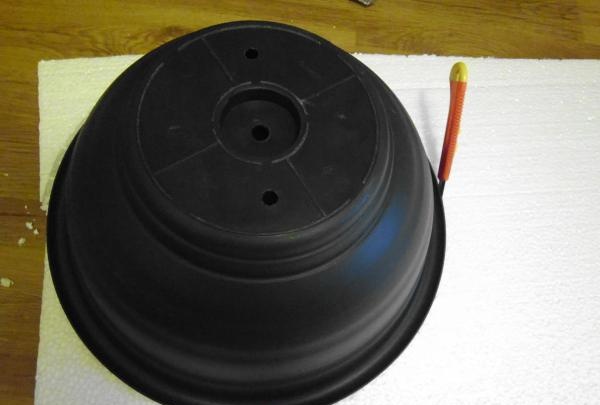
We cut out another circle, but you can make the inside space square and insert a clock or a picture there. It will also turn out very interesting and beautiful.
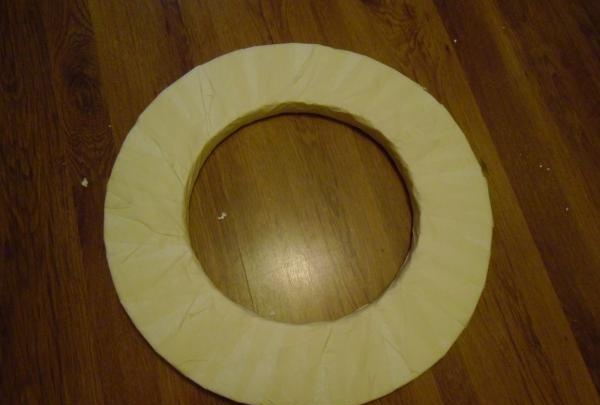
Next, we wrapped the resulting hoop in a circle several times with paper tape.
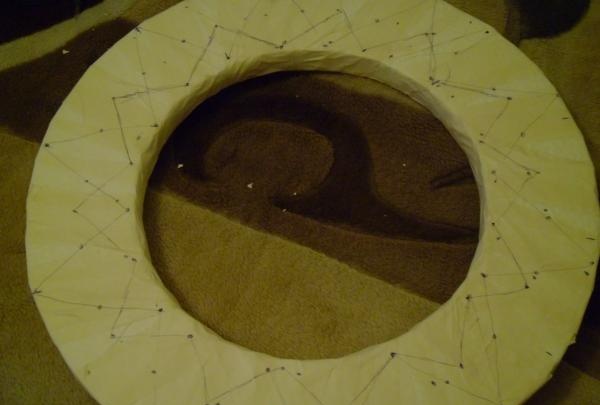
This needs to be done for 2 reasons: so that the foam does not crumble, and so that we can glue our decorations to it (the circle).
Using a pencil or pen, mark the approximate location of the garland bulbs.
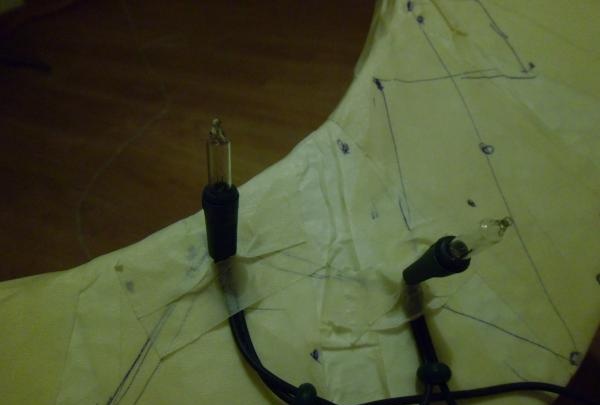
Glue the light bulbs in the marked places using strips of paper tape.
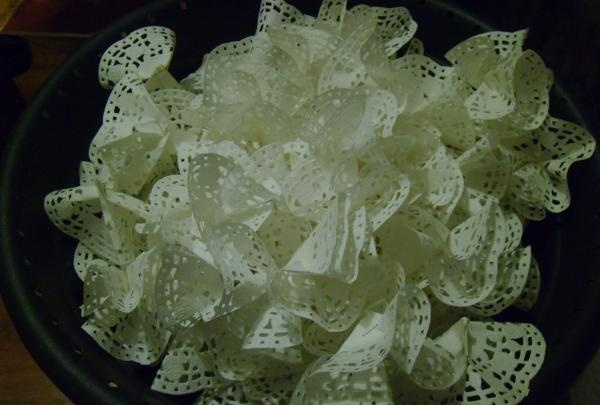
When the bulbs are glued, you can start preparing the napkins. We fold them in half and lay them in a wave, fastening the bottom with a stapler.
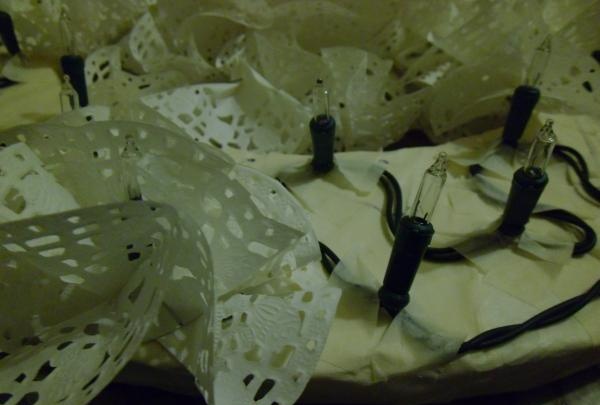
Using a hot gun, glue the napkins to the front side of the lamp. It's worth starting with lighting elements. Place 3-4 napkins around each bulb, making sure it stays in the middle, evenly surrounded by napkin lace. First one, then the second, the third and so on, in order.
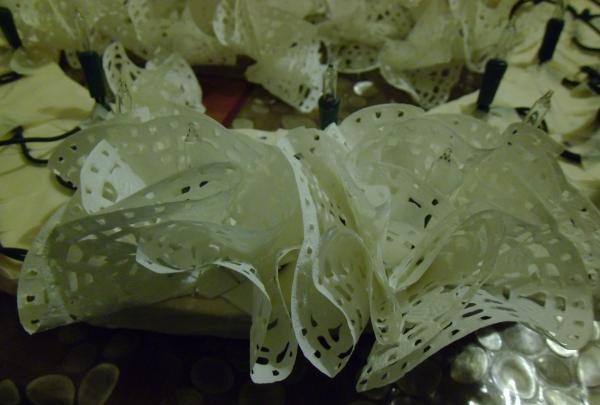
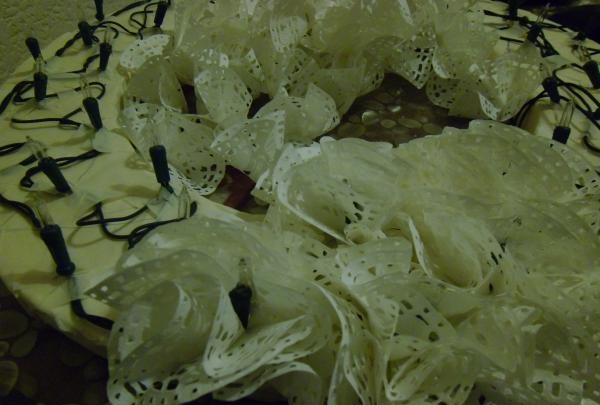
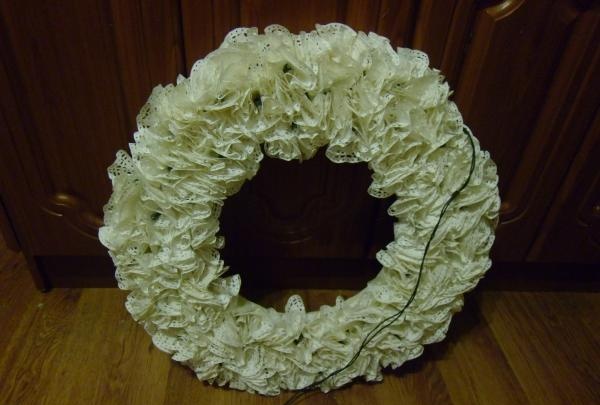
When all the bulbs are neatly surrounded by napkins, you need to fill the remaining space.
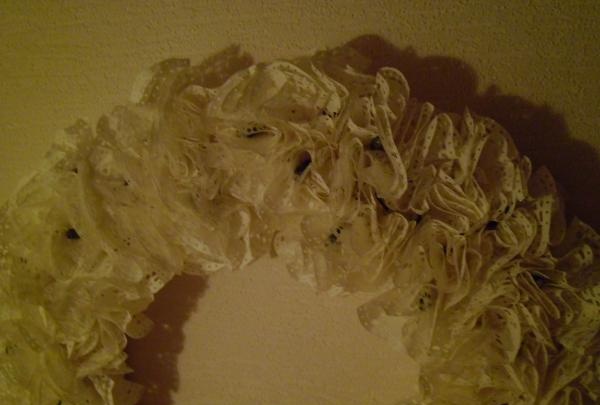
That's all. All that remains is to attach a loop to the back of the lamp for fastening to the wall and carefully hang it in the chosen place.
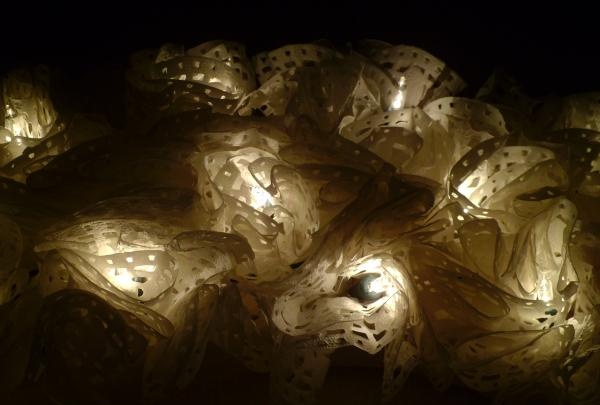
In just one evening you can create a magnificent present friends, or an amazing decoration for your own home. Create and get creative, and may luck smile at you, looking at your miracles.
Sometimes, looking at a truly interesting and non-standard thing, we mentally try it on for the interior of our home. And it doesn’t matter where you saw the masterpiece you liked - visiting friends, in a store, at an exhibition, or found it in the vast expanses of the Internet. If the thought that this lamp is the only thing you currently lack for complete happiness gnaws at you endlessly and dreams of living, then there is a great way out of the situation - try to create it with your own hands. Moreover, most often, for a creative experiment, you can use the simplest objects and unnecessary things lying around the apartment uselessly.

As an example, here is such a wonderful romantic lamp, created in one evening from improvised materials
We needed:
• sheet of foam plastic (left over from the time of repair and insulation of the balcony)
• 2 packs of small openwork napkins
• packaging of an old, half-dead garland
• stapler
• hot glue gun
• masking tape

From a sheet of foam plastic we cut out a circle of the same diameter that you have determined for your future lamp.

Create empty space inside the circle.


We cut out another circle, but you can make the inside space square and insert a clock or a picture there. It will also turn out very interesting and beautiful.

Next, we wrapped the resulting hoop in a circle several times with paper tape.

This needs to be done for 2 reasons: so that the foam does not crumble, and so that we can glue our decorations to it (the circle).
Using a pencil or pen, mark the approximate location of the garland bulbs.

Glue the light bulbs in the marked places using strips of paper tape.
When the bulbs are glued, you can start preparing the napkins. We fold them in half and lay them in a wave, fastening the bottom with a stapler.


Using a hot gun, glue the napkins to the front side of the lamp. It's worth starting with lighting elements. Place 3-4 napkins around each bulb, making sure it stays in the middle, evenly surrounded by napkin lace. First one, then the second, the third and so on, in order.


When all the bulbs are neatly surrounded by napkins, you need to fill the remaining space.

That's all. All that remains is to attach a loop to the back of the lamp for fastening to the wall and carefully hang it in the chosen place.

In just one evening you can create a magnificent present friends, or an amazing decoration for your own home. Create and get creative, and may luck smile at you, looking at your miracles.
Similar master classes
Particularly interesting
Comments (1)


