Beautiful aster for mom
Spring will soon end and spring will begin, which means a beautiful day will come - the eighth of March. Children always want to please their mother, grandmother, sister or aunt with some gift. Postcards are made and purchased present, a delicious dinner is being prepared, and so on. Today I want to tell you how to make a beautiful flower that your mother will definitely like and will decorate her room for a long time.
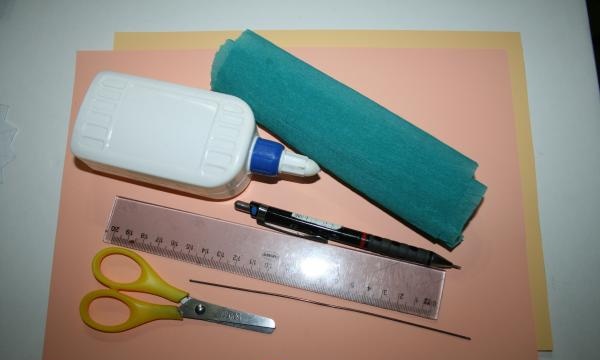
You need:
• Colored paper – 2 sheets for the petals, mine is coral, as well as 1 green sheet and a strip of yellow.
• Green corrugated paper or green colored tape.
• Awl or gypsy needle.
• Wire.
• Line, pencil, scissors.
• Glue.
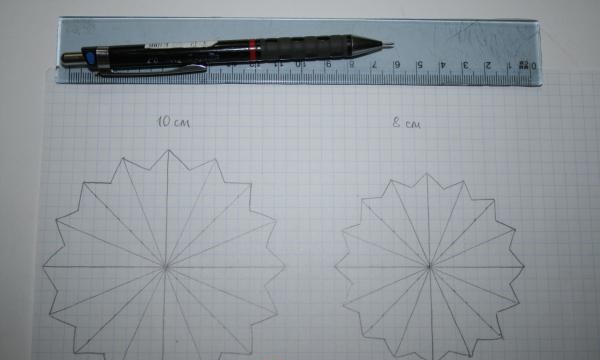
First of all, we need to make a pattern. We draw a cross and then add three more stripes between the lines of the cross. It is not necessary to make a perfect 16-sided triangle; you will still have to bend the triangles later. One 16-corner should be 10 cm in diameter, the other 8 cm.
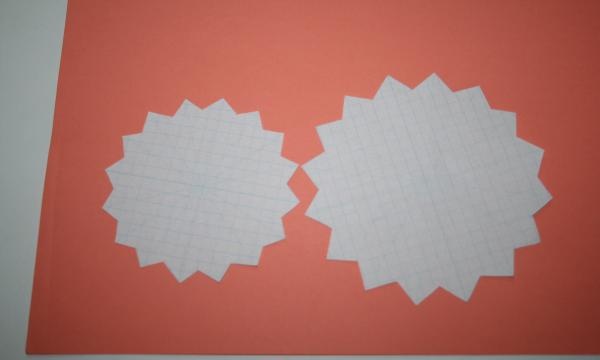
According to the pattern, we will need to cut out 4 16-gons with a diameter of 8 cm and 6 with a diameter of 10 cm. We also need to cut out 2 16-gons with a diameter of 8 cm on green paper.
We draw out the resulting blank and make a circle in the middle.
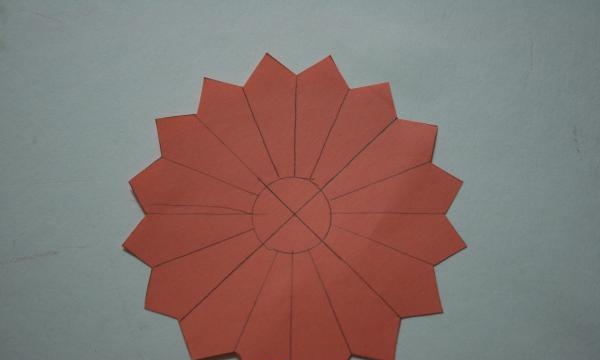
We make cuts along the drawn lines to the circle and begin to fold the triangles along the center line.
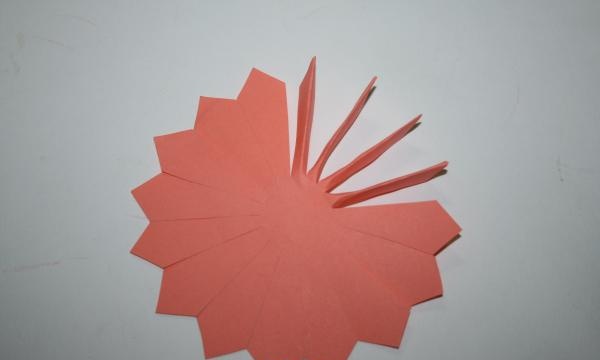
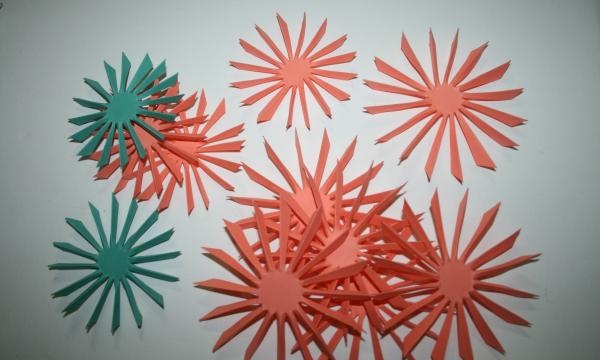
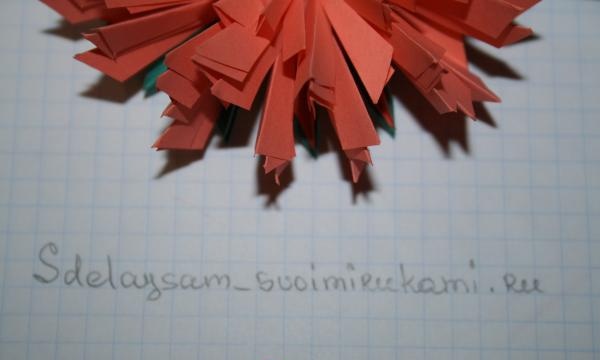
You should get something like this for the flower. The petals need to be folded into the middle so that the flower becomes voluminous in the future.
Take a strip of yellow colored paper and fold it in half lengthwise. Now we use scissors to make cuts at an angle, not reaching the fold line.
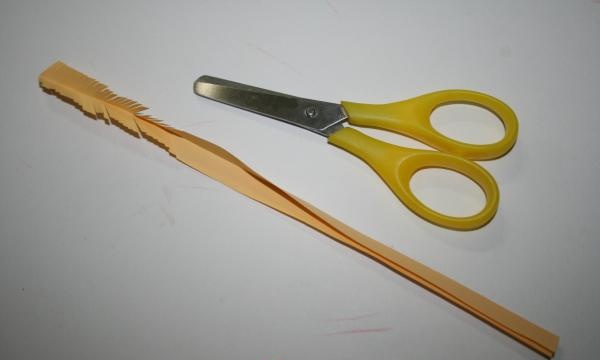
When the entire strip is cut, we begin to twist it. You need to twist it so that the “petals” of the paper fluff up and create a boombox.
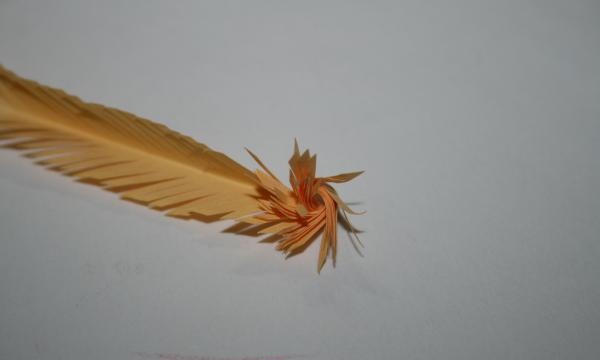
As you roll, glue the paper with glue to prevent it from rolling back. You should end up with a fluffy circle like this. This circle will become the center of our flower.
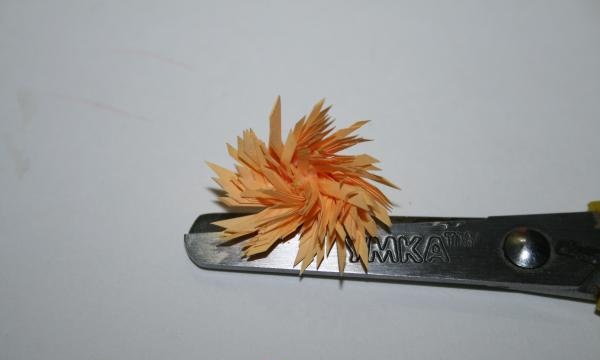
Now we begin to collect our aster. We take 16-sided triangles with a diameter of 10 cm and gradually glue them together, dipping the central circles with glue. Next, take 2 16-sided triangles with a diameter of 8 cm and glue them into the center of the flower. Don't forget to bend the petals to the center.
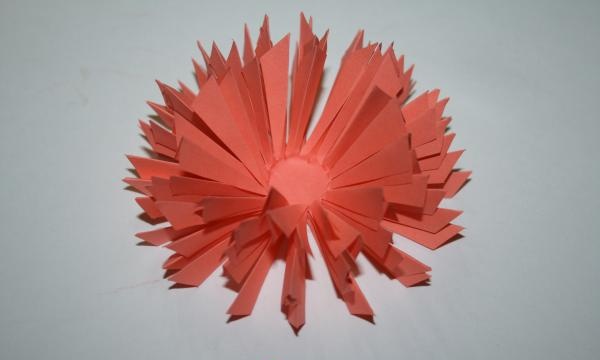
We glue the remaining 2 16-sided coral-colored and 2 green-colored ones on the bottom of the flower, face down. When all the flower petals are dry and stick together well, make a small hole in the center with an awl or gypsy needle and insert a wire into it. We bend the end of the wire and fix it with glue and a fluffy yellow core. We wrap the wire with green corrugated paper or green tape.
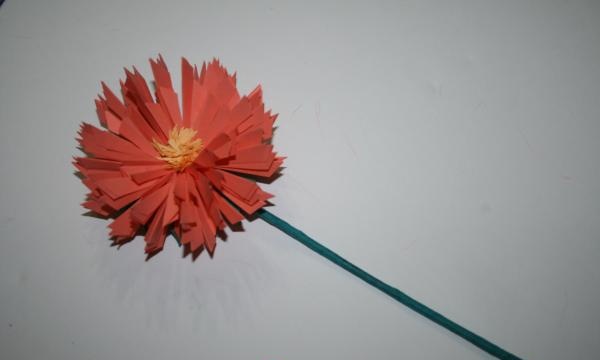
You should end up with a flower like this. If you wish, you can make a leaf out of corrugated paper and screw it onto the stem of the aster. This aster, made by a child’s hands, will definitely please your mother or grandmother.You can also make this flower with your children; it helps develop fine motor skills! You can experiment with the color of the aster and create amazing colorful bouquets.
You need:
• Colored paper – 2 sheets for the petals, mine is coral, as well as 1 green sheet and a strip of yellow.
• Green corrugated paper or green colored tape.
• Awl or gypsy needle.
• Wire.
• Line, pencil, scissors.
• Glue.

First of all, we need to make a pattern. We draw a cross and then add three more stripes between the lines of the cross. It is not necessary to make a perfect 16-sided triangle; you will still have to bend the triangles later. One 16-corner should be 10 cm in diameter, the other 8 cm.

According to the pattern, we will need to cut out 4 16-gons with a diameter of 8 cm and 6 with a diameter of 10 cm. We also need to cut out 2 16-gons with a diameter of 8 cm on green paper.

We draw out the resulting blank and make a circle in the middle.

We make cuts along the drawn lines to the circle and begin to fold the triangles along the center line.

You should get something like this for the flower. The petals need to be folded into the middle so that the flower becomes voluminous in the future.

Take a strip of yellow colored paper and fold it in half lengthwise. Now we use scissors to make cuts at an angle, not reaching the fold line.

When the entire strip is cut, we begin to twist it. You need to twist it so that the “petals” of the paper fluff up and create a boombox.

As you roll, glue the paper with glue to prevent it from rolling back. You should end up with a fluffy circle like this. This circle will become the center of our flower.

Now we begin to collect our aster. We take 16-sided triangles with a diameter of 10 cm and gradually glue them together, dipping the central circles with glue. Next, take 2 16-sided triangles with a diameter of 8 cm and glue them into the center of the flower. Don't forget to bend the petals to the center.

We glue the remaining 2 16-sided coral-colored and 2 green-colored ones on the bottom of the flower, face down. When all the flower petals are dry and stick together well, make a small hole in the center with an awl or gypsy needle and insert a wire into it. We bend the end of the wire and fix it with glue and a fluffy yellow core. We wrap the wire with green corrugated paper or green tape.

You should end up with a flower like this. If you wish, you can make a leaf out of corrugated paper and screw it onto the stem of the aster. This aster, made by a child’s hands, will definitely please your mother or grandmother.You can also make this flower with your children; it helps develop fine motor skills! You can experiment with the color of the aster and create amazing colorful bouquets.

Similar master classes
Particularly interesting
Comments (0)


