Decorating a flower pot with fabric
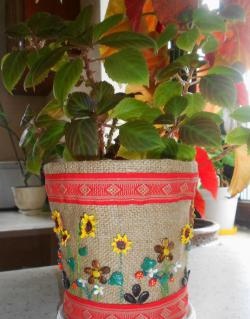
Identical flower pots create a dull picture. I want them, like flowers, to be different and not similar to each other. You can buy pots of different colors and shapes. Or you can sew your own unique clothes for each pot. This master class presents just two examples of decorating with fabric. How you decorate your flower pots depends on your imagination and skills.
Materials and tools:
• textile;
• centimeter;
• threads, needle;
• ribbons (white, red);
• buttons (white and red);
• scissors.
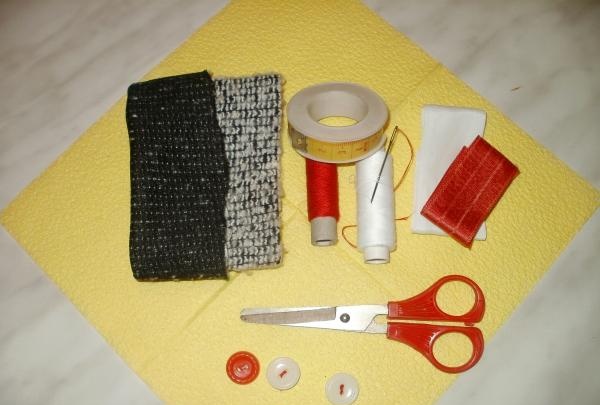
1. First, take measurements from the flower pot. Using a centimeter, we determine the height of the pot, the width at the top and bottom. Based on these data, we cut a piece of light fabric of the appropriate size. Sew the edges together to create a pipe shape. We bend the fabric at the top and stitch it. We also secure the fabric at the bottom. To sew such covers for pots, it is best to choose a fabric that stretches. For example, knitwear, stretch and others like that.
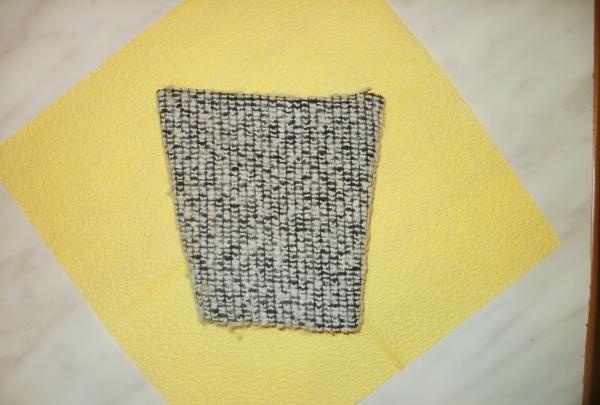
2. Try on the sewn part on a flower pot. It should fit freely in the sewn pipe so that it can be removed from the pot if necessary. For example, to do laundry.
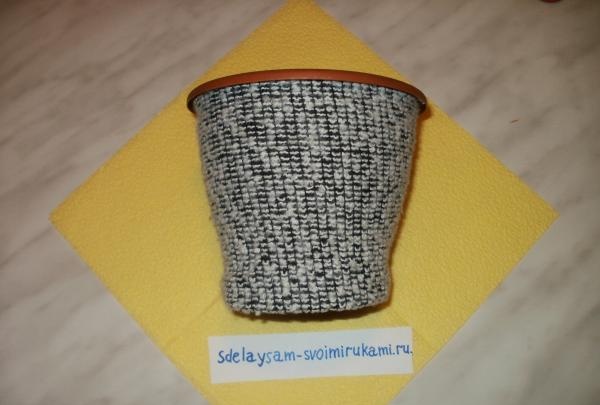
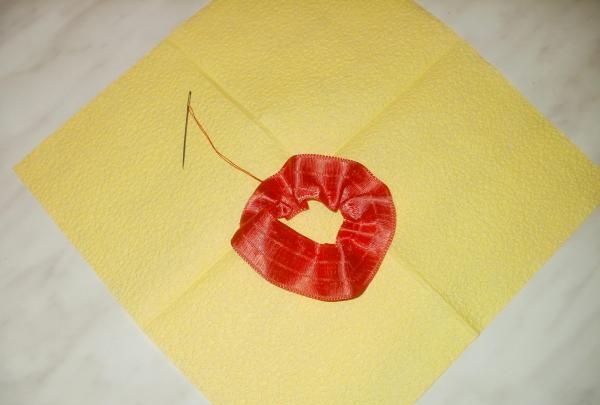
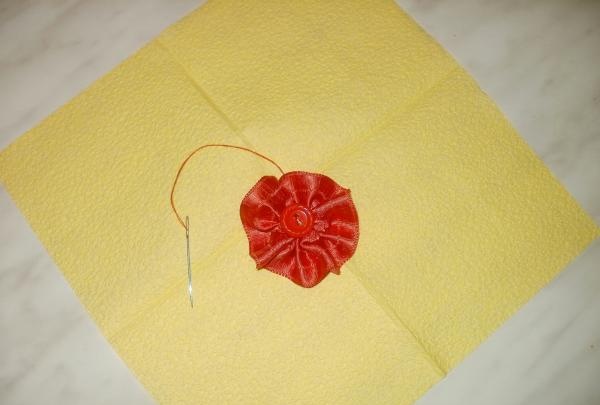
3. Now we decorate the pot. Preparing details for decoration.We sew the red ribbon together to make a circle. We sew red thread along the edge and pull it together, do not cut the thread, but sew a red button in the middle. The result was a lush flower made from ribbon.
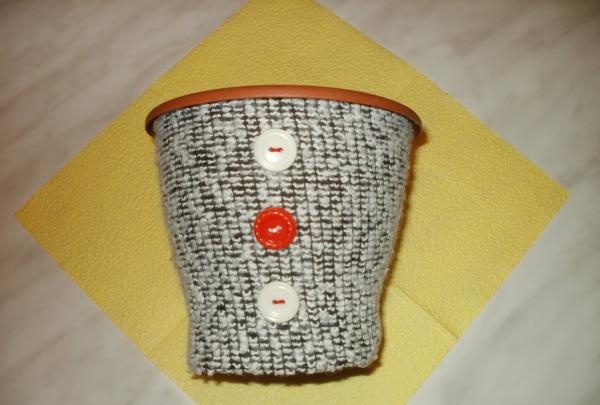
4. Take two white plastic buttons, one red and sew them onto the cover of the pot, placing them vertically. For white buttons we use red thread, for red ones we use white thread.
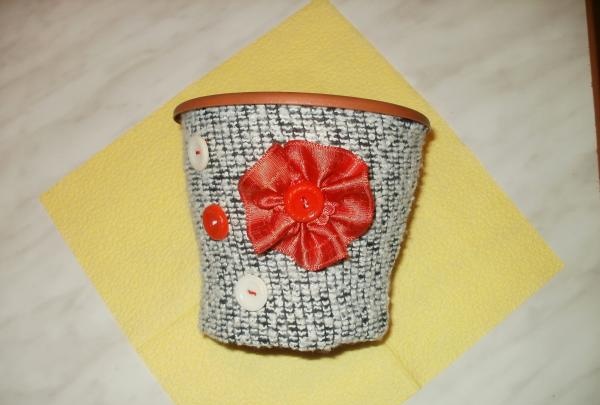
5. Next to the buttons we sew the red flower we made. Sew only the middle of the flower. Unsewn edges will create even more volume. Clothes for one flower pot are ready!
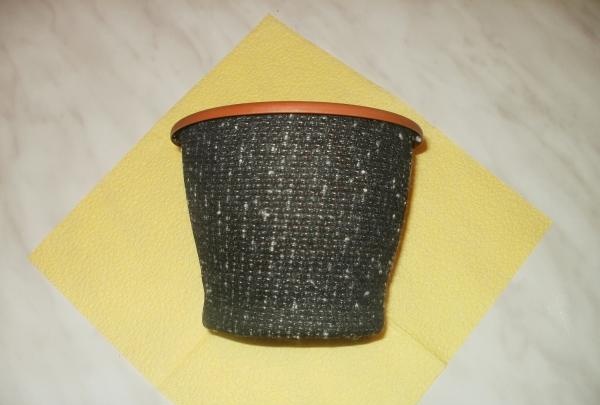
6. Next, we proceed to decorating the second pot. To do this, choose a dark fabric, maybe a plain one. Using the same pattern as for the first pot, cut out the pattern and carefully sew it together. Let's try it on the flowerpot again. We check that it can be removed.
7. Let’s start decorating this “clothing” for the flower pot. Take a white ribbon and make a bow tie from it. To do this, you need to fold the ribbon in half and stitch it in the middle, tighten the thread. Place a piece of tape in place of the seam and sew on the wrong side.
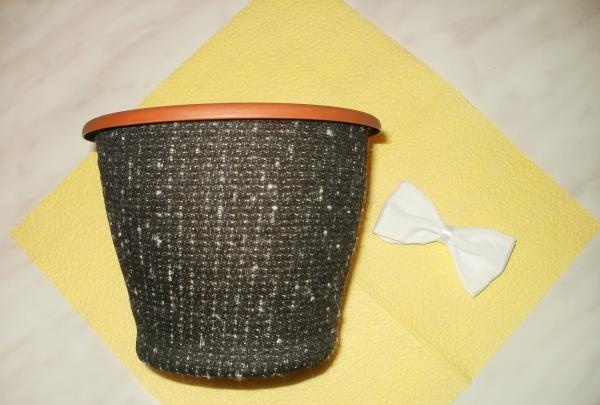
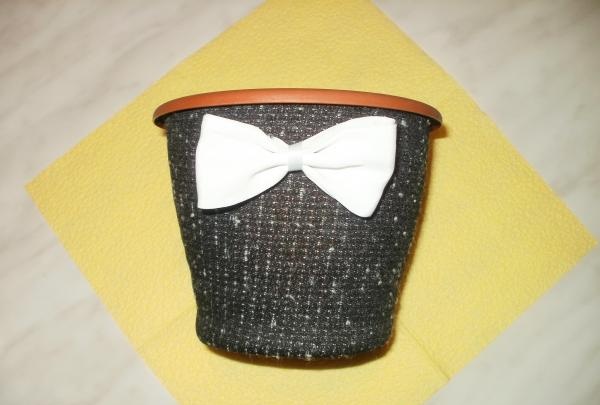
8. Sew a white “butterfly” onto the top of the pot cover. We only sew on the middle of the tie, not on the edges.
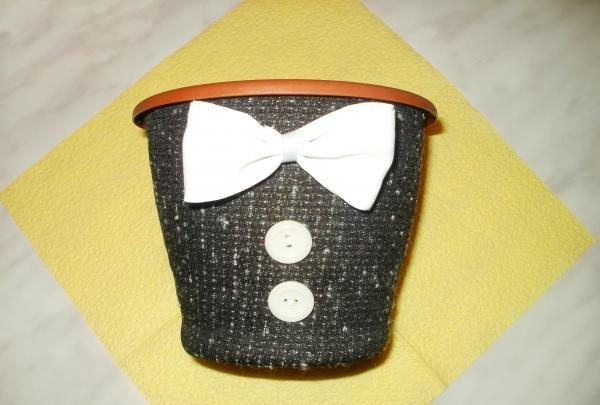
9. Just below the “butterfly” we sew a couple of buttons, placing one under one. Place the first button so that the seam is vertical, and turn the second button so that the seam is horizontal. The result is such a gentleman flower pot.
These flower pot clothes will decorate any home. You can easily replace parts on it. If you are already tired of a red flower, you can sew another one in color or shape instead. Or you can decorate the pot, for example, with animal figures. Or sew buttons in the shape of animals.You can decorate flower pots in different ways if you wish.
Materials and tools:
• textile;
• centimeter;
• threads, needle;
• ribbons (white, red);
• buttons (white and red);
• scissors.

1. First, take measurements from the flower pot. Using a centimeter, we determine the height of the pot, the width at the top and bottom. Based on these data, we cut a piece of light fabric of the appropriate size. Sew the edges together to create a pipe shape. We bend the fabric at the top and stitch it. We also secure the fabric at the bottom. To sew such covers for pots, it is best to choose a fabric that stretches. For example, knitwear, stretch and others like that.

2. Try on the sewn part on a flower pot. It should fit freely in the sewn pipe so that it can be removed from the pot if necessary. For example, to do laundry.

3. Now we decorate the pot. Preparing details for decoration.We sew the red ribbon together to make a circle. We sew red thread along the edge and pull it together, do not cut the thread, but sew a red button in the middle. The result was a lush flower made from ribbon.


4. Take two white plastic buttons, one red and sew them onto the cover of the pot, placing them vertically. For white buttons we use red thread, for red ones we use white thread.

5. Next to the buttons we sew the red flower we made. Sew only the middle of the flower. Unsewn edges will create even more volume. Clothes for one flower pot are ready!

6. Next, we proceed to decorating the second pot. To do this, choose a dark fabric, maybe a plain one. Using the same pattern as for the first pot, cut out the pattern and carefully sew it together. Let's try it on the flowerpot again. We check that it can be removed.

7. Let’s start decorating this “clothing” for the flower pot. Take a white ribbon and make a bow tie from it. To do this, you need to fold the ribbon in half and stitch it in the middle, tighten the thread. Place a piece of tape in place of the seam and sew on the wrong side.

8. Sew a white “butterfly” onto the top of the pot cover. We only sew on the middle of the tie, not on the edges.

9. Just below the “butterfly” we sew a couple of buttons, placing one under one. Place the first button so that the seam is vertical, and turn the second button so that the seam is horizontal. The result is such a gentleman flower pot.

These flower pot clothes will decorate any home. You can easily replace parts on it. If you are already tired of a red flower, you can sew another one in color or shape instead. Or you can decorate the pot, for example, with animal figures. Or sew buttons in the shape of animals.You can decorate flower pots in different ways if you wish.
Similar master classes
Particularly interesting
Comments (0)

