Card for a guy
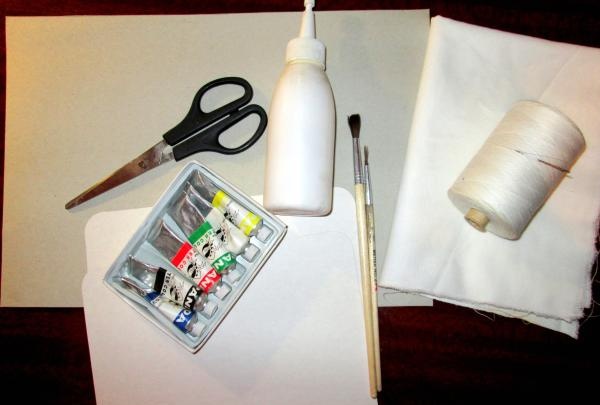
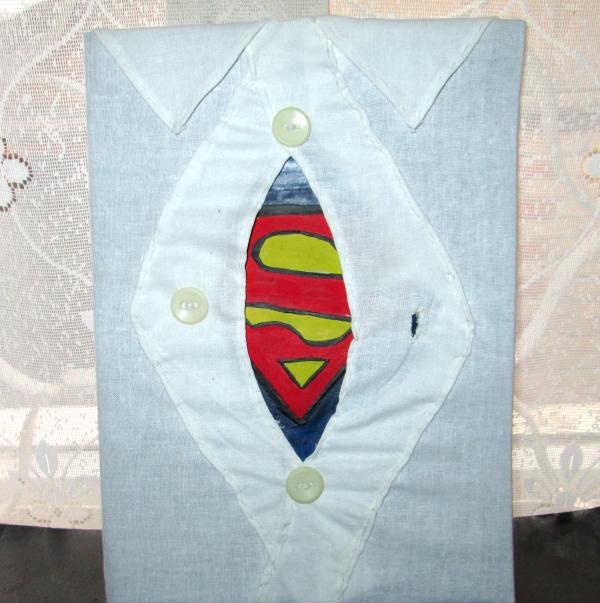
This card is very original and simple to make. It will be made of paper and fabric, and thanks to its extraordinary performance it will repeat the image of Superman. In order to create a postcard we need:
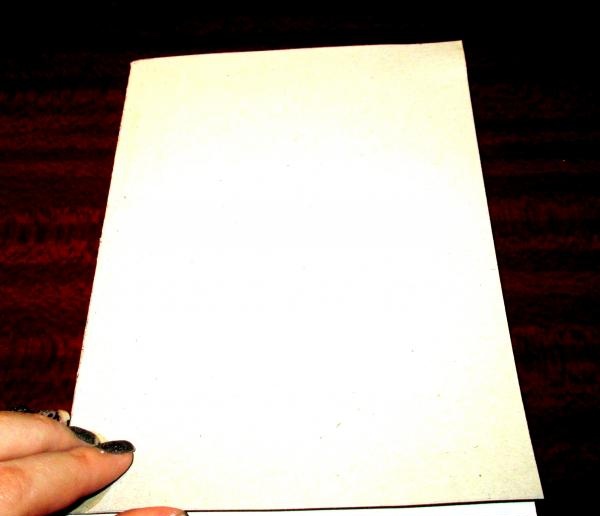
First, take the cardboard that will serve as the base and bend it in half.
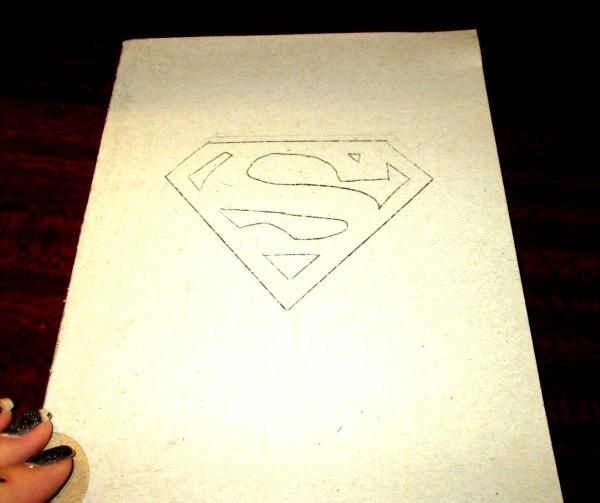
In the center we draw the Superman logo with a pencil.
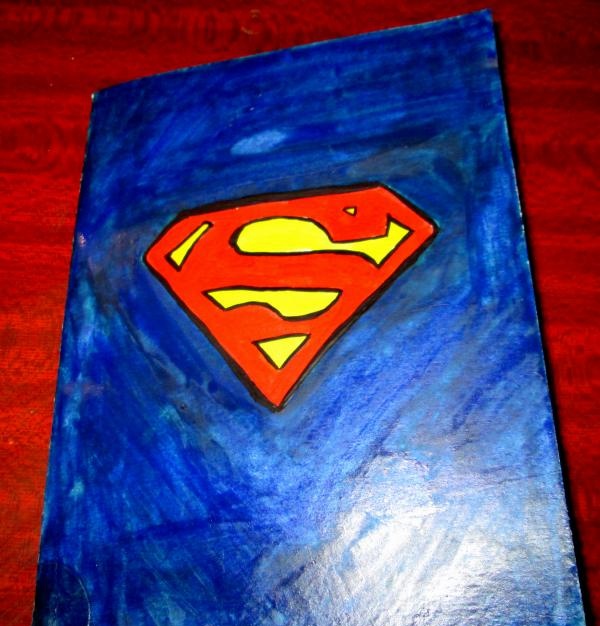
We apply paints to the future postcard. Don’t worry if the blue color isn’t quite even, it’s more important for us to draw a clear logo. All other parts will eventually be hidden under the fabric.
We cut out arched strips of fabric on which the buttons will subsequently be located.
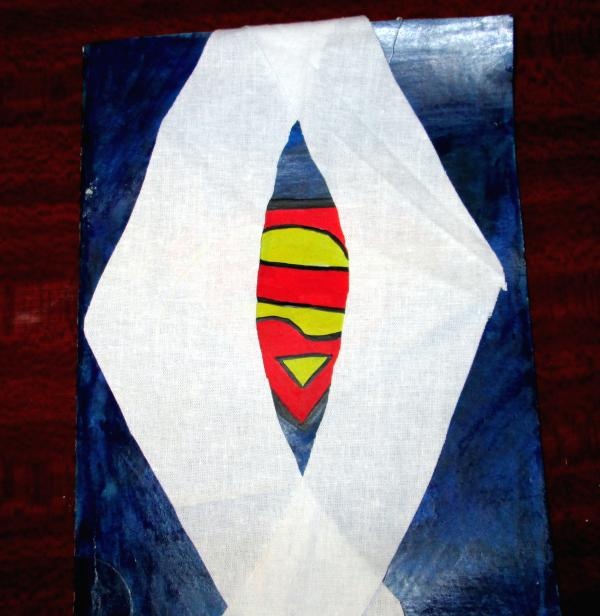
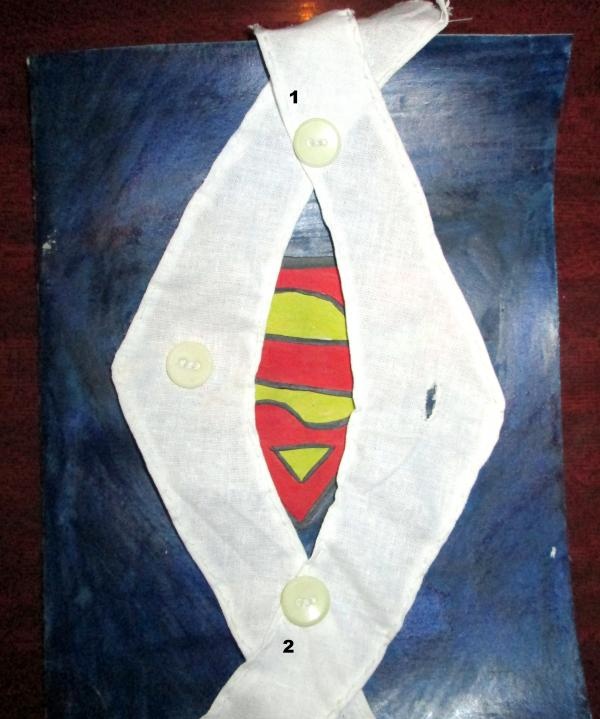
We sew strips on the sides. The easiest way would be to sew them on a typewriter, but if you don’t have this option, you can sew them by hand. We apply the stitched pieces of fabric to the logo. Let's see what size hole we need to leave so that the letter can be seen.We sew together pieces of fabric in places numbered 1 and 2 indicated in the photo.
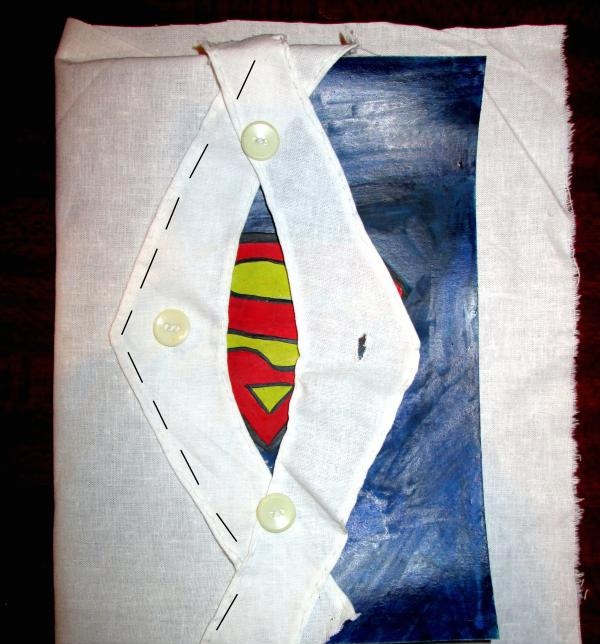
Next, cut out a piece of fabric taking into account the back and front sides of the card. We attach it to the cardboard so as not to make a mistake with the size. We sew the edges of the cut fabric in the places indicated in the photo with black stripes.
We sew the second part of the fabric in the same way.

Cut out triangular pieces of fabric for the collar. We sew them on the sides and sew them to the base.
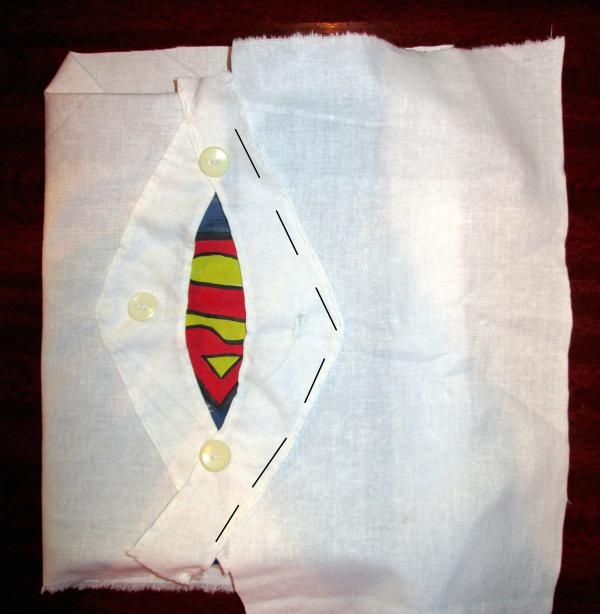
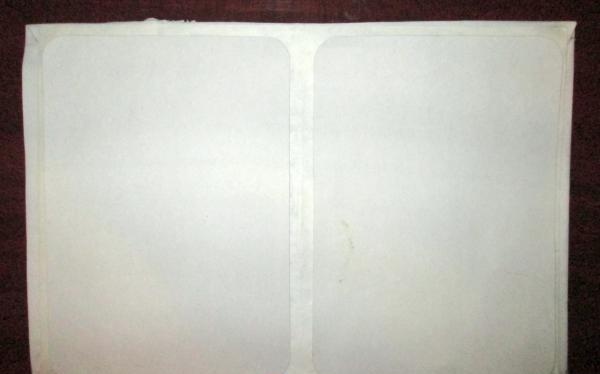
Glue the inside of the card. First you need to glue the fabric, then a sheet of paper over the entire area, and finally on one side and the other of a piece of loose cardboard.
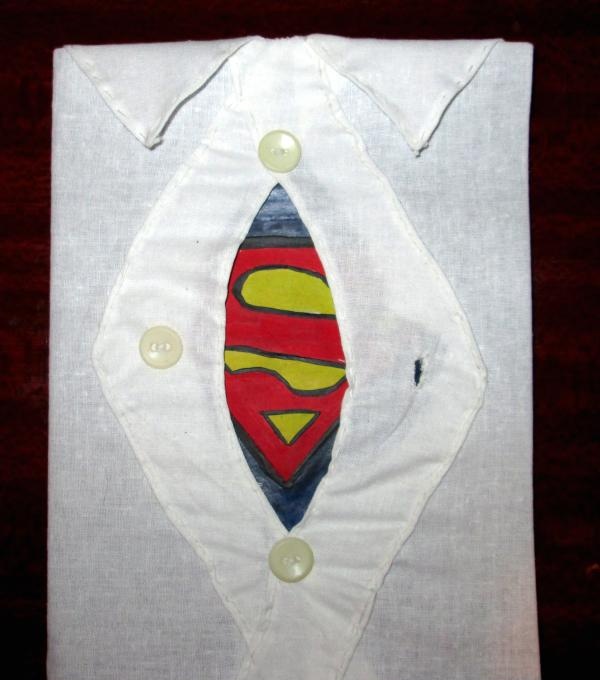
Here we have such an interesting postcard. Inside you can draw some cute drawing or write a congratulation.
- thick cardboard for the base (in this case 30 cm by 20 cm);
- thin paper;
- loose cardboard for decorating the middle (19 cm by 15 cm);
- white fabric;
- scissors;
- glue;
- brushes;
- paints;
- three buttons;
- white threads;
- needle.

First, take the cardboard that will serve as the base and bend it in half.

In the center we draw the Superman logo with a pencil.

We apply paints to the future postcard. Don’t worry if the blue color isn’t quite even, it’s more important for us to draw a clear logo. All other parts will eventually be hidden under the fabric.

We cut out arched strips of fabric on which the buttons will subsequently be located.

We sew strips on the sides. The easiest way would be to sew them on a typewriter, but if you don’t have this option, you can sew them by hand. We apply the stitched pieces of fabric to the logo. Let's see what size hole we need to leave so that the letter can be seen.We sew together pieces of fabric in places numbered 1 and 2 indicated in the photo.

Next, cut out a piece of fabric taking into account the back and front sides of the card. We attach it to the cardboard so as not to make a mistake with the size. We sew the edges of the cut fabric in the places indicated in the photo with black stripes.

We sew the second part of the fabric in the same way.

Cut out triangular pieces of fabric for the collar. We sew them on the sides and sew them to the base.

Glue the inside of the card. First you need to glue the fabric, then a sheet of paper over the entire area, and finally on one side and the other of a piece of loose cardboard.

Here we have such an interesting postcard. Inside you can draw some cute drawing or write a congratulation.


Similar master classes
Particularly interesting
Comments (0)

