Autumn bouquet
Golden autumn is the time for weddings and photo sessions. And what photographers can’t come up with to make their photos bright, rich, and most importantly, fall themed. The other day I received an urgent order for a creative autumn bouquet for a photo shoot of a young couple. There was no time to think; I had to make do with improvised materials. And this is what I got.
We hope this master class will inspire you with different ideas for creating autumn bouquets. So what we need:
• newspapers
• PVA glue
• round base in the shape of a ball
• construction foam
• wooden handle
• scissors, knife
• white bias tape (you can use regular tape)
• white office paper
• white corrugated paper
• white thread
• artificial flowers and leaves
• small artificial vegetables and fruits
• Super glue
Our bouquet will be voluminous; for this we need to create a base, round on top and flat on the bottom (where the handle will be). For these purposes I used a piggy bank; it was shaped like a ball. You can take any round object. She wrapped it in a plastic bag and began to glue it with pieces of newspaper and PVA glue.
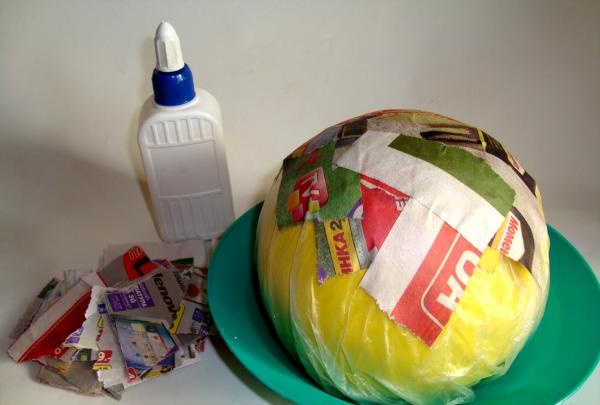
Make several layers of newspaper so that our base for the bouquet is strong. Leave for a couple of hours until completely dry.Next, we are faced with the task of filling our base with something from the inside so as to securely secure the handle. And don’t make the bouquet heavier. I came across some construction foam. We had to blow out our blank, and do not forget to insert a handle of the length you need inside. My handle is 15 cm long.
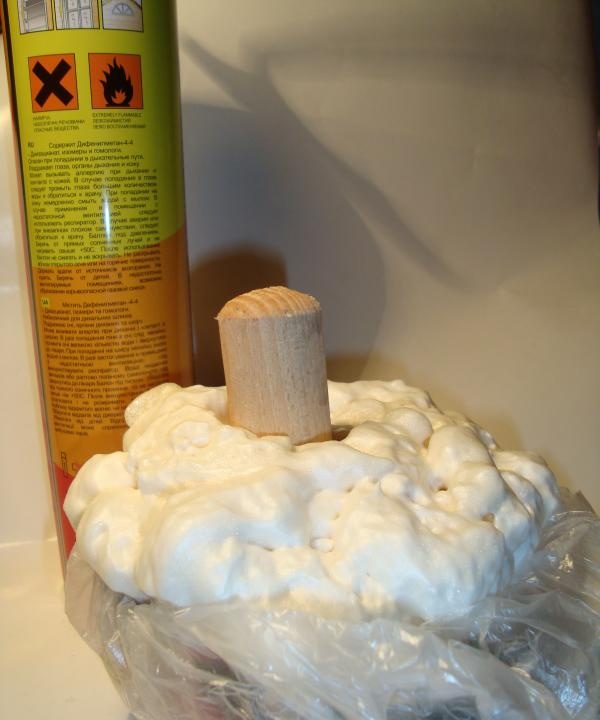
Leave this structure overnight. Everything should dry thoroughly. The next morning we cut off the excess foam, smooth out the edges and this is what we have.
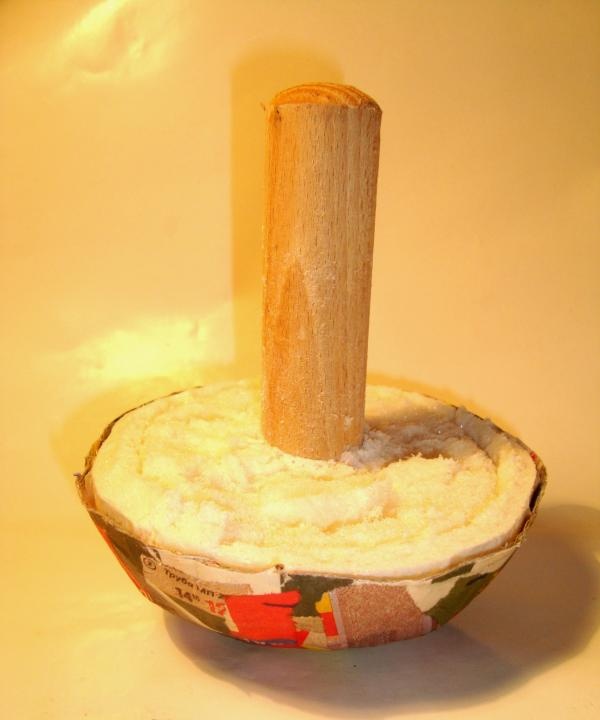
I would like to note that the workpiece turned out to be very hard and durable, and most importantly, almost weightless. The handle was so securely fixed that it was impossible to move it even a millimeter. In order to hide the multi-colored scraps of newspaper, I pasted the blank with cut-outs of white office paper and PVA glue.
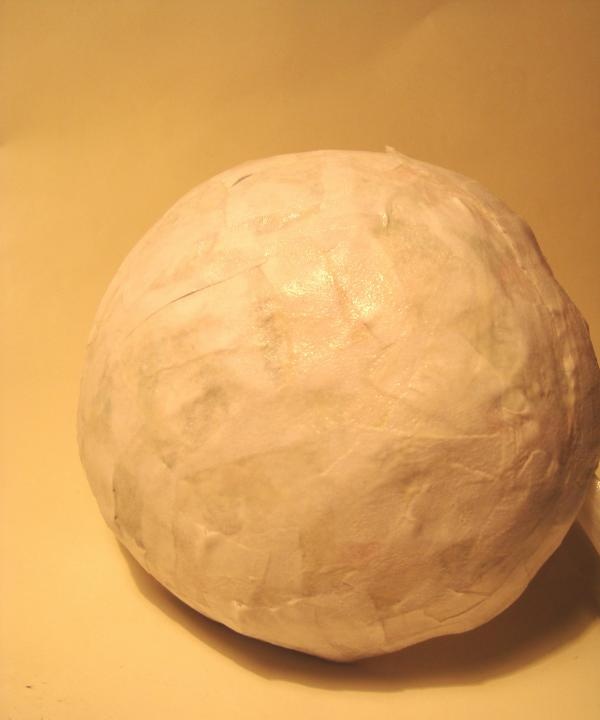
Next, I covered the workpiece with white corrugated paper and secured it at the bottom of the handle with glue and, for reliability, secured it with thread around the handle.
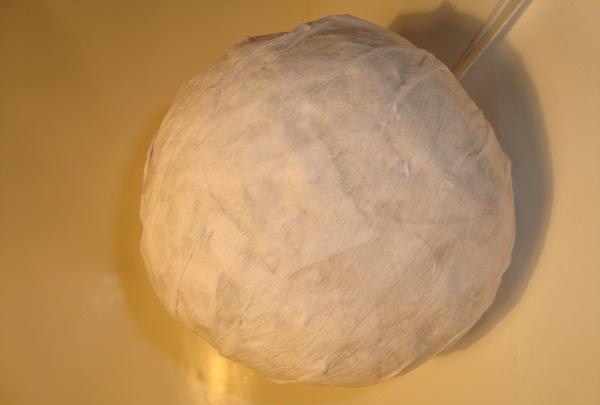
We wrap the handle with white bias tape and thereby hide the edges of the corrugated paper.
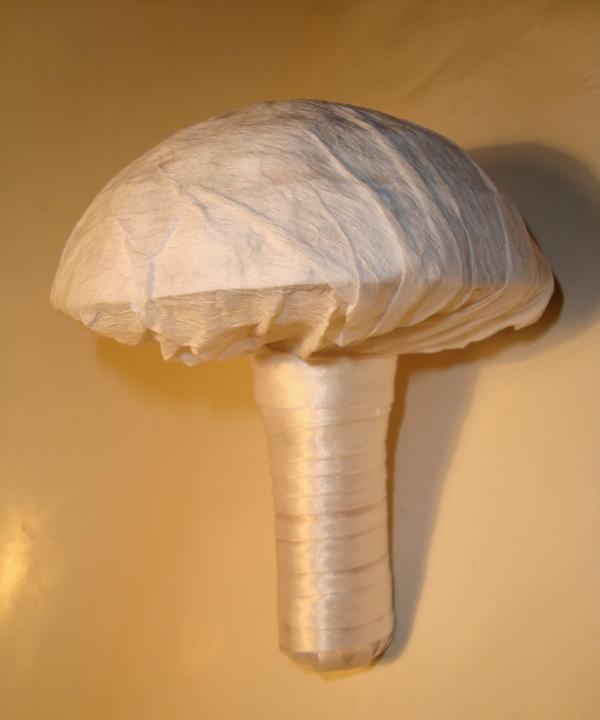
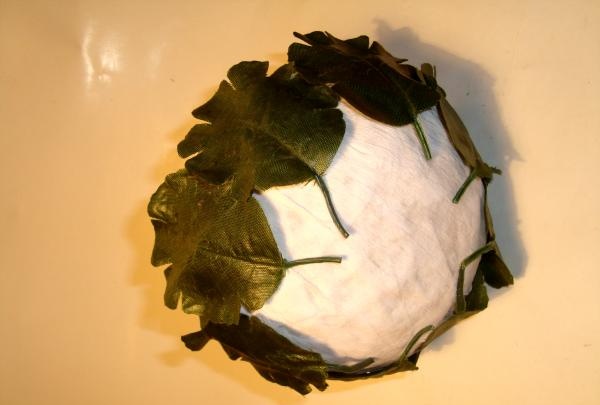
Don’t worry if you didn’t succeed in gluing the corrugated paper perfectly evenly; it won’t be visible in its finished form. Now we’re finally moving on to the most interesting part – the decor. We begin to decorate the blank from the edges, pasting it with artificial leaves. For this I used superglue. We compact the layer of leaves by gluing leaves on top that differ in color and texture from the previous ones.
We glue artificial flowers onto the leaves, as shown in the photo.
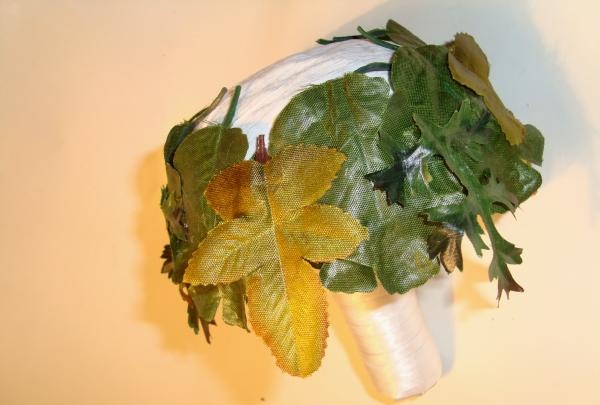
In the next row we alternate flowers with vegetables and fruits.
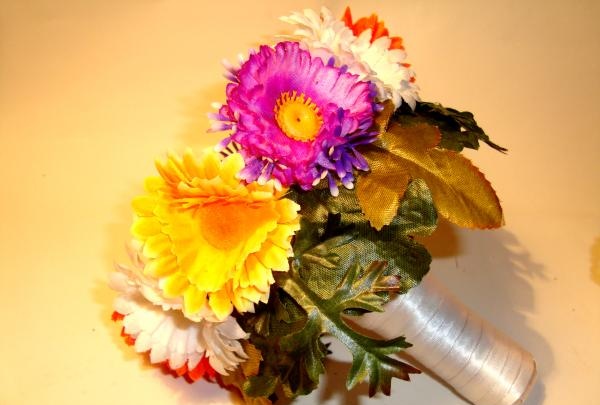
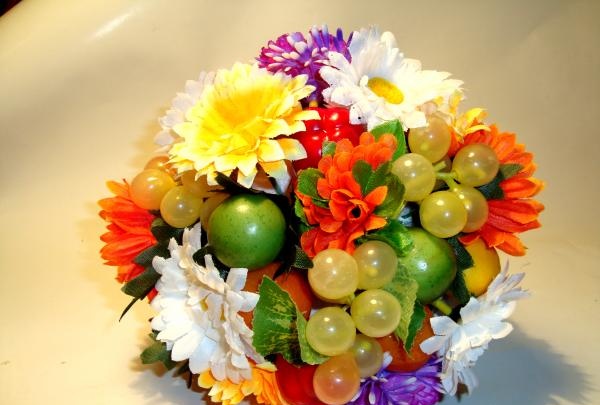
And all we have to do is cover the top of the bouquet with flowers and fruits.
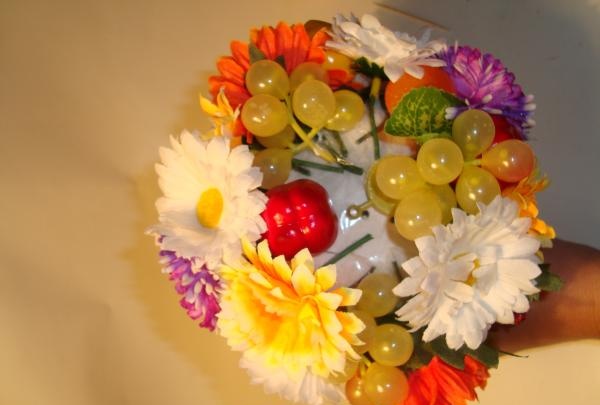
I still had figurines of vegetables and fruits, and I decided to compact the lowest layer of flowers with them. Here is a photo of the finished bouquet from different angles.

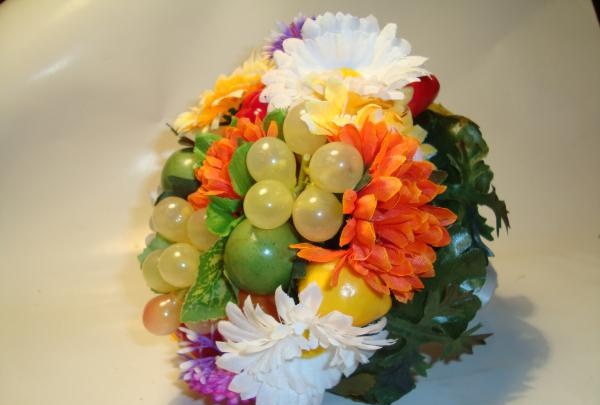
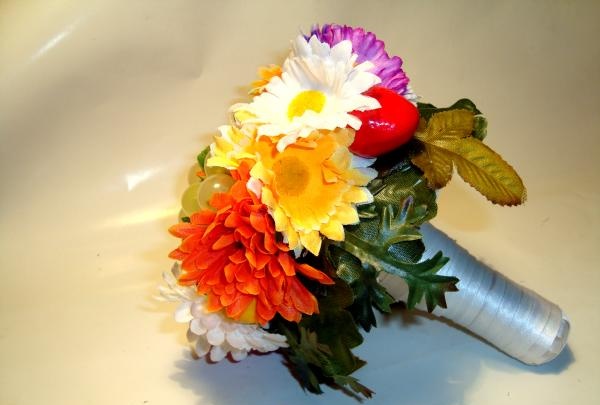

We hope this master class will inspire you with different ideas for creating autumn bouquets. So what we need:
• newspapers
• PVA glue
• round base in the shape of a ball
• construction foam
• wooden handle
• scissors, knife
• white bias tape (you can use regular tape)
• white office paper
• white corrugated paper
• white thread
• artificial flowers and leaves
• small artificial vegetables and fruits
• Super glue
Our bouquet will be voluminous; for this we need to create a base, round on top and flat on the bottom (where the handle will be). For these purposes I used a piggy bank; it was shaped like a ball. You can take any round object. She wrapped it in a plastic bag and began to glue it with pieces of newspaper and PVA glue.

Make several layers of newspaper so that our base for the bouquet is strong. Leave for a couple of hours until completely dry.Next, we are faced with the task of filling our base with something from the inside so as to securely secure the handle. And don’t make the bouquet heavier. I came across some construction foam. We had to blow out our blank, and do not forget to insert a handle of the length you need inside. My handle is 15 cm long.

Leave this structure overnight. Everything should dry thoroughly. The next morning we cut off the excess foam, smooth out the edges and this is what we have.

I would like to note that the workpiece turned out to be very hard and durable, and most importantly, almost weightless. The handle was so securely fixed that it was impossible to move it even a millimeter. In order to hide the multi-colored scraps of newspaper, I pasted the blank with cut-outs of white office paper and PVA glue.

Next, I covered the workpiece with white corrugated paper and secured it at the bottom of the handle with glue and, for reliability, secured it with thread around the handle.

We wrap the handle with white bias tape and thereby hide the edges of the corrugated paper.

Don’t worry if you didn’t succeed in gluing the corrugated paper perfectly evenly; it won’t be visible in its finished form. Now we’re finally moving on to the most interesting part – the decor. We begin to decorate the blank from the edges, pasting it with artificial leaves. For this I used superglue. We compact the layer of leaves by gluing leaves on top that differ in color and texture from the previous ones.

We glue artificial flowers onto the leaves, as shown in the photo.

In the next row we alternate flowers with vegetables and fruits.

And all we have to do is cover the top of the bouquet with flowers and fruits.

I still had figurines of vegetables and fruits, and I decided to compact the lowest layer of flowers with them. Here is a photo of the finished bouquet from different angles.


Similar master classes
Particularly interesting
Comments (1)

