Daisies in stocking technique
Flowers in the stocking technique, or, as they are also called, flowers with faces, are a very unusual and original decoration for your interior. Cute, funny flowers will delight their owners, causing a smile and tenderness. These flowers are also suitable as a gift to your friends and family.
So, to make such flowers we will need materials such as:
-nylon (hosiery) fabric
-threads to match the fabric, needle
-scissors
- synthetic winterizer
-glue
-artificial flowers
-eye accessories
-flower pot
-gypsum
-Styrofoam
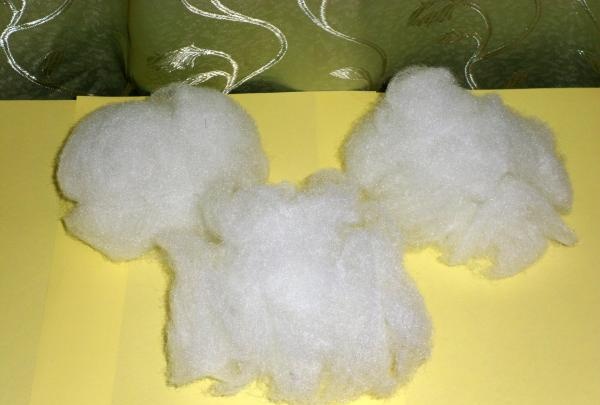
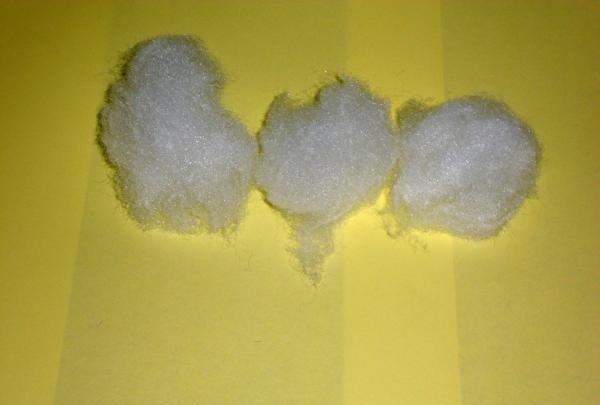
First, take the padding polyester, tear it into small pieces and stack it into three equal piles.
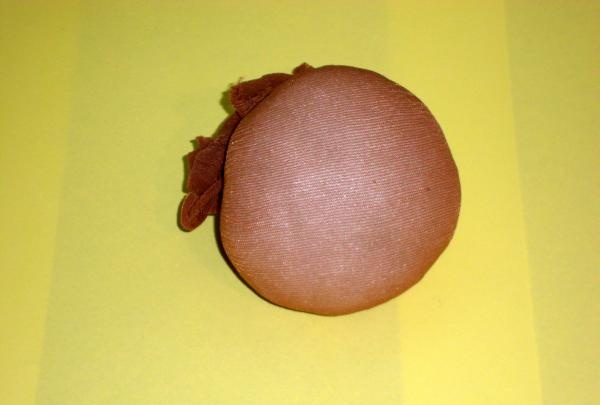
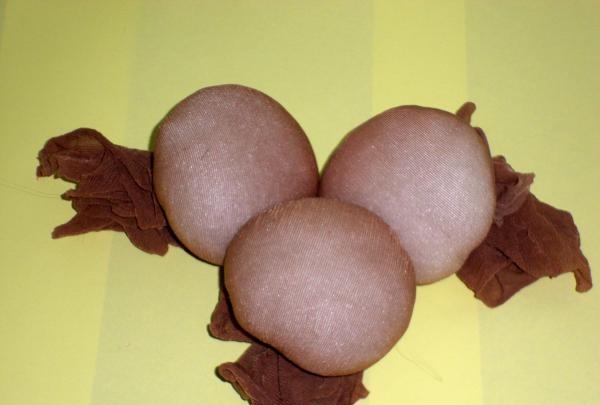
Now we will cover the padding polyester with nylon material, giving it the shape of a not very convex ball and fix the free end of the fabric at the back with a regular hair elastic.
Then we take the padding polyester and tear it into two small piles, one a little larger and distribute it under the fabric of the workpiece. These are the future nose and cheeks of our flowers.
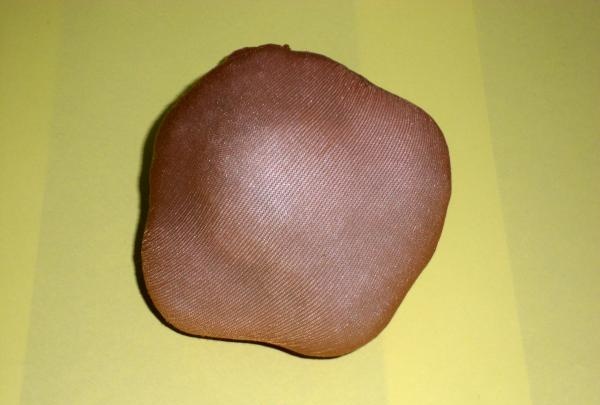
Now, using a screed, we need to form the nose, cheeks, mouth and lips on the muzzle.
Thread a longer thread into the needle and begin stitching. We mark with our fingers the approximate location of the bridge of the nose and begin to tighten it from right to left. Inject the needle into only one point so that the seam is as invisible as possible.
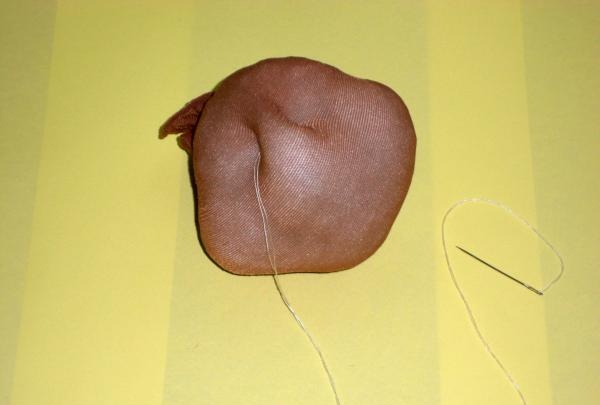
We sew 5-6 times and bring the needle diagonally down, then up again, forming nostrils at the spout.
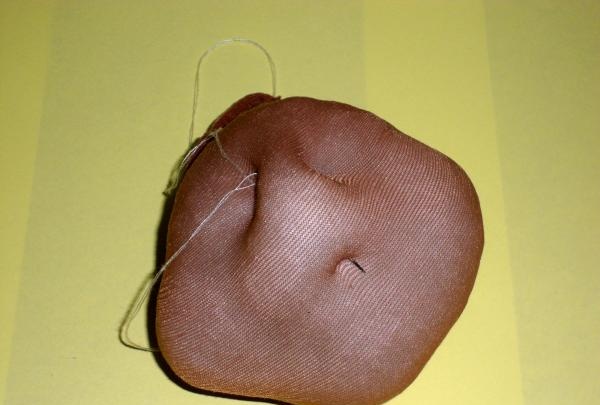
As you work, correct and level the shape; you can use a needle to correct minor irregularities by prying and fluffing the padding polyester, which is located inside the muzzle.

Once you've finished shaping the nose, cut the thread and tie it neatly.
To tighten the cheeks and mouth, it is better to use two needles. We find the upper point of the cheek with our fingers, insert the needle and bring it out obliquely. We stitch it well to secure it. We do the same with the other cheek, using another needle.
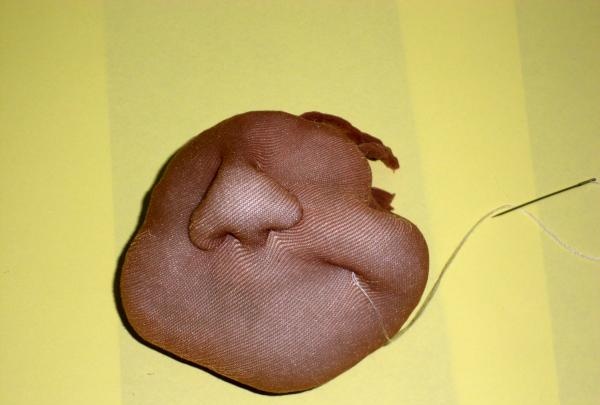
We tie the threads together, pulling them well together. We tie and cut off the excess thread. Using a needle, fluff the padding polyester where the upper lip of the product will be and, by injecting the needle under the lower lip, bring it under the nose and lower it down again. We tighten the threads and cut off the excess.
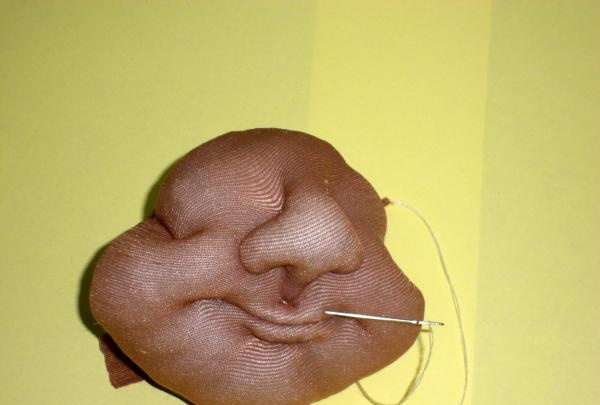
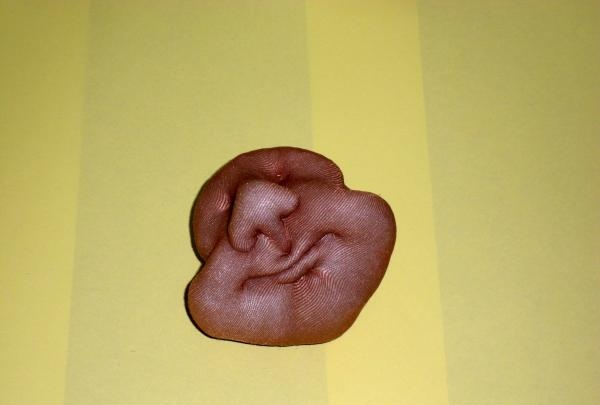
We sew the places where the eyes will be glued. At the back we sew the place that was tied with an elastic band. We cut off the excess fabric. We perform the same manipulations with the rest of the workpieces. We glue the eyes (the accessories can be replaced with ordinary buttons).
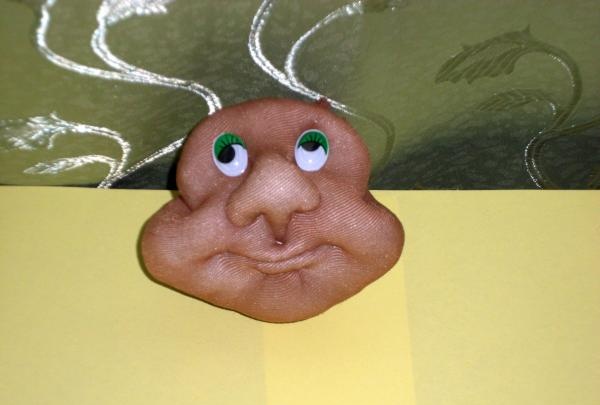
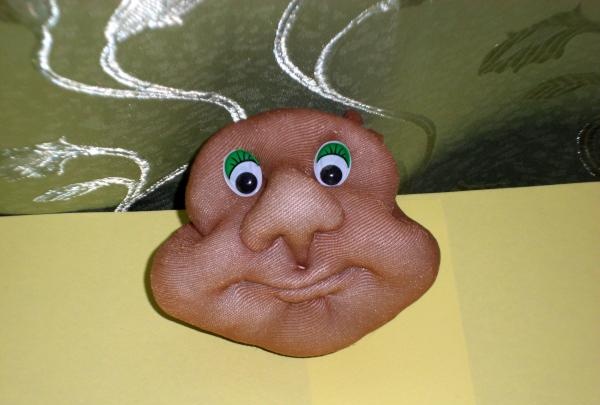
We take artificial flowers (you can use sunflowers, daisies, roses, etc.), coat the middle with glue and glue on the stocking face. Having done the same with the rest of the flowers, we take a flower pot, crumble foam plastic into it and, after inserting the flowers, fill it with diluted plaster.
The hardened plaster itself can be painted with black acrylic paint or decorated with green yarn.
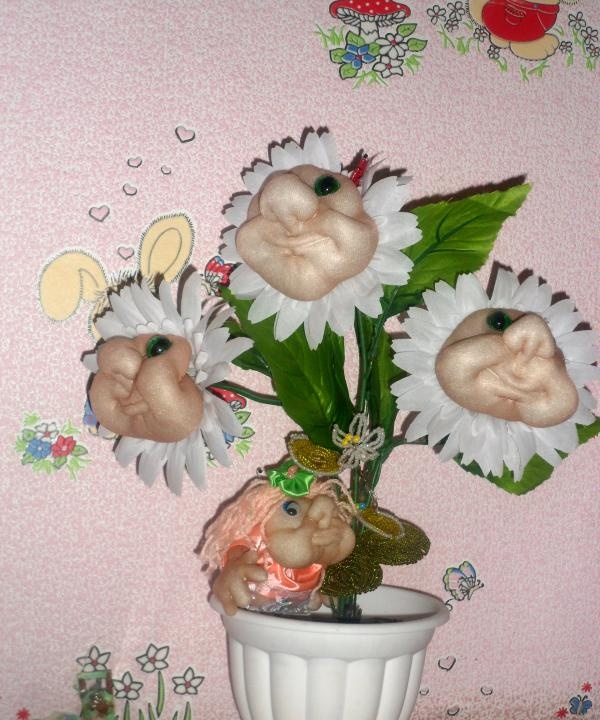
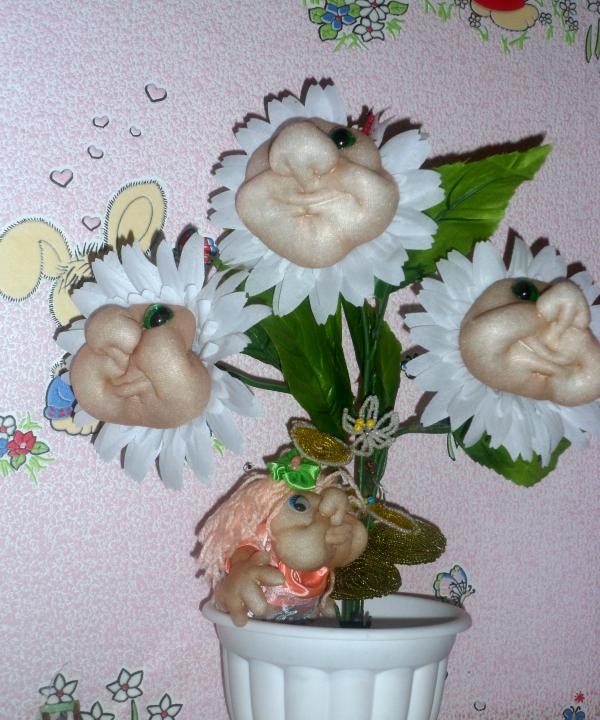
You can decorate with beaded insects or satin ribbon bows. In this product, for decoration I used a popik doll using the stocking technique, a ladybug and a dragonfly made of beads, as well as leaves and flowers also made of beads.
Making such flowers is a fun and enjoyable activity. I wish you success and creative inspiration!
So, to make such flowers we will need materials such as:
-nylon (hosiery) fabric
-threads to match the fabric, needle
-scissors
- synthetic winterizer
-glue
-artificial flowers
-eye accessories
-flower pot
-gypsum
-Styrofoam
First, take the padding polyester, tear it into small pieces and stack it into three equal piles.

Now we will cover the padding polyester with nylon material, giving it the shape of a not very convex ball and fix the free end of the fabric at the back with a regular hair elastic.


Then we take the padding polyester and tear it into two small piles, one a little larger and distribute it under the fabric of the workpiece. These are the future nose and cheeks of our flowers.


Now, using a screed, we need to form the nose, cheeks, mouth and lips on the muzzle.
Thread a longer thread into the needle and begin stitching. We mark with our fingers the approximate location of the bridge of the nose and begin to tighten it from right to left. Inject the needle into only one point so that the seam is as invisible as possible.

We sew 5-6 times and bring the needle diagonally down, then up again, forming nostrils at the spout.

As you work, correct and level the shape; you can use a needle to correct minor irregularities by prying and fluffing the padding polyester, which is located inside the muzzle.

Once you've finished shaping the nose, cut the thread and tie it neatly.
To tighten the cheeks and mouth, it is better to use two needles. We find the upper point of the cheek with our fingers, insert the needle and bring it out obliquely. We stitch it well to secure it. We do the same with the other cheek, using another needle.

We tie the threads together, pulling them well together. We tie and cut off the excess thread. Using a needle, fluff the padding polyester where the upper lip of the product will be and, by injecting the needle under the lower lip, bring it under the nose and lower it down again. We tighten the threads and cut off the excess.


We sew the places where the eyes will be glued. At the back we sew the place that was tied with an elastic band. We cut off the excess fabric. We perform the same manipulations with the rest of the workpieces. We glue the eyes (the accessories can be replaced with ordinary buttons).


We take artificial flowers (you can use sunflowers, daisies, roses, etc.), coat the middle with glue and glue on the stocking face. Having done the same with the rest of the flowers, we take a flower pot, crumble foam plastic into it and, after inserting the flowers, fill it with diluted plaster.
The hardened plaster itself can be painted with black acrylic paint or decorated with green yarn.


You can decorate with beaded insects or satin ribbon bows. In this product, for decoration I used a popik doll using the stocking technique, a ladybug and a dragonfly made of beads, as well as leaves and flowers also made of beads.
Making such flowers is a fun and enjoyable activity. I wish you success and creative inspiration!
Similar master classes
Particularly interesting
Comments (0)


