How to make a sandblaster from a small gas cylinder
To carry out large-scale sanding jobs, you need a sandblasting machine with a large sand capacity, which will allow you to not have to stop every couple of minutes to refuel. Equipment of this level is clearly overpriced, despite the fact that it is made from affordable materials, so it is much cheaper to make it yourself.
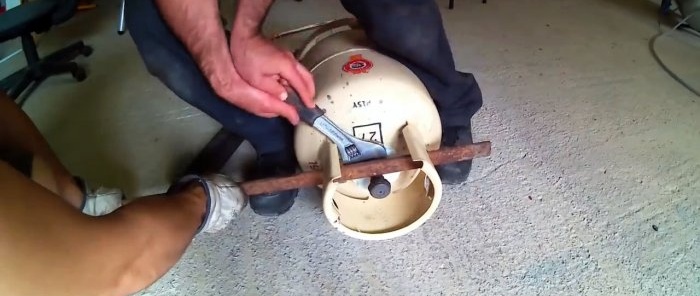
The standard tap is removed from the cylinder.
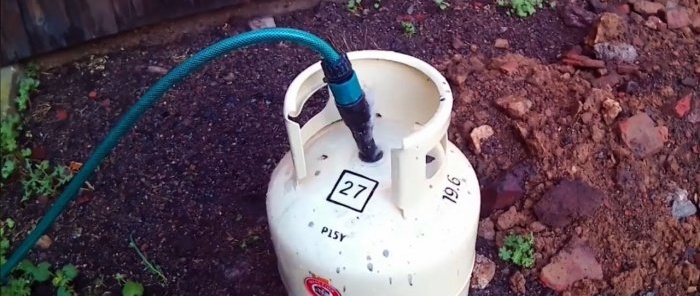
Fill the container with water to remove gasoline and gas residues.
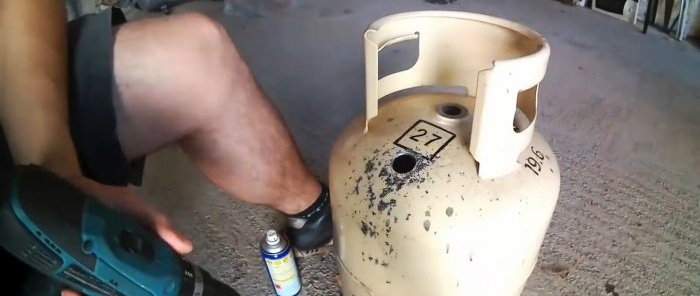
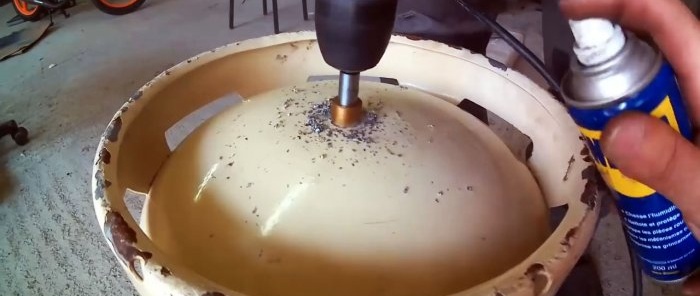
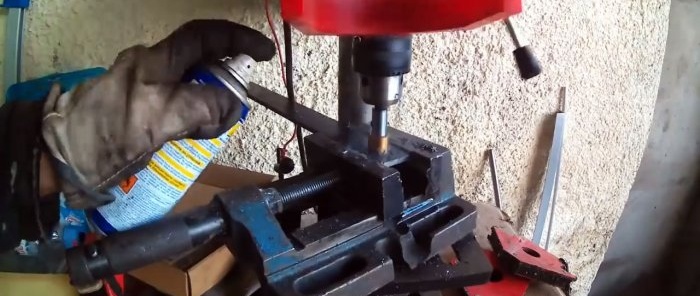
On the side of it you need to drill a hole for welding a tube with a 3/4-inch thread.
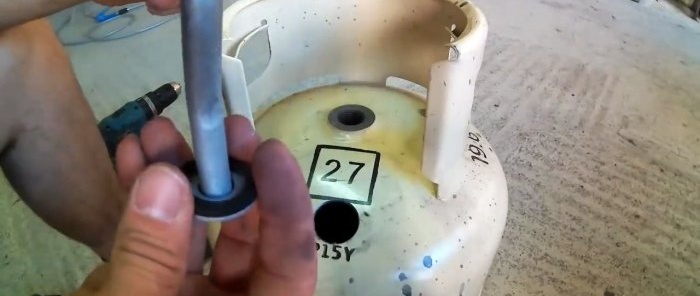
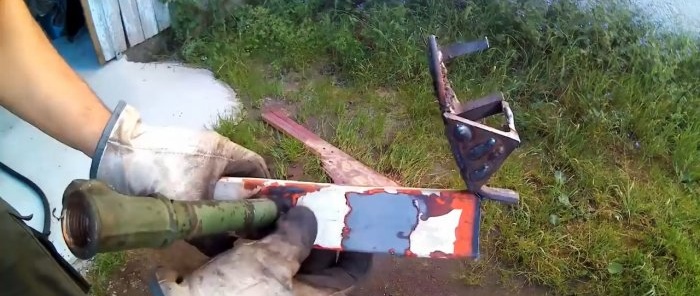
The design of this device provides for quick filling, so the neck for filling sand will not have a threaded cap. To seal it, it is necessary to weld the hook with a washer base and equip it with a silicone or rubber gasket. The hook is inserted into the neck through a side hole. Subsequently, when pressure builds up in the cylinder, it will rise and press tightly, squeezing the rubber, ensuring the necessary tightness.
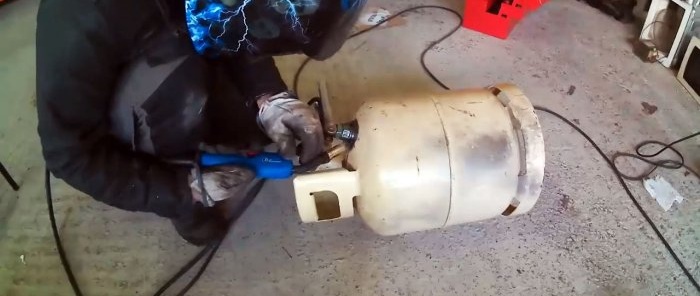
Then a 3/4 inch thread is welded onto the side hole.
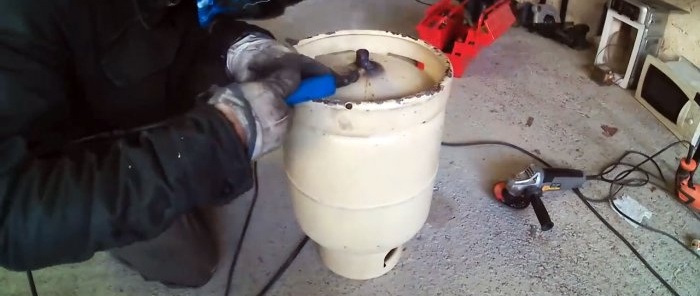
You will also need to drill the bottom of the cylinder and weld a 1/2-inch thread to it.
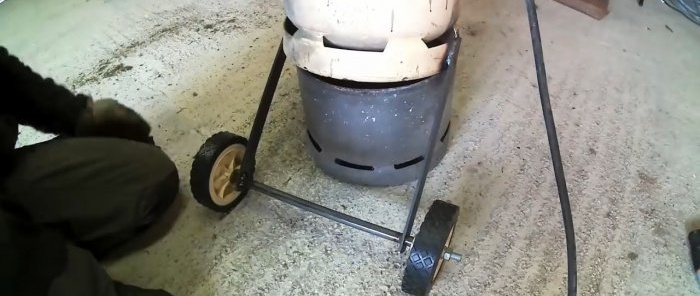
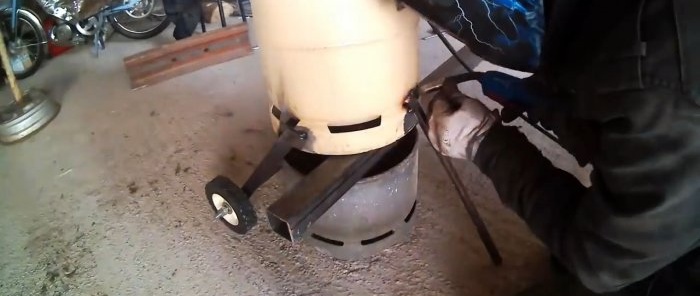
Long legs are welded to the bottom of the cylinder. Ideally, put it on wheels, since after filling with sand the device will become too heavy to lift.
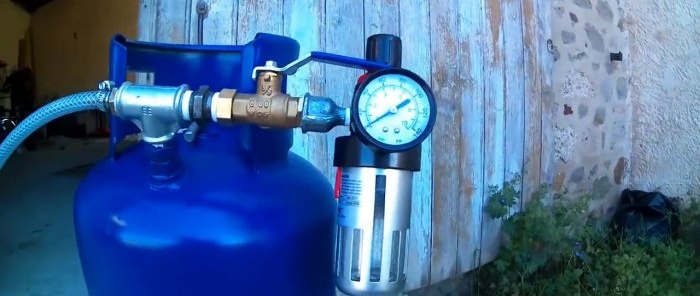
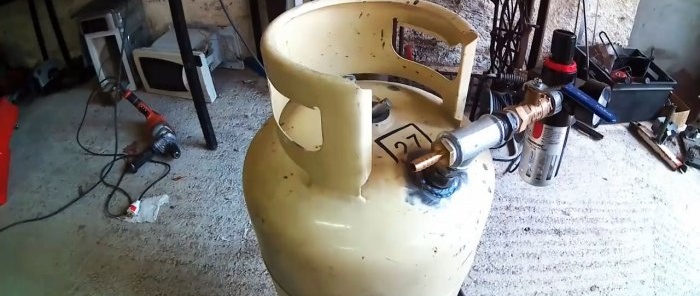
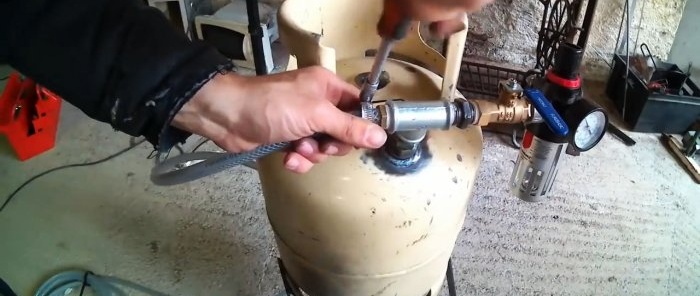
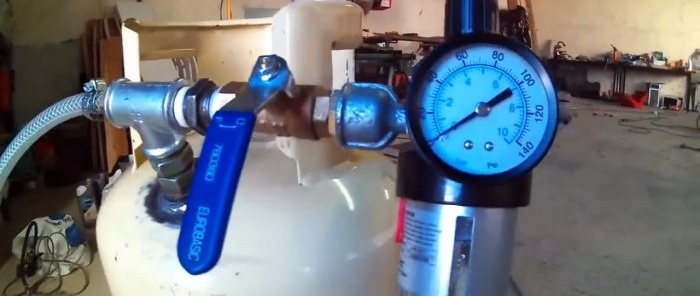
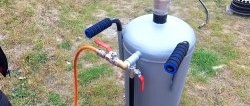
A tee is screwed onto the upper thread of the cylinder. On one side it is equipped with a fitting, and on the second with a ball valve. The reducer is screwed onto the tap through an adapter.
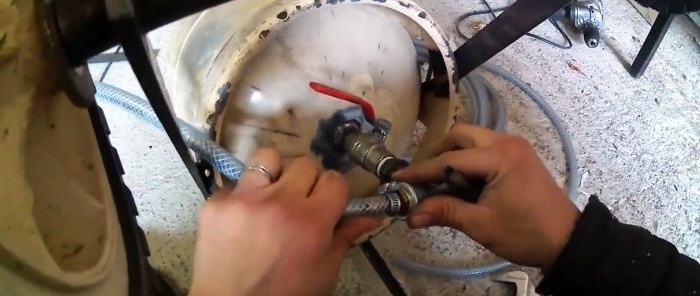
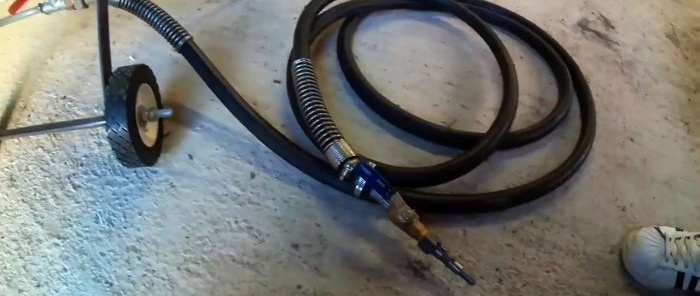
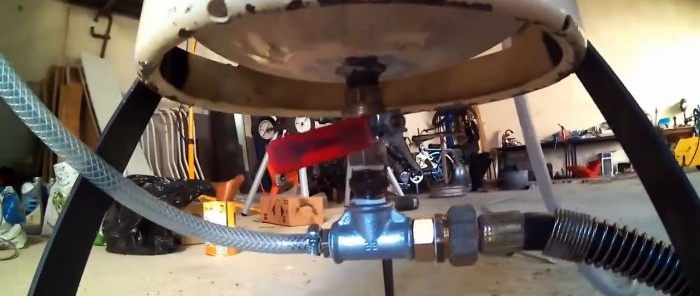
A ball valve is installed on the lower thread, then a tee. A fitting is screwed into the tee on one side, which must be connected to the upper fitting using a hose. To prevent it from flying off under pressure, everything is clamped with clamps. A sandblasting sleeve is installed at the second outlet of the tee through the barrel, which must be equipped with a nozzle and its own tap.
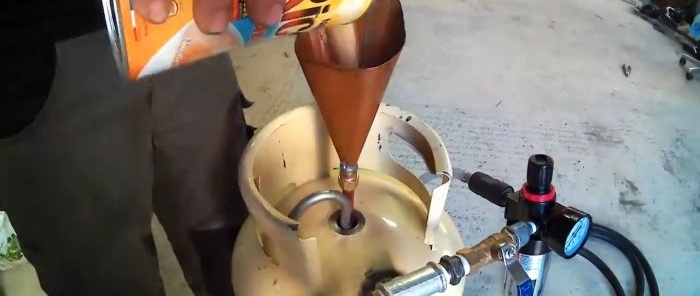
To use the device, sand is poured through the neck with a hook.
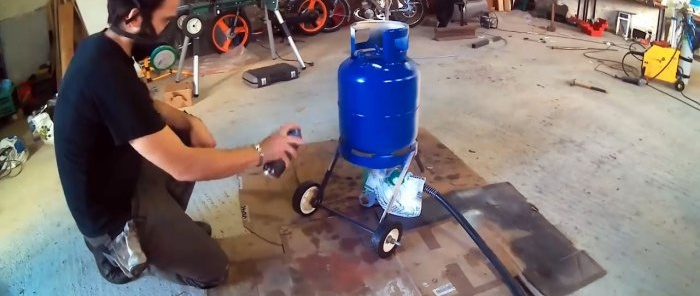
It would be a good idea to spray paint the installation.
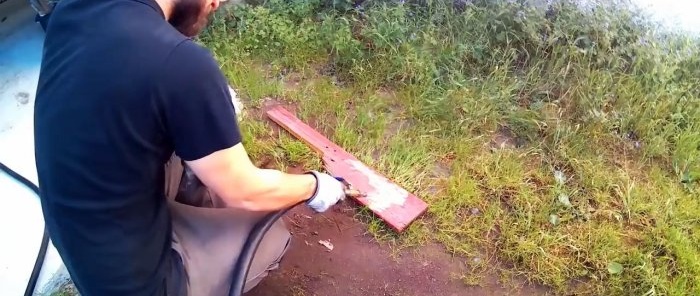
The compressor is connected to the gearbox and the air supply is turned on. In this case, only the top valve should be open. Until the pressure builds up in the cylinder, you must hold the hook with your hands, then it will not fall. Then you need to slightly open the lower valve, which regulates the flow of sand.Grinding begins by fully opening the valve on the hose, after which a continuous stream of sand will begin to flow from the nozzle. As you work, it needs to be adjusted to the material being processed. When you open the lower tap, it will become richer in sand, and when you close it, it will be leaner.
Basic materials:
- gas cylinder;
- steel thread 1/2 inch for welding;
- 3/4 inch steel thread for welding;
- 1/2" tee;
- 3/4" tee;
- 1/2 inch fitting for the hose;
- 3/4 inch fitting for the hose;
- ball valve 1/2 inch HV;
- ball valve 3/4 inch HV;
- adapter from 3/4 inch to gearbox diameter;
- pressure reducing valve with pressure gauge;
- sandblasting hose with tap and nozzle;
- high pressure hose.
Manufacturing of sandblasting machine
The standard tap is removed from the cylinder.
Fill the container with water to remove gasoline and gas residues.
On the side of it you need to drill a hole for welding a tube with a 3/4-inch thread.
The design of this device provides for quick filling, so the neck for filling sand will not have a threaded cap. To seal it, it is necessary to weld the hook with a washer base and equip it with a silicone or rubber gasket. The hook is inserted into the neck through a side hole. Subsequently, when pressure builds up in the cylinder, it will rise and press tightly, squeezing the rubber, ensuring the necessary tightness.
Then a 3/4 inch thread is welded onto the side hole.
You will also need to drill the bottom of the cylinder and weld a 1/2-inch thread to it.
Long legs are welded to the bottom of the cylinder. Ideally, put it on wheels, since after filling with sand the device will become too heavy to lift.
A tee is screwed onto the upper thread of the cylinder. On one side it is equipped with a fitting, and on the second with a ball valve. The reducer is screwed onto the tap through an adapter.
A ball valve is installed on the lower thread, then a tee. A fitting is screwed into the tee on one side, which must be connected to the upper fitting using a hose. To prevent it from flying off under pressure, everything is clamped with clamps. A sandblasting sleeve is installed at the second outlet of the tee through the barrel, which must be equipped with a nozzle and its own tap.
To use the device, sand is poured through the neck with a hook.
It would be a good idea to spray paint the installation.
The compressor is connected to the gearbox and the air supply is turned on. In this case, only the top valve should be open. Until the pressure builds up in the cylinder, you must hold the hook with your hands, then it will not fall. Then you need to slightly open the lower valve, which regulates the flow of sand.Grinding begins by fully opening the valve on the hose, after which a continuous stream of sand will begin to flow from the nozzle. As you work, it needs to be adjusted to the material being processed. When you open the lower tap, it will become richer in sand, and when you close it, it will be leaner.
Watch the video
Similar master classes
Particularly interesting
Comments (0)

