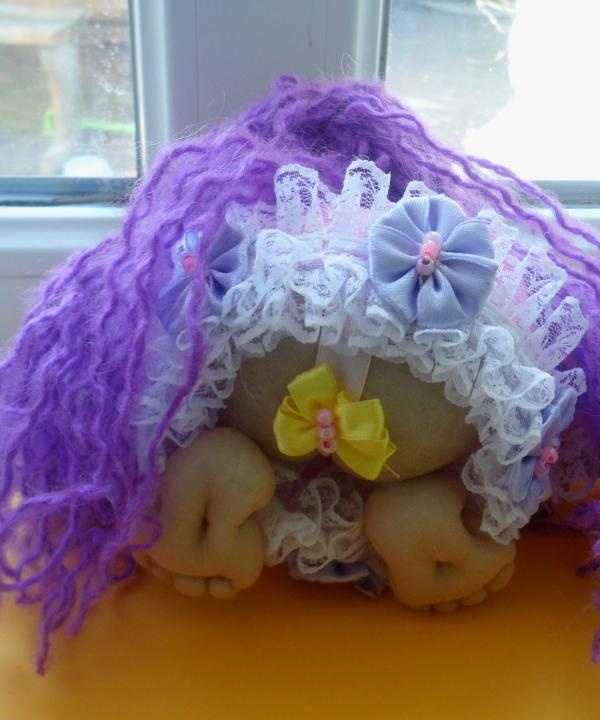
Popik doll in hosiery textile technique
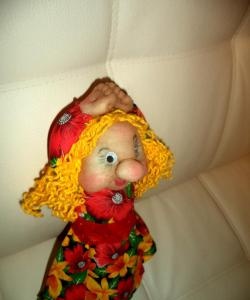
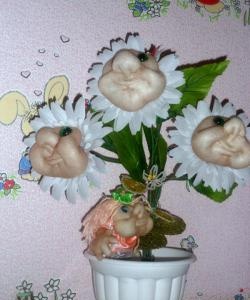
“So that luck turns to you only with its face, and not with its butt!” With such wishes, these cute dolls are presented, sewn from simple nylon with synthetic padding. With the help of a simple tie, you can give such a doll a variety of facial expressions and even make it look like someone else. It is not difficult to sew, the material is small and the most affordable.
So, we will need:
-nylon material (tights, stockings)
- synthetic winterizer
-threads to match the color of the material
-needle
-scissors
-yarn (for hair)
-wire
-satin ribbons
-lace, a couple of beads
First, take the padding polyester, tear it into small pieces and sort it into two identical piles. Wrap two pieces of fabric around each other, forming two balls, and tie the fabric at the back with a regular hair tie.
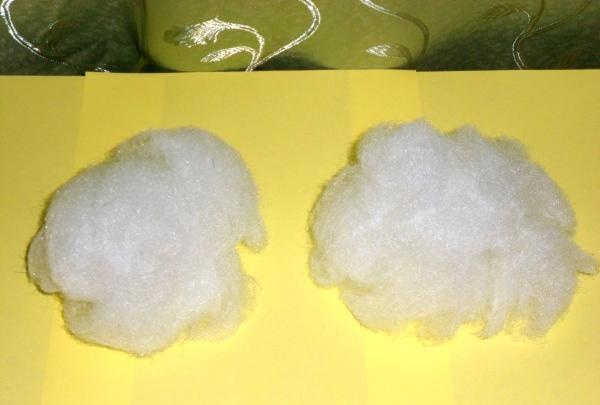
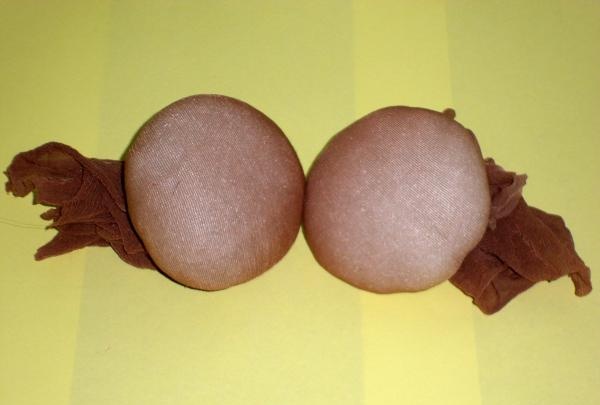
One ball is the base for the face, the second is for the doll’s butt.
Let's start with the face. The base is ready, now you need to tear the synthetic padding for the cheeks and nose.
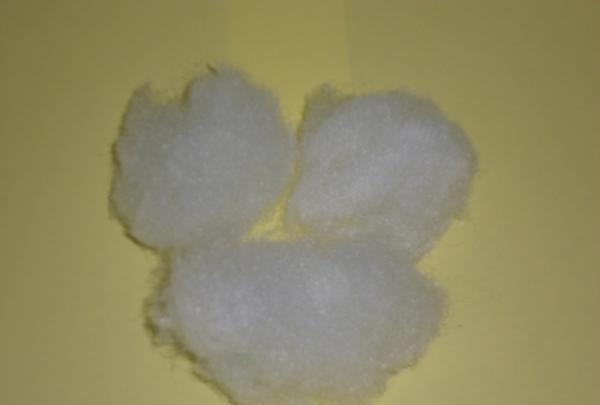
Distribute it evenly under the fabric into a blank for the head.
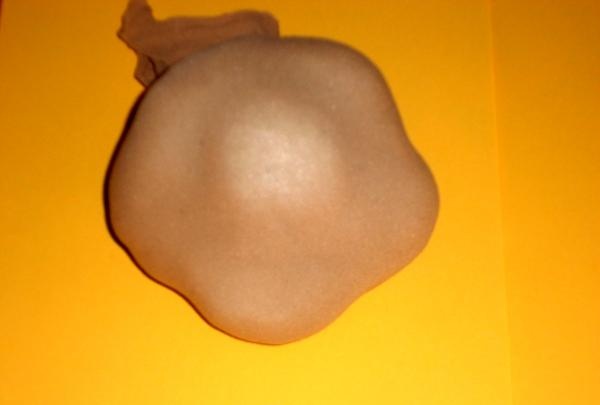
Don't worry if it doesn't turn out quite straight, everything can be corrected later.
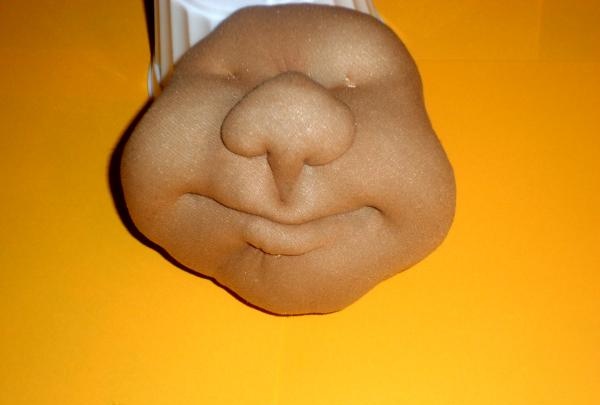
We make a nose tie, starting from the bridge of the nose.
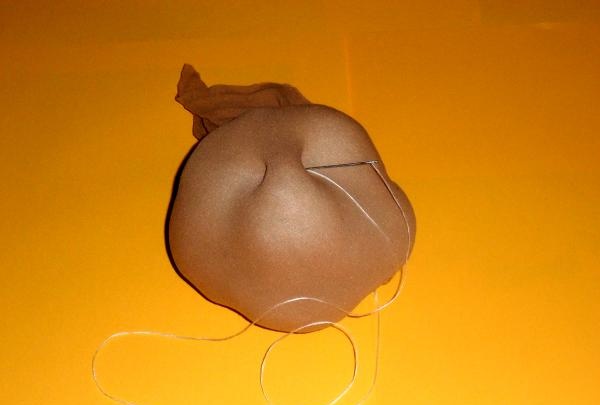
We insert the needle into the same point from right to left several times. Then we take it diagonally to the place where the nostrils of the nose will be.
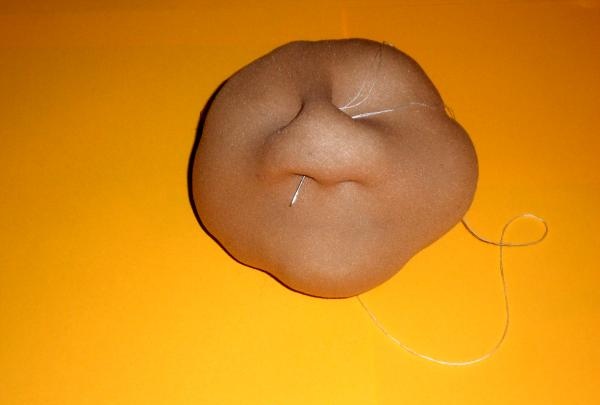
We stitch several times.
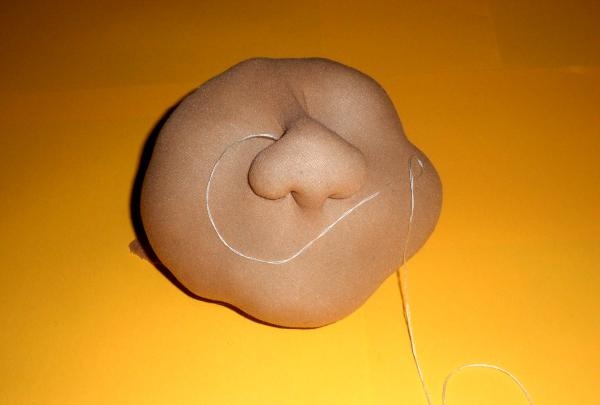
We pull it along the sides on both sides, fix it and cut off the thread.
Next we make the cheeks, mouth and lips of our doll. To do this, take two needles and threads and alternately sew one and the other cheek from top to bottom.
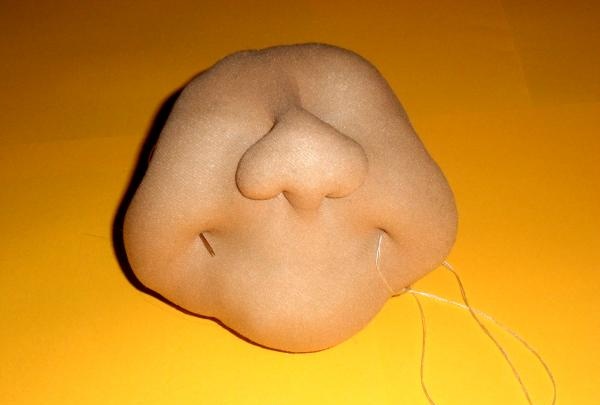
Tie the threads together, pulling them well.
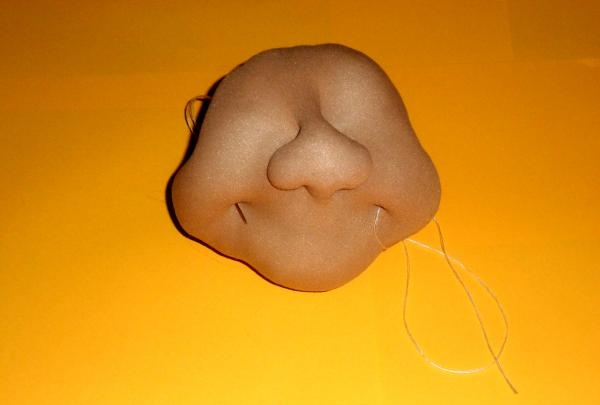
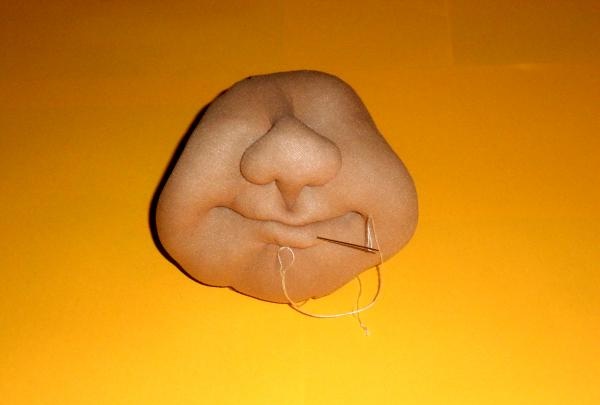
Sew the lips. To do this, insert a needle under the place where the lower lip will be, bring it under the nose and lower it down. Tie the threads together, pulling them well. Fluff the padding polyester with a needle to give it the desired shape.
Sew around the eye areas.
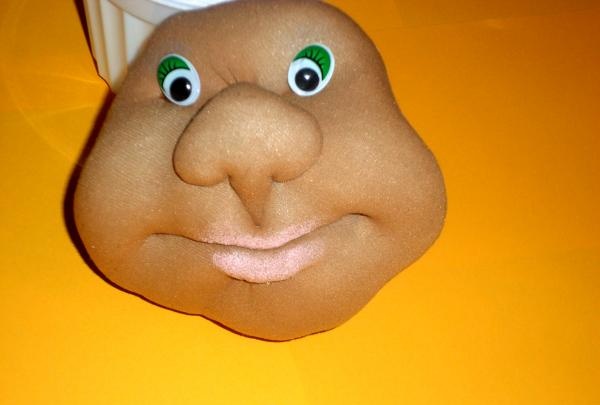
Glue the eyes (you can use buttons) and tint your lips with eye shadow (you can draw eyebrows, eyelashes, freckles, etc.).
Let's put the muzzle aside for now and return to the preparation for the butt.
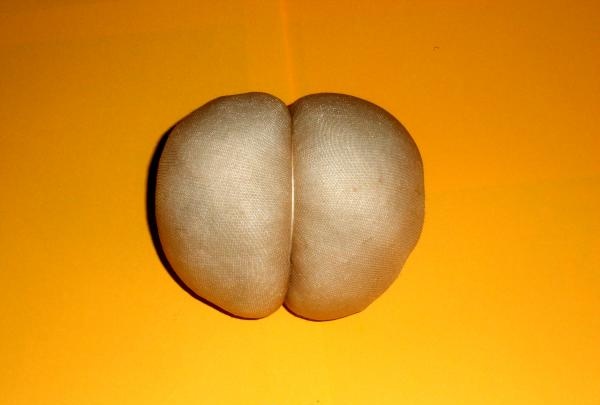
It's easy to do. Insert a needle under the tail tied with an elastic band and use a thread to divide the ball into two halves. Sew several times, secure and cut the thread.
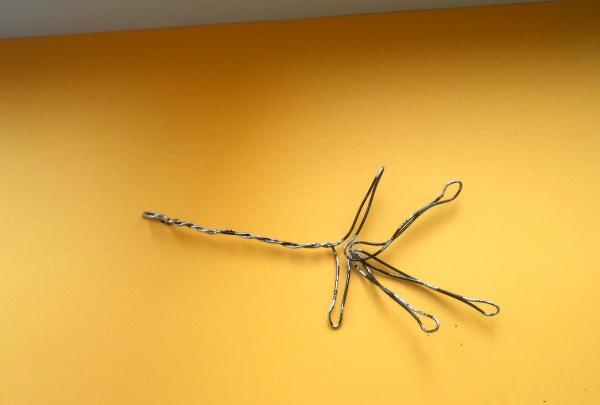
Now we need to make arms and legs for our doll. In order to make the handles, you need to cut the wire, about 1 m long, and twist 5 small fingers on each one. This will be the frame, which we will wrap with padding polyester, cover with fabric and sew.
For the legs, we will make two blanks, like for the head and butt, only smaller and begin to form the fingers using a tie.
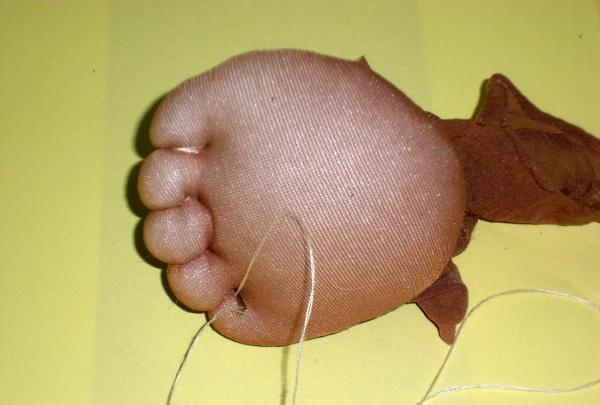
Then we stitch the heel.
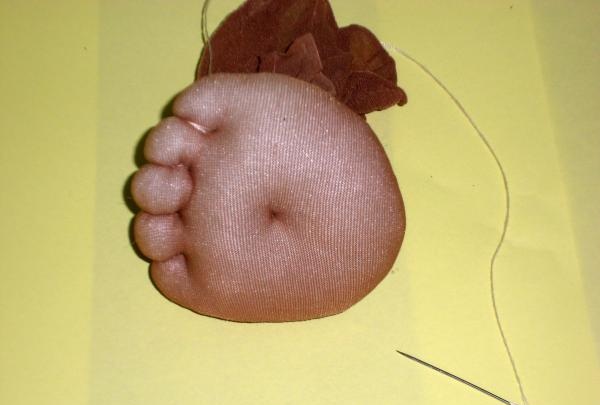
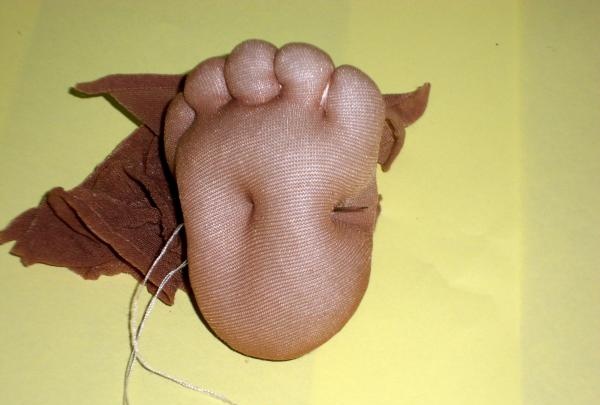
When all the parts are ready, you can assemble the doll. But first, let's make a dress and panties. For a dress, you can take a piece of satin fabric and sew it. Gather the top with a basting stitch, and trim the bottom with lace and beads. For panties, take a satin ribbon and sew it to the butt, closing the seam.
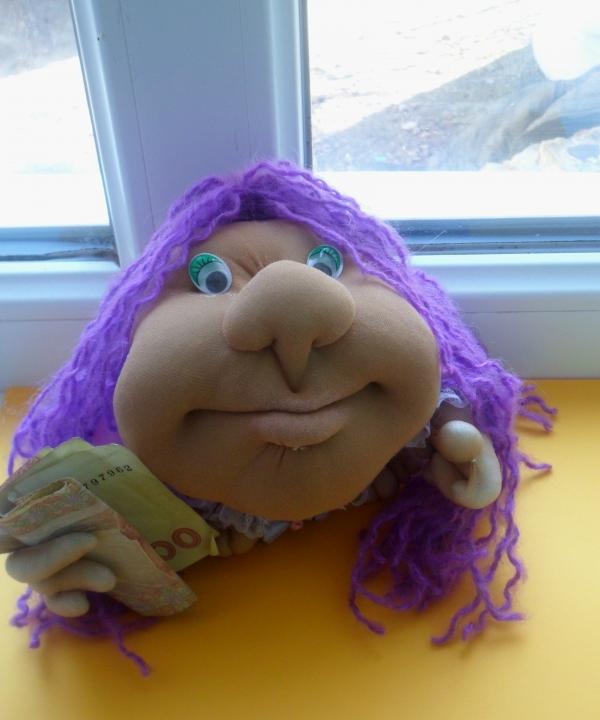
Next, we put the dress on the butt, attach two handles and sew everything on. Then we glue the head. We make hair from yarn and glue it to the head. We glue the legs to the butt.
We put money or a wish in the pen and that’s it, our baby is ready! Easy work and inspiration!
So, we will need:
-nylon material (tights, stockings)
- synthetic winterizer
-threads to match the color of the material
-needle
-scissors
-yarn (for hair)
-wire
-satin ribbons
-lace, a couple of beads
First, take the padding polyester, tear it into small pieces and sort it into two identical piles. Wrap two pieces of fabric around each other, forming two balls, and tie the fabric at the back with a regular hair tie.


One ball is the base for the face, the second is for the doll’s butt.
Let's start with the face. The base is ready, now you need to tear the synthetic padding for the cheeks and nose.

Distribute it evenly under the fabric into a blank for the head.

Don't worry if it doesn't turn out quite straight, everything can be corrected later.
We make a nose tie, starting from the bridge of the nose.

We insert the needle into the same point from right to left several times. Then we take it diagonally to the place where the nostrils of the nose will be.

We stitch several times.

We pull it along the sides on both sides, fix it and cut off the thread.
Next we make the cheeks, mouth and lips of our doll. To do this, take two needles and threads and alternately sew one and the other cheek from top to bottom.

Tie the threads together, pulling them well.


Sew the lips. To do this, insert a needle under the place where the lower lip will be, bring it under the nose and lower it down. Tie the threads together, pulling them well. Fluff the padding polyester with a needle to give it the desired shape.
Sew around the eye areas.

Glue the eyes (you can use buttons) and tint your lips with eye shadow (you can draw eyebrows, eyelashes, freckles, etc.).

Let's put the muzzle aside for now and return to the preparation for the butt.
It's easy to do. Insert a needle under the tail tied with an elastic band and use a thread to divide the ball into two halves. Sew several times, secure and cut the thread.

Now we need to make arms and legs for our doll. In order to make the handles, you need to cut the wire, about 1 m long, and twist 5 small fingers on each one. This will be the frame, which we will wrap with padding polyester, cover with fabric and sew.

For the legs, we will make two blanks, like for the head and butt, only smaller and begin to form the fingers using a tie.

Then we stitch the heel.


When all the parts are ready, you can assemble the doll. But first, let's make a dress and panties. For a dress, you can take a piece of satin fabric and sew it. Gather the top with a basting stitch, and trim the bottom with lace and beads. For panties, take a satin ribbon and sew it to the butt, closing the seam.
Next, we put the dress on the butt, attach two handles and sew everything on. Then we glue the head. We make hair from yarn and glue it to the head. We glue the legs to the butt.
We put money or a wish in the pen and that’s it, our baby is ready! Easy work and inspiration!


Similar master classes
Particularly interesting
Comments (0)

