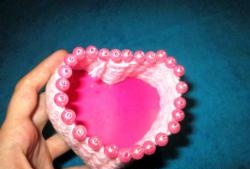
DIY gift box
How many things that seem completely unnecessary to us at first glance and often create a mess in the house, actually go to waste. After all, in the skillful hands of a creatively thinking person, any little thing can turn into an original, and most importantly, exclusive thing. You can easily see a second life in a scrap or piece of paper if you familiarize yourself with the master class on making a gift box.
The source material for the planned work was the remains of non-woven wallpaper.
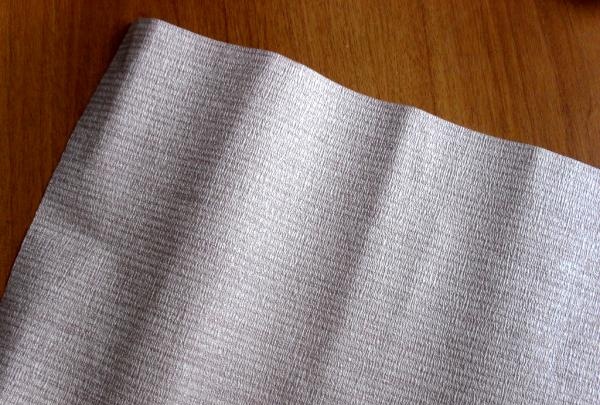
Stages of making a gift box:
1. Measure out a square on the wallpaper. When using other paper or thin cardboard, be sure to use a ruler and pencil and take the necessary measurements. But considering that the non-woven base of the wallpaper is quite durable, we can afford to “outline” the desired parameter “on the corner”.
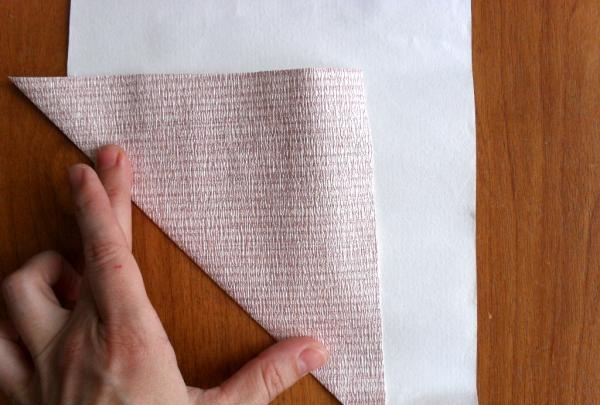
As for the sizes, you need to proceed from what kind of packaging you need. The larger the square you initially cut, the larger the box you will get.
2. Get a completely even (equilateral) square.
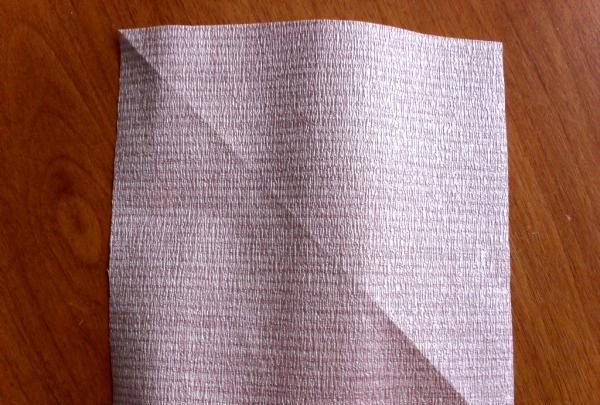
3. We will observe the necessary folds only from the inside out.
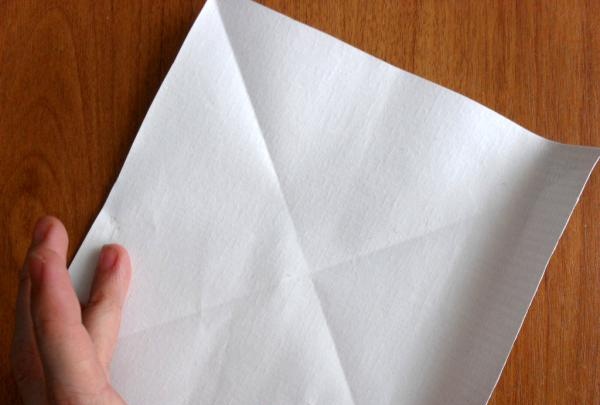
4.To get diagonal lines, we make bends in the other direction.
We carry out further measurements in the same way - manually, without auxiliary objects. We take it by the corner and carefully bring it to the center.
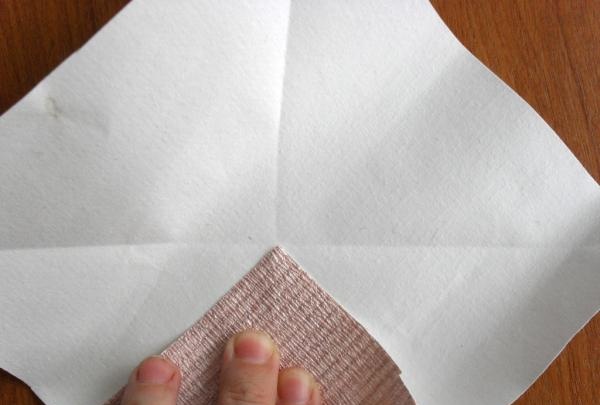
5. Fold one side in half first.
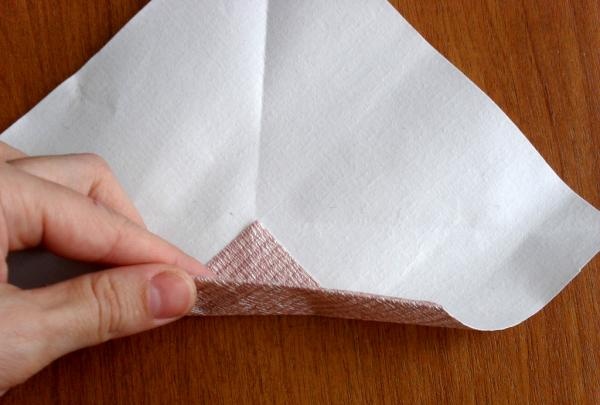
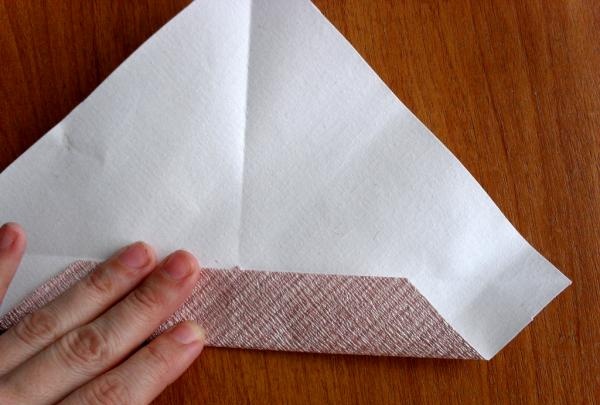
6. We do the same with the opposite side and with those located on the sides of the square.
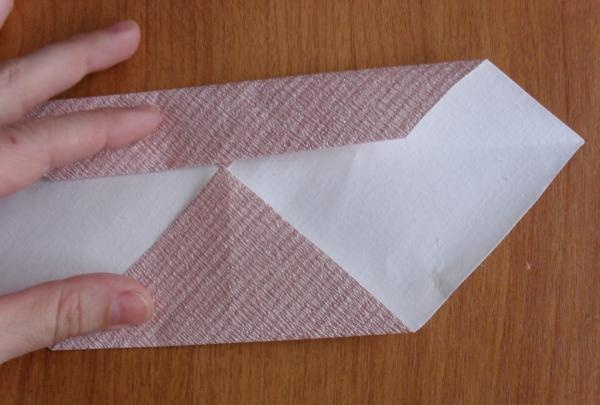
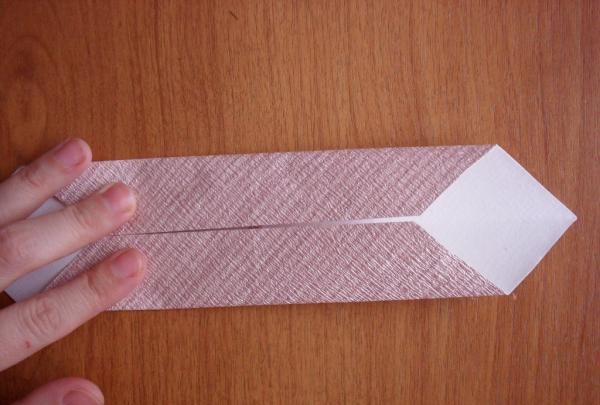
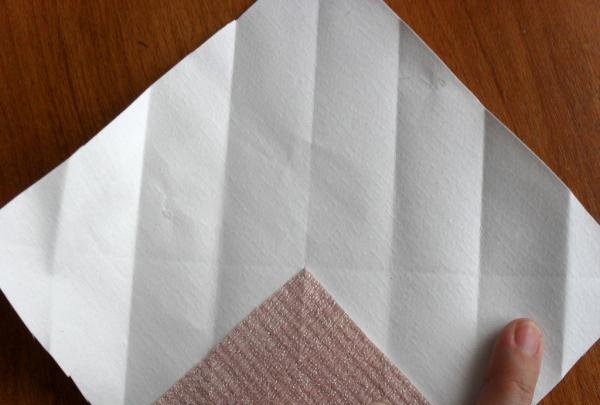
7. Now we release the entire folded structure. The result should be a division into unique boundaries.
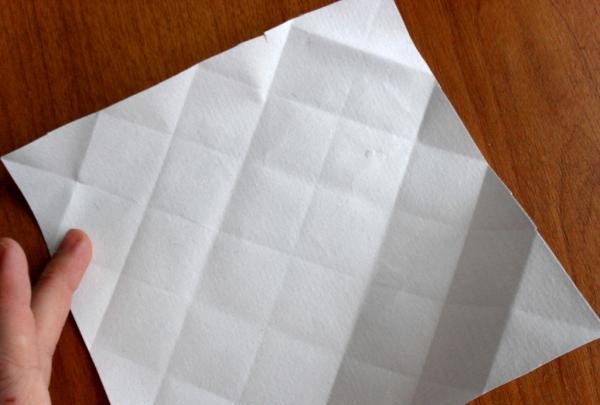
8. Next, you need to make a cut along certain lines. We arm ourselves with scissors for this purpose. Please note that the cut locations shown will only apply to one diagonal. We cut to the point where a visual square is outlined from our initial folds.
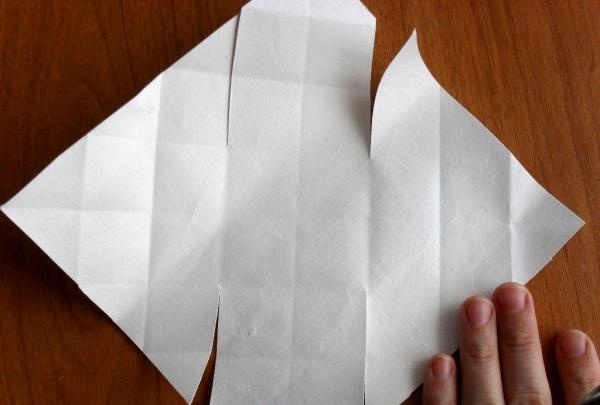
9. Now the next cut is made, but not as deep as in the first case.
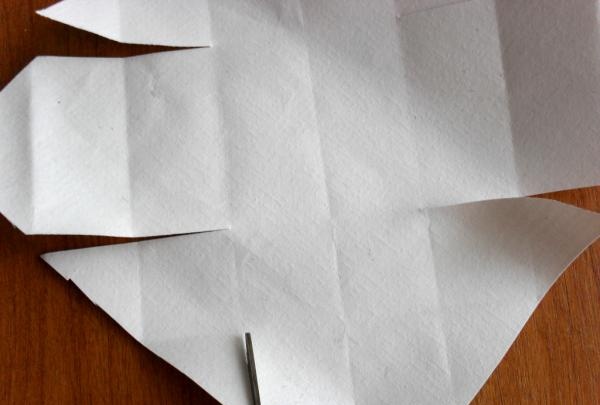
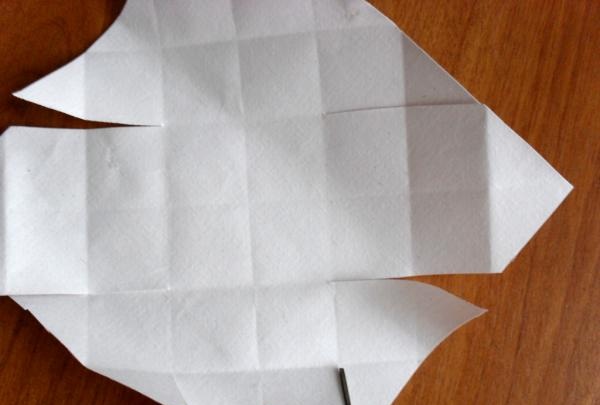
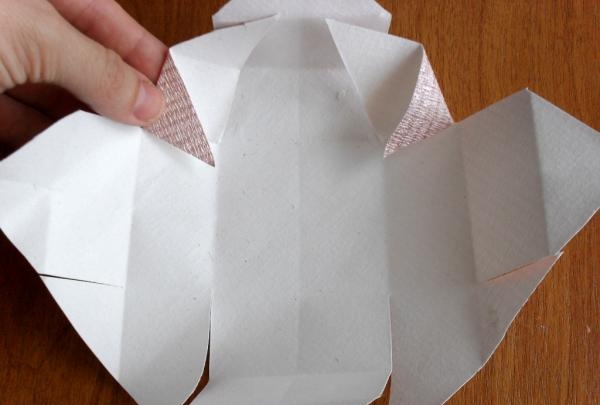
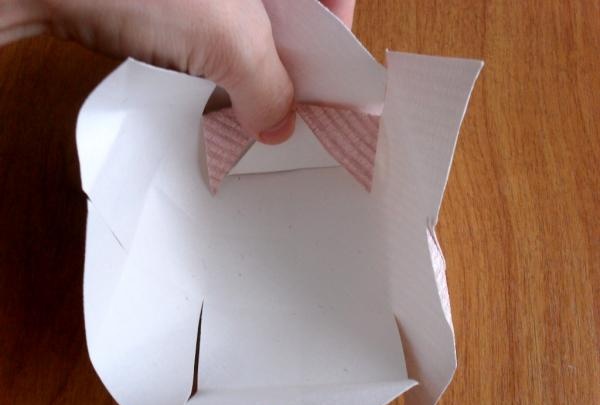
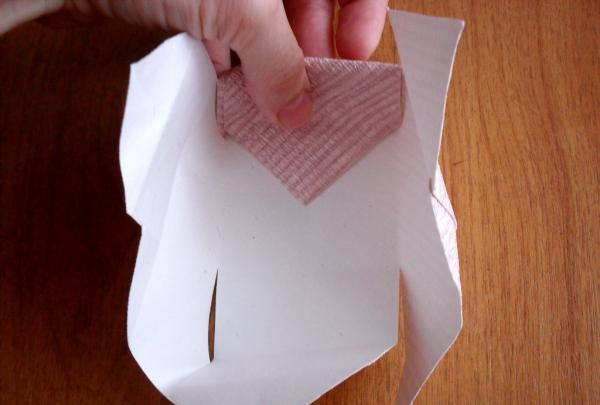
10. The workpiece is ready. It's time to move on to assembly. Everything here is extremely simple. The design is more like a package that was accidentally unwrapped. Following the lines outlined earlier, fold the box. The lines themselves will tell you how to lay them.
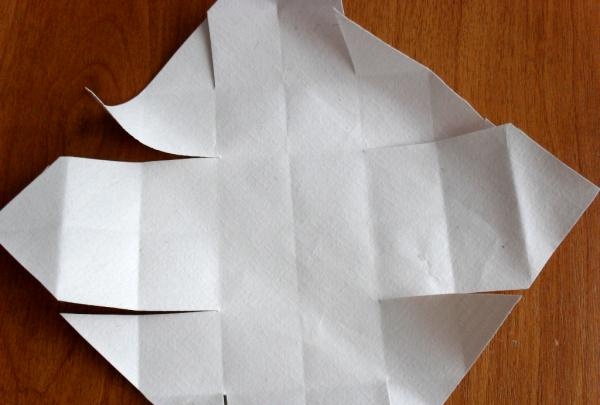
11. The lid of the box being produced will always be smaller in size.
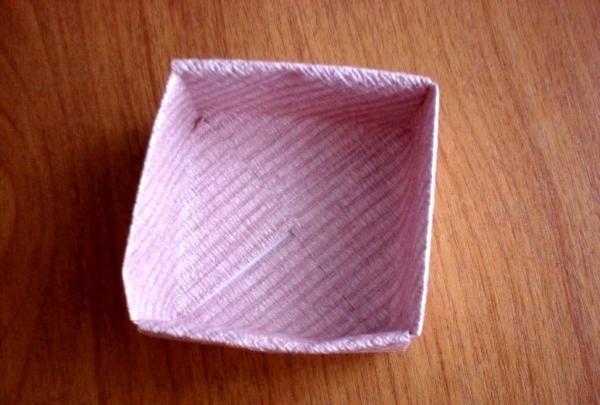
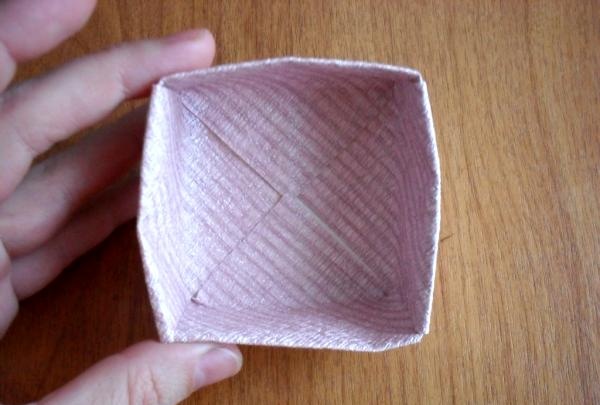
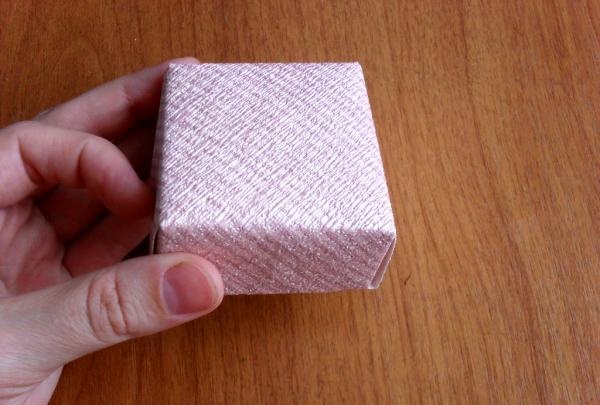
12. To prevent it from “dangling” and being “tight”, maintain 3-5 mm for each side of the square at the preparation stage.
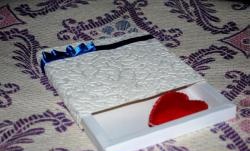
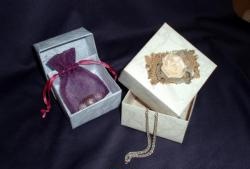
13. Decorating gift wrapping directly depends on the festive situation. In addition to flowers, beads, rhinestones, ribbons, and lace are quite suitable. You can also paint it with paints if you know how. And if this is a cute little thing for a baby, then paper angels will take their place quite well.
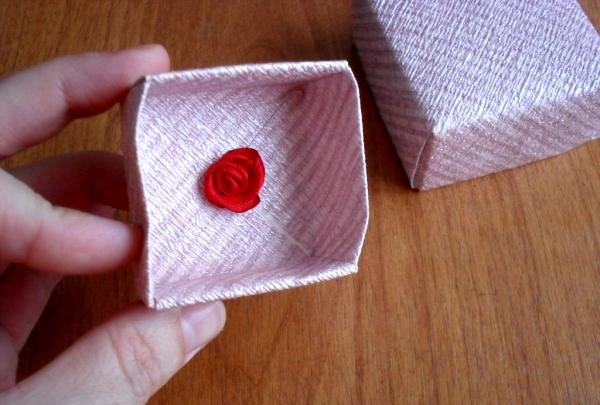
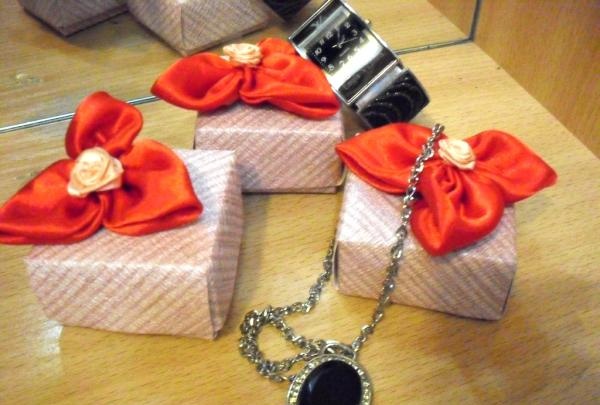
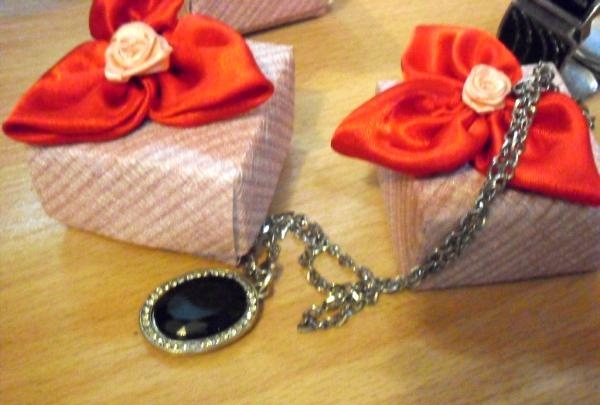
That's all. A pretty cute gift box is ready.To make it, you only needed a little: a piece of wallpaper, a little patience and perseverance, and a little free time.
The source material for the planned work was the remains of non-woven wallpaper.

Stages of making a gift box:
1. Measure out a square on the wallpaper. When using other paper or thin cardboard, be sure to use a ruler and pencil and take the necessary measurements. But considering that the non-woven base of the wallpaper is quite durable, we can afford to “outline” the desired parameter “on the corner”.

As for the sizes, you need to proceed from what kind of packaging you need. The larger the square you initially cut, the larger the box you will get.
2. Get a completely even (equilateral) square.

3. We will observe the necessary folds only from the inside out.

4.To get diagonal lines, we make bends in the other direction.
We carry out further measurements in the same way - manually, without auxiliary objects. We take it by the corner and carefully bring it to the center.

5. Fold one side in half first.


6. We do the same with the opposite side and with those located on the sides of the square.


7. Now we release the entire folded structure. The result should be a division into unique boundaries.

8. Next, you need to make a cut along certain lines. We arm ourselves with scissors for this purpose. Please note that the cut locations shown will only apply to one diagonal. We cut to the point where a visual square is outlined from our initial folds.

9. Now the next cut is made, but not as deep as in the first case.


10. The workpiece is ready. It's time to move on to assembly. Everything here is extremely simple. The design is more like a package that was accidentally unwrapped. Following the lines outlined earlier, fold the box. The lines themselves will tell you how to lay them.


11. The lid of the box being produced will always be smaller in size.


12. To prevent it from “dangling” and being “tight”, maintain 3-5 mm for each side of the square at the preparation stage.
13. Decorating gift wrapping directly depends on the festive situation. In addition to flowers, beads, rhinestones, ribbons, and lace are quite suitable. You can also paint it with paints if you know how. And if this is a cute little thing for a baby, then paper angels will take their place quite well.


That's all. A pretty cute gift box is ready.To make it, you only needed a little: a piece of wallpaper, a little patience and perseverance, and a little free time.
Similar master classes
Particularly interesting
Comments (0)

