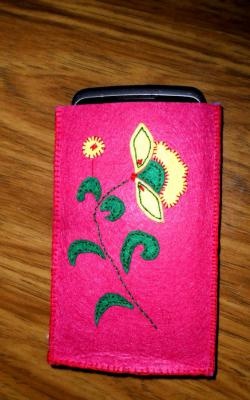
Making a case for a touchscreen mobile phone
Today, in cellular communication stores there is a huge assortment of cases for cell phones that will satisfy any needs and tastes. However, often when you want to purchase a case for a specific phone model, you find that the choice is limited to a few standard options. It is very easy to find a silicone case or handbag for a touch phone, but original options are not so easy to find.
Folding phone case.
We suggest that you don’t get too carried away with searching for commercial offers, but make an armor-piercing case for your mobile phone with your own hands. The process will take about three hours, if you have everything you need nearby. So, to make a case you will need:
• Mobile phone. You can get by with information about its dimensions, but it is advisable to try on every detail on it during the manufacturing process
• Flexible plastic. A plastic folder for papers will do.
• Leather. Or other fabric. Better - leather
• Metal plate with a thickness of 1 mm. Corrugated sheeting - good
• Tools and more: scissors, marker, ruler, sewing machine, Moment glue
We make a frame.
The frame part is what will support the entire structure. Let's make it out of plastic.
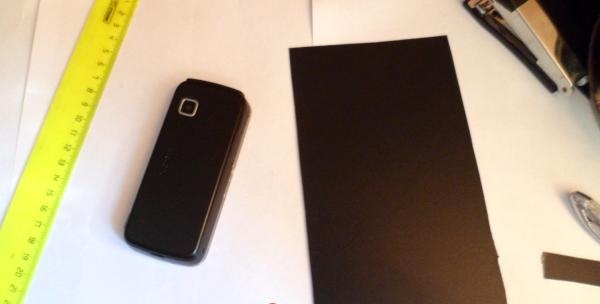
1. Place the phone with the display down on a sheet of plastic, and mark the dimensions of the cell phone on it. You will need a ruler to accurately verify the dimensions and apply them to the material. In order not to get confused, you can act in stages: first, “wrap” the phone in a sheet of material, preserving the places where it bends, and only then cut out the elements, the position and shape of which corresponds to the controls of the cell phone - display, buttons. The frame should look something like this:
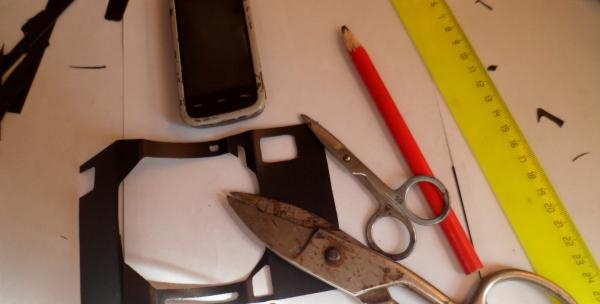
The largest cutout in the center is the display, two “squares” on opposite sides are the window for the camera
2. Try on the frame, it should look something like this:
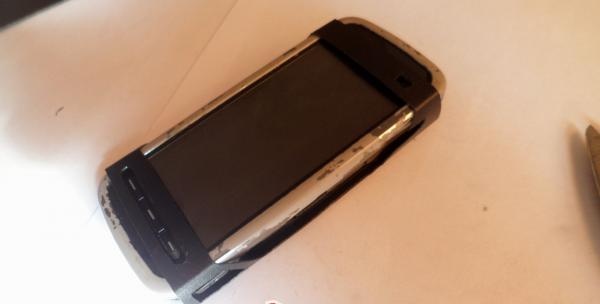
Mount on the phone body.
Front part.
The front part is a folding plate that protects the phone display. It may look like the back part, depending on the size of the phone. First things first.
1. Let's take a metal plate as a basis. The main thing here is to correctly calculate the strength and weight, since heavy iron will simply pull down the pocket during operation. Corrugated sheeting is suitable; I used an aluminum sheet, which I made stiffening ribs by bending the edges.
Place the phone face down on the sheet and mark the dimensions.
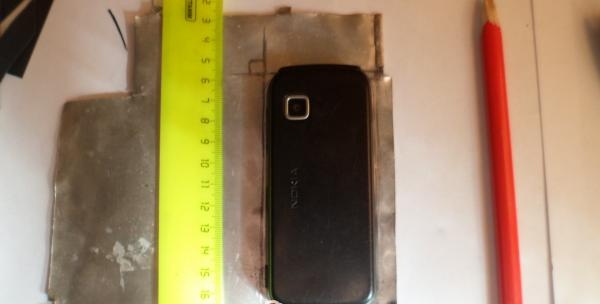
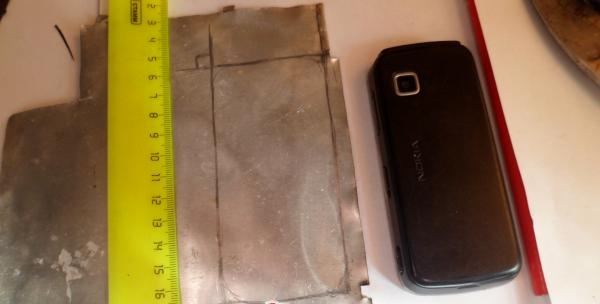
2. Cut out the plate:
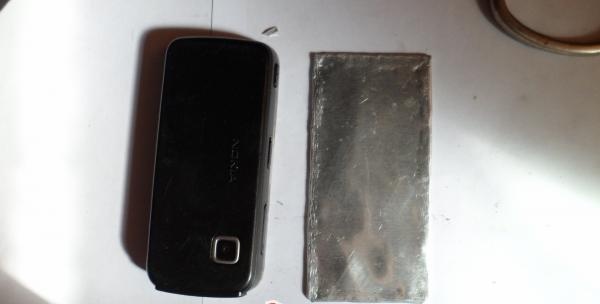
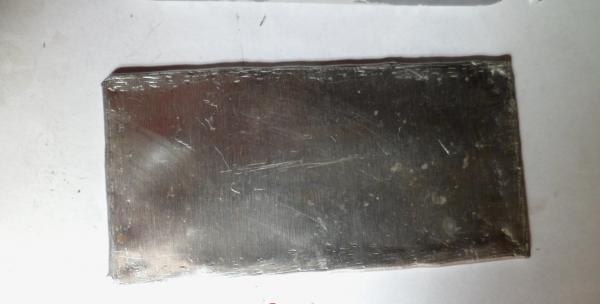
3. Next, we place the plate on the skin and mark its dimensions on the fabric. We repeat the process with another piece of leather. One of them will be external, the other - internal.
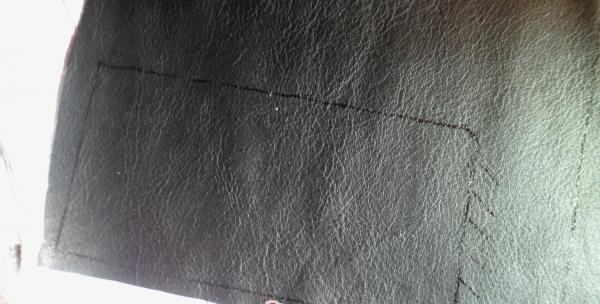
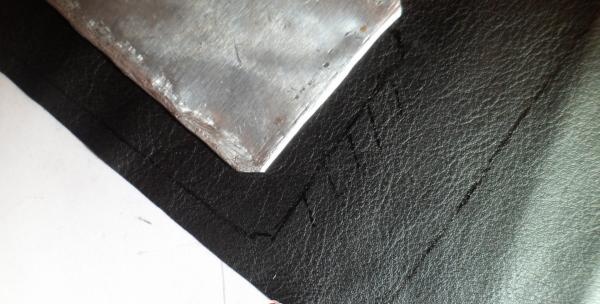
In the second picture, a mark is also made on the outside of the material for ease of sewing.
4. Place the outer side of the marked piece of leather on another piece of similar dimensions. We sew them on the ShM according to the markings:
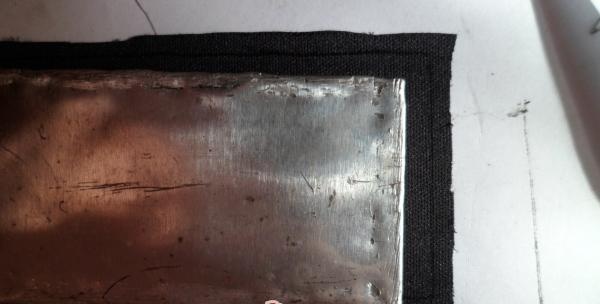
The height of the “pocket” can be greater than the height of the phone, taking into account the value of another parameter – its width.
5.Cut out unnecessary parts of the material along the seam:
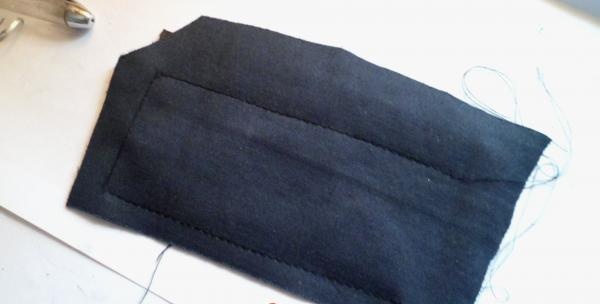
6. Turn the “pocket” =) over and “put” it on the metal plate. The front part is ready!
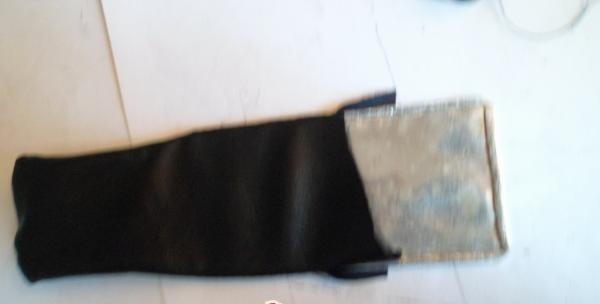
Making the back part.
As already mentioned, the back part can be absolutely identical to the front (Without taking into account the size of the cell phone). To make the design lighter, I replaced aluminum with plastic.
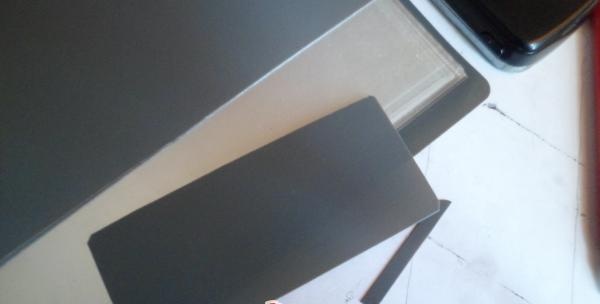
I cut out plastic from a plastic folder. Its main task is to preserve the shape of the body, and not to strengthen it.
We fasten the resulting parts.
7. We wrap the frame part around the phone body again, press its overlapping parts, and glue them together.
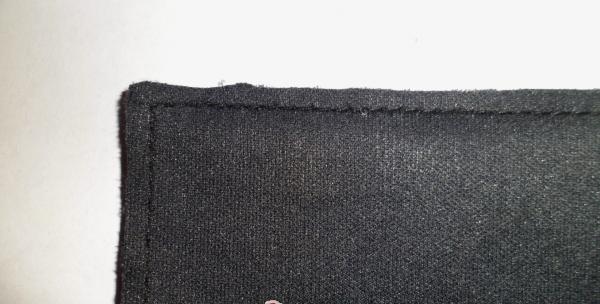
Two sheathed plates and a glued frame part.
8. Cut a hole in the back plate for the camera eye. The edges of the hole can be glued or tied with thread from the inside so that they do not unravel.
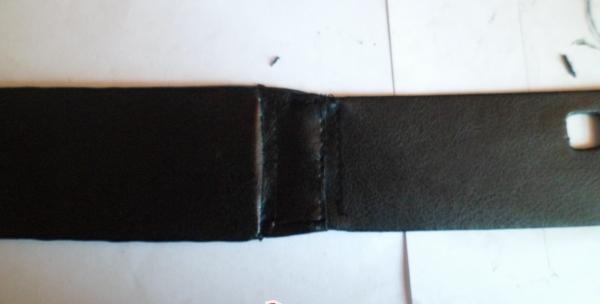
9. We fasten the front folding plate (sorry for the terms) and the back plate, using the “extra” millimeters in length, or sewing on an additional piece of leather. The mounting location will hold the folding plate.
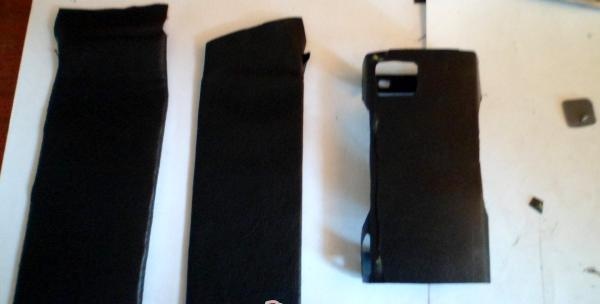
Fastened parts.
10. Attach the back plate to the frame part using glue. We put the finished case on the phone. For better fixation, you can glue a seal to the inside of the case that is in contact with the phone body - this will complicate the process of “dressing”, but will protect the case from “sliding out.” To prevent the lid from coming off, you can use a small magnet or Velcro.
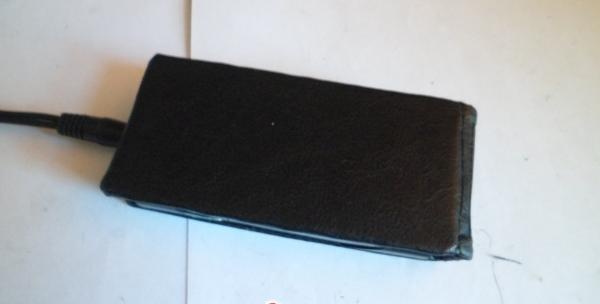
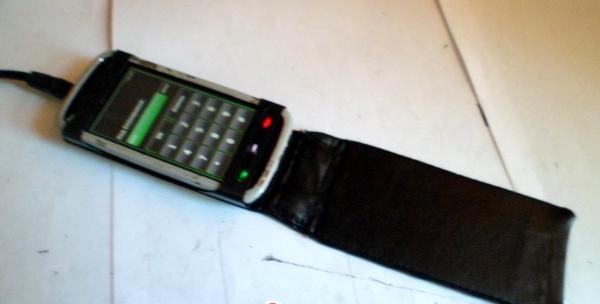
Ready! In this case, the result was a case, the cost of the analogue of which exceeds the cost of the phone =)
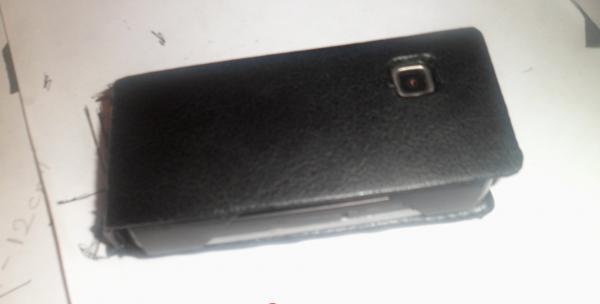
Folding phone case.
We suggest that you don’t get too carried away with searching for commercial offers, but make an armor-piercing case for your mobile phone with your own hands. The process will take about three hours, if you have everything you need nearby. So, to make a case you will need:
• Mobile phone. You can get by with information about its dimensions, but it is advisable to try on every detail on it during the manufacturing process
• Flexible plastic. A plastic folder for papers will do.
• Leather. Or other fabric. Better - leather
• Metal plate with a thickness of 1 mm. Corrugated sheeting - good
• Tools and more: scissors, marker, ruler, sewing machine, Moment glue
We make a frame.
The frame part is what will support the entire structure. Let's make it out of plastic.

1. Place the phone with the display down on a sheet of plastic, and mark the dimensions of the cell phone on it. You will need a ruler to accurately verify the dimensions and apply them to the material. In order not to get confused, you can act in stages: first, “wrap” the phone in a sheet of material, preserving the places where it bends, and only then cut out the elements, the position and shape of which corresponds to the controls of the cell phone - display, buttons. The frame should look something like this:

The largest cutout in the center is the display, two “squares” on opposite sides are the window for the camera
2. Try on the frame, it should look something like this:

Mount on the phone body.
Front part.
The front part is a folding plate that protects the phone display. It may look like the back part, depending on the size of the phone. First things first.
1. Let's take a metal plate as a basis. The main thing here is to correctly calculate the strength and weight, since heavy iron will simply pull down the pocket during operation. Corrugated sheeting is suitable; I used an aluminum sheet, which I made stiffening ribs by bending the edges.
Place the phone face down on the sheet and mark the dimensions.


2. Cut out the plate:


3. Next, we place the plate on the skin and mark its dimensions on the fabric. We repeat the process with another piece of leather. One of them will be external, the other - internal.


In the second picture, a mark is also made on the outside of the material for ease of sewing.
4. Place the outer side of the marked piece of leather on another piece of similar dimensions. We sew them on the ShM according to the markings:

The height of the “pocket” can be greater than the height of the phone, taking into account the value of another parameter – its width.
5.Cut out unnecessary parts of the material along the seam:

6. Turn the “pocket” =) over and “put” it on the metal plate. The front part is ready!

Making the back part.
As already mentioned, the back part can be absolutely identical to the front (Without taking into account the size of the cell phone). To make the design lighter, I replaced aluminum with plastic.

I cut out plastic from a plastic folder. Its main task is to preserve the shape of the body, and not to strengthen it.
We fasten the resulting parts.
7. We wrap the frame part around the phone body again, press its overlapping parts, and glue them together.

Two sheathed plates and a glued frame part.
8. Cut a hole in the back plate for the camera eye. The edges of the hole can be glued or tied with thread from the inside so that they do not unravel.
9. We fasten the front folding plate (sorry for the terms) and the back plate, using the “extra” millimeters in length, or sewing on an additional piece of leather. The mounting location will hold the folding plate.

Fastened parts.
10. Attach the back plate to the frame part using glue. We put the finished case on the phone. For better fixation, you can glue a seal to the inside of the case that is in contact with the phone body - this will complicate the process of “dressing”, but will protect the case from “sliding out.” To prevent the lid from coming off, you can use a small magnet or Velcro.
Ready! In this case, the result was a case, the cost of the analogue of which exceeds the cost of the phone =)


Similar master classes
Particularly interesting
Comments (0)

