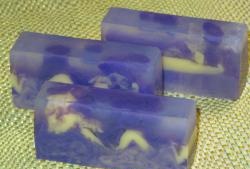
Soap rose
Women love to receive present flowers. But not all men like to give them. Our advocates are often guided by the idea that it is better to give something practical. In this case, the best option is soap flowers. Yes, yes, soapy. Soap flowers. Unusual, original, festive. I offer a small master class on how to make a rose with your own hands. We will make a rosebud. Then, using this template, you can make a whole composition. We will need a soap base, dye, flavor, glycerin to give it plasticity, and various sticks to make it convenient to stir.
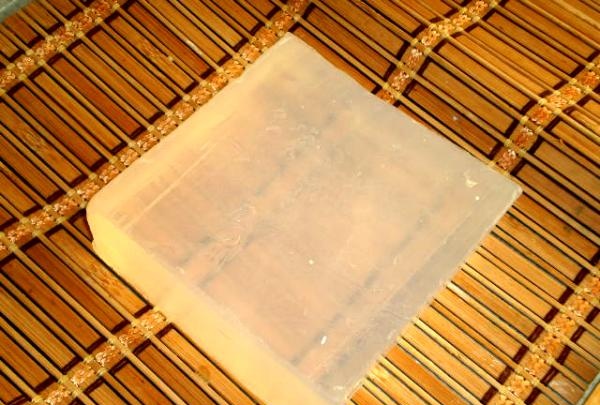
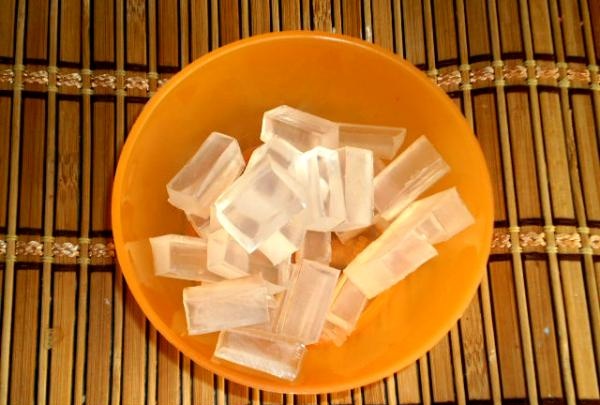
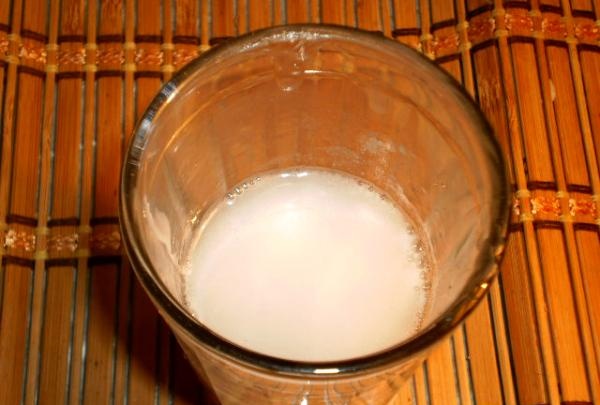
1. In this case, I use a transparent soap base made in England. It is also produced by Russia, Germany and China. We cut it into small pieces and send it to melt in the microwave. The main thing is not to let the base boil.
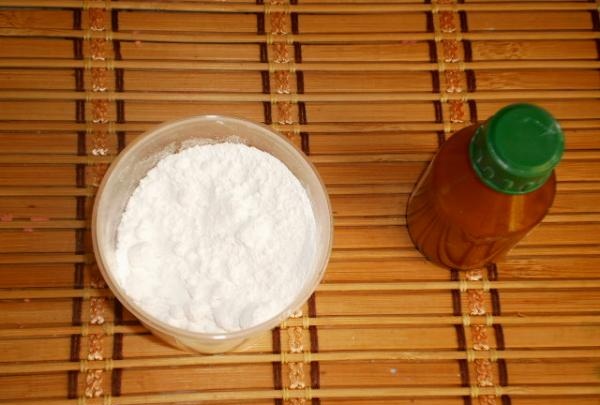
2. Add titanium dioxide for haze. We need to achieve translucency, so we add a little. Titanium dioxide is used in cooking, in creams and mastics, and in cosmetics, eye shadow and lipsticks. In my case, this is a powder that I previously diluted in glycerin.
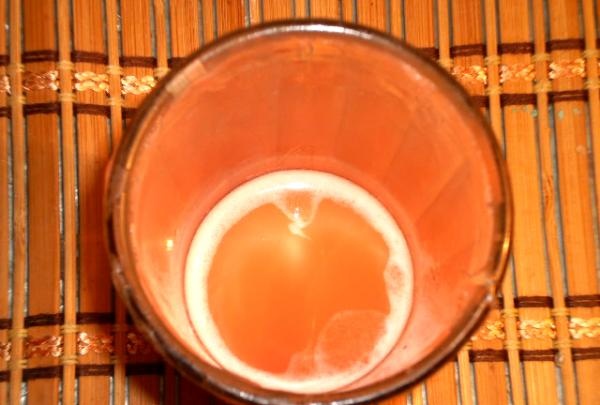
3. Next, we add a cosmetic dye, which is also widely used in the production of our decorative cosmetics.For 100 g of base you need 5-6 drops of dye. I used a flavoring called “Bulgarian Rose”. It must be added based on intensity. Usually this is 5-10 drops.
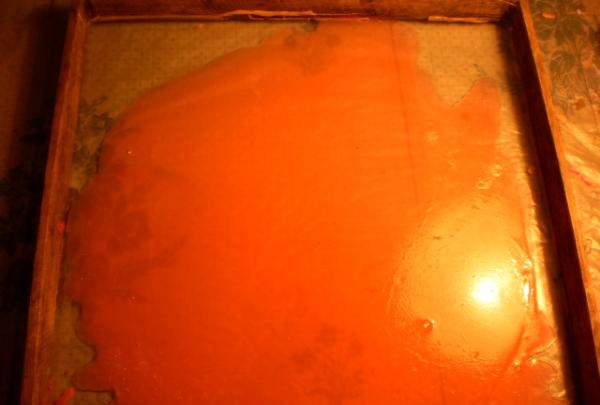
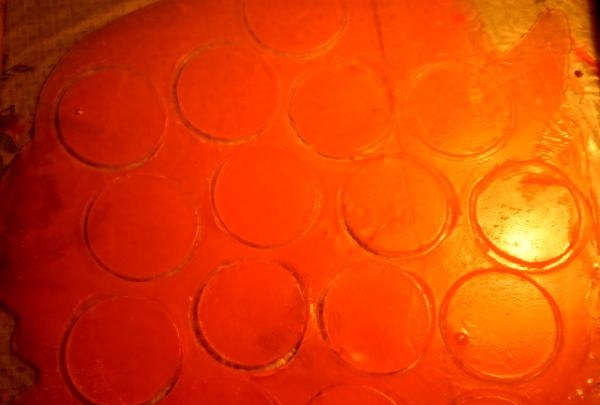
4. The base has been prepared, now it’s the flower’s turn. Pour our liquid foundation onto a flat surface and let it spread in a thin layer. Take a small glass and make circles like dumplings.
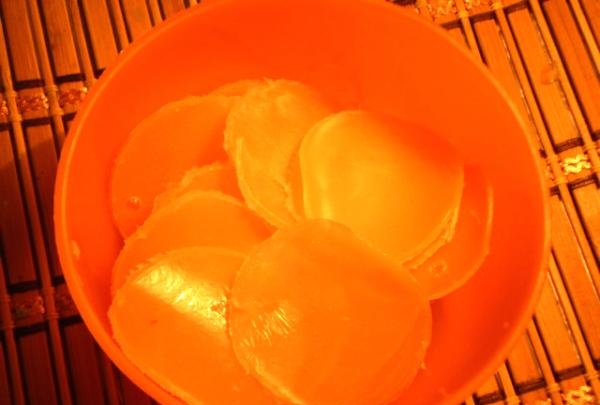
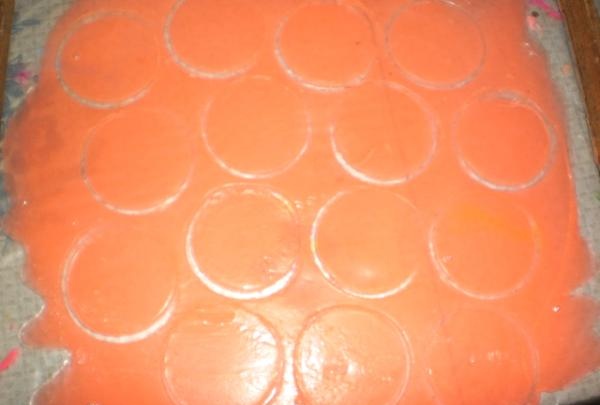
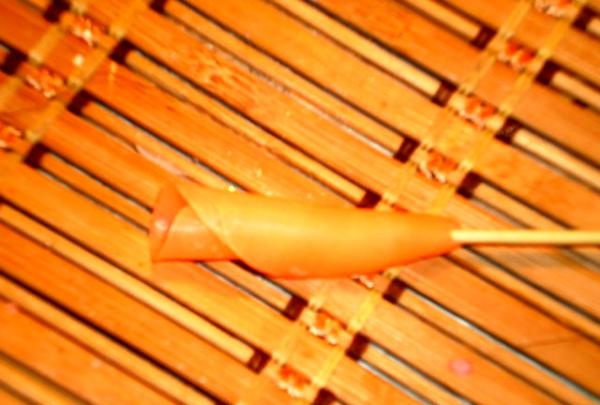
5. Next, take a skewer and wrap the first petal on it, squeezing it a little towards the bottom, and twisting the edges outward. We apply the second petal opposite in the same way. At this stage, the skewer will only get in the way; you can remove it. To help yourself, you can glue the bottom with a melted transparent base. And trim it a little. We arrange each petal in this way.
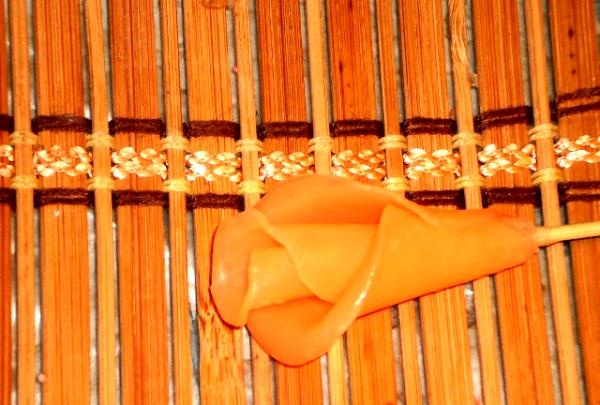
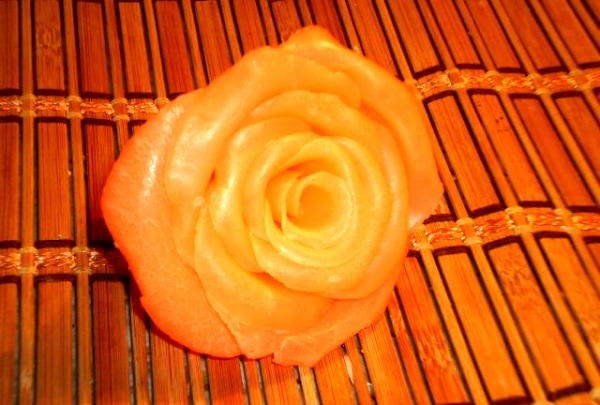
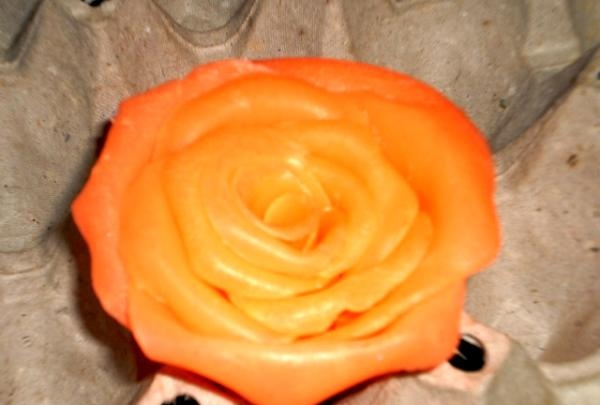
6. When we see that we have reached the middle, in the same way, by melting the remains, you can make petals with a slightly larger diameter. We apply them according to the same principle, fastening them with a transparent molten base and pressing them to the body of the bud. When the flower formation is completed, it can be polished with wet hands. Then it will be smooth and beautiful.
7. We insert our rose onto the stand. The ideal option would be a cardboard egg carton. If you don’t have one, you can make baskets out of foil. I'll have to remember my modeling lessons in kindergarten.
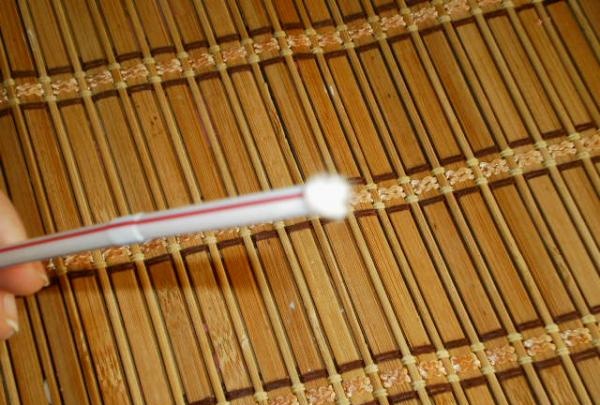
So, the first rose is ready. I'll give you a little hint. To make the leg, you can use a cocktail stick. Plug it from below with cotton wool, and pour the prepared base with a syringe or pipette. When dry, cut with a breadboard knife, being careful not to damage the leg. Following the example of petals, you can make leaves from the base and attach them to the stem using the same melted base.


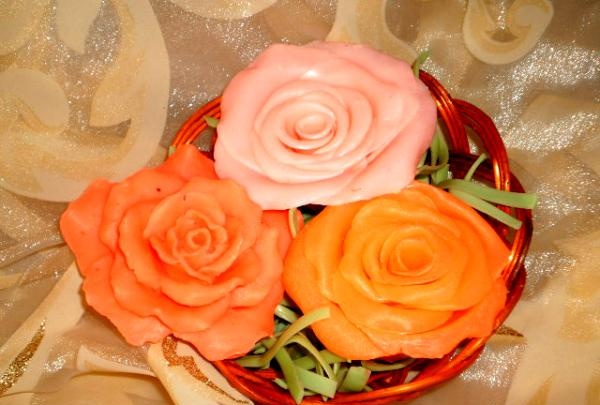
And you can not do the leg.You can make a composition from buds. By placing several of these buds on a stand, you can make a wonderful gift to your loved ones. If you play with color and smell, you will get an original, bright and memorable bouquet.
1. In this case, I use a transparent soap base made in England. It is also produced by Russia, Germany and China. We cut it into small pieces and send it to melt in the microwave. The main thing is not to let the base boil.


2. Add titanium dioxide for haze. We need to achieve translucency, so we add a little. Titanium dioxide is used in cooking, in creams and mastics, and in cosmetics, eye shadow and lipsticks. In my case, this is a powder that I previously diluted in glycerin.

3. Next, we add a cosmetic dye, which is also widely used in the production of our decorative cosmetics.For 100 g of base you need 5-6 drops of dye. I used a flavoring called “Bulgarian Rose”. It must be added based on intensity. Usually this is 5-10 drops.


4. The base has been prepared, now it’s the flower’s turn. Pour our liquid foundation onto a flat surface and let it spread in a thin layer. Take a small glass and make circles like dumplings.


5. Next, take a skewer and wrap the first petal on it, squeezing it a little towards the bottom, and twisting the edges outward. We apply the second petal opposite in the same way. At this stage, the skewer will only get in the way; you can remove it. To help yourself, you can glue the bottom with a melted transparent base. And trim it a little. We arrange each petal in this way.


6. When we see that we have reached the middle, in the same way, by melting the remains, you can make petals with a slightly larger diameter. We apply them according to the same principle, fastening them with a transparent molten base and pressing them to the body of the bud. When the flower formation is completed, it can be polished with wet hands. Then it will be smooth and beautiful.
7. We insert our rose onto the stand. The ideal option would be a cardboard egg carton. If you don’t have one, you can make baskets out of foil. I'll have to remember my modeling lessons in kindergarten.
So, the first rose is ready. I'll give you a little hint. To make the leg, you can use a cocktail stick. Plug it from below with cotton wool, and pour the prepared base with a syringe or pipette. When dry, cut with a breadboard knife, being careful not to damage the leg. Following the example of petals, you can make leaves from the base and attach them to the stem using the same melted base.


And you can not do the leg.You can make a composition from buds. By placing several of these buds on a stand, you can make a wonderful gift to your loved ones. If you play with color and smell, you will get an original, bright and memorable bouquet.

Similar master classes
Particularly interesting
Comments (0)

