Rustic Napkins
To make a textile table napkin in a rustic style, you will need the following materials and tools:
1. table linen fabric or curtain fabric,
2. threads in the color of the fabric,
3. checkered ribbon, harmonizing in color with the fabric of the napkin, about 1 m long,
4. sewing machine,
5. iron,
6. ironing board,
7. safety pins,
8. cutting scissors,
9. ruler,
10. sewing needle for handwork.
When finished, the length of the side of the napkin will be 50 cm.
From the existing fabric, cut out a square with a side of 58 cm. 8 cm is the processing allowance.
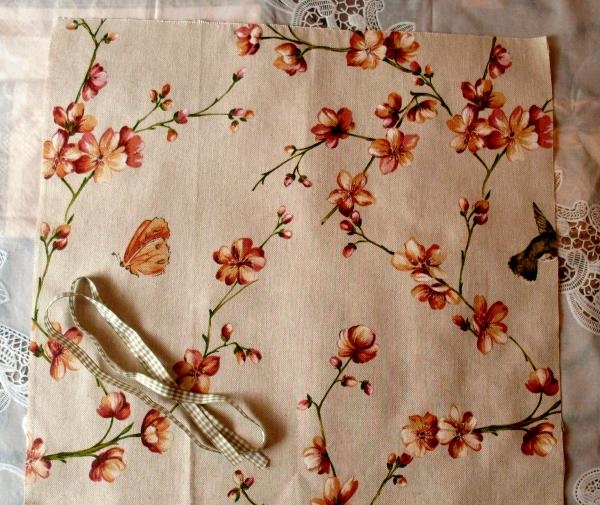
Iron all sides of the square towards the wrong side by 4 cm.
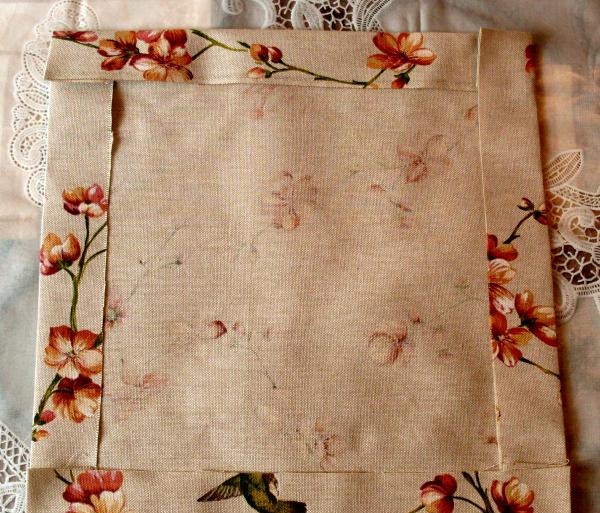
Iron all corners of the napkin as shown in the photo.
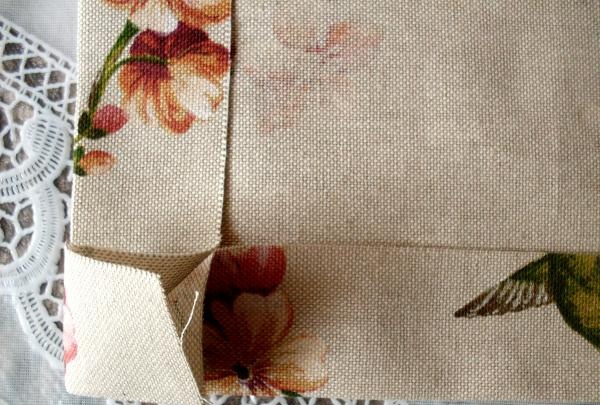
Fold the corners of the napkin right side inward and pin them.
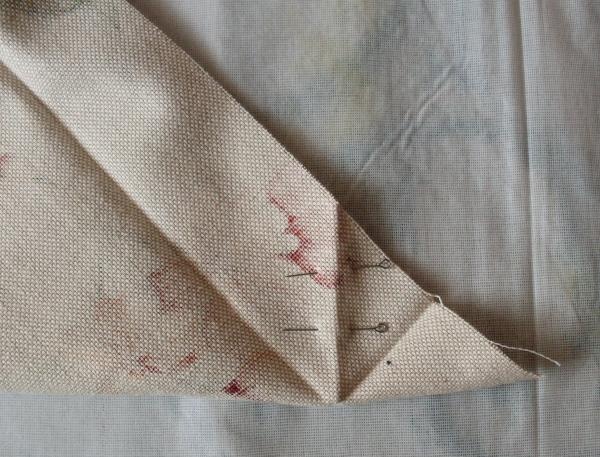
Sew the corners of the napkin, starting the stitching 1 cm below the outer edges of the napkin along the previously ironed fold.
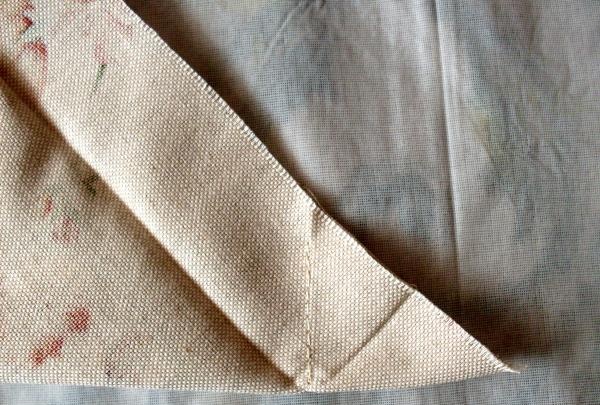
Cut out the corners of the napkin with scissors.
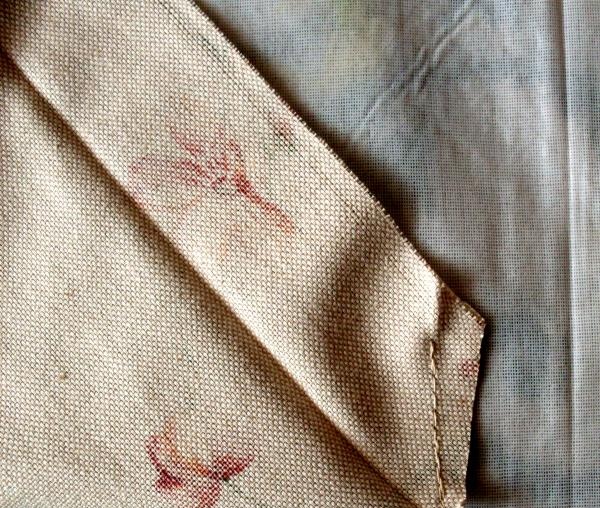
Turn the corners of the napkin right side out. Pin the allowances for processing the napkin, tucking them inward by 1 cm.
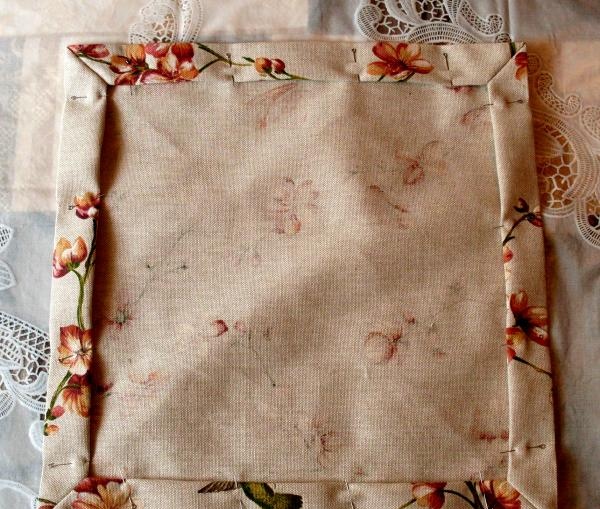
Sew a stitch, securing the napkin allowances. Remove the pins. Iron the napkin from the front side.
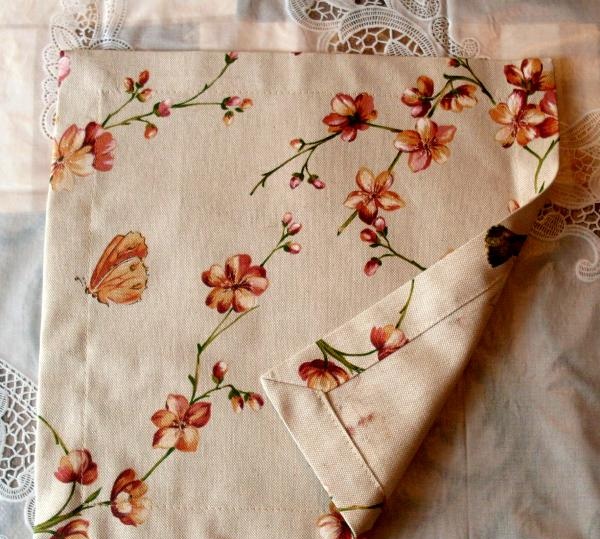
Sew the ribbon onto two adjacent sides of the napkin, tucking the end sides under. Use the line along the napkin as a guide.
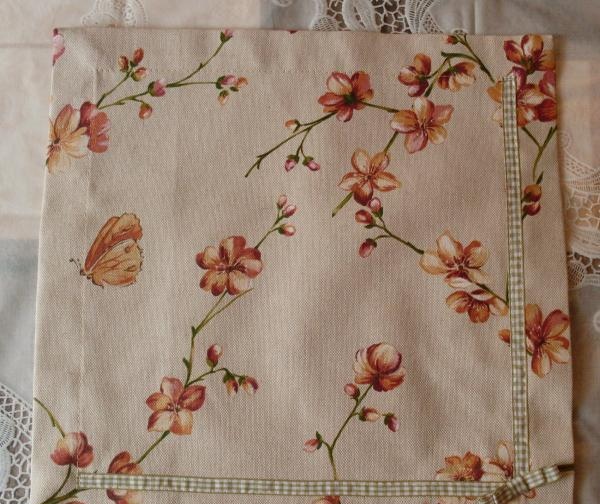
Make a neat bow from a small piece of ribbon. Sew it with hidden stitches onto a napkin.

The napkin is ready!
1. table linen fabric or curtain fabric,
2. threads in the color of the fabric,
3. checkered ribbon, harmonizing in color with the fabric of the napkin, about 1 m long,
4. sewing machine,
5. iron,
6. ironing board,
7. safety pins,
8. cutting scissors,
9. ruler,
10. sewing needle for handwork.
When finished, the length of the side of the napkin will be 50 cm.
From the existing fabric, cut out a square with a side of 58 cm. 8 cm is the processing allowance.

Iron all sides of the square towards the wrong side by 4 cm.

Iron all corners of the napkin as shown in the photo.

Fold the corners of the napkin right side inward and pin them.

Sew the corners of the napkin, starting the stitching 1 cm below the outer edges of the napkin along the previously ironed fold.

Cut out the corners of the napkin with scissors.

Turn the corners of the napkin right side out. Pin the allowances for processing the napkin, tucking them inward by 1 cm.

Sew a stitch, securing the napkin allowances. Remove the pins. Iron the napkin from the front side.

Sew the ribbon onto two adjacent sides of the napkin, tucking the end sides under. Use the line along the napkin as a guide.

Make a neat bow from a small piece of ribbon. Sew it with hidden stitches onto a napkin.

The napkin is ready!
Similar master classes
Particularly interesting
Comments (2)

