Napkin bow
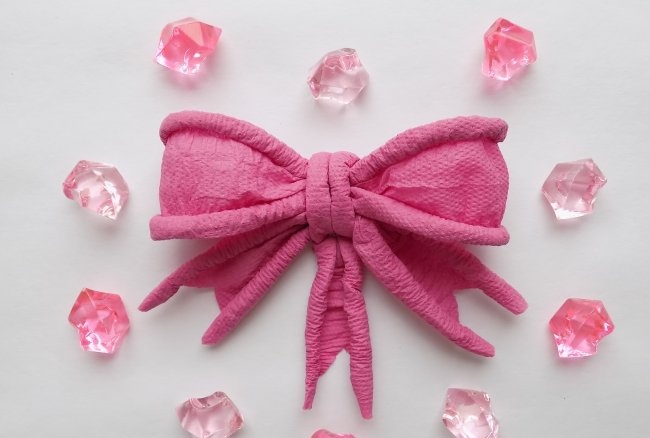
Many people prefer to give present, made with your own hands. At the same time, there is often no question of packaging such a gift. After all, you can also do it yourself. For example, wrap a gift in beautiful paper and decorate the top with a bow made from a paper napkin. Its creation will not take much time if you follow the step-by-step photographs of our master class.
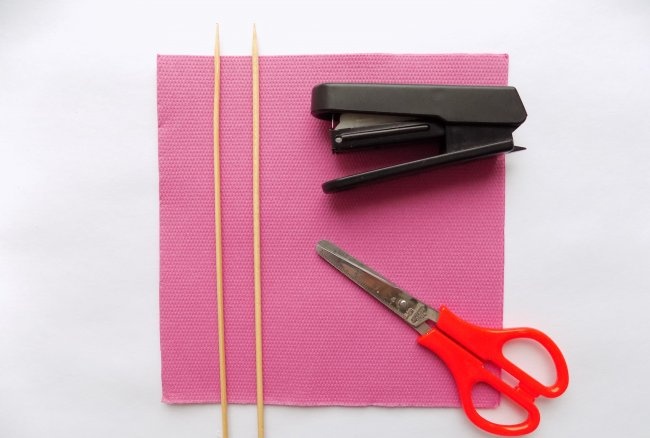
To create the bow, prepare:
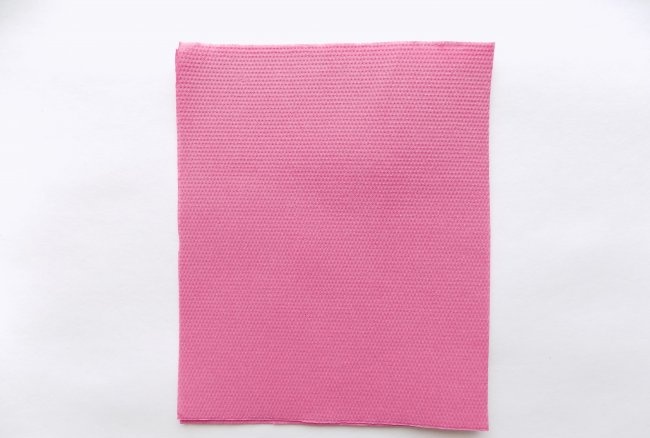
First, you need to cut the napkin into 4 equal parts, focusing on the fold line. As a result, we got square blanks. But we need rectangles, so we cut off a small strip (about 2.5 cm) from one edge.
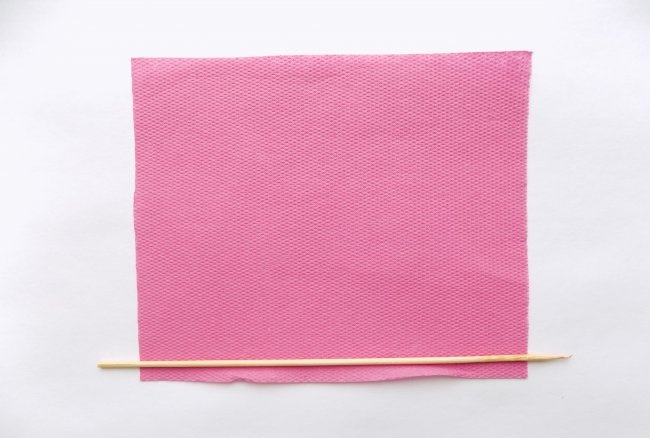
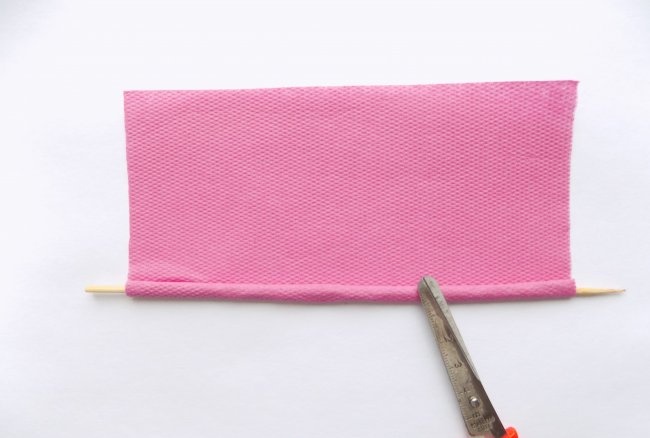
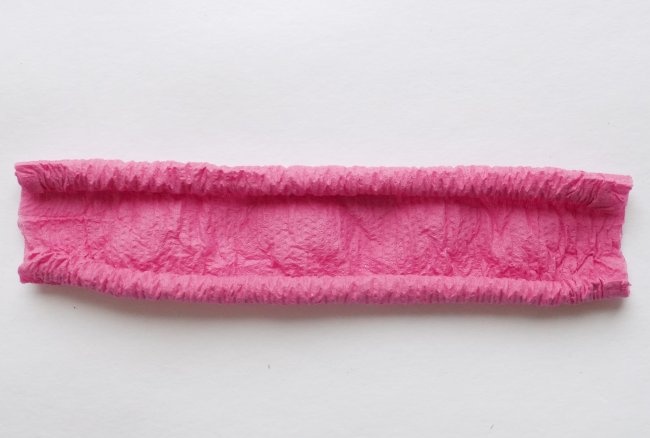
Take one layer of napkin and start from the wide edge winding it onto a wooden skewer.
You only need to twist it to the middle.
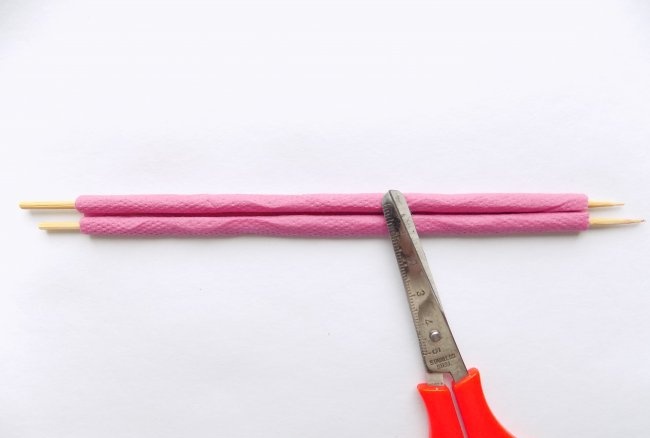
From the opposite edge we do a similar twist of the napkin.
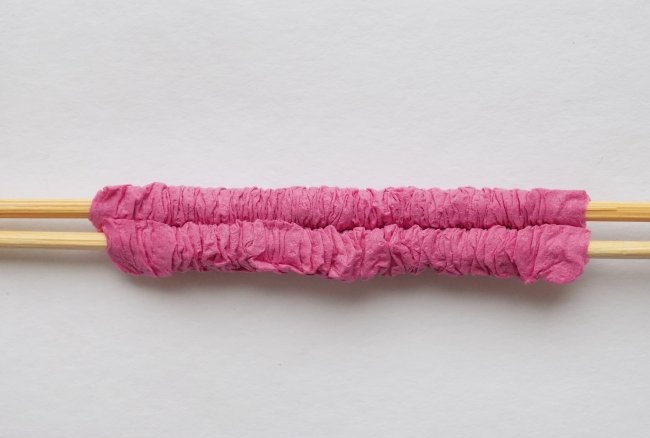
Now we pinch the edges with our fingers and move the rolled napkin towards the center.
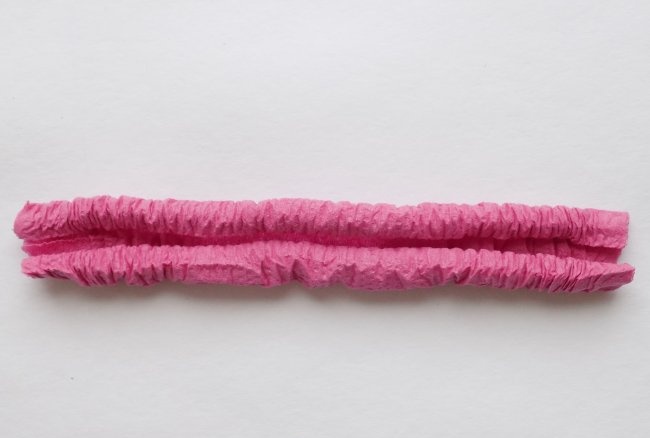
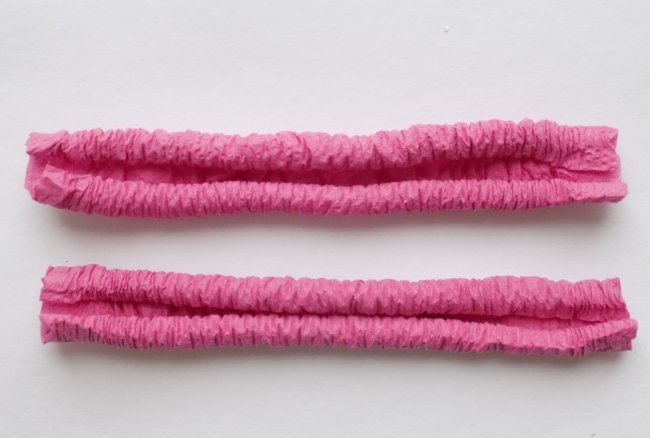
Remove the resulting workpiece from wooden skewers.
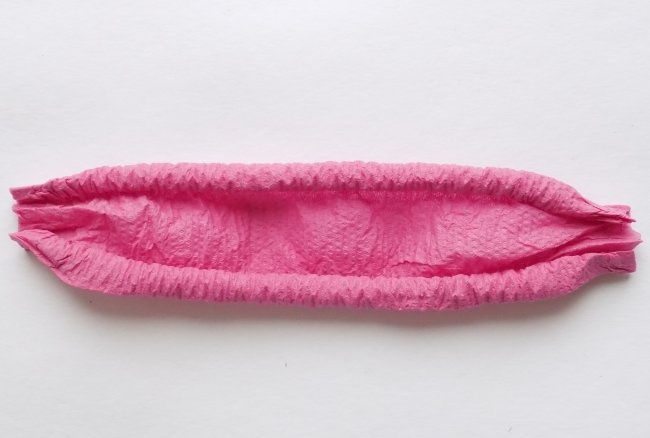
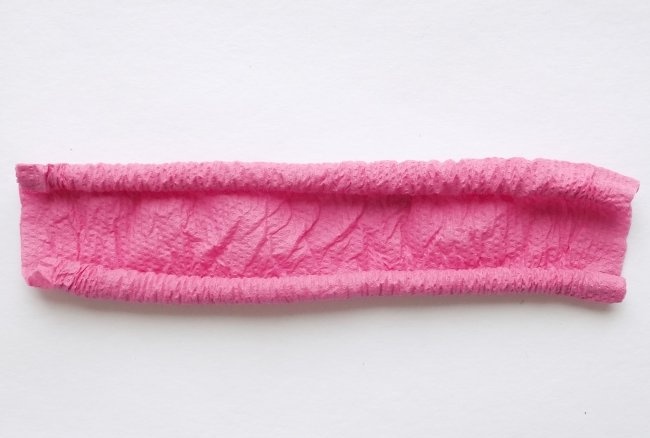
Using the same principle, you need to make blanks from the remaining three layers of napkin. After this, we begin to form the bow.To do this, slightly unwind one piece.
Squeeze the edges a little.
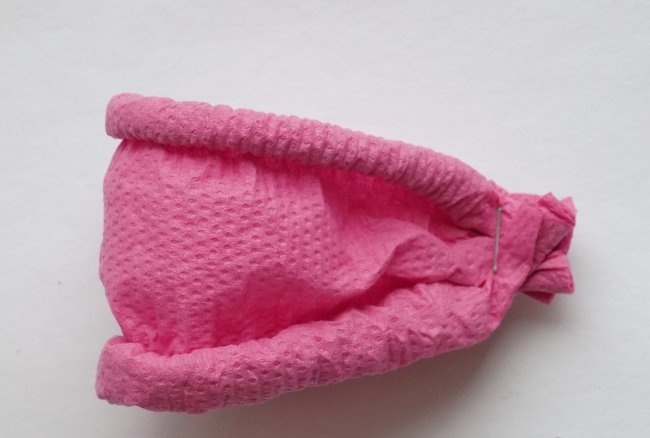
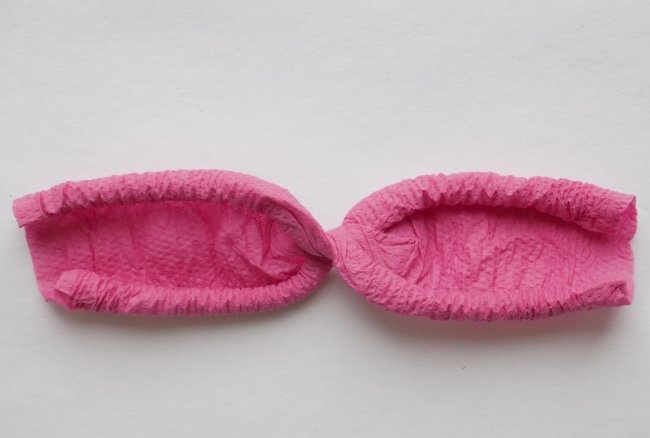
Now fold it in half and secure it with a stapler.
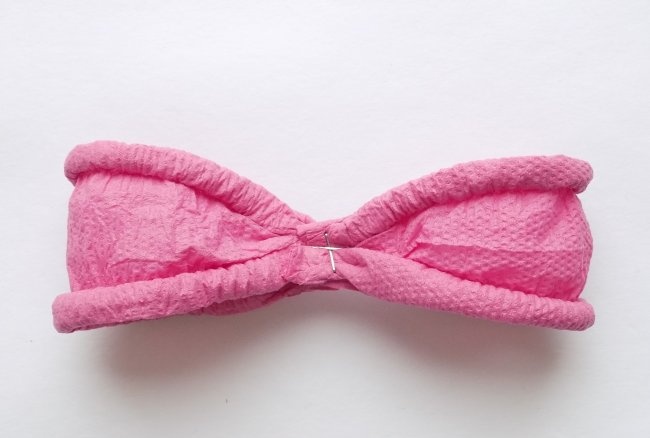
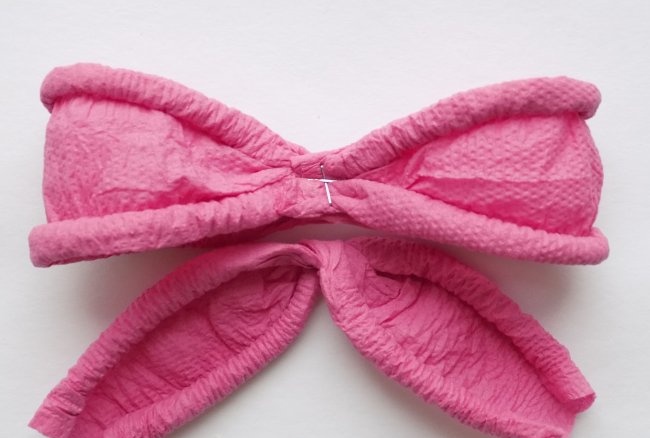
We make another similar element in a similar way. After this, we connect them together with a stapler. The outlines of our bow began to appear.
We still have 2 blanks left.
We straighten one of them a little.
After that, twist it in the center.
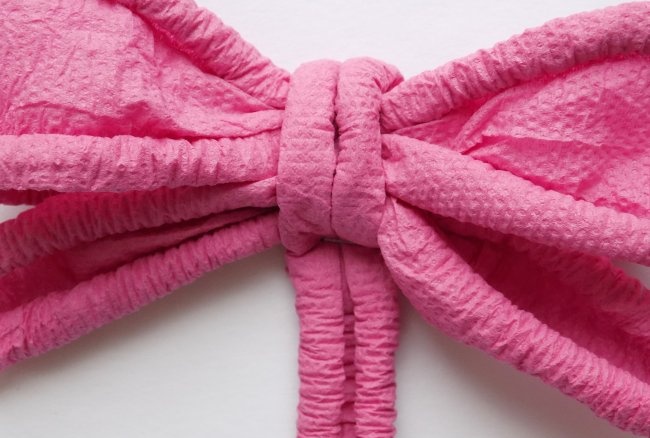
We apply the resulting blank to the main part of the bow.
With the remaining blank we will fix the previously attached elements. To do this, we will again use a stapler.
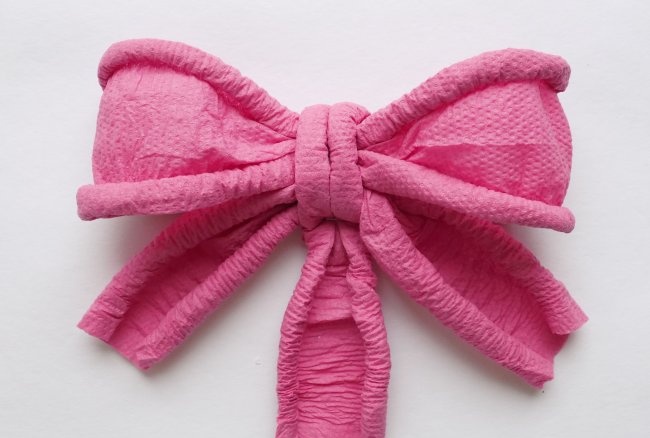
Let's straighten the tip a little.
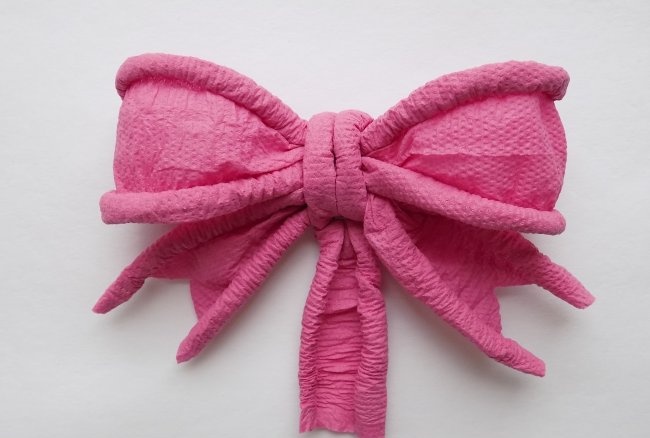
Now we will make triangular cutouts on the edges.
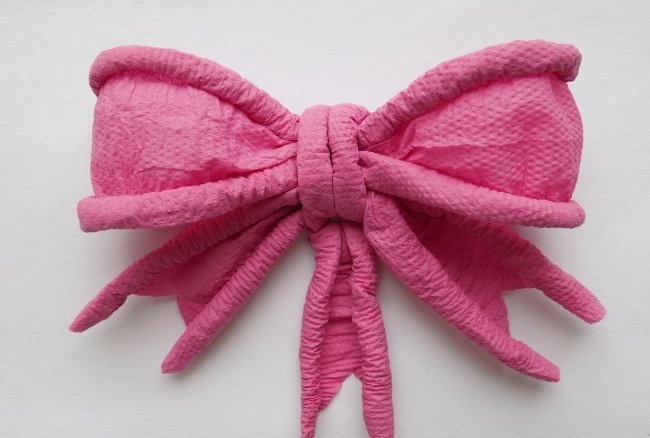
A similar cutout can be made on the central strip. Our paper napkin bow is ready.
To create the bow, prepare:
- - paper napkin;
- - scissors;
- - wooden skewers;
- - stapler.
First, you need to cut the napkin into 4 equal parts, focusing on the fold line. As a result, we got square blanks. But we need rectangles, so we cut off a small strip (about 2.5 cm) from one edge.
Take one layer of napkin and start from the wide edge winding it onto a wooden skewer.
You only need to twist it to the middle.
From the opposite edge we do a similar twist of the napkin.
Now we pinch the edges with our fingers and move the rolled napkin towards the center.
Remove the resulting workpiece from wooden skewers.
Using the same principle, you need to make blanks from the remaining three layers of napkin. After this, we begin to form the bow.To do this, slightly unwind one piece.
Squeeze the edges a little.
Now fold it in half and secure it with a stapler.
We make another similar element in a similar way. After this, we connect them together with a stapler. The outlines of our bow began to appear.
We still have 2 blanks left.
We straighten one of them a little.
After that, twist it in the center.
We apply the resulting blank to the main part of the bow.
With the remaining blank we will fix the previously attached elements. To do this, we will again use a stapler.
Let's straighten the tip a little.
Now we will make triangular cutouts on the edges.
A similar cutout can be made on the central strip. Our paper napkin bow is ready.
Similar master classes
Particularly interesting
Comments (0)

