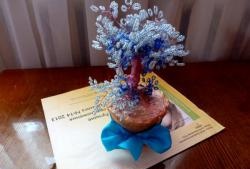
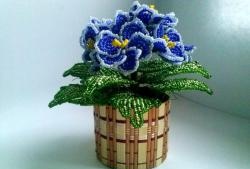
Terry violet made of beads
To make a terry violet from beads you will need:
− Beads No. 10 of the preferred color, in this case blue, light blue, green and a little yellow;
− Wire 0.2 or 0.3 mm thick;
− Florenta or green floss threads;
− Glue Moment and PVA;
− Plaster or alabaster;
− A small flower pot or, if not, some kind of bowl;
− Green acrylic paint or gouache;
− A piece of green sisal.
The violet is made using the loop technique. There will be 9 flowers, but you can make more. Each individual flower is woven whole at once, so we cut the wire approximately 60-70 cm at once, so that it’s just enough and there’s no need to wind the pieces together later. We string 6 blue beads onto the wire and twist them into a loop.
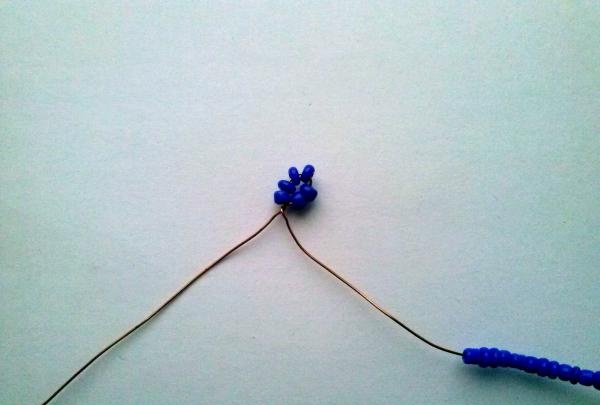
a couple of turns, stepping back 10 cm from the end of the wire. For the next loop, which will go over the first, we cast on approximately 15-17 pcs. and twist at the base.
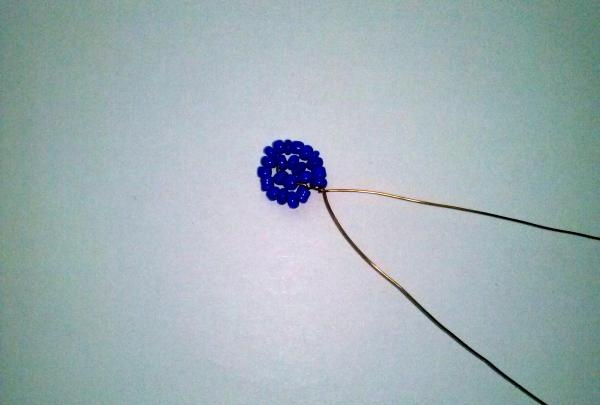
We make a similar loop again with more beads.
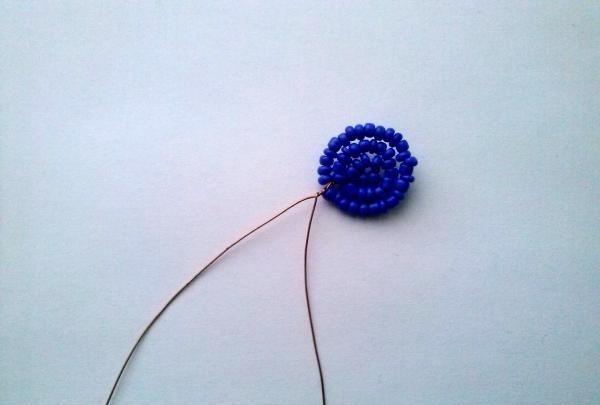
To make fringe on the petals you will need beads of a contrasting color, in this case it is blue.We collect an approximate amount of beads onto the long end of the wire and thread it under the last loop of the petal.
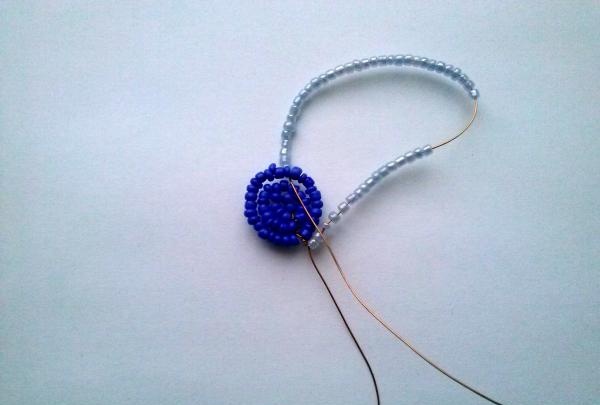
We measure out 6-7 blue beads and fasten the wire tightly between 5 and 6 blue beads on the petal itself.
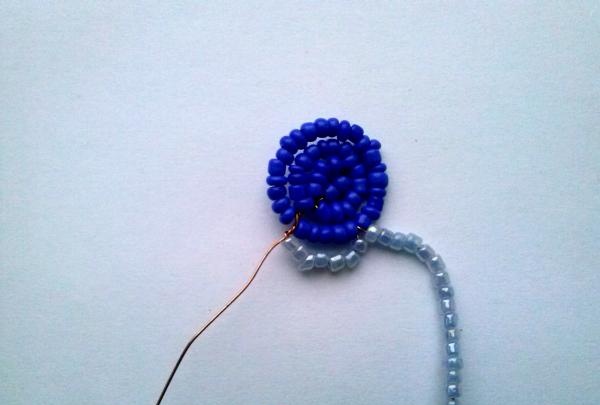
This must be done 5 times so that at the end you get a “fringe”.
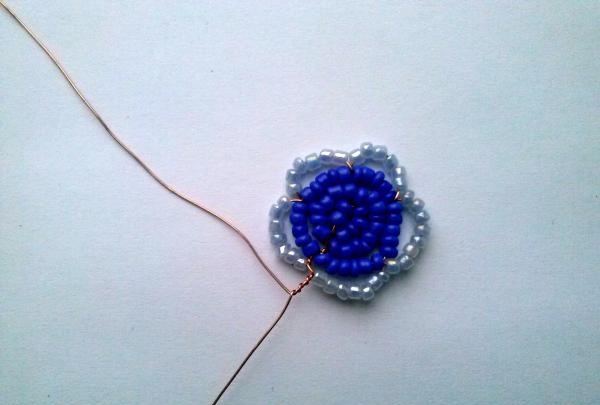
At the end, we fix the wire at the base as usual. On the remaining working piece of wire, you need to weave 4 more similar petals. To do this, retreat approximately 1 cm from the first one and weave according to the pattern of the first one.
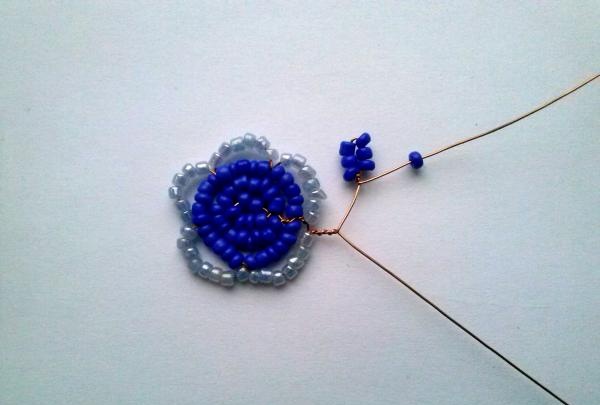
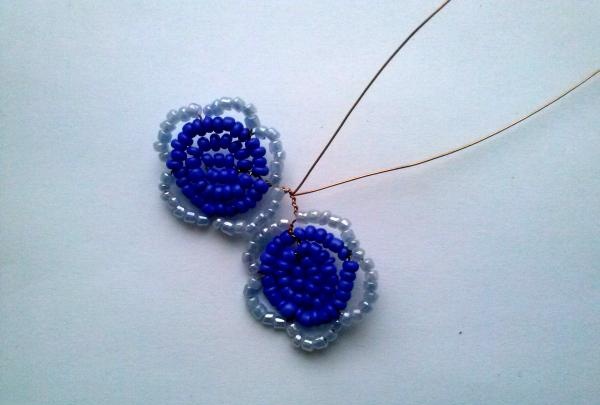
This results in 5 petals and 2 remaining ends of the wire, which do not need to be twisted together yet.
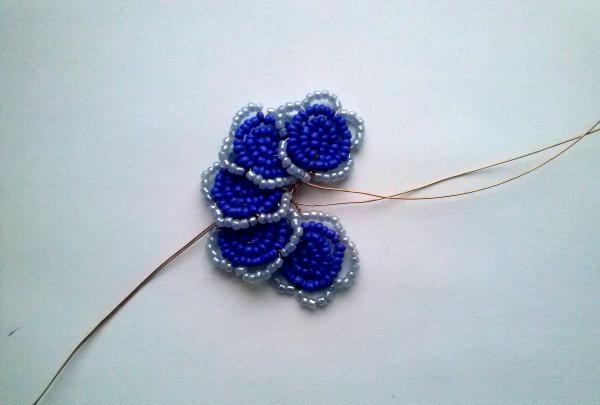
Now you need to make the stamens yellow. Everything is done using the same loop technique.
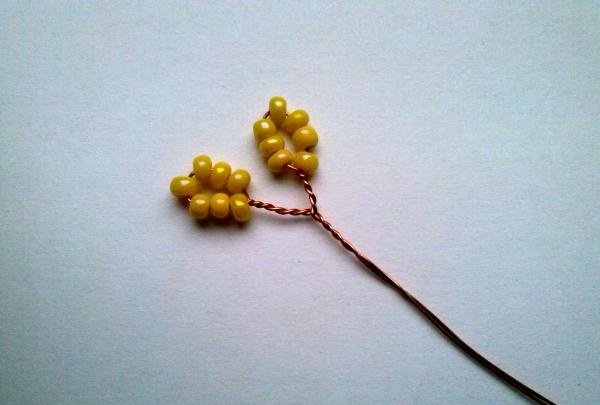
Next, we insert the wire with the stamens into the middle of the flower, after which we twist the ends of the wire together, while straightening the petals evenly.
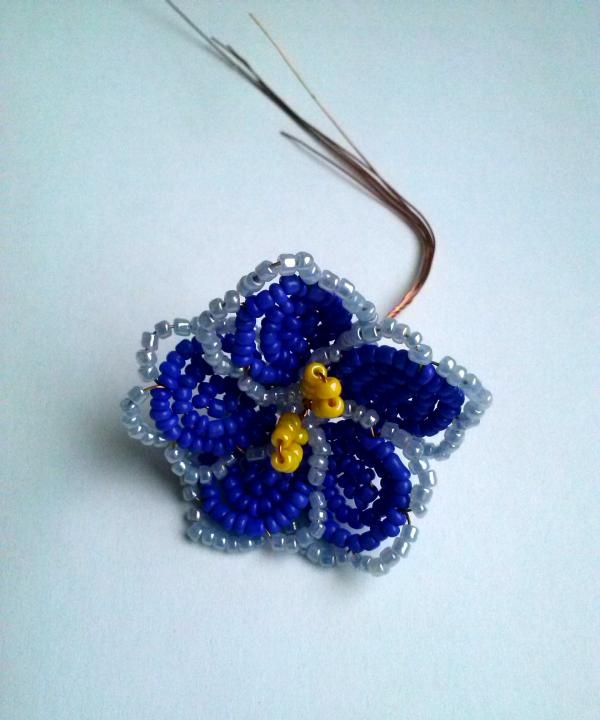
By the way, one flower can be made in the form of an unopened bud.
Leaves.
Now let's start making leaves. For this you will need dark green and light green beads, but you can also make them in a single color. The dark color will go along the edge of the leaf and inside in the form of dots. We will weave using the French weaving technique. First you need to cut the wires about 60 cm, step back 15 cm from one end, and make a loop on it.
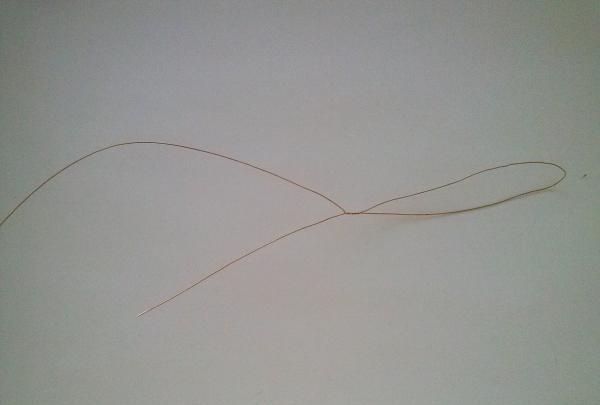
The loop itself will be the leg, we don’t need it yet, but we will weave the leaf itself on a short single piece of wire - this will be the base, the long piece will be the working one. We string 13 beads onto the base.
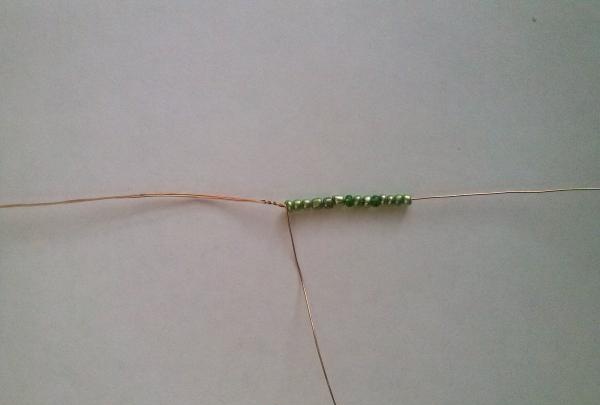
String an arbitrary amount of beads onto the long working end. Lift it up to the base and connect it tightly to it at an angle of 45 degrees, twisting it at the top with one turn.
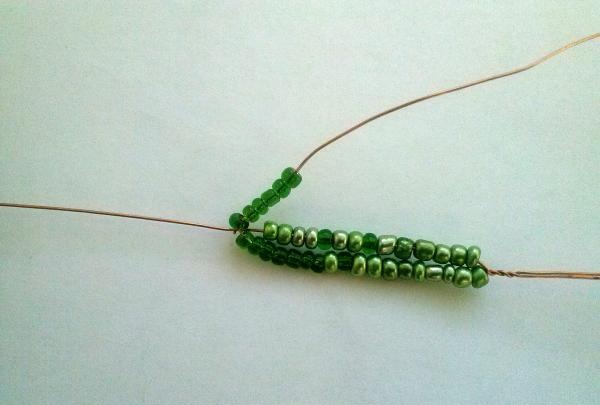
Then we lower the wire down to the loop and twist it with two turns.
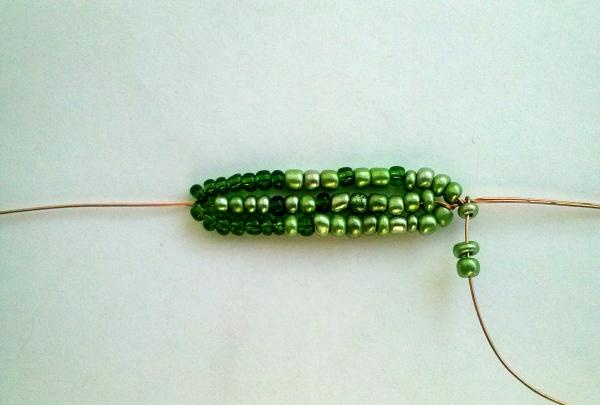
Since the leaf will be carved, we will proceed as follows. We string beads onto the long end of the wire again and thread it under the loop, after which we tightly pass this wire between the beads.
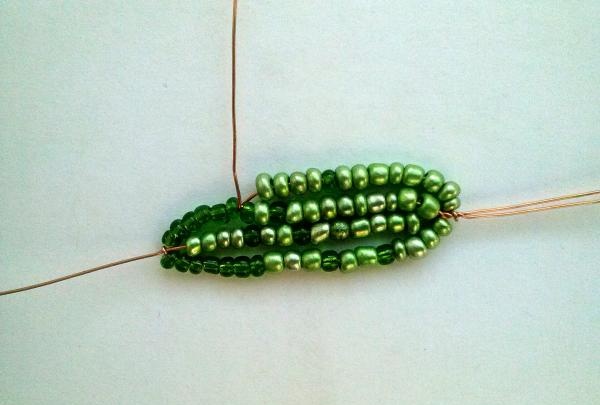
We do the same in reverse order to the loop.
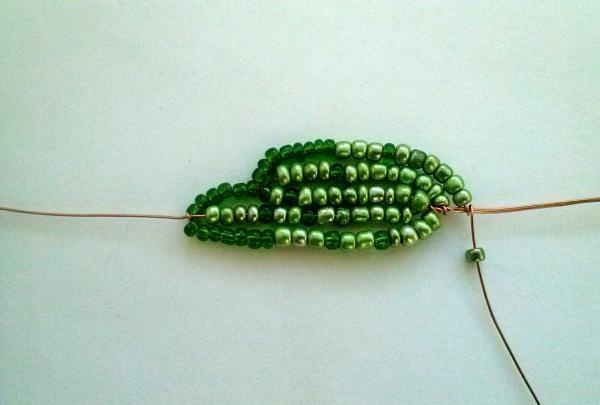
We continue to do this several times until we get 5 notches on each side of the leaf. When it is ready, the base will need to be carefully trimmed, leaving 0.5 cm of wire, which should be folded inside out.
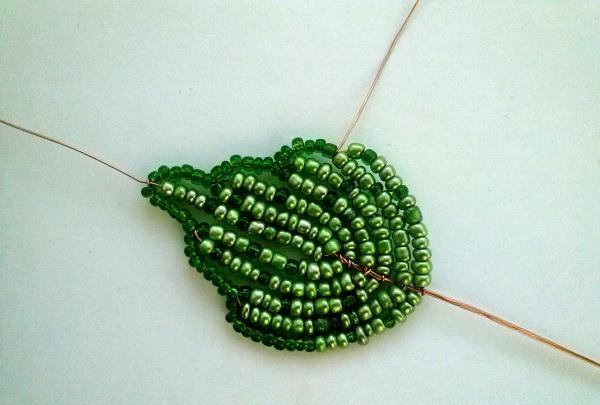
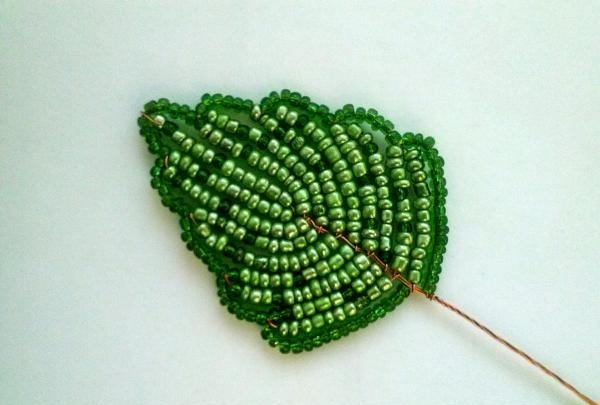
You need to make 9 leaves, but a different number is possible. Now you need to wrap the stems of the leaves and flowers with green floral tape or, for those who don’t have it, with green floss threads in several folds, having previously coated the wire with PVA glue.
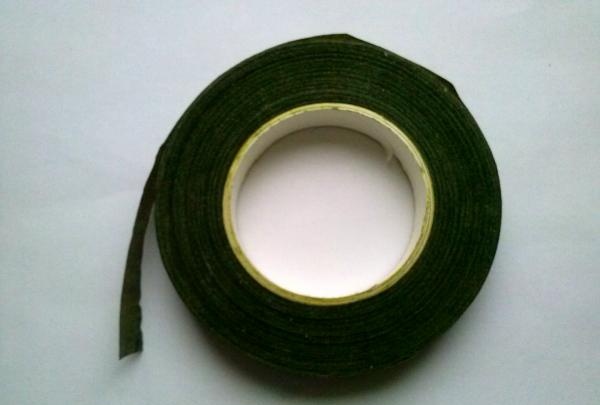
Cut a small piece of tape and wrap the sticky side around the stems of the flowers and leaves from the base along a curve. Wrap all the parts like this.
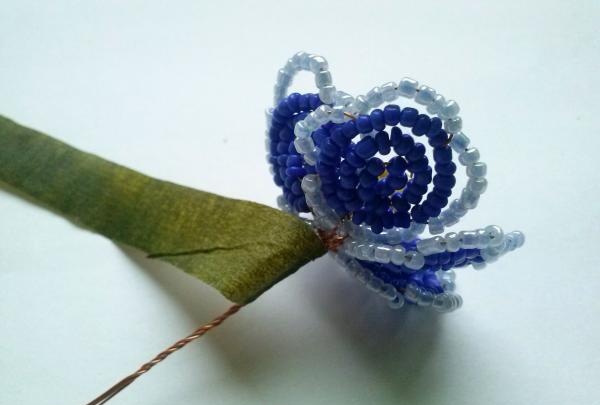
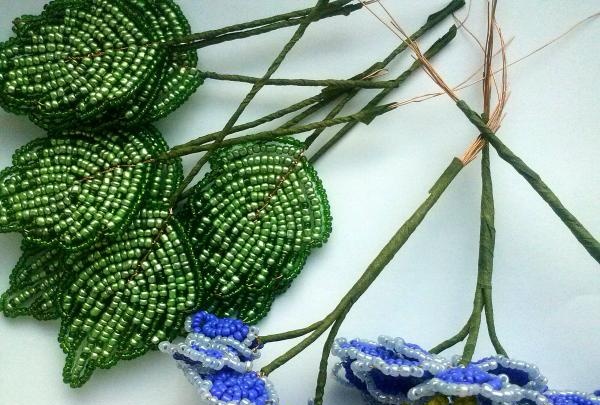
To form a violet, we twist 3-4 flowers together with the same floral tape, you get 3 groups, which are also then connected together.
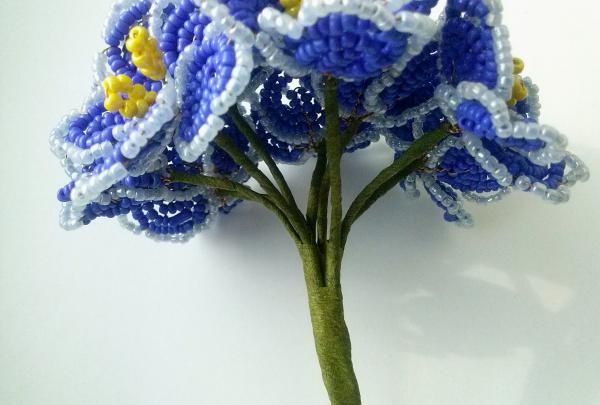
Now you need to attach the leaves to the bouquet. We will do this in 2 tiers. The first will have 4 sheets, the second will have 5.
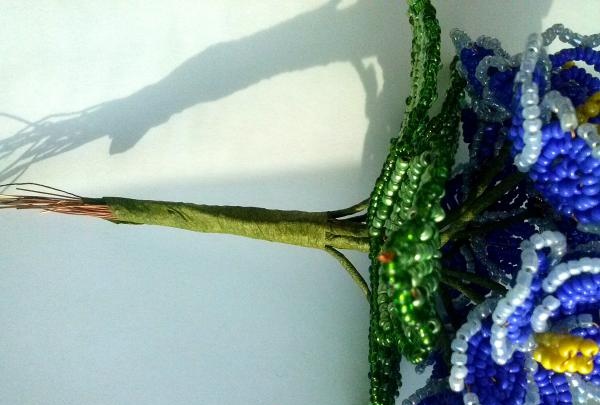
The output will be a bouquet of violets, which will now need to be planted in a pot.
Decor.
If you don't have a potty, don't despair. Everyone in the house has cylinders, for example, from polyurethane foam or the like, so the cap from it will be used in this case. The flower will be planted in alabaster or plaster, which must be diluted with warm water until it becomes thick with sour cream.
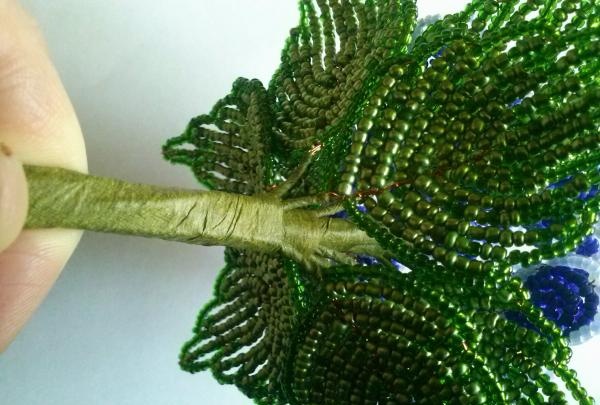
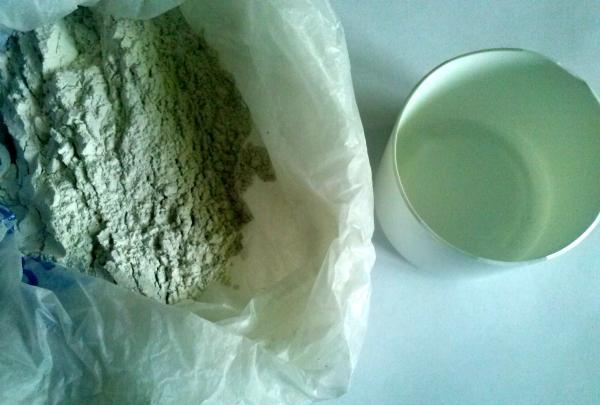
Then, before it hardens, pour the mixture into a pot and plant the violet there. You need to hold it a little until the plaster hardens.
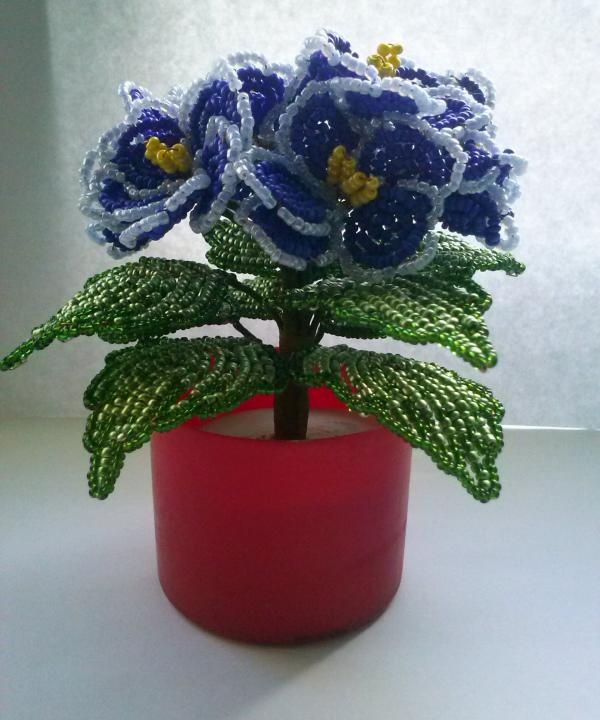
Now let's start with the design.We will need the following materials. A napkin is needed to decorate the container. It is better to buy it on a fabric basis.
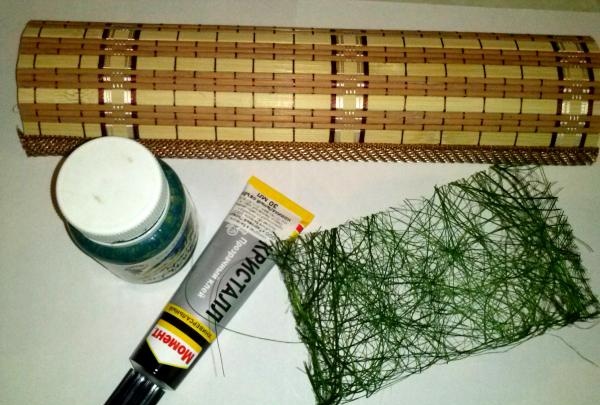
When the plaster has dried, paint it with green paint and wait until it dries completely. Then glue a piece of sisal onto the plaster with Moment glue.
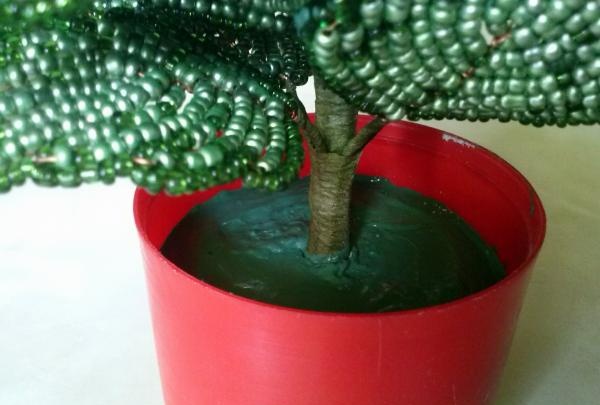
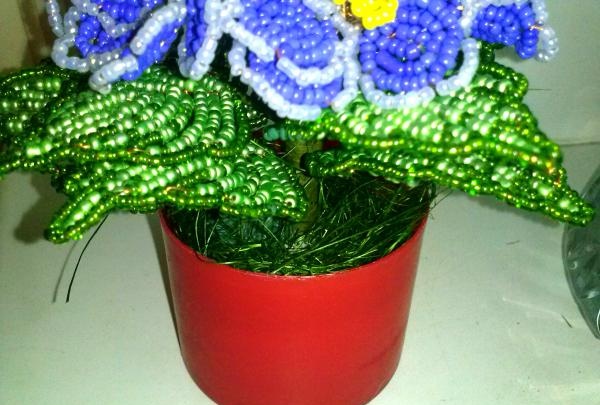
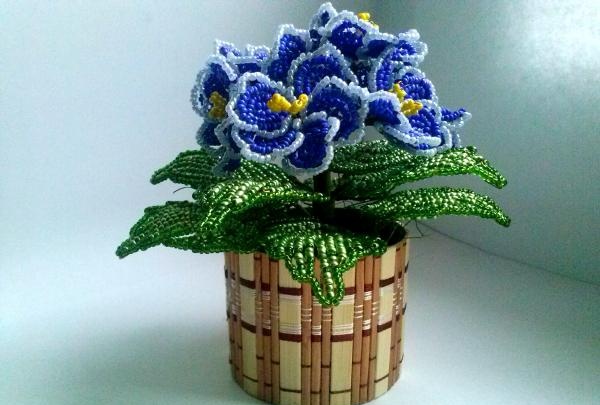
Now you need to measure and cut a piece of the required size from the napkin. Coat the pot or cap itself with Moment glue and glue a cut piece of napkin to it so that the joints are even. All that remains is to beautifully arrange the flowers and leaves of the violet and enjoy the beauty you have made with your own hands.
− Beads No. 10 of the preferred color, in this case blue, light blue, green and a little yellow;
− Wire 0.2 or 0.3 mm thick;
− Florenta or green floss threads;
− Glue Moment and PVA;
− Plaster or alabaster;
− A small flower pot or, if not, some kind of bowl;
− Green acrylic paint or gouache;
− A piece of green sisal.
The violet is made using the loop technique. There will be 9 flowers, but you can make more. Each individual flower is woven whole at once, so we cut the wire approximately 60-70 cm at once, so that it’s just enough and there’s no need to wind the pieces together later. We string 6 blue beads onto the wire and twist them into a loop.

a couple of turns, stepping back 10 cm from the end of the wire. For the next loop, which will go over the first, we cast on approximately 15-17 pcs. and twist at the base.

We make a similar loop again with more beads.

To make fringe on the petals you will need beads of a contrasting color, in this case it is blue.We collect an approximate amount of beads onto the long end of the wire and thread it under the last loop of the petal.

We measure out 6-7 blue beads and fasten the wire tightly between 5 and 6 blue beads on the petal itself.

This must be done 5 times so that at the end you get a “fringe”.

At the end, we fix the wire at the base as usual. On the remaining working piece of wire, you need to weave 4 more similar petals. To do this, retreat approximately 1 cm from the first one and weave according to the pattern of the first one.


This results in 5 petals and 2 remaining ends of the wire, which do not need to be twisted together yet.

Now you need to make the stamens yellow. Everything is done using the same loop technique.

Next, we insert the wire with the stamens into the middle of the flower, after which we twist the ends of the wire together, while straightening the petals evenly.

By the way, one flower can be made in the form of an unopened bud.
Leaves.
Now let's start making leaves. For this you will need dark green and light green beads, but you can also make them in a single color. The dark color will go along the edge of the leaf and inside in the form of dots. We will weave using the French weaving technique. First you need to cut the wires about 60 cm, step back 15 cm from one end, and make a loop on it.

The loop itself will be the leg, we don’t need it yet, but we will weave the leaf itself on a short single piece of wire - this will be the base, the long piece will be the working one. We string 13 beads onto the base.

String an arbitrary amount of beads onto the long working end. Lift it up to the base and connect it tightly to it at an angle of 45 degrees, twisting it at the top with one turn.

Then we lower the wire down to the loop and twist it with two turns.

Since the leaf will be carved, we will proceed as follows. We string beads onto the long end of the wire again and thread it under the loop, after which we tightly pass this wire between the beads.

We do the same in reverse order to the loop.

We continue to do this several times until we get 5 notches on each side of the leaf. When it is ready, the base will need to be carefully trimmed, leaving 0.5 cm of wire, which should be folded inside out.


You need to make 9 leaves, but a different number is possible. Now you need to wrap the stems of the leaves and flowers with green floral tape or, for those who don’t have it, with green floss threads in several folds, having previously coated the wire with PVA glue.

Cut a small piece of tape and wrap the sticky side around the stems of the flowers and leaves from the base along a curve. Wrap all the parts like this.


To form a violet, we twist 3-4 flowers together with the same floral tape, you get 3 groups, which are also then connected together.

Now you need to attach the leaves to the bouquet. We will do this in 2 tiers. The first will have 4 sheets, the second will have 5.

The output will be a bouquet of violets, which will now need to be planted in a pot.
Decor.
If you don't have a potty, don't despair. Everyone in the house has cylinders, for example, from polyurethane foam or the like, so the cap from it will be used in this case. The flower will be planted in alabaster or plaster, which must be diluted with warm water until it becomes thick with sour cream.


Then, before it hardens, pour the mixture into a pot and plant the violet there. You need to hold it a little until the plaster hardens.

Now let's start with the design.We will need the following materials. A napkin is needed to decorate the container. It is better to buy it on a fabric basis.

When the plaster has dried, paint it with green paint and wait until it dries completely. Then glue a piece of sisal onto the plaster with Moment glue.


Now you need to measure and cut a piece of the required size from the napkin. Coat the pot or cap itself with Moment glue and glue a cut piece of napkin to it so that the joints are even. All that remains is to beautifully arrange the flowers and leaves of the violet and enjoy the beauty you have made with your own hands.

Similar master classes
Particularly interesting
Comments (1)

