bead tree
Interior design is an integral part of any room. If we are talking about a residential area, then the presence of things and objects that give warmth and homeliness is very important here. The most common option for creating such items is handicraft.
To lift my spirits, I decided to make a beaded tree. To create it I needed the following materials:
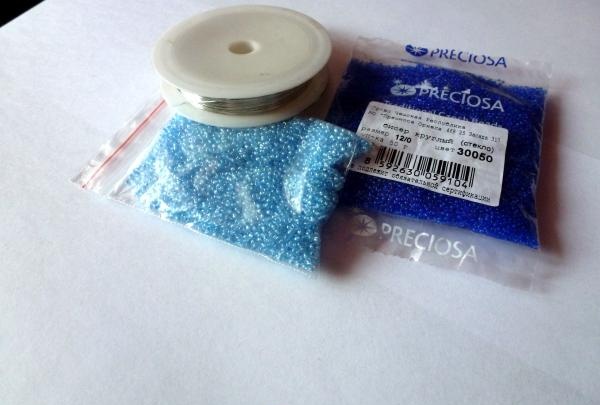
- beads (blue and dark blue);
- wire.
The first step is to prepare the wire. To do this, cut off sections equal to approximately 50 - 60 centimeters and bend them in half.
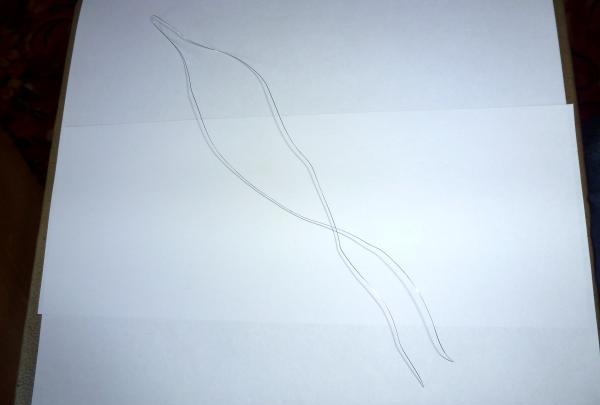
In order not to take up extra space, it is better to prepare many of these segments at once. Next, we divide all the cut wire into three approximately equal parts. I will make the first part two-color. To do this, we collect 7 blue beads onto one piece of wire.
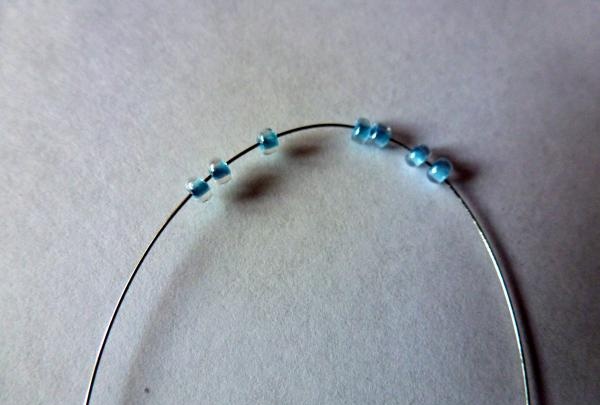
They should be exactly in the middle. Now we twist the loop.
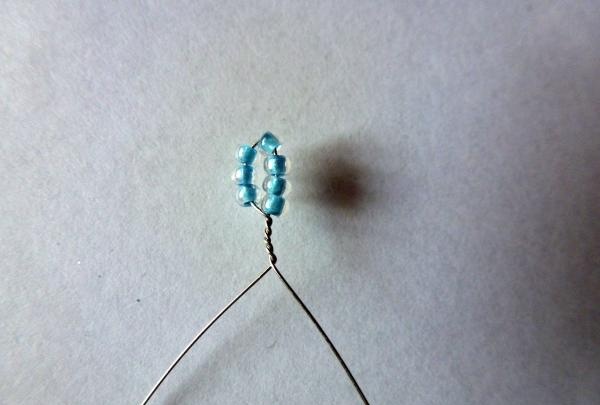
Then, we string 7 more beads onto one of the ends and twist the second loop.
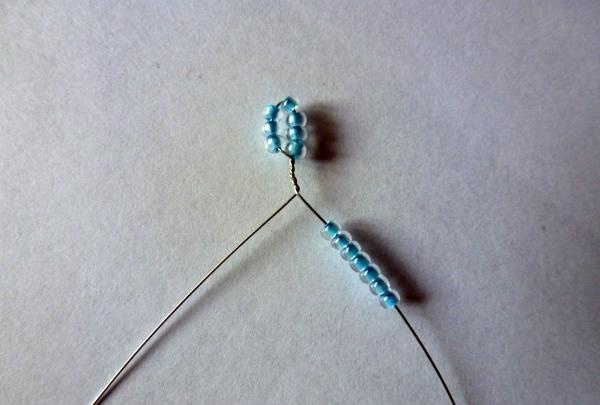
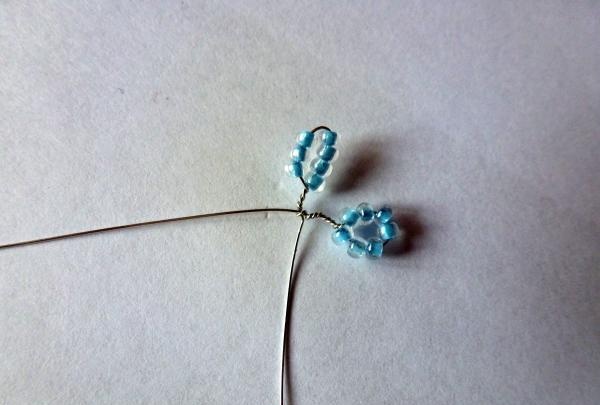
In the same way we make another loop, only now you need to string the beads onto the other end of the wire.
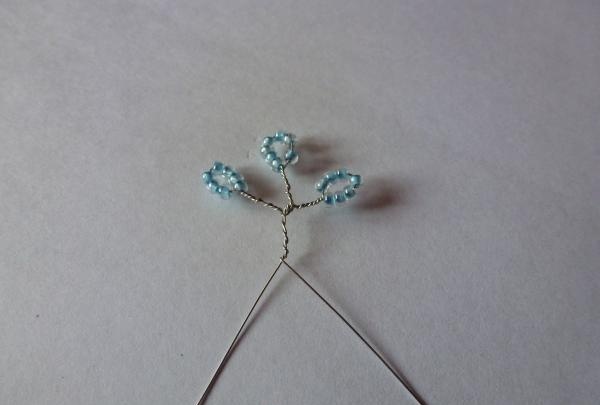
In order to continue twisting, you need to make several turns with the free ends to create a branch. So we got three leaves. We twist 2 more in the same way.
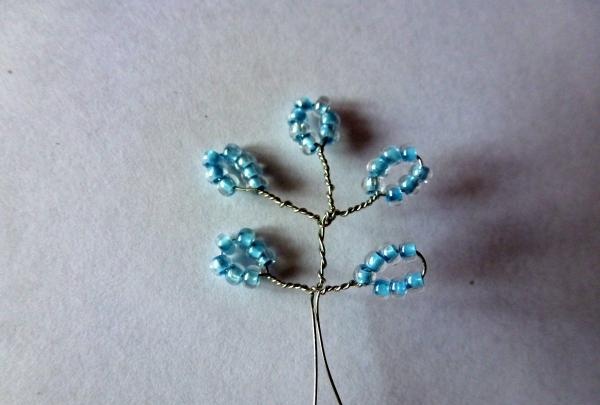
I decided to make 11 leaves in this two-color branch. The next two leaves will contain two colors at once. We collect the following combination of beads onto one end of the wire.
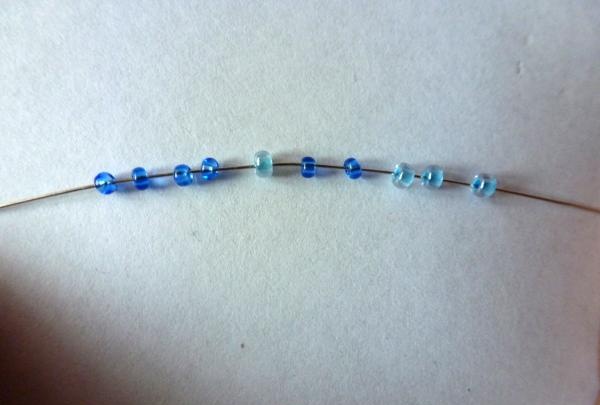
Then, just like before, we twist it.
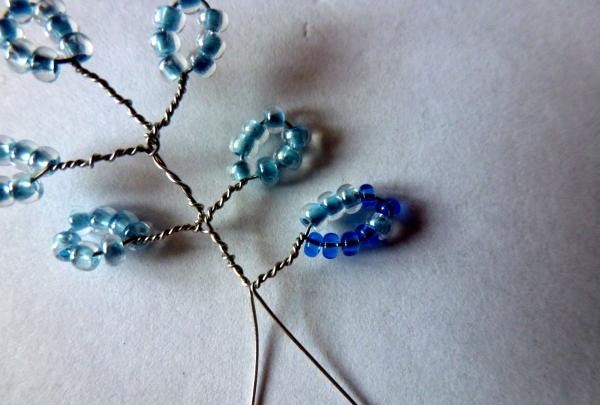
The next two symmetrical leaves are made in blue.
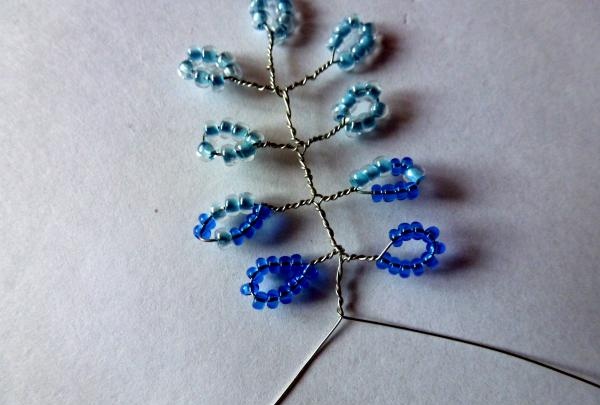
We also make the tenth and eleventh sheets from blue beads. We twist the remaining wire into one end.
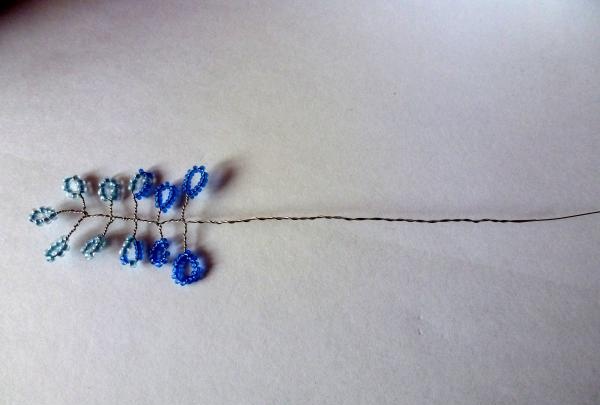
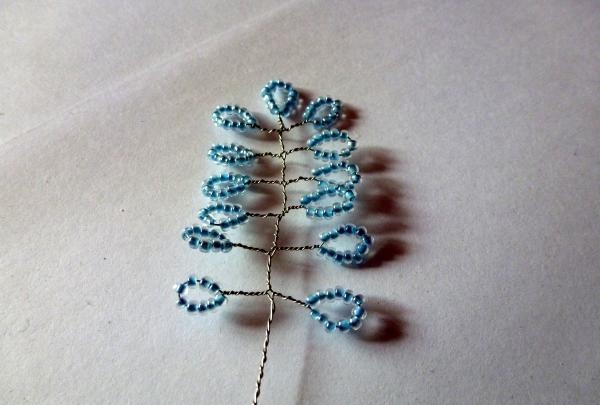
In the end we get a branch like this. We will need about 20 of them.
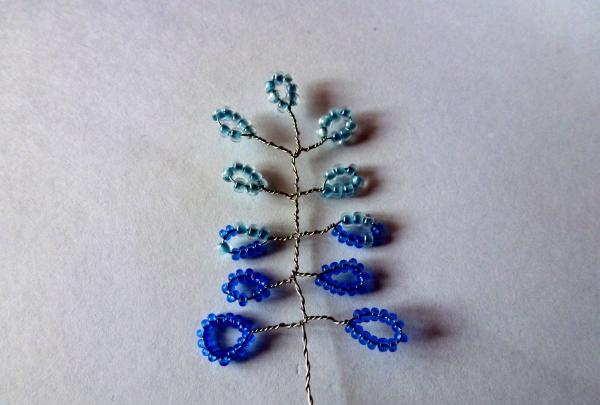
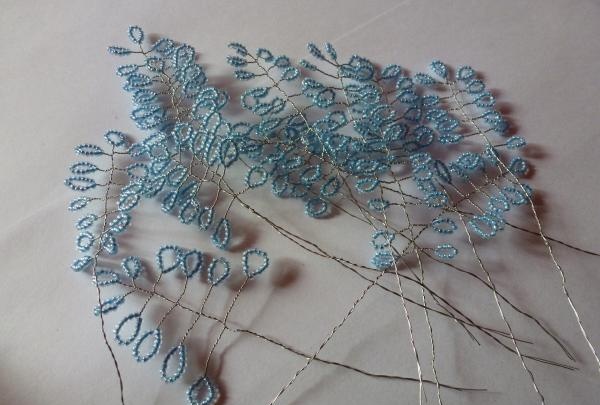
I decided to make the next type of branches only from blue beads.
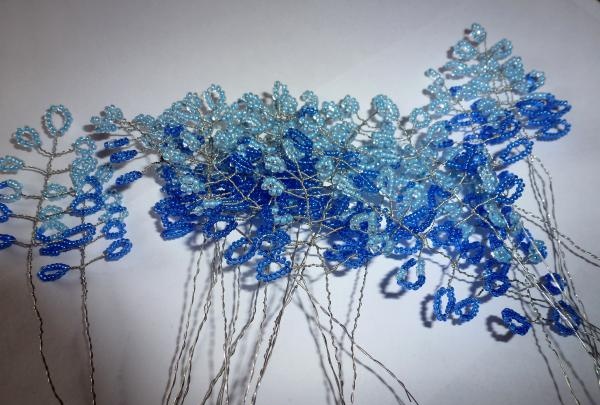
There were about 15 of them. And another 15 from blue.
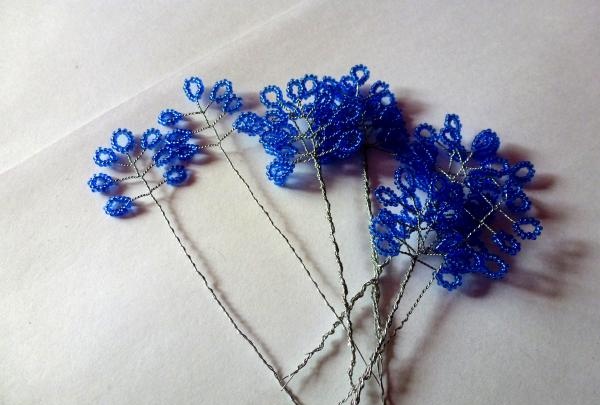
Now comes the most crucial moment. We take three branches of the same type and twist them together.
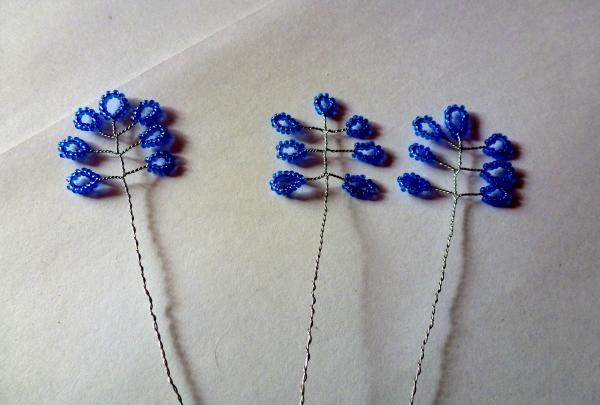
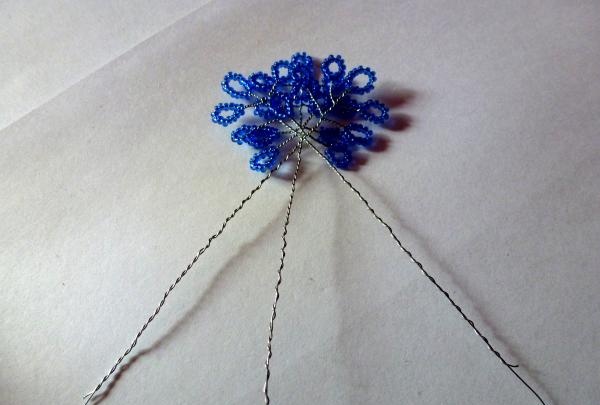
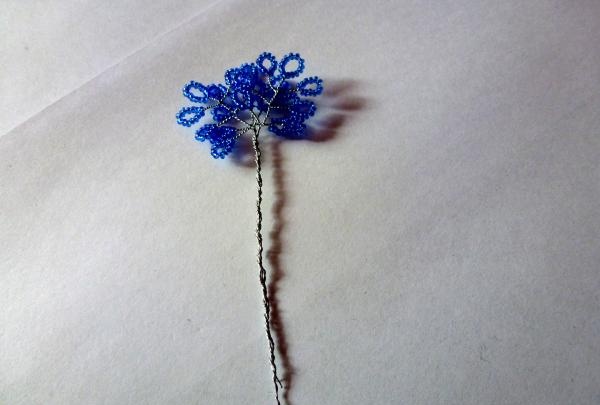
As a result, we get five fluffy branches.
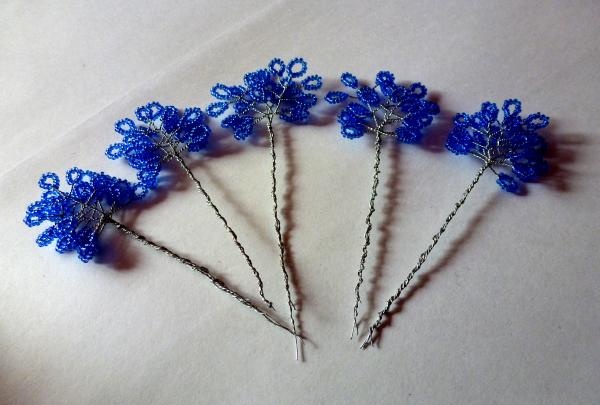
We repeat the same procedure with branches of a different type.
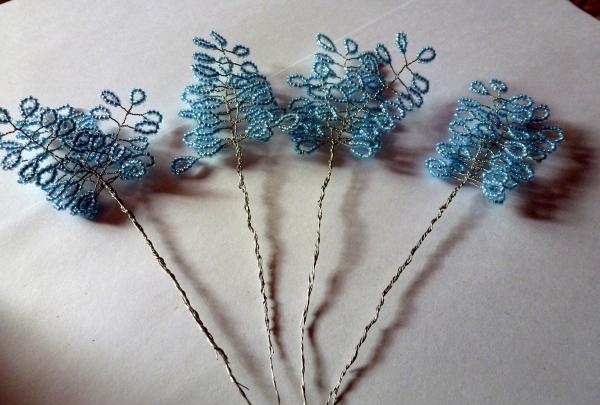
Now we will combine branches from different colors. I decided that in my tree the crown would be light, and closer to the roots the color would darken. Therefore, first I took a light branch, and, attaching a combined one to it, twisted them into one trunk.
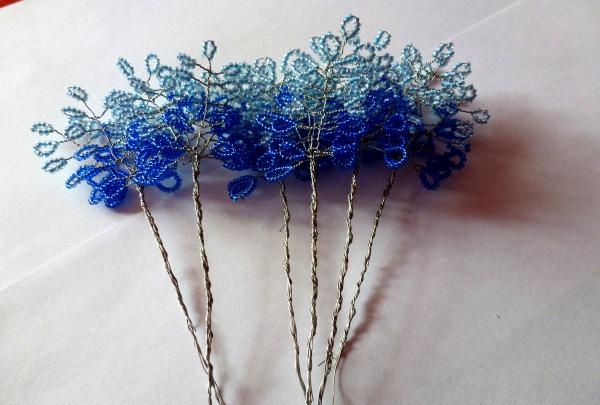
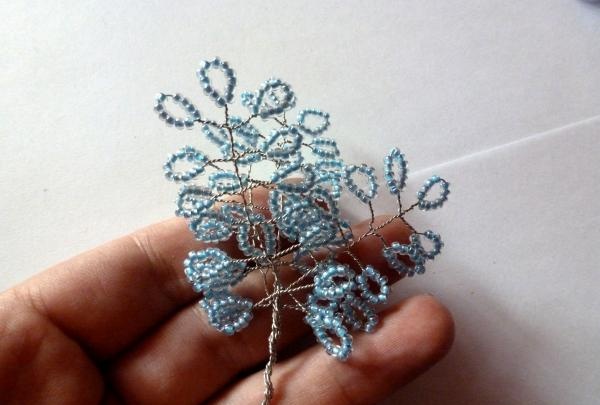
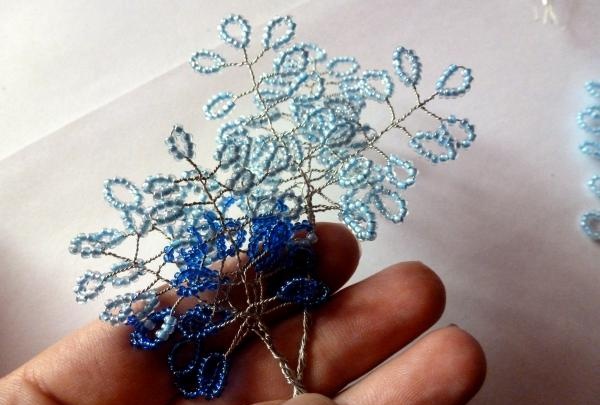
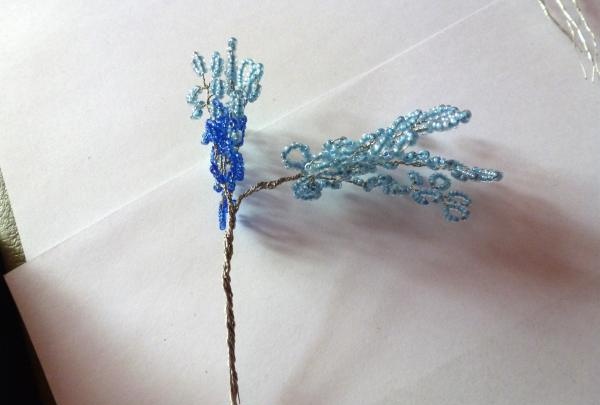
Stepping back a little, we fasten the branches from dark beads.
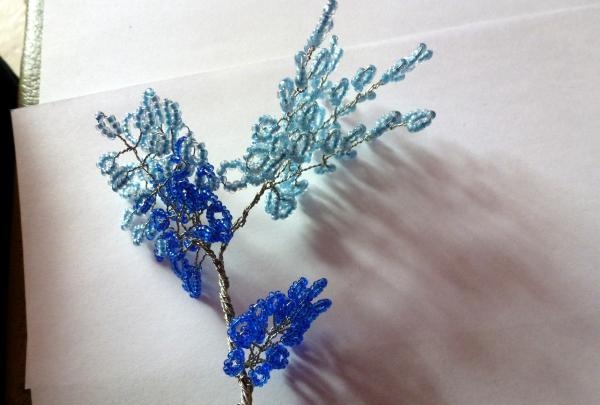
We get this tree.
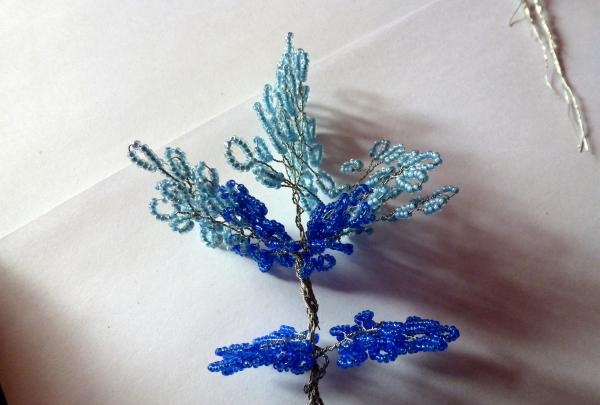
Repeat the process on the remaining branches.
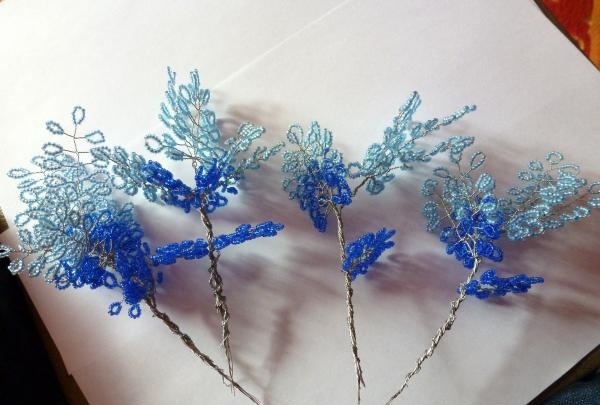
Next we need a base for the trunk. I decided to use an unnecessary pencil. I wrapped my branches around it.
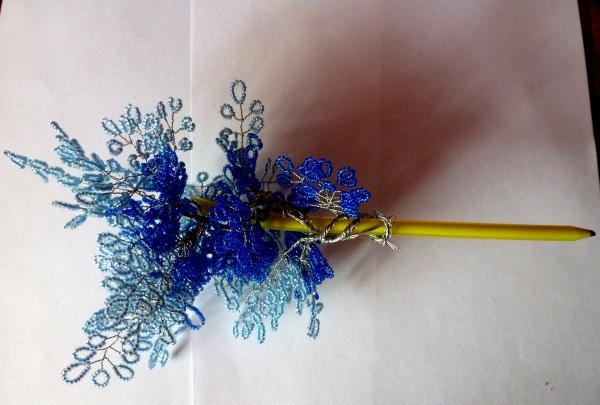
To prevent anything from slipping off the pencil in the future, the barrel is tightly wrapped with wire.
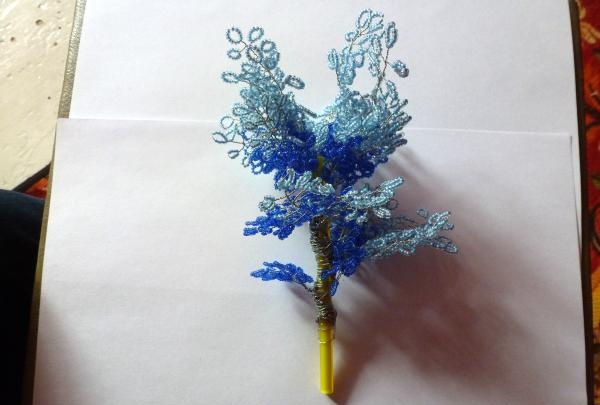
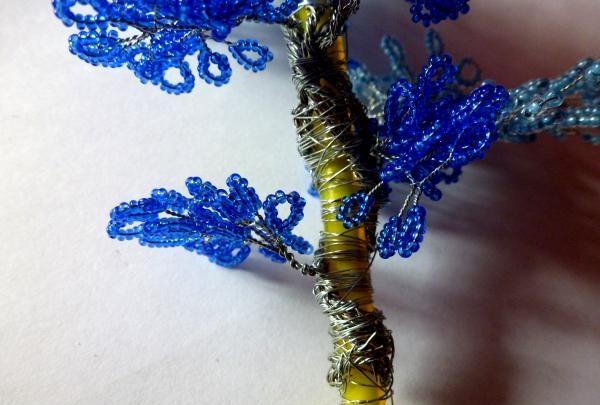
It is not necessary to wrap the barrel so that there are no gaps. In my opinion, they will add additional relief to the final look.
The next step is to create a base for the tree. For this I used:
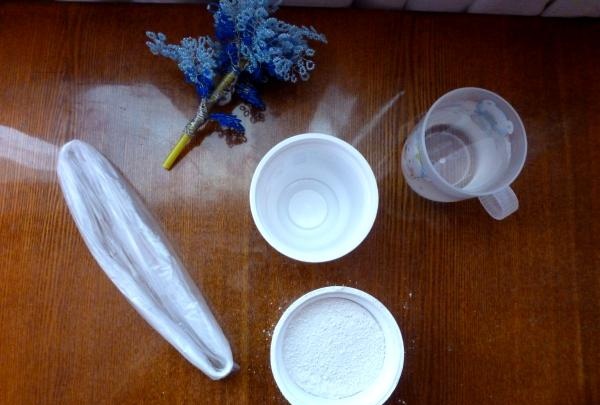
- plaster (gypsum is possible);
-water;
-plastic bag;
- a glass of yogurt.
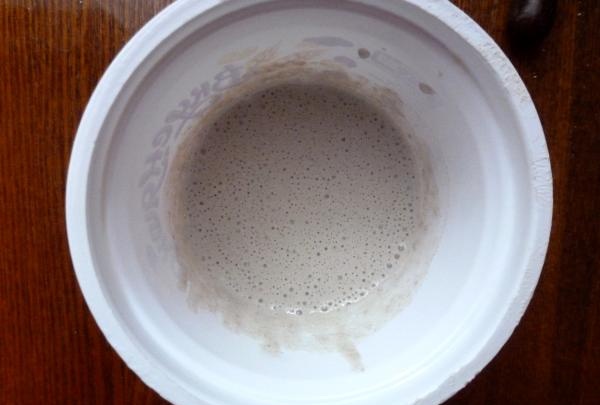
In an unnecessary container, mix the plaster and water to the consistency of liquid sour cream.
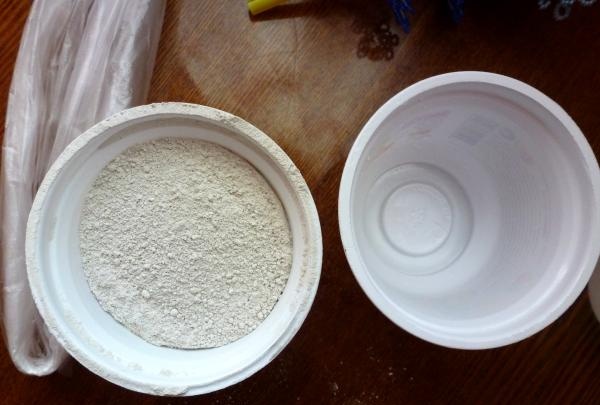
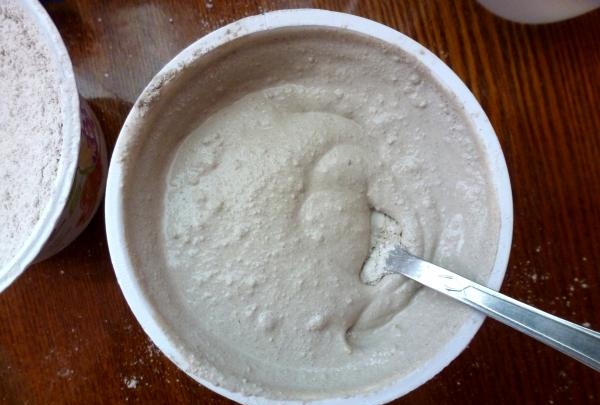
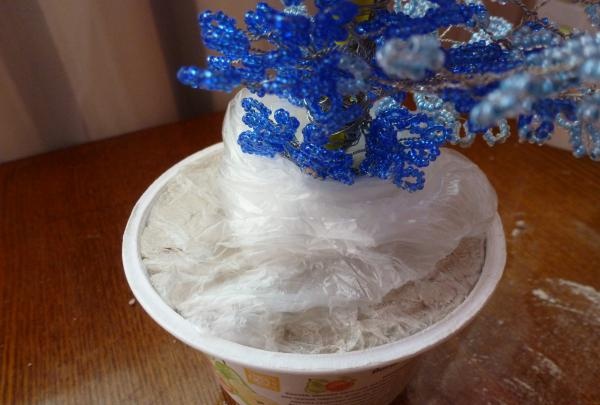
Then, cover the bowl chosen for the base with a bag, and, holding the tree trunk, place our solution into it.
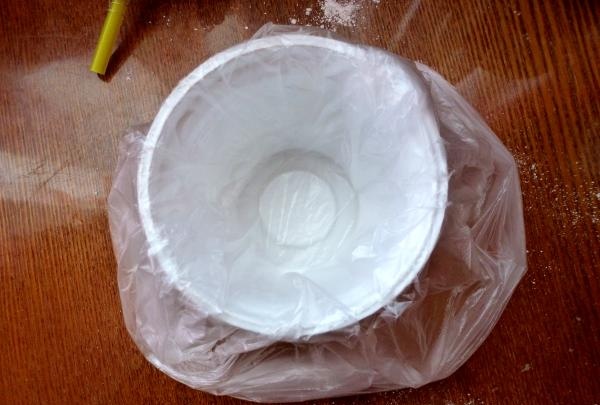
Carefully wrap the edges of the bag and send it to the far corner until completely dry.
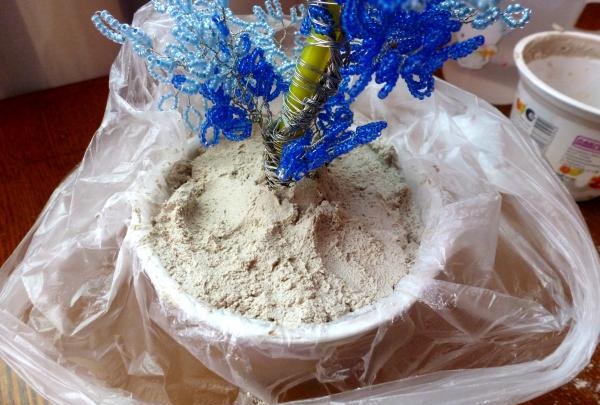
I used quick-drying plaster, so I didn't have to wait long.
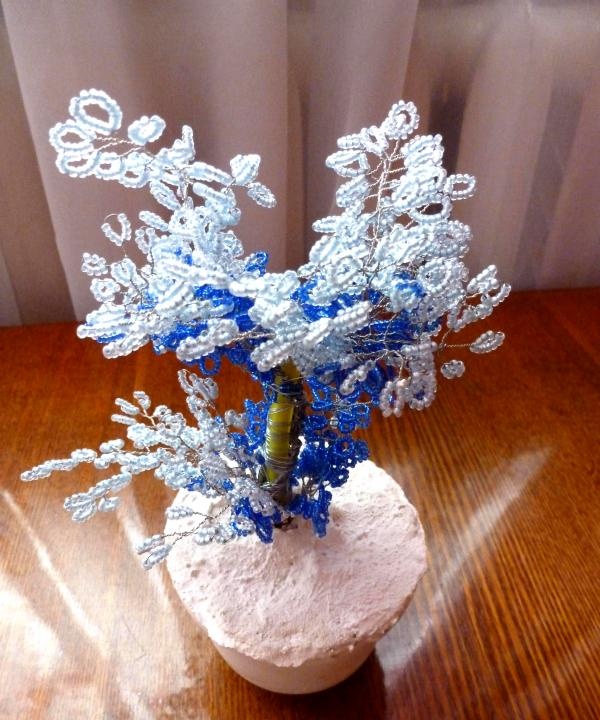
It's the trunk's turn. Mix the plaster again, only this time not with water, but with PVA glue.
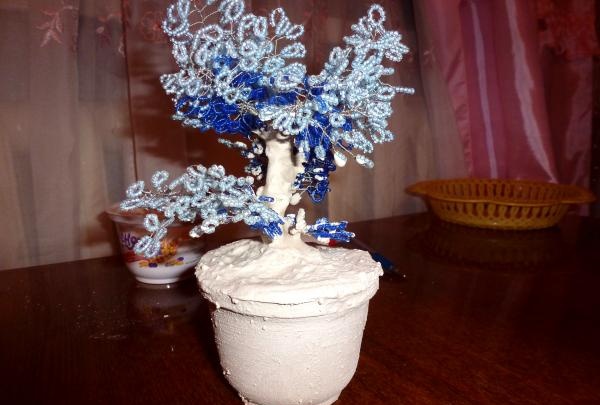
Using a regular brush, coat the trunk and base of the branches and let dry.
The final stage. Using a brush and acrylic paints, give the desired tone to the plastered surface.
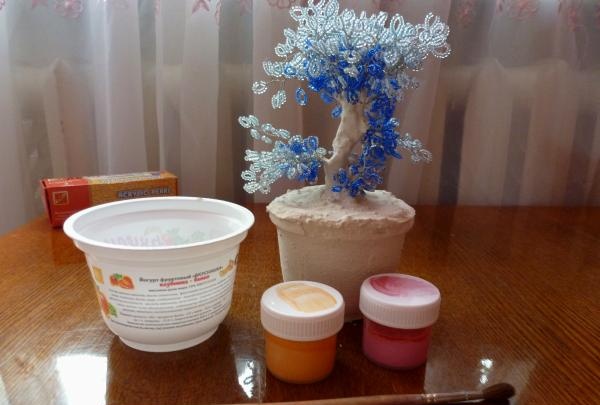
I decided to use pink and peach colors.
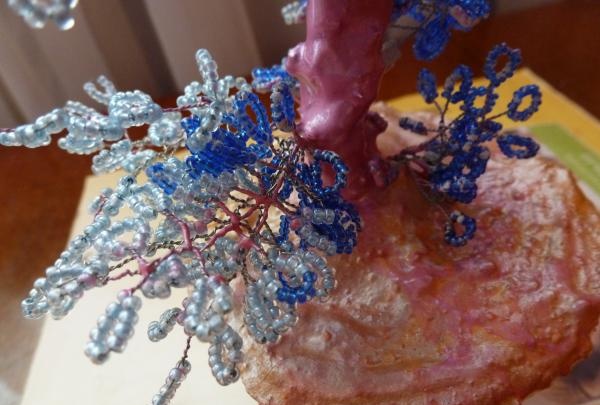
In addition to the thick branches, I also painted the wire at the top of the tree a little.
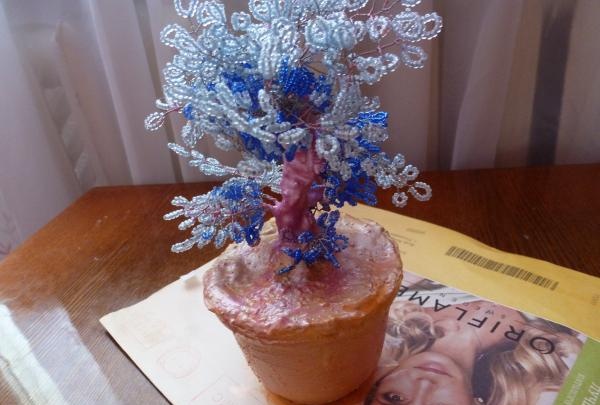
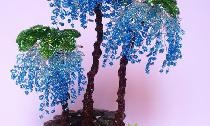
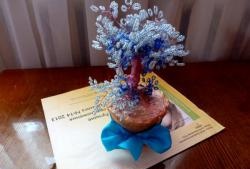
The result is such a cute tree.
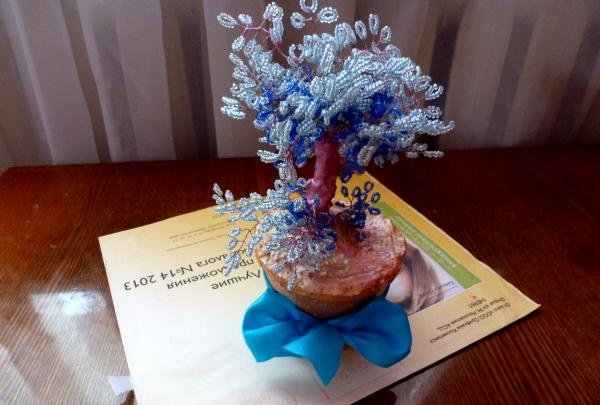
To prevent the base from blending in with the furniture, I accented it with a piece of bright blue silk ribbon.
To lift my spirits, I decided to make a beaded tree. To create it I needed the following materials:

- beads (blue and dark blue);
- wire.
The first step is to prepare the wire. To do this, cut off sections equal to approximately 50 - 60 centimeters and bend them in half.

In order not to take up extra space, it is better to prepare many of these segments at once. Next, we divide all the cut wire into three approximately equal parts. I will make the first part two-color. To do this, we collect 7 blue beads onto one piece of wire.

They should be exactly in the middle. Now we twist the loop.

Then, we string 7 more beads onto one of the ends and twist the second loop.


In the same way we make another loop, only now you need to string the beads onto the other end of the wire.

In order to continue twisting, you need to make several turns with the free ends to create a branch. So we got three leaves. We twist 2 more in the same way.

I decided to make 11 leaves in this two-color branch. The next two leaves will contain two colors at once. We collect the following combination of beads onto one end of the wire.

Then, just like before, we twist it.

The next two symmetrical leaves are made in blue.

We also make the tenth and eleventh sheets from blue beads. We twist the remaining wire into one end.

In the end we get a branch like this. We will need about 20 of them.

I decided to make the next type of branches only from blue beads.

There were about 15 of them. And another 15 from blue.


Now comes the most crucial moment. We take three branches of the same type and twist them together.


As a result, we get five fluffy branches.

We repeat the same procedure with branches of a different type.

Now we will combine branches from different colors. I decided that in my tree the crown would be light, and closer to the roots the color would darken. Therefore, first I took a light branch, and, attaching a combined one to it, twisted them into one trunk.


Stepping back a little, we fasten the branches from dark beads.

We get this tree.

Repeat the process on the remaining branches.

Next we need a base for the trunk. I decided to use an unnecessary pencil. I wrapped my branches around it.

To prevent anything from slipping off the pencil in the future, the barrel is tightly wrapped with wire.


It is not necessary to wrap the barrel so that there are no gaps. In my opinion, they will add additional relief to the final look.
The next step is to create a base for the tree. For this I used:

- plaster (gypsum is possible);
-water;
-plastic bag;
- a glass of yogurt.
In an unnecessary container, mix the plaster and water to the consistency of liquid sour cream.


Then, cover the bowl chosen for the base with a bag, and, holding the tree trunk, place our solution into it.

Carefully wrap the edges of the bag and send it to the far corner until completely dry.

I used quick-drying plaster, so I didn't have to wait long.


It's the trunk's turn. Mix the plaster again, only this time not with water, but with PVA glue.


Using a regular brush, coat the trunk and base of the branches and let dry.
The final stage. Using a brush and acrylic paints, give the desired tone to the plastered surface.

I decided to use pink and peach colors.

In addition to the thick branches, I also painted the wire at the top of the tree a little.

The result is such a cute tree.

To prevent the base from blending in with the furniture, I accented it with a piece of bright blue silk ribbon.
Similar master classes
Particularly interesting
Comments (1)


