Best Friend Bracelets
Summer is already here, which means you need to look bright and impressive! You don’t have to radically change your appearance for this: dye your hair red or wear things with splattered patterns, both at the bottom and at the top. To do this, you just need to buy some cute, summer and attractive bracelet, or, at best, make it yourself! It's so simple! Having made one bracelet, you immediately go to make more for your friends!
For the “Best Friend” bracelet we will need the following materials and tools:
- scissors;
- three blue waxed threads (two – 50 cm, one – 70 cm);
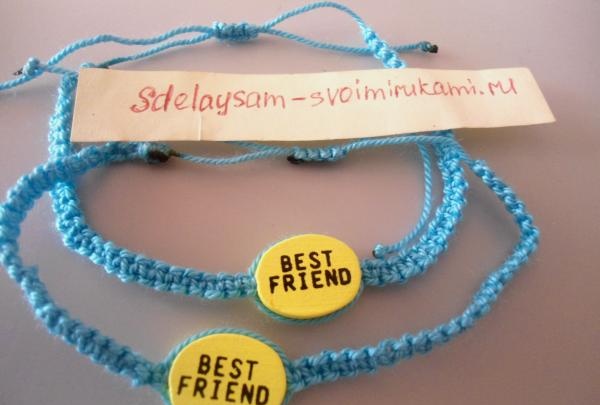
- two wooden beads with the inscription “Best Friend”;
- glue;
- lighter or matches;
- pin.
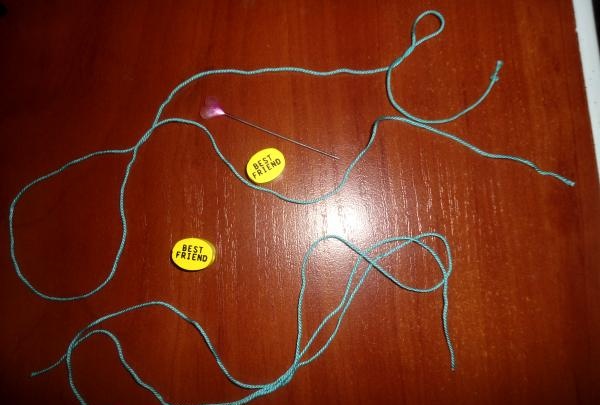
And so, to begin with, we take one thread of 50 cm and another of 70 cm. The smaller thread is the central one and we tie one end into a knot.
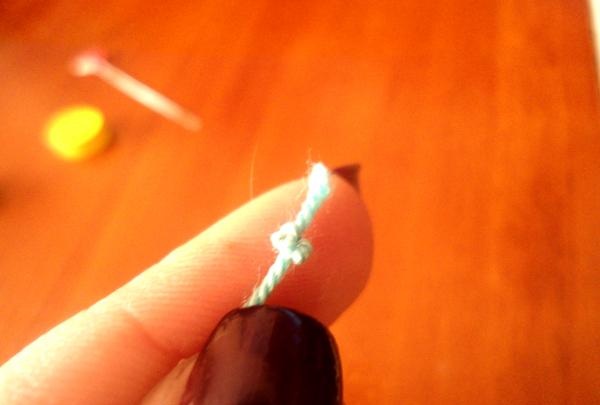
Below the knot we attach a pin and attach it all to the notebook, or I, for example, hook it to the desktop.
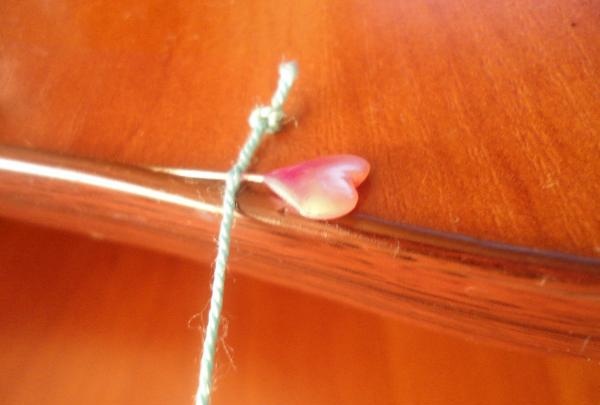
Now we divide the 70 cm thread in half and tie it 5-6 cm lower.
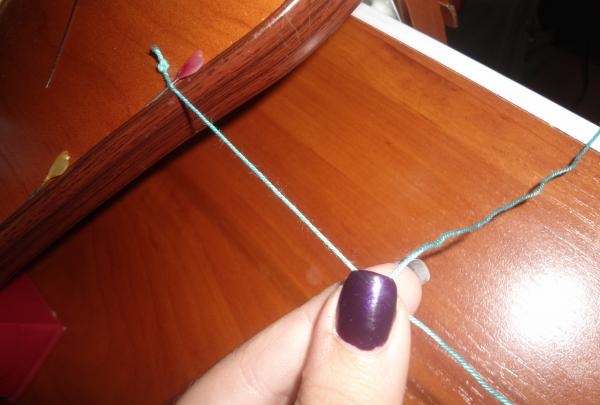
We pass the right thread above the central one and under the bottom of the left one, and the left thread under the central one and pull it through the formed loop on the right.We tighten it.
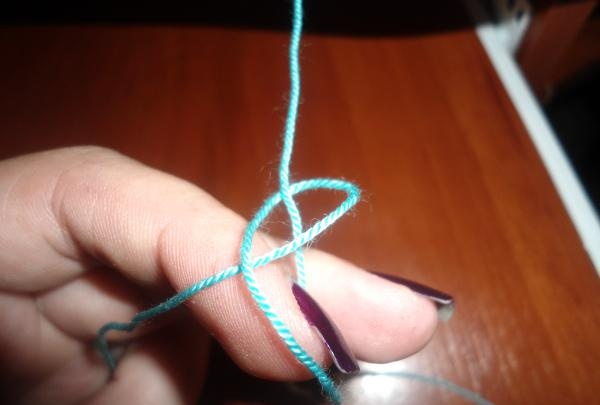
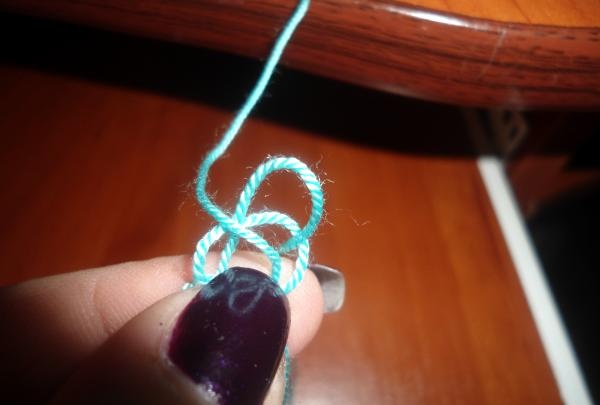
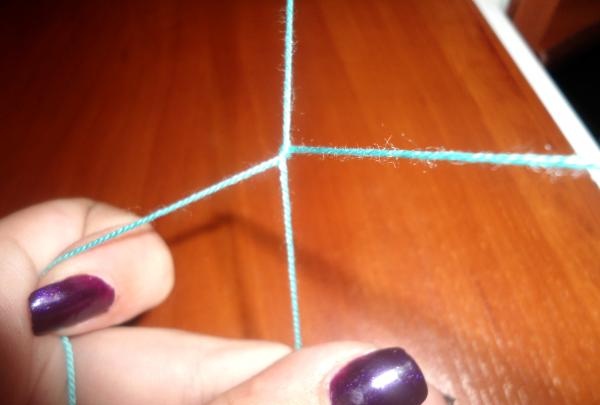
When we reach the middle of the bracelet, we put on our wooden “Best Friend” bead; if you don’t have one, you can make it yourself. To do this, we need a flat bead of one color and we write on it the inscription in the language you want, even in Japanese, and then cover it with gel polish or simple colorless.
We braid the bead in the same way as we wove the bracelet itself before.
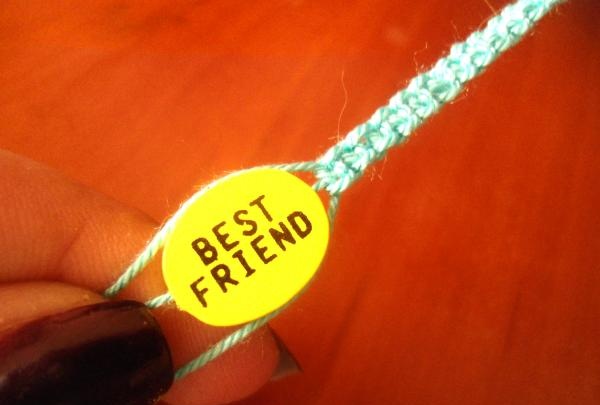
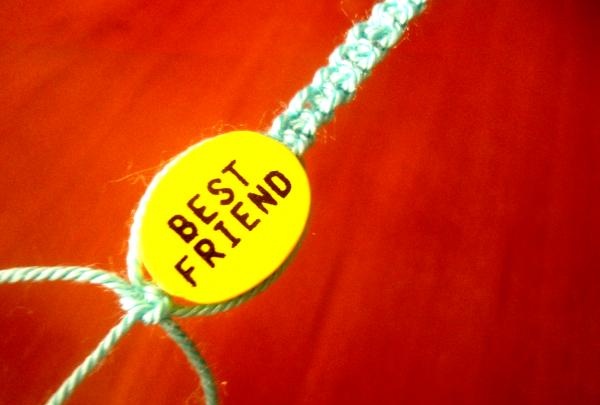
And now we just have to weave half of the bracelet.
When you have completed the bracelet, you simply make a knot and secure it with glue.
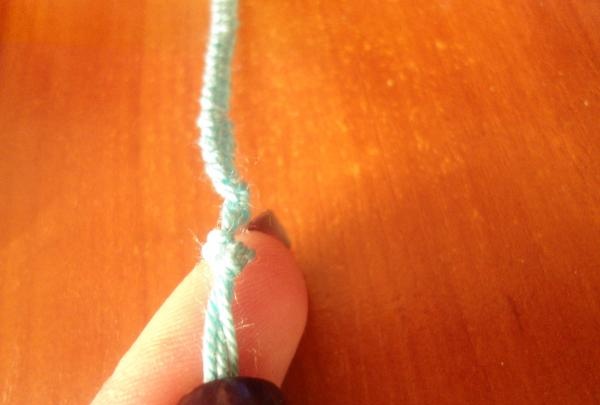
You can simply tie the bracelet or braid (rows 4-5) the ends.
Congratulations! Your bracelet is ready! Don't forget to make another bracelet for your friend too ;).
For the “Best Friend” bracelet we will need the following materials and tools:
- scissors;
- three blue waxed threads (two – 50 cm, one – 70 cm);
- two wooden beads with the inscription “Best Friend”;
- glue;
- lighter or matches;
- pin.

And so, to begin with, we take one thread of 50 cm and another of 70 cm. The smaller thread is the central one and we tie one end into a knot.

Below the knot we attach a pin and attach it all to the notebook, or I, for example, hook it to the desktop.

Now we divide the 70 cm thread in half and tie it 5-6 cm lower.

We pass the right thread above the central one and under the bottom of the left one, and the left thread under the central one and pull it through the formed loop on the right.We tighten it.


When we reach the middle of the bracelet, we put on our wooden “Best Friend” bead; if you don’t have one, you can make it yourself. To do this, we need a flat bead of one color and we write on it the inscription in the language you want, even in Japanese, and then cover it with gel polish or simple colorless.
We braid the bead in the same way as we wove the bracelet itself before.


And now we just have to weave half of the bracelet.
When you have completed the bracelet, you simply make a knot and secure it with glue.

You can simply tie the bracelet or braid (rows 4-5) the ends.
Congratulations! Your bracelet is ready! Don't forget to make another bracelet for your friend too ;).

Similar master classes
Particularly interesting
Comments (0)

