Toy traffic light
I bring to your attention an original educational craft toy made from an empty toothpaste box with step-by-step photos.
This master class is intended for: kindergarten teachers, primary school teachers, directors of additional education. In addition, such a “Traffic Light” toy will also be useful for parents of children, as a useful didactic tool for studying traffic light signals with their child. Also in kindergarten or school, you can organize an exhibition of the best traffic light, adding some original elements to it, for example, attaching a cap, handles, etc.
The traffic light doesn't require much time. And the material from which the toy will be made is quite simple and accessible to everyone. In general, there are no limits to imagination, so go ahead to the fairyland of traffic!
For production you will need the following equipment: colored paper (red, yellow, green), one white sheet of A4 format, PVA glue (or glue stick), scissors, an empty toothpaste box, a simple pencil, a ruler, an awl (for making a hole at a traffic light), a lid from a cream or deodorant (for drawing colored circles), a device for a balloon on a plastic leg (a toy will stand on it).

Description of work
Step No. 1. On a white sheet of paper, using a simple pencil and a ruler, make lines corresponding to the size of the toothpaste box.
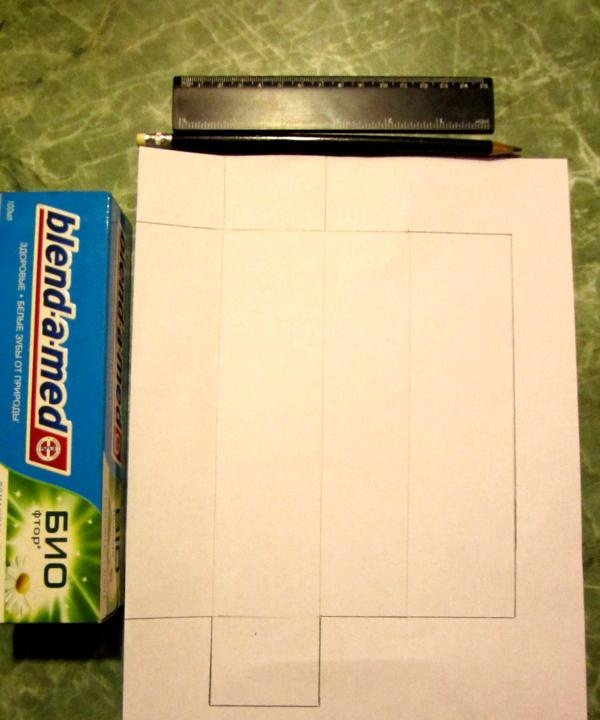
Note. For small children, you can prepare templates in advance.
Step No. 2. Using scissors, cut out the blank along the outer edges (outline), which will be needed for gluing the box.
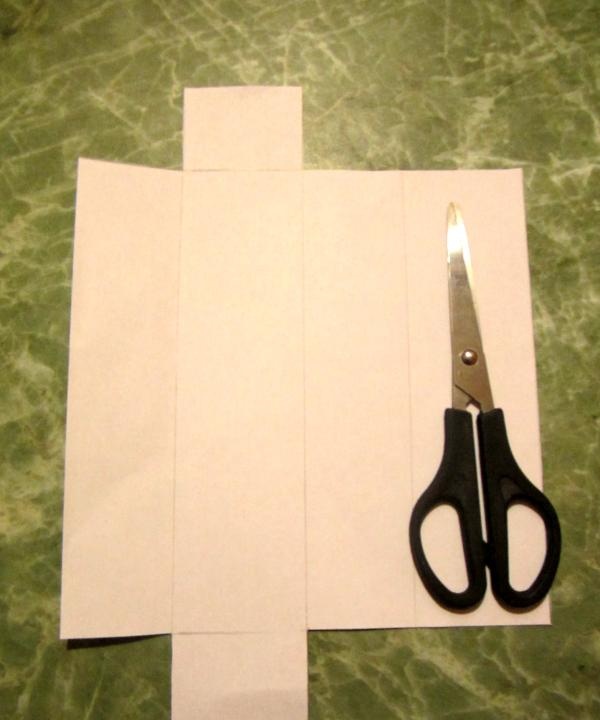
Step No. 3. Bend the paper along the lines so that the corners are even and clear when gluing the box.
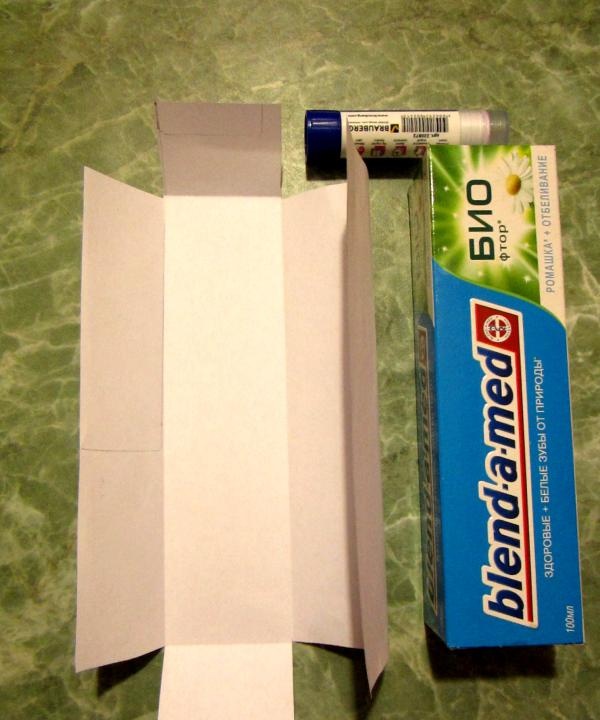
Step No. 4. Glue a white blank onto the box.
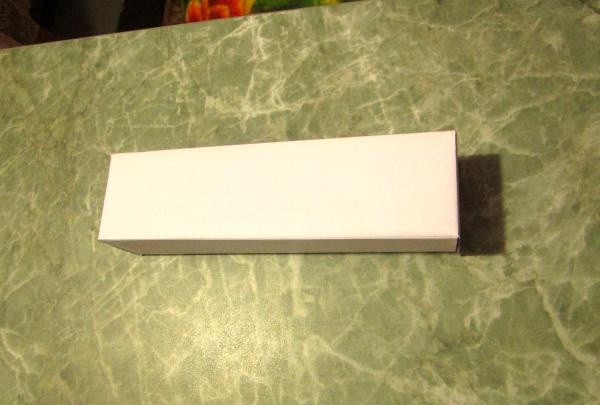
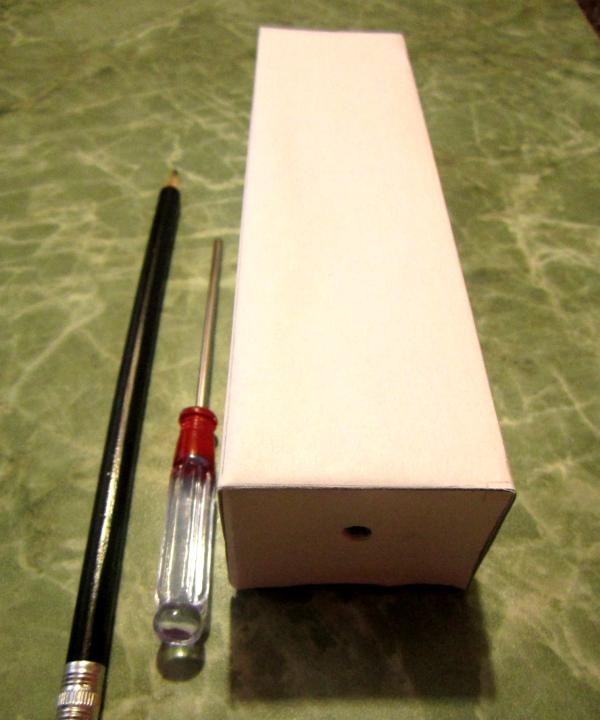
Step No. 5. Using a simple pencil, mark the location for the hole on the base of the traffic light (on one side), and then pierce it with an awl.
Step No. 6. On colored sheets - red, yellow, green, apply the cream lid and draw around it with a simple pencil.
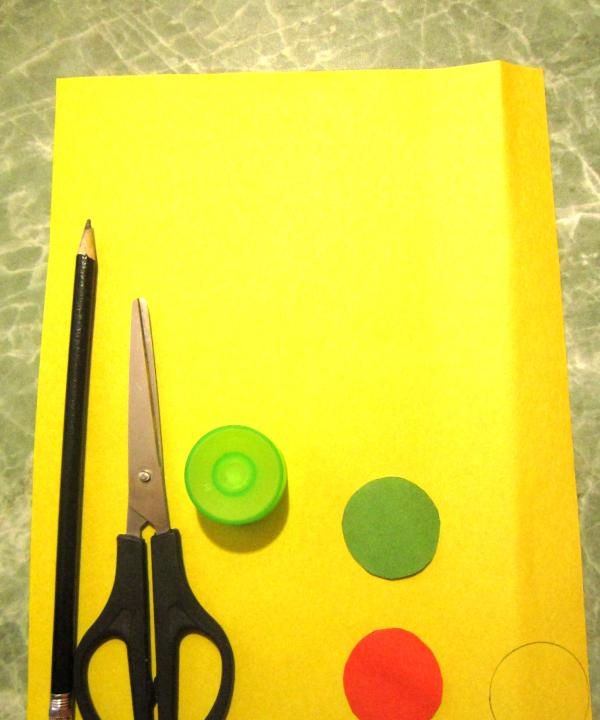
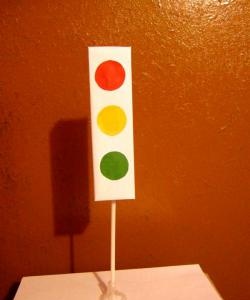
Step No. 7. Cut out the drawn colored circles with scissors and, using a glue stick, glue them to the traffic light in the correct sequence: red, yellow, green.
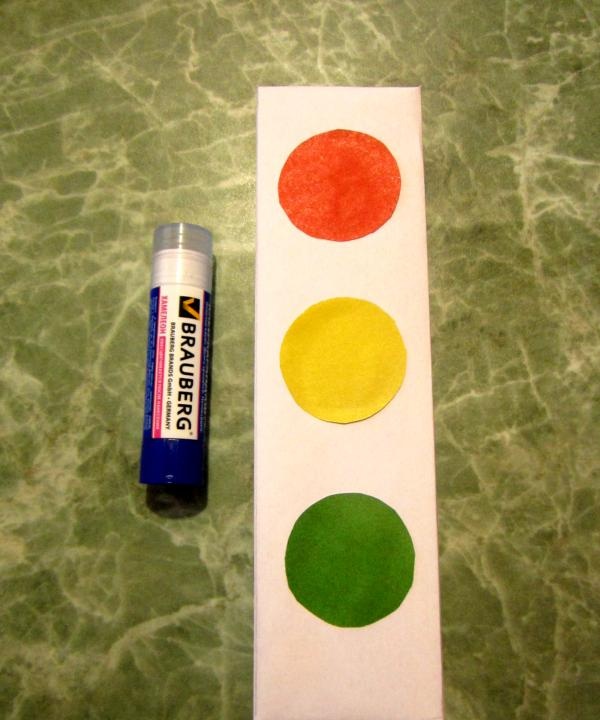
Step No. 8. Insert a plastic leg with a round base (a device for a balloon) into the hole made.
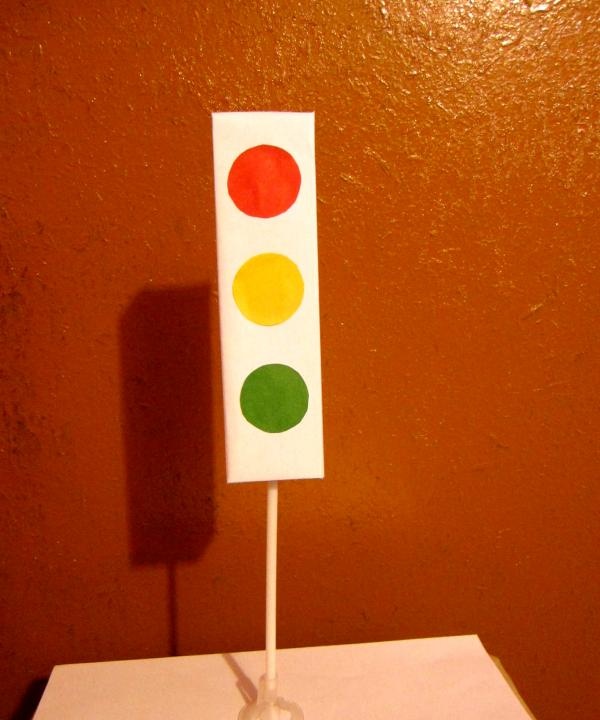
This is how the traffic light turned out! Such an educational voluminous toy will certainly attract the child not only to play, but will also be interesting for him when learning the rules of the road! Note. For better stability of the traffic light, it is better to shorten the plastic leg a little with scissors.
And to study signals, you can add one color to the toy from different sides - red, yellow and green, so that children can alternately name a certain color and what it means.
This master class is intended for: kindergarten teachers, primary school teachers, directors of additional education. In addition, such a “Traffic Light” toy will also be useful for parents of children, as a useful didactic tool for studying traffic light signals with their child. Also in kindergarten or school, you can organize an exhibition of the best traffic light, adding some original elements to it, for example, attaching a cap, handles, etc.
The traffic light doesn't require much time. And the material from which the toy will be made is quite simple and accessible to everyone. In general, there are no limits to imagination, so go ahead to the fairyland of traffic!
For production you will need the following equipment: colored paper (red, yellow, green), one white sheet of A4 format, PVA glue (or glue stick), scissors, an empty toothpaste box, a simple pencil, a ruler, an awl (for making a hole at a traffic light), a lid from a cream or deodorant (for drawing colored circles), a device for a balloon on a plastic leg (a toy will stand on it).

Description of work
Step No. 1. On a white sheet of paper, using a simple pencil and a ruler, make lines corresponding to the size of the toothpaste box.

Note. For small children, you can prepare templates in advance.
Step No. 2. Using scissors, cut out the blank along the outer edges (outline), which will be needed for gluing the box.

Step No. 3. Bend the paper along the lines so that the corners are even and clear when gluing the box.

Step No. 4. Glue a white blank onto the box.

Step No. 5. Using a simple pencil, mark the location for the hole on the base of the traffic light (on one side), and then pierce it with an awl.

Step No. 6. On colored sheets - red, yellow, green, apply the cream lid and draw around it with a simple pencil.

Step No. 7. Cut out the drawn colored circles with scissors and, using a glue stick, glue them to the traffic light in the correct sequence: red, yellow, green.

Step No. 8. Insert a plastic leg with a round base (a device for a balloon) into the hole made.

This is how the traffic light turned out! Such an educational voluminous toy will certainly attract the child not only to play, but will also be interesting for him when learning the rules of the road! Note. For better stability of the traffic light, it is better to shorten the plastic leg a little with scissors.
And to study signals, you can add one color to the toy from different sides - red, yellow and green, so that children can alternately name a certain color and what it means.
Similar master classes
Particularly interesting
Comments (1)

