Glass pincushion
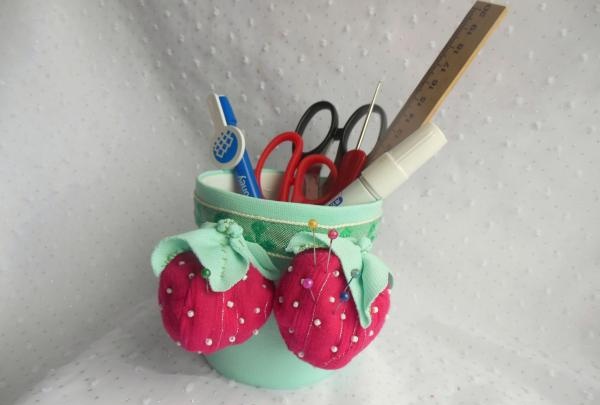
A convenient “organizer” for skilled craftswomen and beginning needlewomen! Such a glass will not only serve as a haven for scissors, ballpoint pens, rulers or crochet hooks, but will also become a storage place for needles, stationery pins and other “sharp” helpers for every housewife.
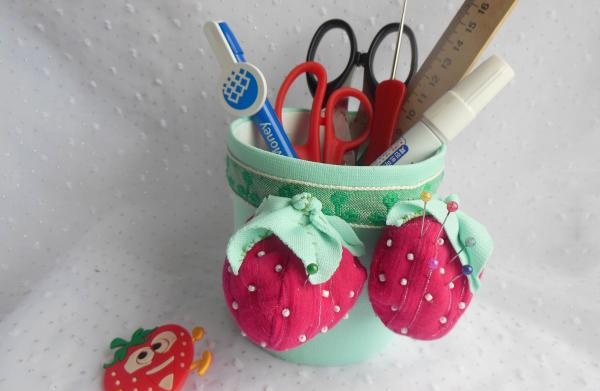
To create a sewing glass with soft strawberries, prepare the following:
• any unbreakable glass or the bottom of a plastic bottle with a flat bottom;
• green stretch fabric;
• red or juicy pink fabric for sewing strawberries;
• padding polyester;
• needle, scissors and thread;
• small white beads;
• green or white braid.

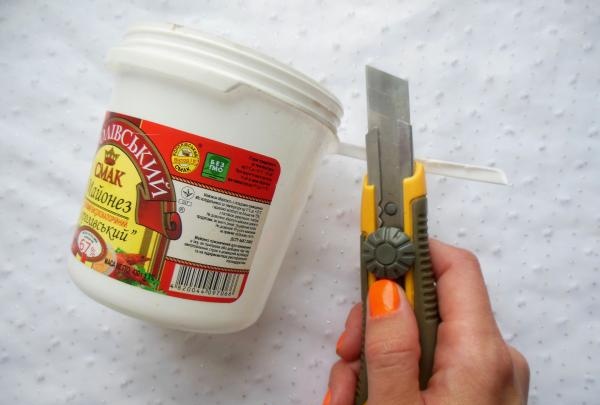
Free the plastic base from the emblems and level it (if necessary) with a stationery knife, cutting off all protruding fields.
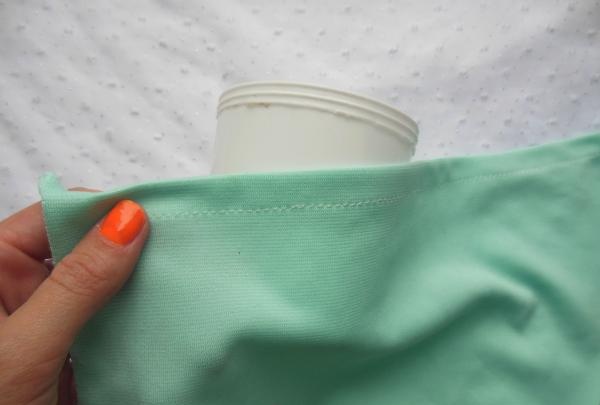
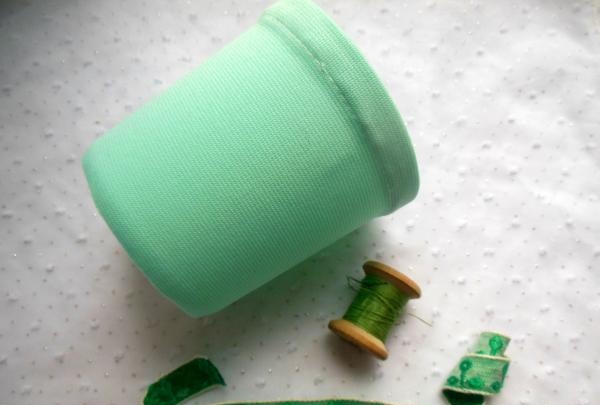
Then cover the glass with fabric and carefully sew its two parts along the edge.
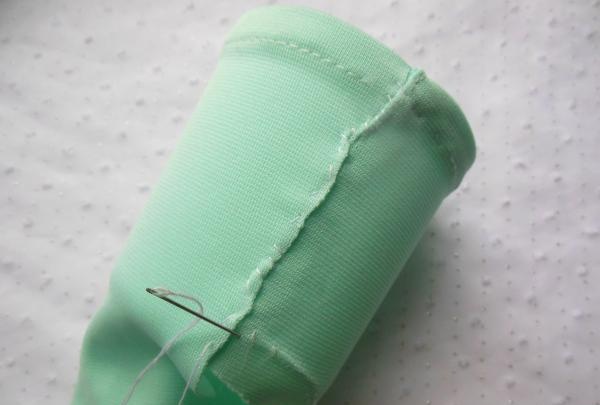
Trim the excess fabric along the bottom edge so that the bottom is completely free and the glass can stand steadily.
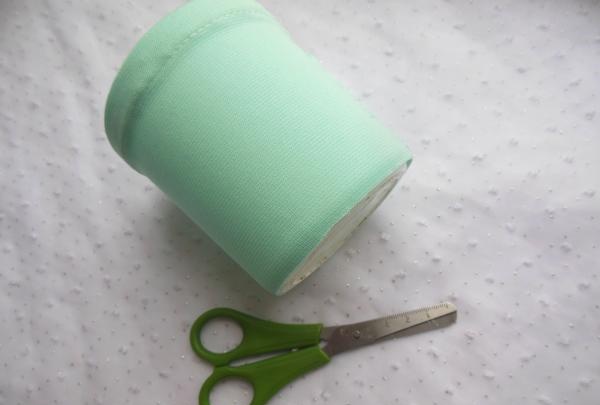
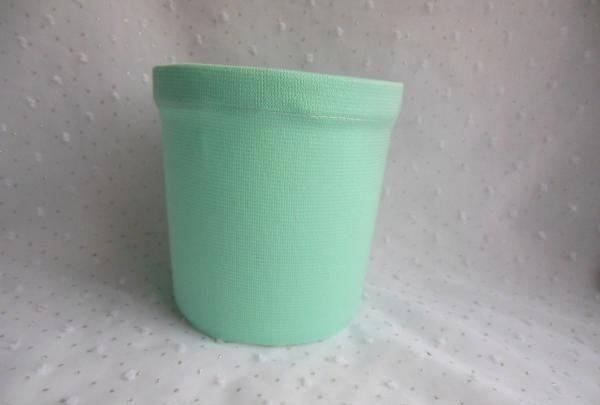
Before you start decorating the green base, hide the back seam with braid or a narrow strip of the same fabric. It is better to stitch it in the center, gathering it up a little so that the stitches are not noticeable at all.
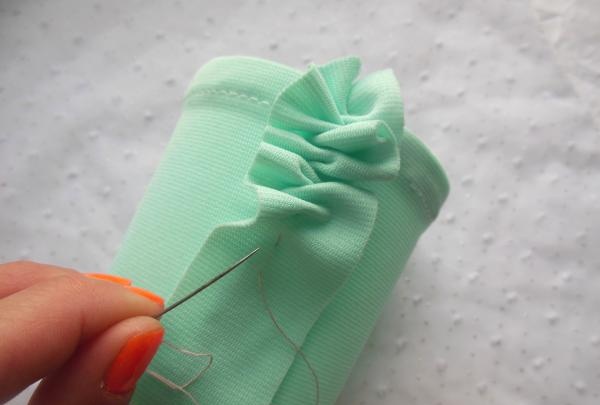
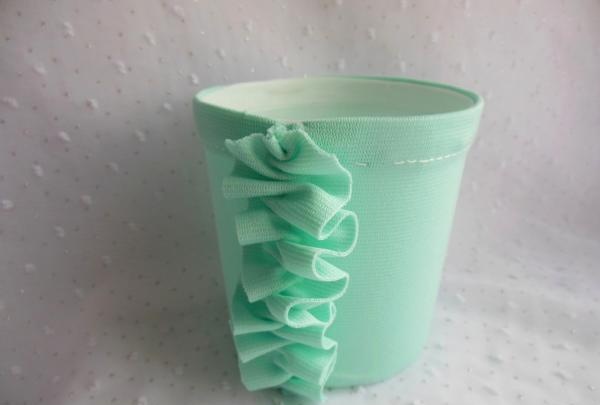
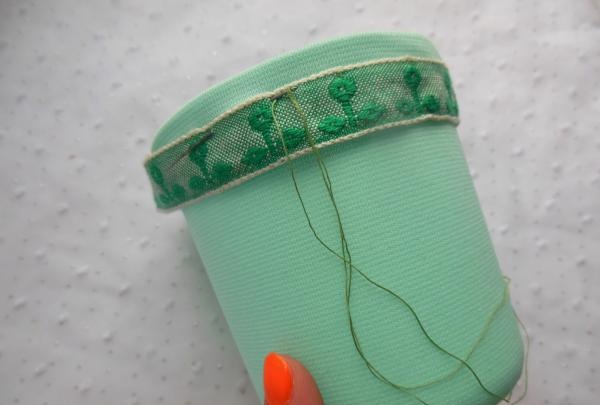
Stepping back 2-3 millimeters from the top edge, carefully sew the braid.
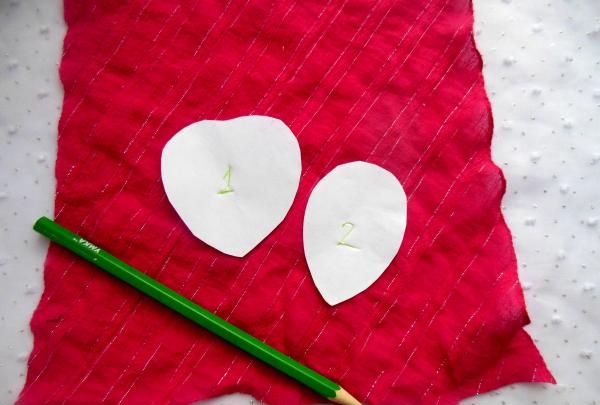
You first need to draw the berries on paper, and then transfer the finished patterns to the fabric.
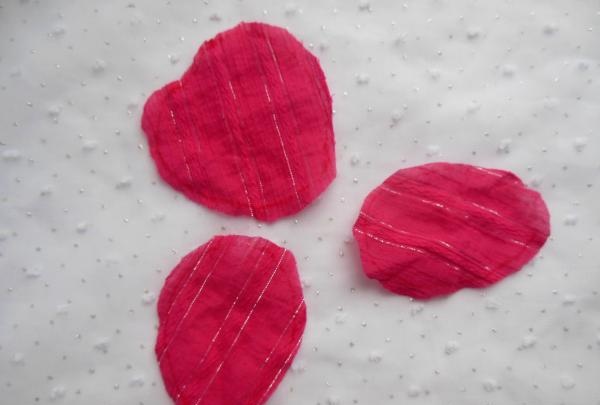
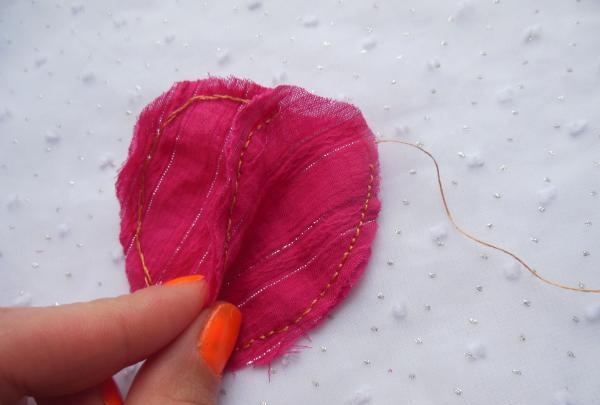
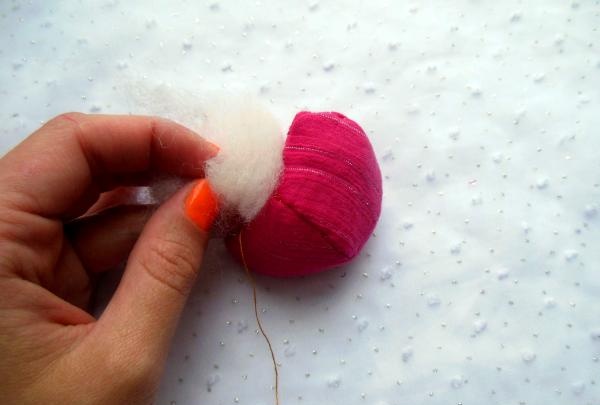
Then sew the three parts together, leaving a small slot on top for stuffing the berries with padding polyester.
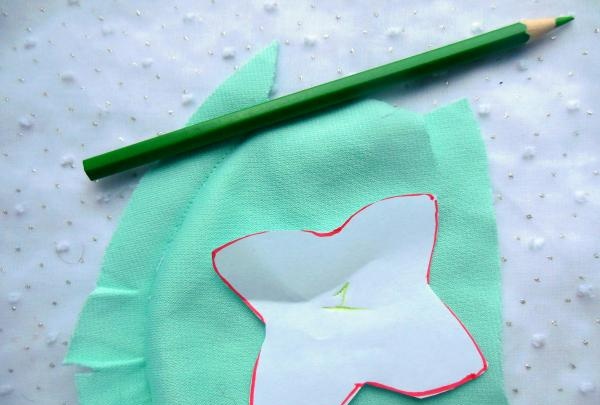
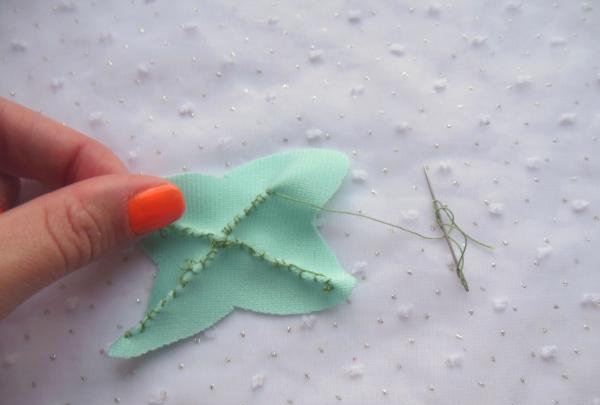
Cut out the leaves for the strawberries from the same green fabric and sew them in the middle with a loop-shaped seam. This seam will be the “veins” of our leaf.
Then sew the foliage to the berries and decorate them with beads.
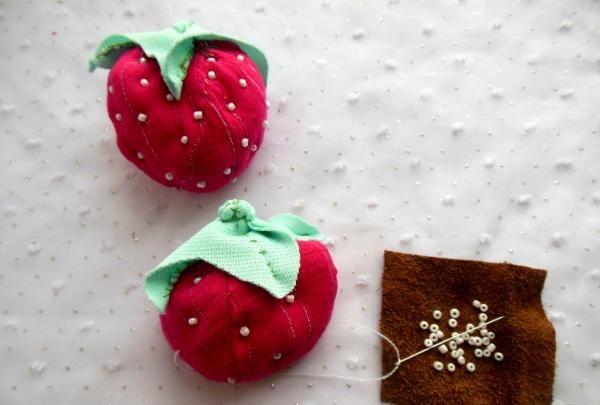
All that remains is to sew the strawberries to the braid and you can use these pads as pincushions.
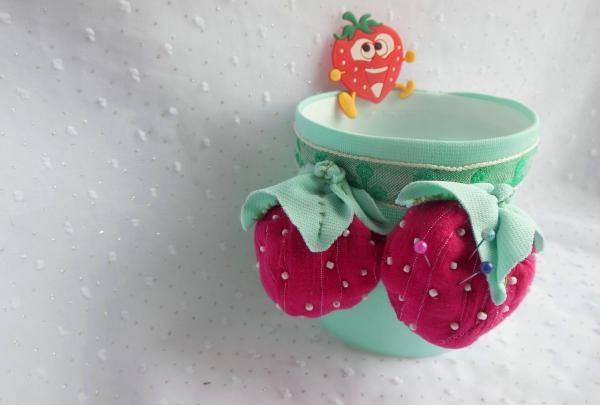
And now your practical pincushion glass is ready! It will decorate any workplace, and will also serve its owner for many, many years.

To create a sewing glass with soft strawberries, prepare the following:
• any unbreakable glass or the bottom of a plastic bottle with a flat bottom;
• green stretch fabric;
• red or juicy pink fabric for sewing strawberries;
• padding polyester;
• needle, scissors and thread;
• small white beads;
• green or white braid.

Free the plastic base from the emblems and level it (if necessary) with a stationery knife, cutting off all protruding fields.

Then cover the glass with fabric and carefully sew its two parts along the edge.


Trim the excess fabric along the bottom edge so that the bottom is completely free and the glass can stand steadily.


Before you start decorating the green base, hide the back seam with braid or a narrow strip of the same fabric. It is better to stitch it in the center, gathering it up a little so that the stitches are not noticeable at all.


Stepping back 2-3 millimeters from the top edge, carefully sew the braid.


You first need to draw the berries on paper, and then transfer the finished patterns to the fabric.


Then sew the three parts together, leaving a small slot on top for stuffing the berries with padding polyester.


Cut out the leaves for the strawberries from the same green fabric and sew them in the middle with a loop-shaped seam. This seam will be the “veins” of our leaf.


Then sew the foliage to the berries and decorate them with beads.

All that remains is to sew the strawberries to the braid and you can use these pads as pincushions.

And now your practical pincushion glass is ready! It will decorate any workplace, and will also serve its owner for many, many years.

Similar master classes
Particularly interesting
Comments (0)

