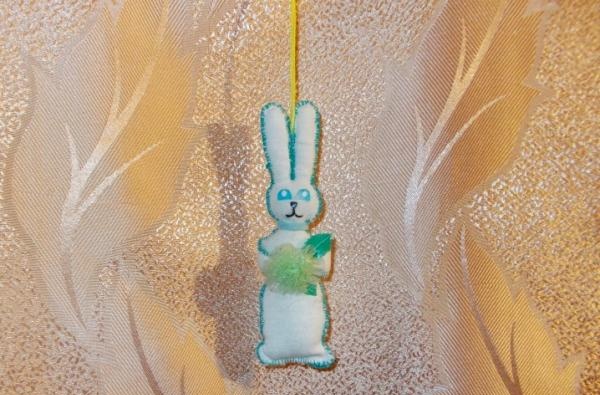
Christmas tree toy “Bunny”
Hello, dear site visitors! Today I will tell you how to make a “Bunny” toy with your own hands, which can be used as a decoration for the New Year’s holiday, or as a keychain for a car, or simply as a fun toy. I hope that you and your children will like this toy.
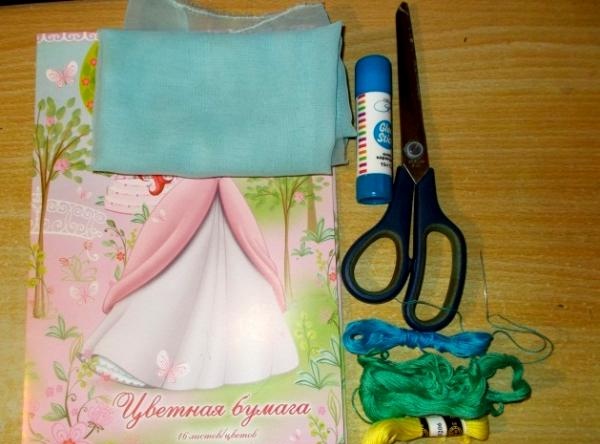
To make such a toy we will need:
1. White and blue fabric;
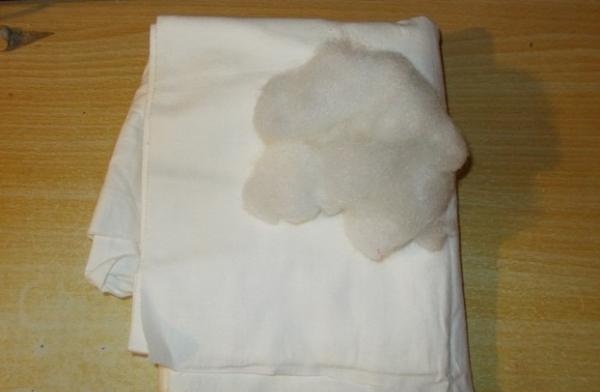
2. Cotton wool or padding polyester;
3. Scissors and glue;
4. Threads (blue and green);
5. Needle;
6. Colored paper and cardboard;
7. An item for decoration (for example, a small artificial flower).
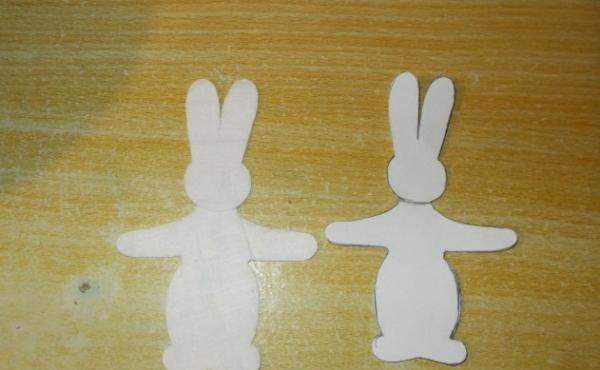
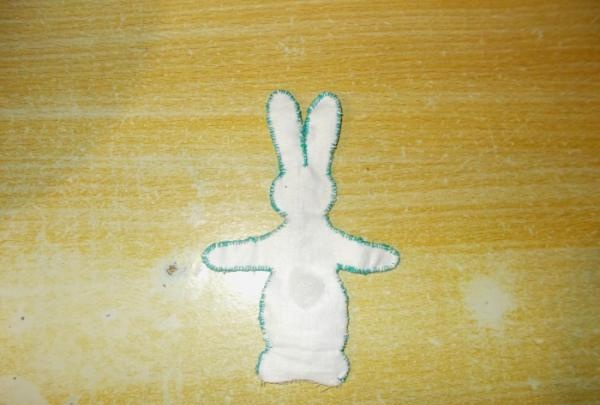
First, we take a cardboard sheet and draw a sample of the future toy on it. Having cut out the sample, we draw it onto a piece of white fabric, and, marking the inside of the future toy with the letter “B”, cut it out.
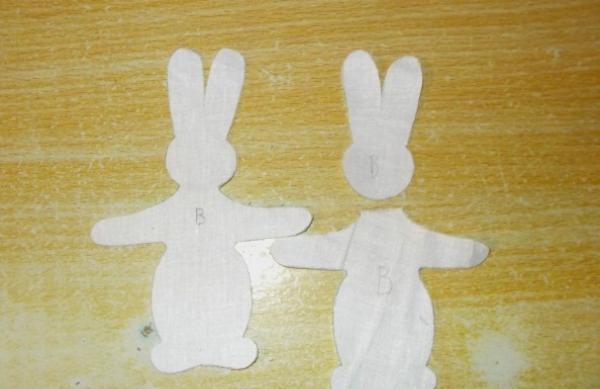
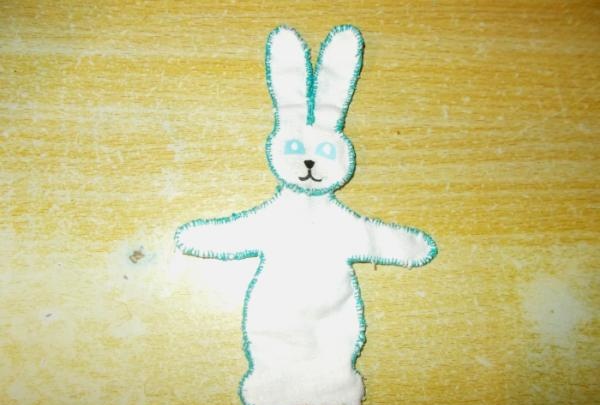
Now we make the second side on the white fabric, the front one, but we will not do it in the usual way: we draw the head of the future toy separately from the body and then cut it out:
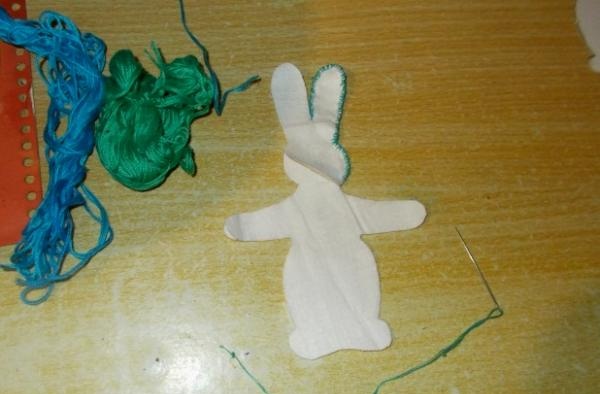
Next, we sew our model by taking two different threads into a needle - blue and green.The result will be a seam of an unusual color.
We must sew our model from the outside (because if we sew from the inside, we will not be able to turn it inside out (it all depends on the size; ours is small, about the size of a palm)). We hide the neck in the divided part of the model down under the head and sew it up without touching the back sample (the one that represents the back). If we immediately filled the head of the toy with cotton wool, slightly unfinishing the model from below, then it would be more convenient for us to work with it.
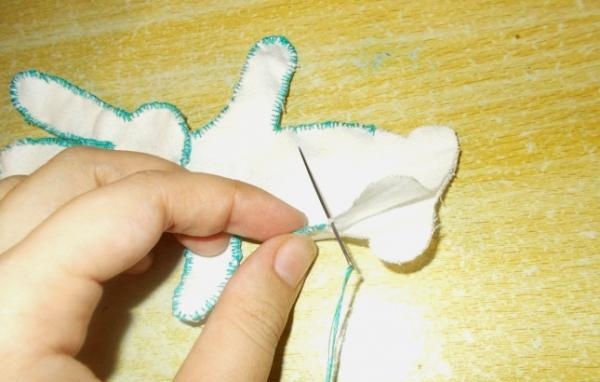
We hide the knot at the end of the thread inside crafts:
Leaving a hole for inserting the filler, we glue on the eyes, nose and mouth from colored paper glued with cardboard at the bottom and tape at the top. The eyes can be made blue, or black or brown - this is a choice of your taste; At the back we attach a tail from cotton wool or padding polyester.
Fill the toy: insert padding polyester or cotton wool little by little with tweezers. It is most convenient to use tweezers to insert cotton wool or padding polyester into the future toy if it is small.
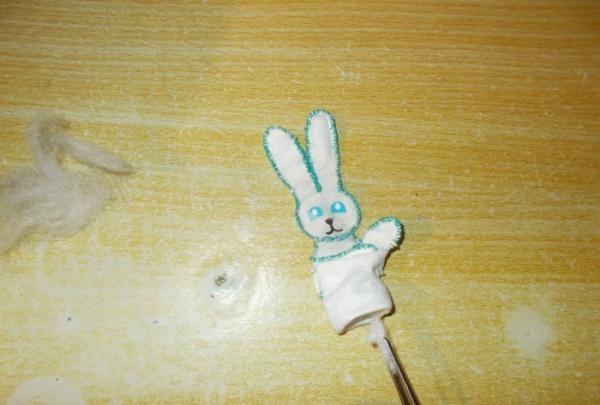
Sew up the hole for the cotton wool and attach a yellow loop of floss thread. Sew a small scarf onto the neck of the almost finished toy:
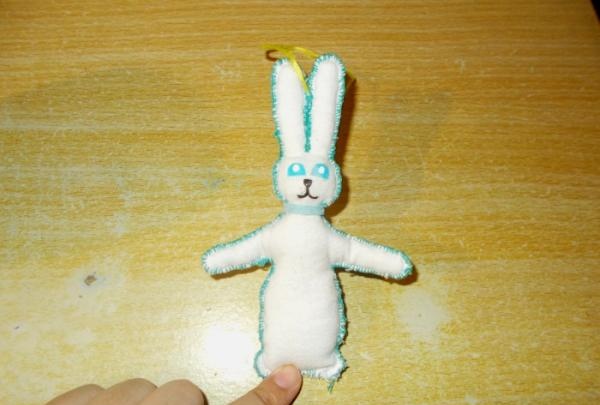
Let's make our toy festive. Let the bunny have some kind of flower in his paws, sewn from fabric or assembled from paper (we made the leaves from colored paper glued with tape). Glue the decoration to the bunny's paws and our "Bunny" toy is ready.
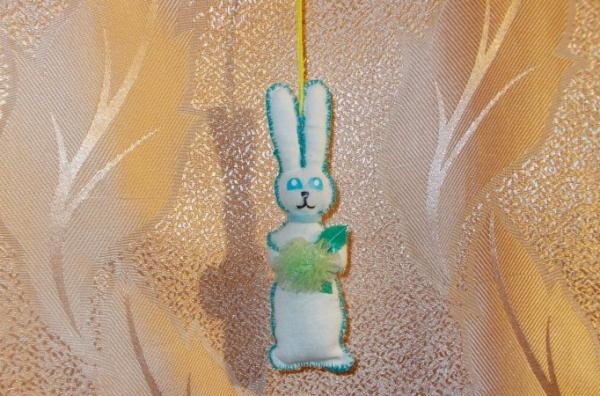
Our toy bunny is ready! I hope that it will become a good home decoration or decoration in the car interior, and will be able to please you and your children with its attractiveness.


To make such a toy we will need:
1. White and blue fabric;
2. Cotton wool or padding polyester;
3. Scissors and glue;
4. Threads (blue and green);
5. Needle;
6. Colored paper and cardboard;
7. An item for decoration (for example, a small artificial flower).


First, we take a cardboard sheet and draw a sample of the future toy on it. Having cut out the sample, we draw it onto a piece of white fabric, and, marking the inside of the future toy with the letter “B”, cut it out.

Now we make the second side on the white fabric, the front one, but we will not do it in the usual way: we draw the head of the future toy separately from the body and then cut it out:

Next, we sew our model by taking two different threads into a needle - blue and green.The result will be a seam of an unusual color.
We must sew our model from the outside (because if we sew from the inside, we will not be able to turn it inside out (it all depends on the size; ours is small, about the size of a palm)). We hide the neck in the divided part of the model down under the head and sew it up without touching the back sample (the one that represents the back). If we immediately filled the head of the toy with cotton wool, slightly unfinishing the model from below, then it would be more convenient for us to work with it.

We hide the knot at the end of the thread inside crafts:

Leaving a hole for inserting the filler, we glue on the eyes, nose and mouth from colored paper glued with cardboard at the bottom and tape at the top. The eyes can be made blue, or black or brown - this is a choice of your taste; At the back we attach a tail from cotton wool or padding polyester.


Fill the toy: insert padding polyester or cotton wool little by little with tweezers. It is most convenient to use tweezers to insert cotton wool or padding polyester into the future toy if it is small.

Sew up the hole for the cotton wool and attach a yellow loop of floss thread. Sew a small scarf onto the neck of the almost finished toy:

Let's make our toy festive. Let the bunny have some kind of flower in his paws, sewn from fabric or assembled from paper (we made the leaves from colored paper glued with tape). Glue the decoration to the bunny's paws and our "Bunny" toy is ready.

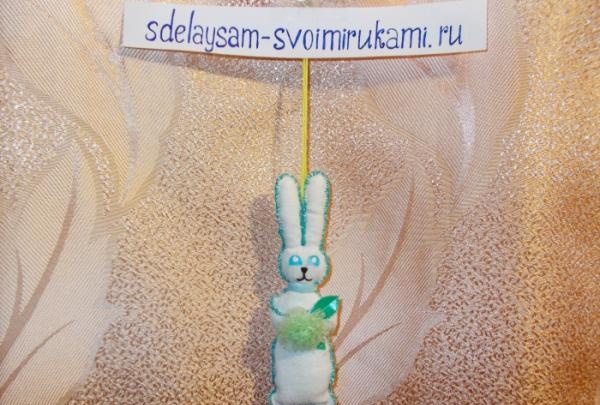
Our toy bunny is ready! I hope that it will become a good home decoration or decoration in the car interior, and will be able to please you and your children with its attractiveness.


Sincerely, Vorobyova Dinara.
Similar master classes
Particularly interesting
Comments (1)


