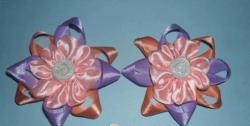
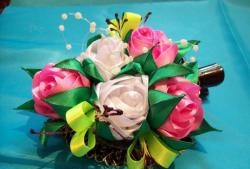
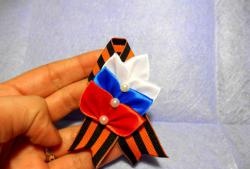
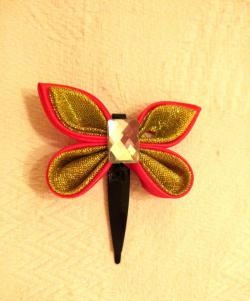
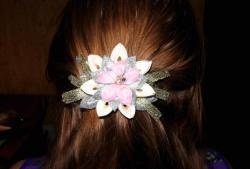
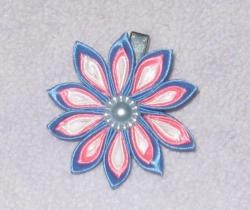
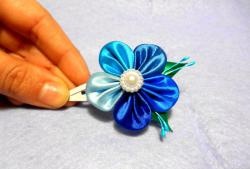
Barrette
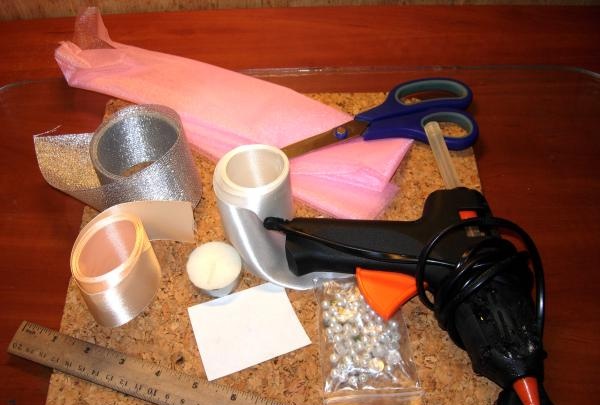
In order to make such a hairpin, you will need:
• Three satin ribbons 5 cm wide.
• A piece of organza 25?5 cm.
• Cardboard.
• Scissors.
• Ruler.
• Candle or lighter.
• Moment glue or glue gun.
• Rhinestones, beads.
• Hair elastic (headband, automatic hairpin).
To begin with, you will have to cut squares (5?5 cm) from ribbons. For convenience, measure the tape with a ruler and mark it with a pencil, and only then cut it off. You need to cut seven of these squares of each color.
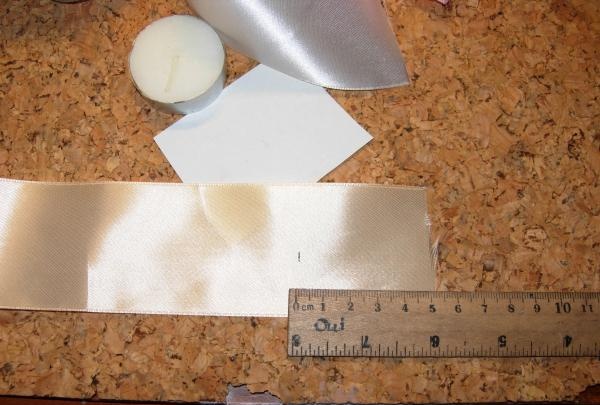
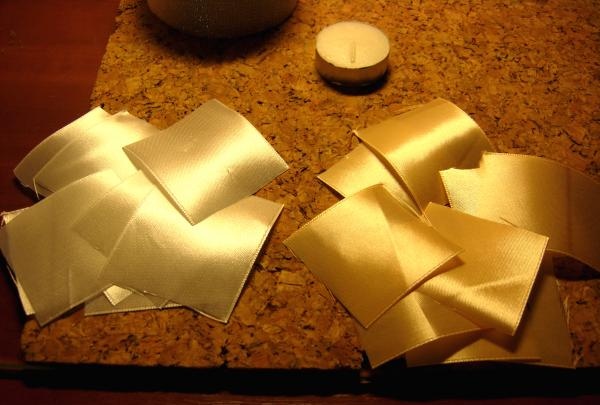
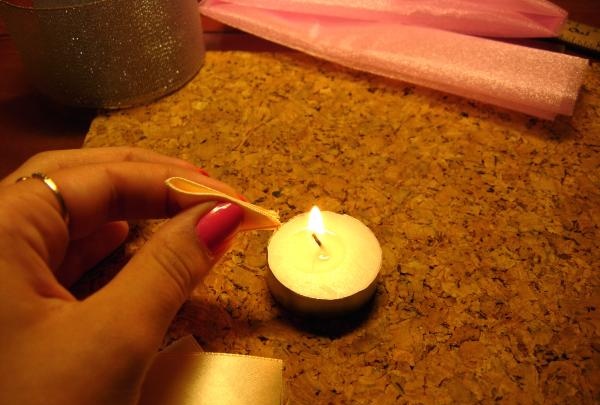
Singe the edges of the ribbons so that they do not unravel and it is more convenient for you to work with the fabric.
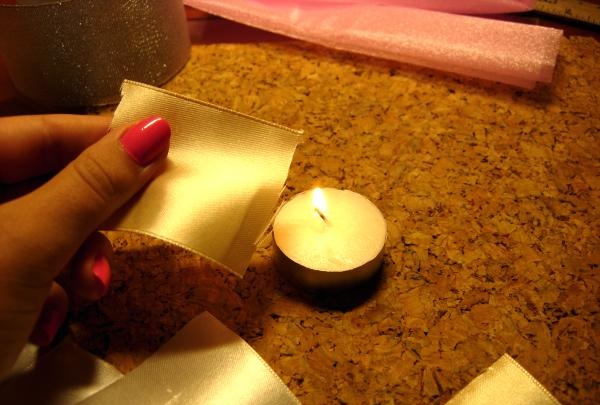
You can start folding the petal kanzashi. Connect two opposite corners of the square to form a triangle.
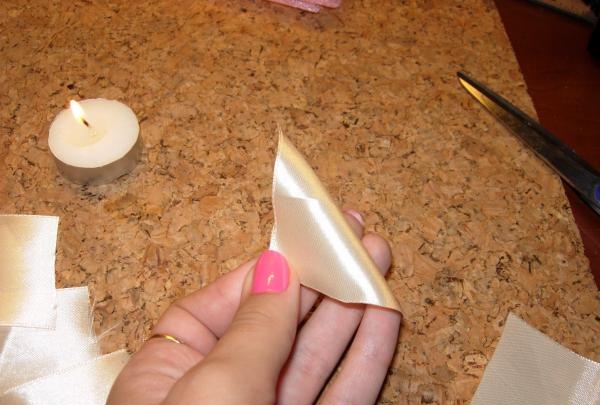
Fold the workpiece in half as shown in the photo.
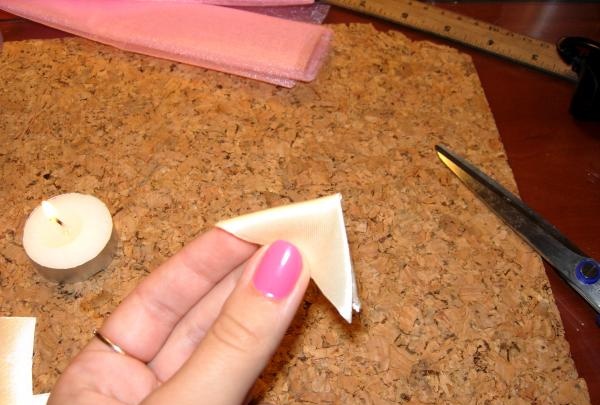
Then fold it in half again to create a sharp petal.
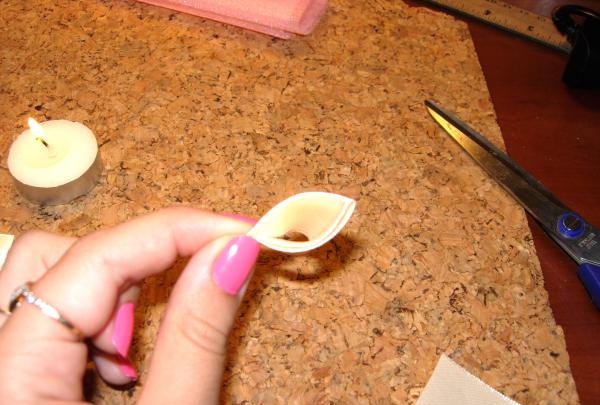
To prevent it from falling apart, you need to scorch the edge and press it while it is still hot.
Trim off the excess and also treat the ribbon with fire.
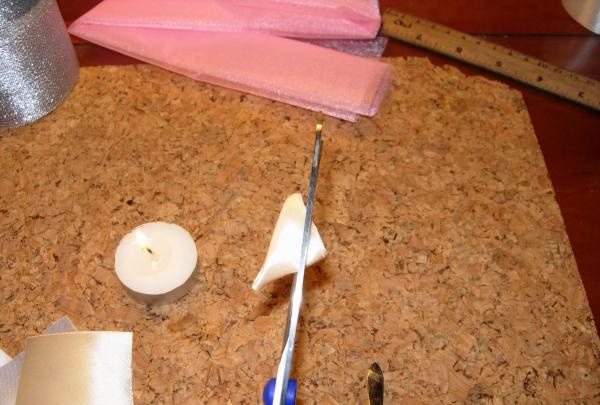
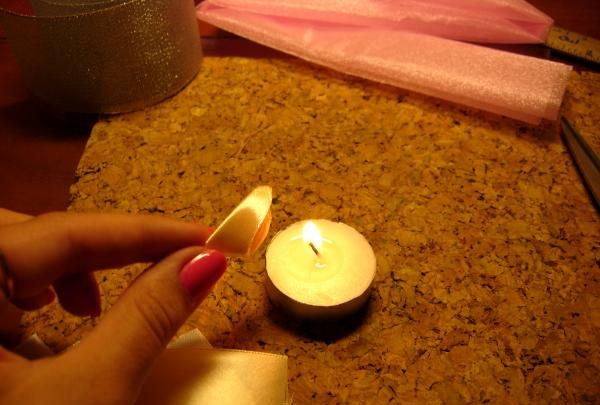
The classic petal for the first row of the flower is ready. Make six more of these petals.
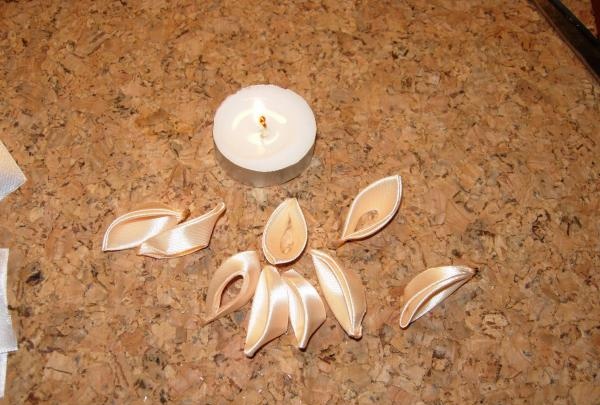
Next, fold the same petals from a ribbon of a different color. You will need seven of them in total.
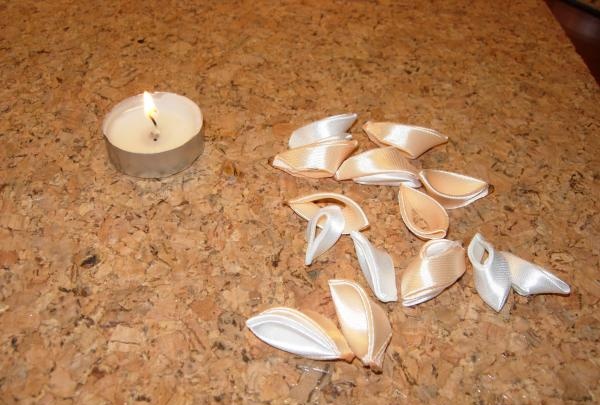
For the second row of petals we use a ribbon of a contrasting color, in the photo it is a silver ribbon.
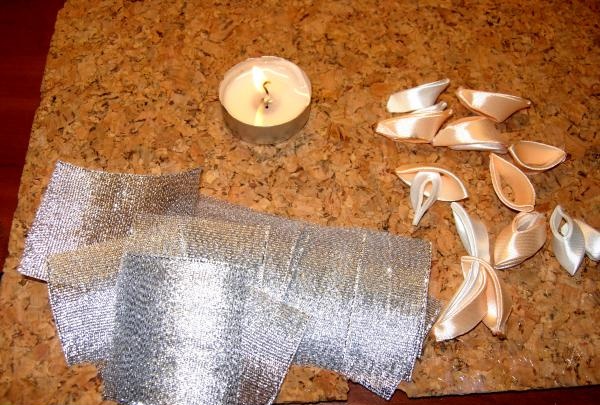
We fold the petal as before, only after the last treatment with fire, press the place where the tape melted with your fingers. And then turn the workpiece out. You should end up with a petal like this.
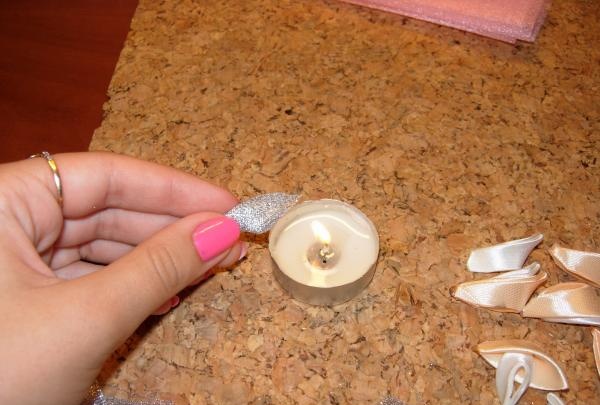
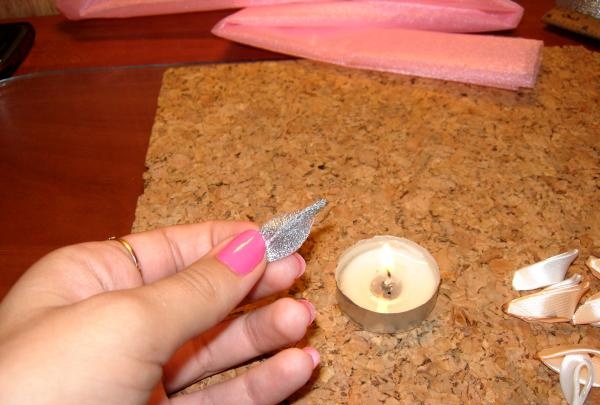
Complete six more of these blanks.
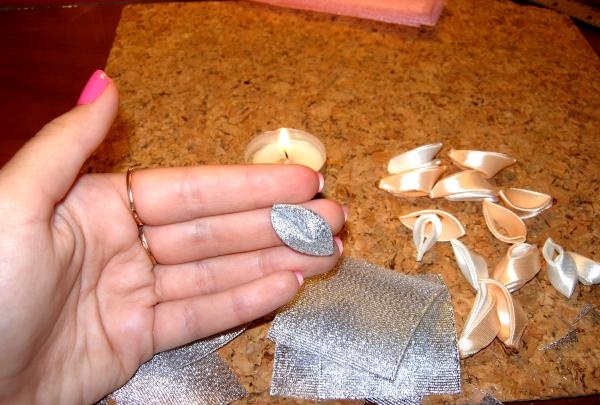
All petals are ready. Heat the glue gun and glue the two petals together as shown in the photo below. You can use Moment glue, but then you will have to wait a little longer for the glue to harden.
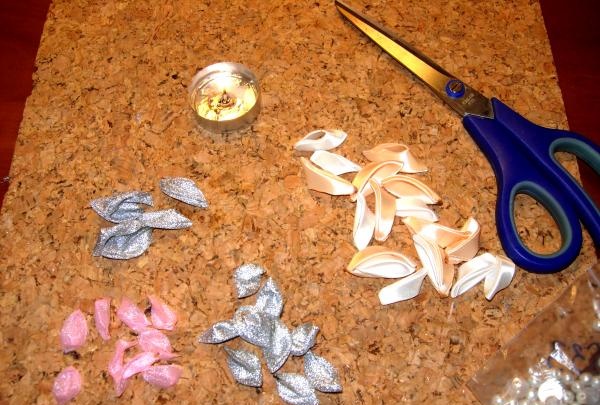
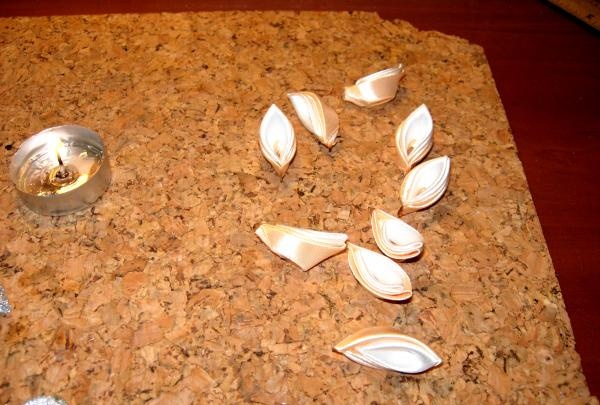
For the base, take a piece of cardboard and cut out a circle with a diameter of 3-4 cm. Stick ribbons on both sides.

We form the first row of the flower. To do this, glue seven petals in a circle, leaving a little space in the middle.
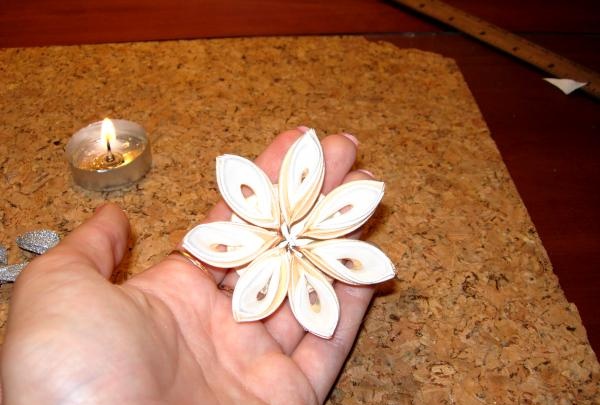
In the second row, also glue seven petals. This time it’s a little closer to the middle.
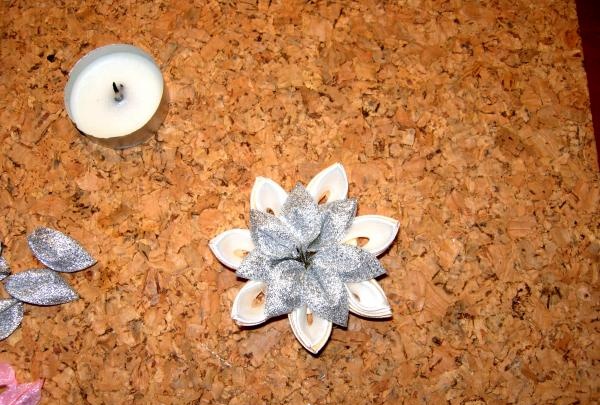
Now cut 5×5 cm squares from organza and make the same petals as for the second row. There should be only five of them. Then stick them in the middle.
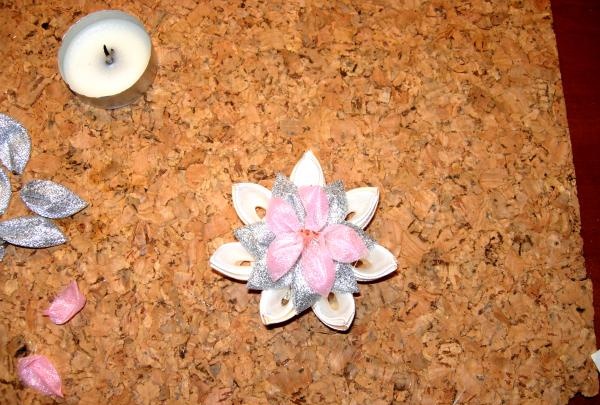
To make the flower even more elegant, make six more petals as for the second row and stick them as shown in the photo.
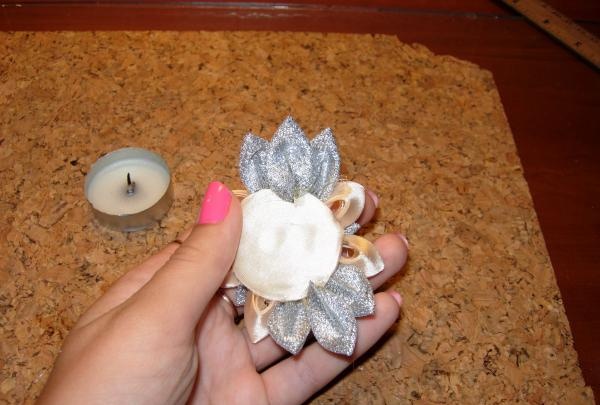
Make stamens from thin ribbons, as in the first option, or from beads, as in the second. Glue the decoration to a hair tie, barrette or headband.
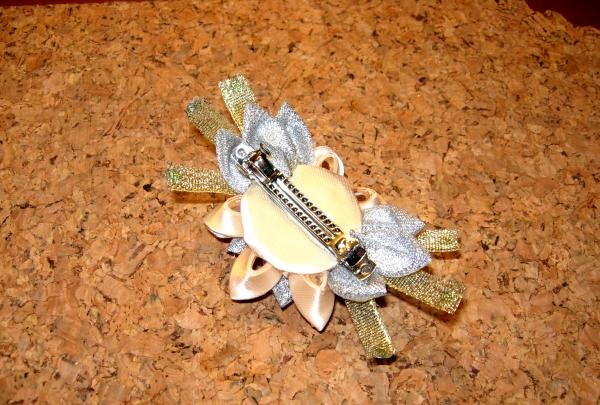
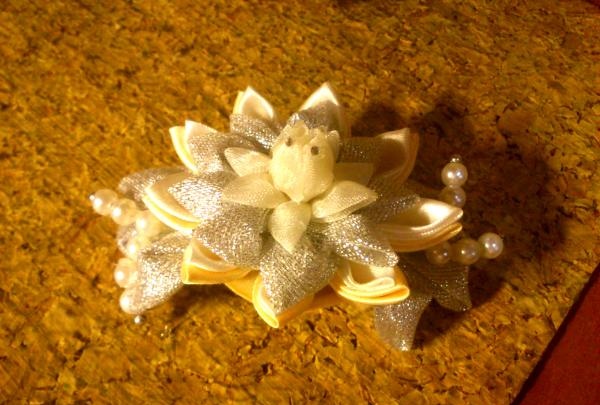
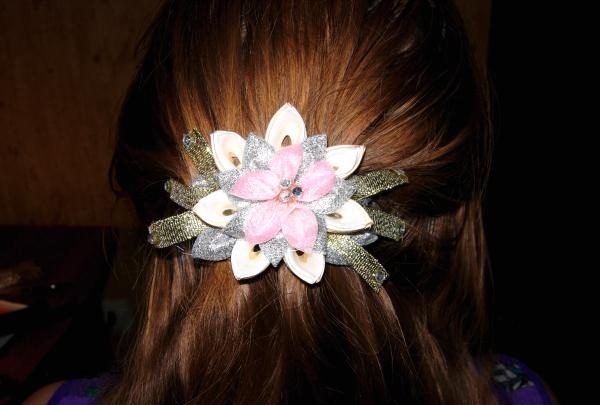
Glue rhinestones or one large bead into the center of the flower. The hairpin using the kanzashi technique is ready!
• Three satin ribbons 5 cm wide.
• A piece of organza 25?5 cm.
• Cardboard.
• Scissors.
• Ruler.
• Candle or lighter.
• Moment glue or glue gun.
• Rhinestones, beads.
• Hair elastic (headband, automatic hairpin).

To begin with, you will have to cut squares (5?5 cm) from ribbons. For convenience, measure the tape with a ruler and mark it with a pencil, and only then cut it off. You need to cut seven of these squares of each color.


Singe the edges of the ribbons so that they do not unravel and it is more convenient for you to work with the fabric.

You can start folding the petal kanzashi. Connect two opposite corners of the square to form a triangle.

Fold the workpiece in half as shown in the photo.

Then fold it in half again to create a sharp petal.

To prevent it from falling apart, you need to scorch the edge and press it while it is still hot.

Trim off the excess and also treat the ribbon with fire.


The classic petal for the first row of the flower is ready. Make six more of these petals.

Next, fold the same petals from a ribbon of a different color. You will need seven of them in total.

For the second row of petals we use a ribbon of a contrasting color, in the photo it is a silver ribbon.

We fold the petal as before, only after the last treatment with fire, press the place where the tape melted with your fingers. And then turn the workpiece out. You should end up with a petal like this.


Complete six more of these blanks.

All petals are ready. Heat the glue gun and glue the two petals together as shown in the photo below. You can use Moment glue, but then you will have to wait a little longer for the glue to harden.


For the base, take a piece of cardboard and cut out a circle with a diameter of 3-4 cm. Stick ribbons on both sides.

We form the first row of the flower. To do this, glue seven petals in a circle, leaving a little space in the middle.

In the second row, also glue seven petals. This time it’s a little closer to the middle.

Now cut 5×5 cm squares from organza and make the same petals as for the second row. There should be only five of them. Then stick them in the middle.

To make the flower even more elegant, make six more petals as for the second row and stick them as shown in the photo.

Make stamens from thin ribbons, as in the first option, or from beads, as in the second. Glue the decoration to a hair tie, barrette or headband.


Glue rhinestones or one large bead into the center of the flower. The hairpin using the kanzashi technique is ready!

Similar master classes
Particularly interesting
Comments (0)


