Cheerful bunny
Modular origami – a very interesting, but at the same time very simple hobby. It doesn't take much time, and as a result you can achieve great success. I would like to talk about how you can make a funny bunny out of paper modules.
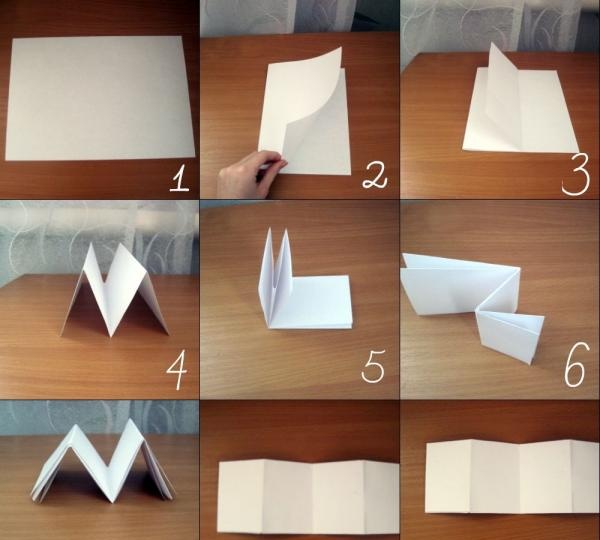
You can master the technique of making modules quite easily using the photos below. To begin with, from sheets of A4 paper you need to cut leaves for the modules themselves as shown in the figure.
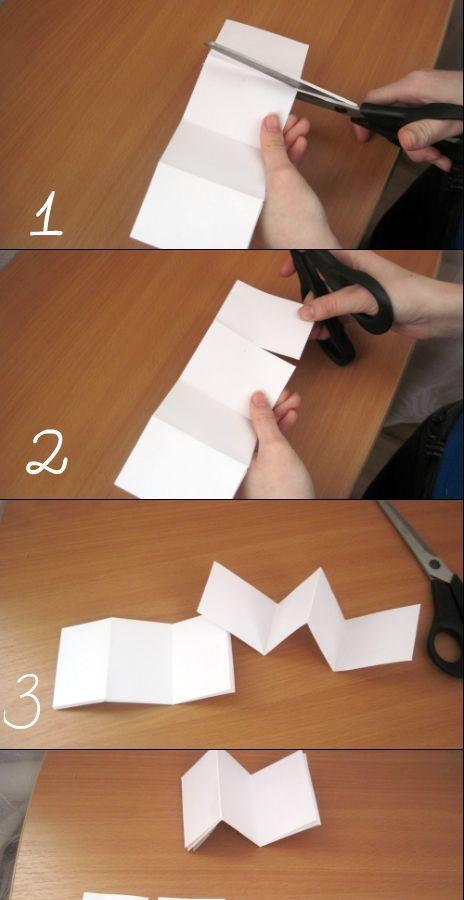
And cut into equal parts (Fig. 1-4). One sheet should yield 16 small leaves.
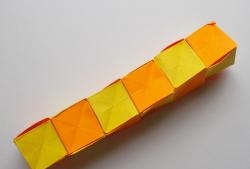
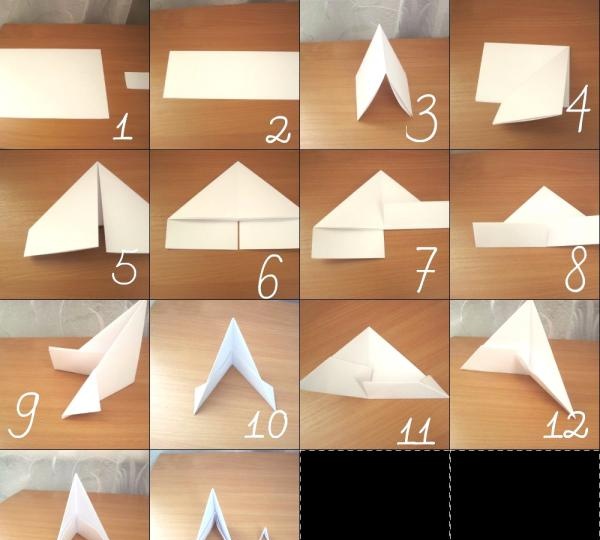
The following shows how to fold the module correctly. I used A4 sheet to make it easier to see.
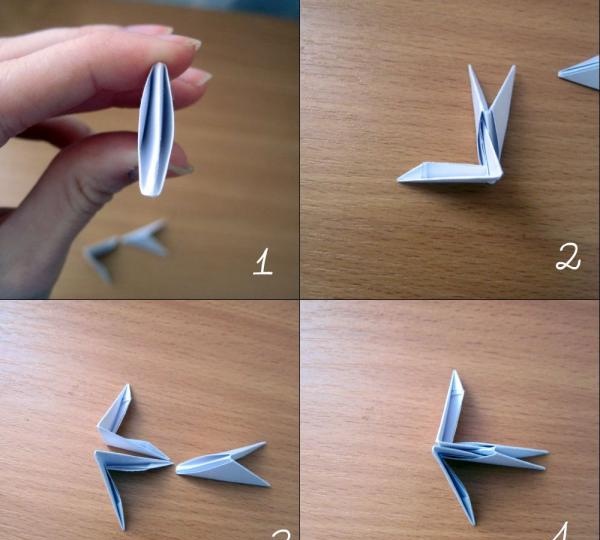
The figure shows how to correctly connect the modules to each other.
Now that you know all the basics of modular origami, you can start making a hare.
To work we need:
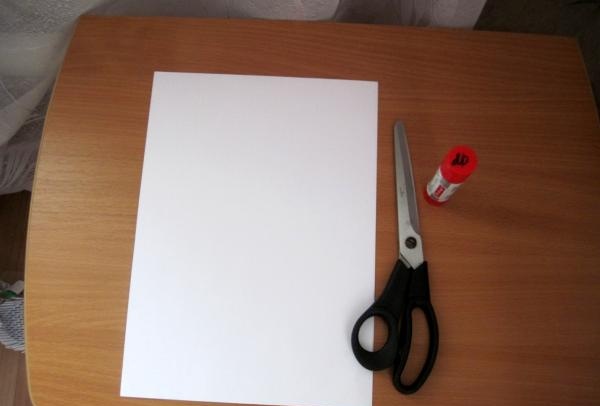
Let's get to work.
1) First you need to make a large number of modules, the more, the better.
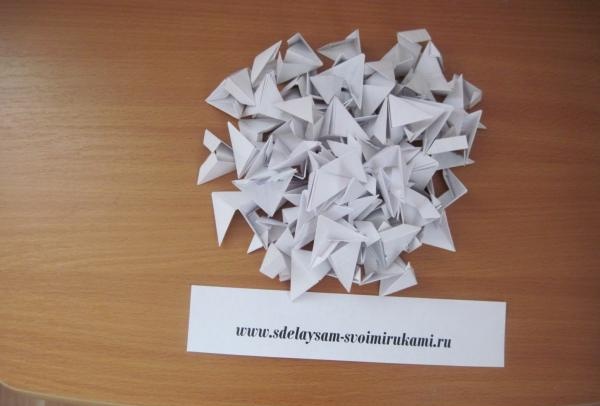
2) Take 22 modules (any even number is possible) and connect them together in a circle and glue them together (only the first row).
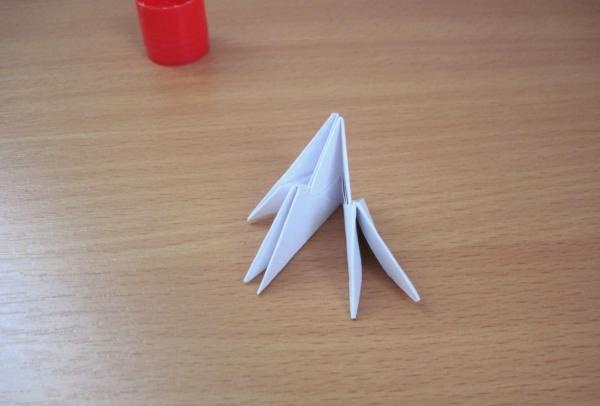
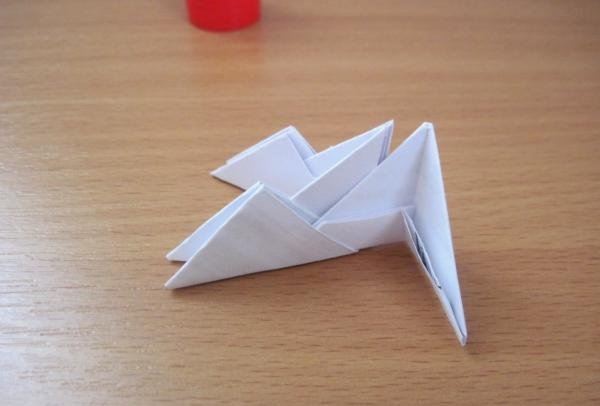
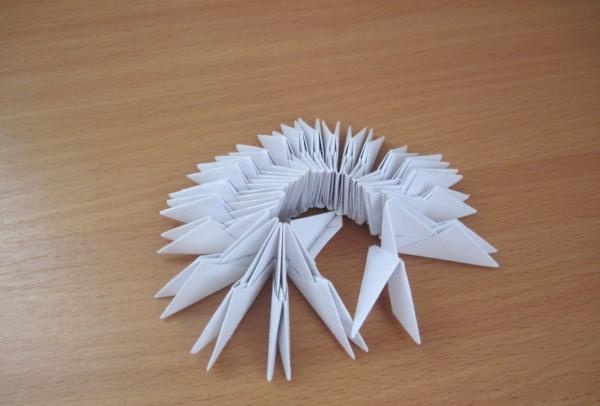
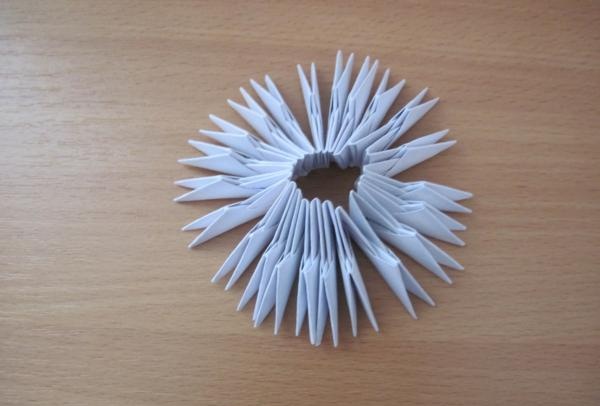
3) We assemble the first row, connecting two parts of different modules. Thus, we do the whole row.
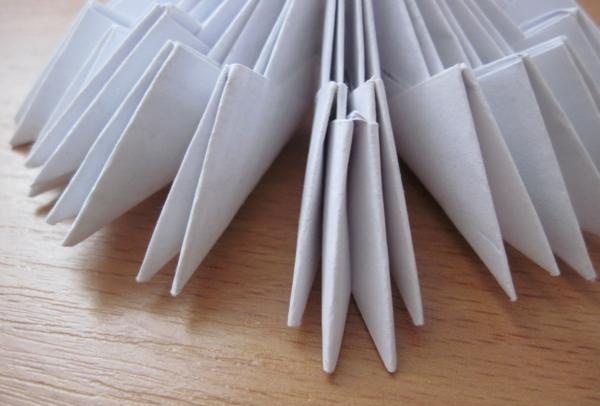
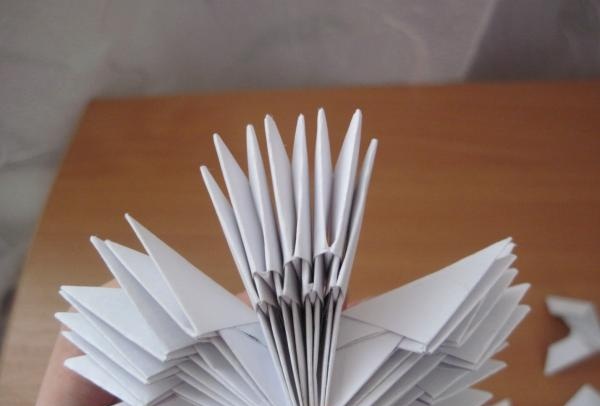
4) We collect 2-3 more rows.
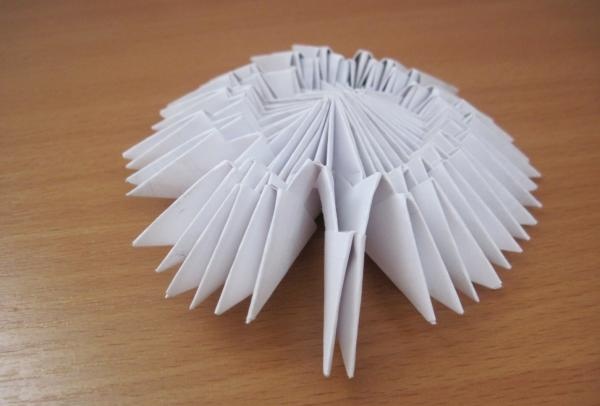
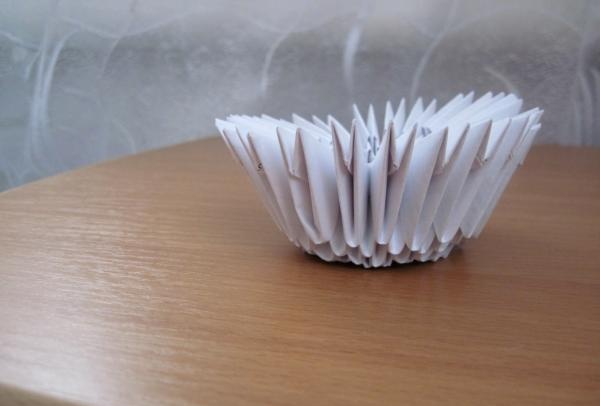
5) Carefully turn our circle out so that it takes the shape of a bowl.
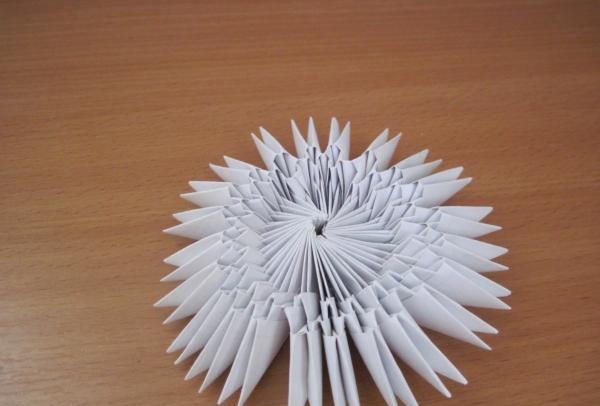
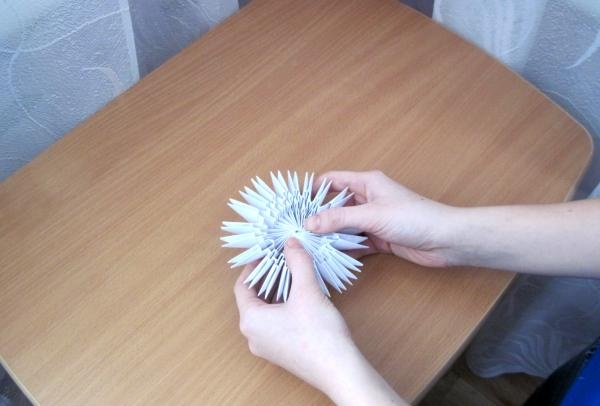
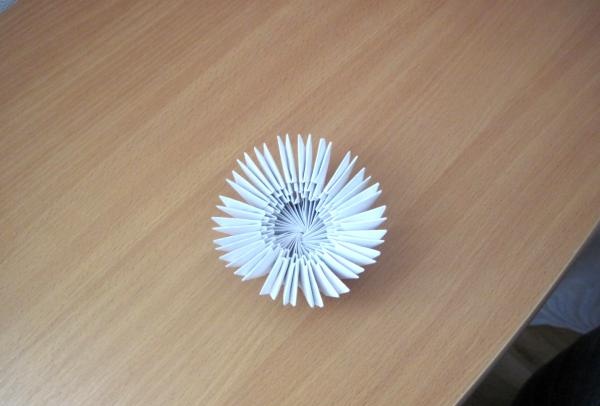
6) We assemble several rows to form a body.
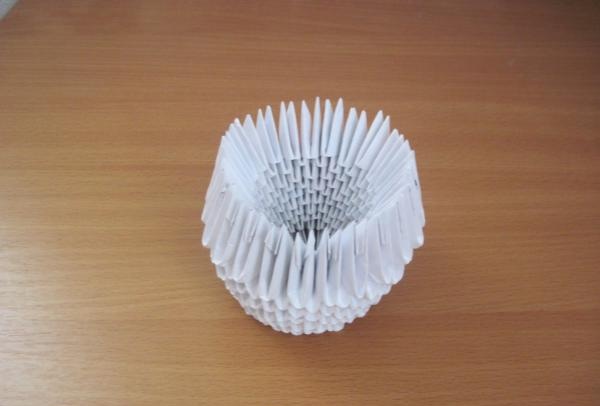
17) Let's start assembling the head. To do this, we put the modules inside our body, as shown in the figure.
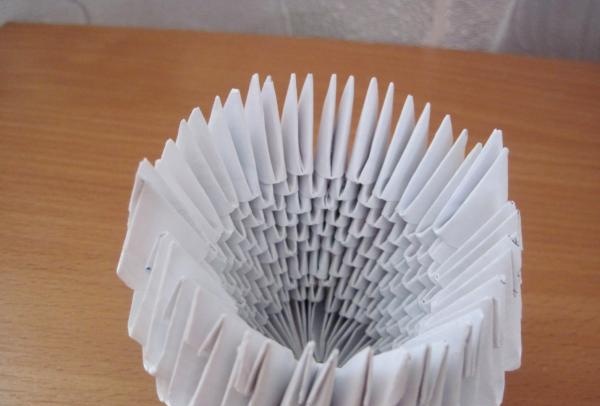
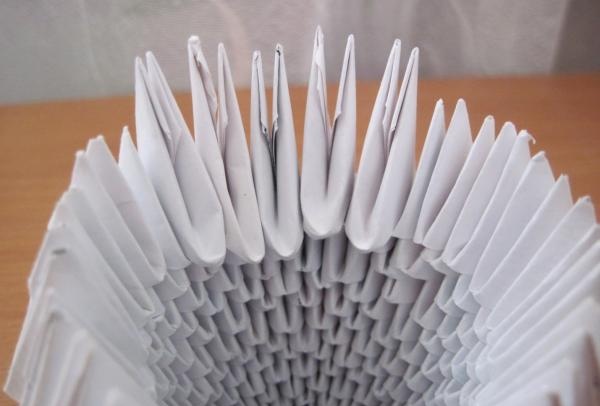
So we do the whole row.
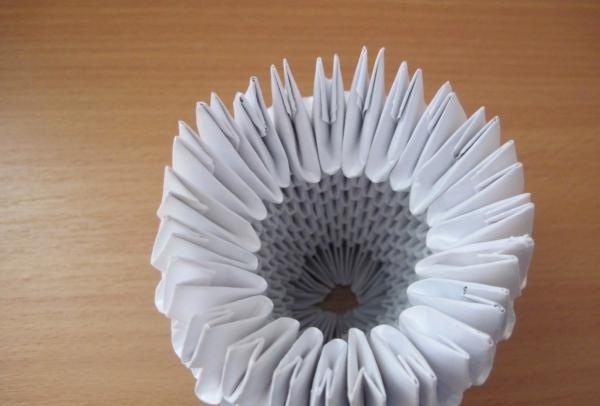
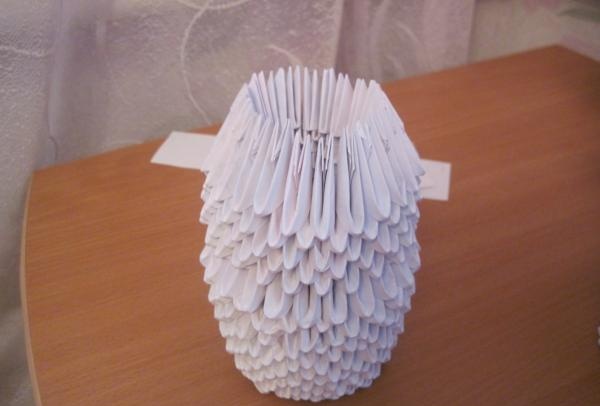
8) We arrange the remaining rows in the usual way (there should be about 4-5 more)
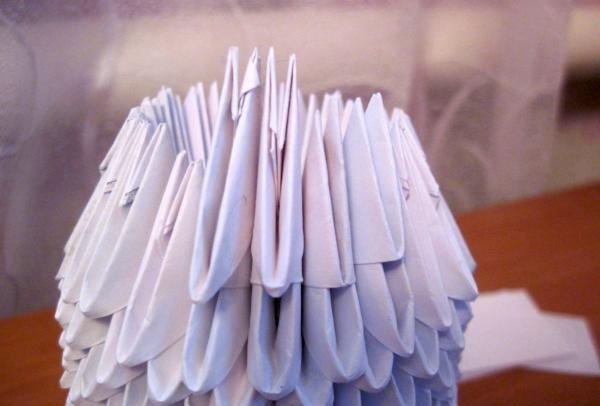
9) Now you need to squeeze your head a little so that it takes the shape of an oval.
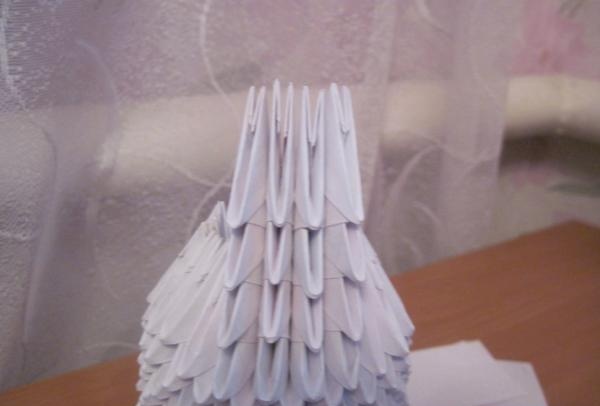
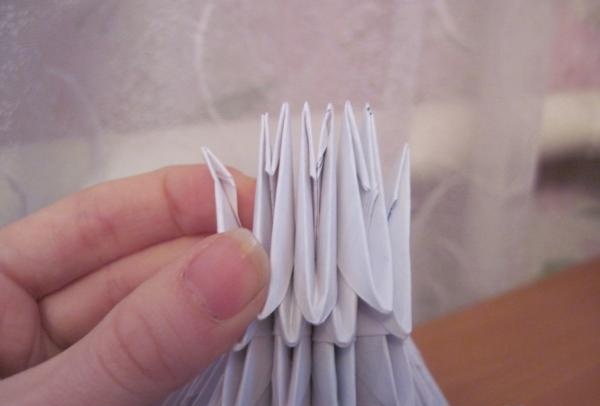
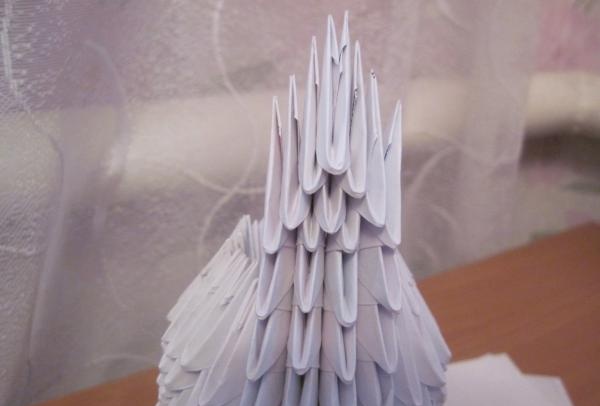
10) Let's start collecting the ears. They should not be very far from each other. We choose an uneven number of modules, and do as shown in the pictures, starting from the 5th row, we begin to decrease
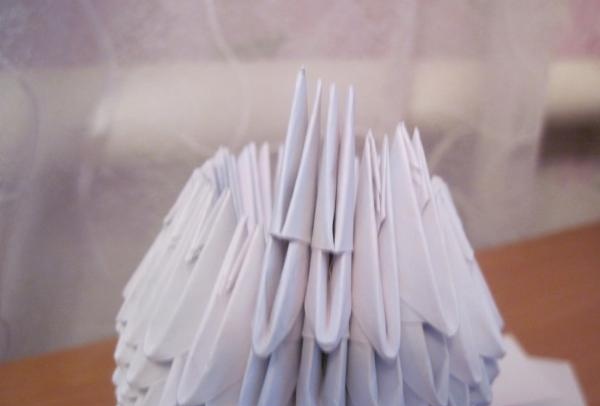
11) Do the same for the second ear.
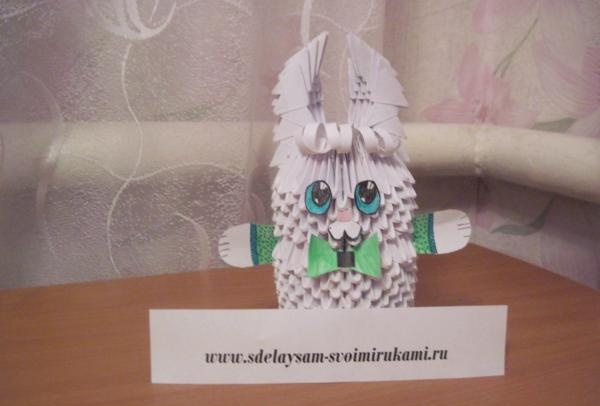
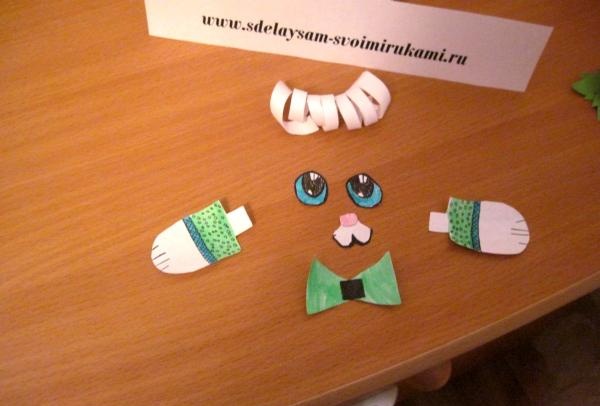
12) I drew the eyes, paws, bow and muzzle, cut them out of paper and glued them on.
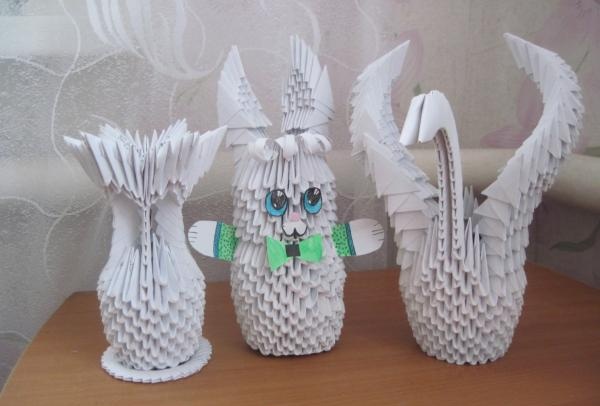
13) As a result, I got this funny little bunny. I'm sure it can be a great gift or just decorate a room.

You can master the technique of making modules quite easily using the photos below. To begin with, from sheets of A4 paper you need to cut leaves for the modules themselves as shown in the figure.

And cut into equal parts (Fig. 1-4). One sheet should yield 16 small leaves.

The following shows how to fold the module correctly. I used A4 sheet to make it easier to see.

The figure shows how to correctly connect the modules to each other.

Now that you know all the basics of modular origami, you can start making a hare.
To work we need:
- Sheets of A4 paper.
- Scissors.
- Glue.

Let's get to work.
1) First you need to make a large number of modules, the more, the better.

2) Take 22 modules (any even number is possible) and connect them together in a circle and glue them together (only the first row).


3) We assemble the first row, connecting two parts of different modules. Thus, we do the whole row.


4) We collect 2-3 more rows.

5) Carefully turn our circle out so that it takes the shape of a bowl.


6) We assemble several rows to form a body.


17) Let's start assembling the head. To do this, we put the modules inside our body, as shown in the figure.


So we do the whole row.


8) We arrange the remaining rows in the usual way (there should be about 4-5 more)

9) Now you need to squeeze your head a little so that it takes the shape of an oval.
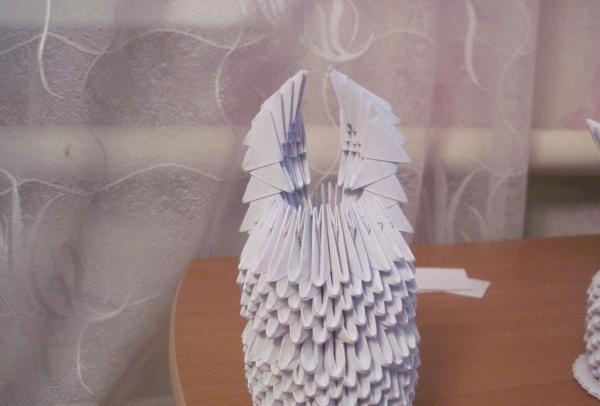
10) Let's start collecting the ears. They should not be very far from each other. We choose an uneven number of modules, and do as shown in the pictures, starting from the 5th row, we begin to decrease


11) Do the same for the second ear.

12) I drew the eyes, paws, bow and muzzle, cut them out of paper and glued them on.

13) As a result, I got this funny little bunny. I'm sure it can be a great gift or just decorate a room.

Similar master classes
Particularly interesting
Comments (0)

