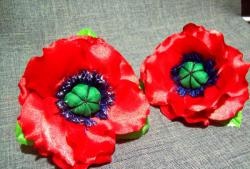
Hairpin “Blooming poppies”
The poppy flower has its own peculiarity and difference from the others, but this is what attracts us. Therefore, the imitation of a blossoming poppy is often used in various decorations and design paintings. Needlewomen use the image of this flower to create hairpins; the bright red color of these buds looks especially fascinating against the background of dark-colored hair.
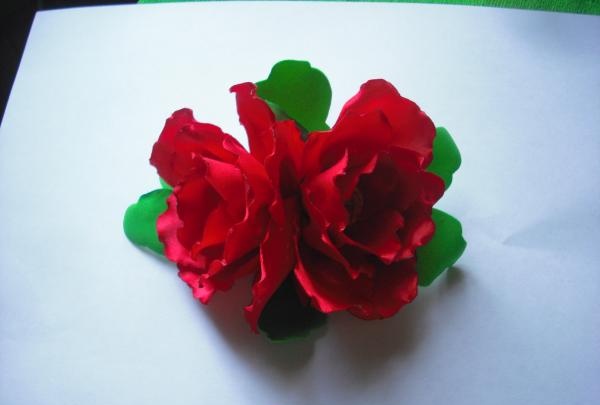
To create such a charming hairpin I will need:
- hairpin.
- tweezers with thin long edges.
- red ribbon 5 cm wide.
- scissors.
- leaves from famiaran.
- glue gun.
- large beads in the shape of a crystal.
- lighter.
Creating decoration.
First, I need to make petals for the flowers, and for this I cut squares with sides of 5x5 cm from red ribbon. In total, I will need 24 of them for this hairpin. Each flower will use 12 petals.
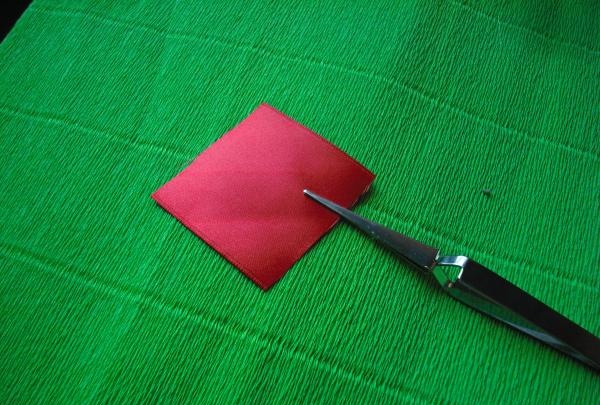
Next, all the squares need to cut off the two upper corners, rounding them.
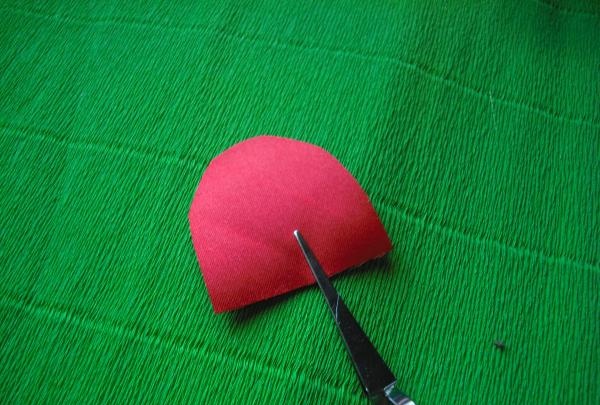
Now I carefully singe the rounded edge of the future petal, while every 1 cm I carefully stretch the cut to make a wave. Thus, all sides of the part should be processed, except the bottom cut.
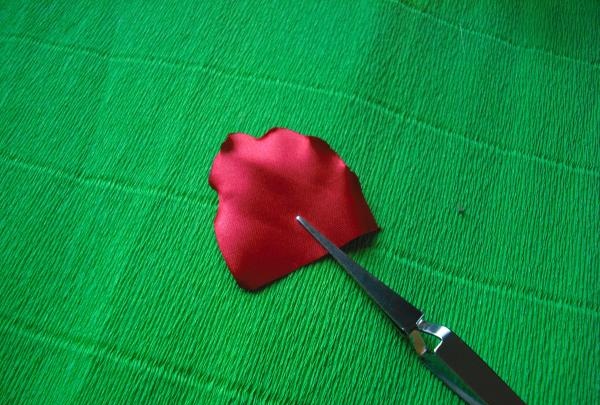
Now I start processing the bottom cut. Turning the part face down, I make a counter fold in the middle of the unprocessed cut of the petal.
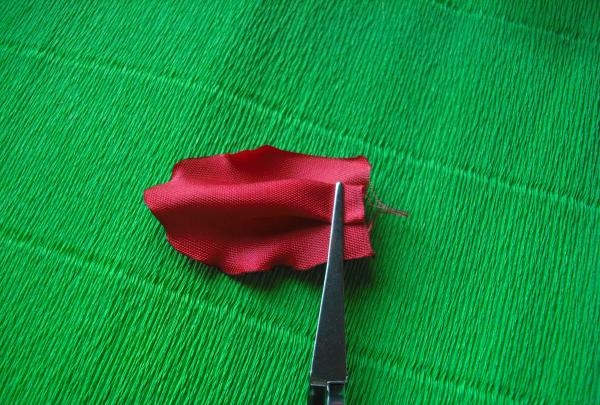
Now I secure the fold I made by singeing the fabric and soldering the joints together. This fold will make the petal voluminous, giving the necessary shape. After this I straighten the piece and straighten out the fold. The result is such a beautiful petal.
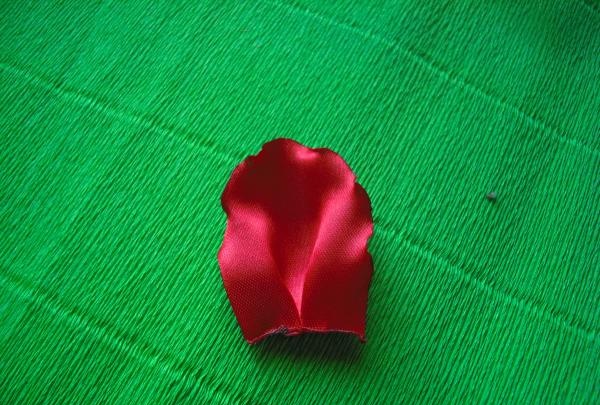
Using the same sequence, I need to make the rest of the petals needed for pinning. After creating them, you can start assembling the flowers. Each bud will require 12 petals. A large crystal-shaped bead will be used as the center of the flower. To such a bead I gradually glue the petals around the entire circumference, pressing them tightly to the base. As a result, I got two beautiful buds.
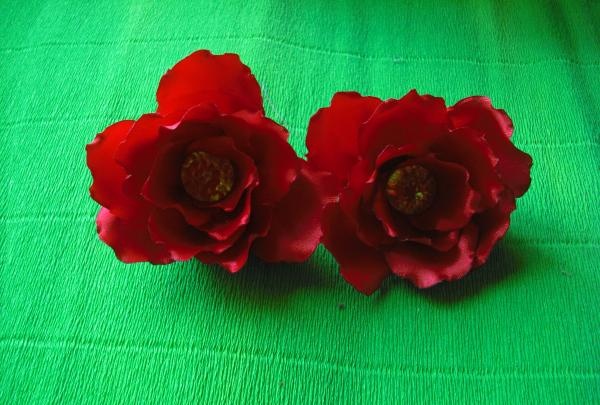
Now, after applying glue to the side of the bud, I glue them together. And I attach leaves to the base of the flowers.

After that, all I had to do was attach a hairpin to the base of the flowers.
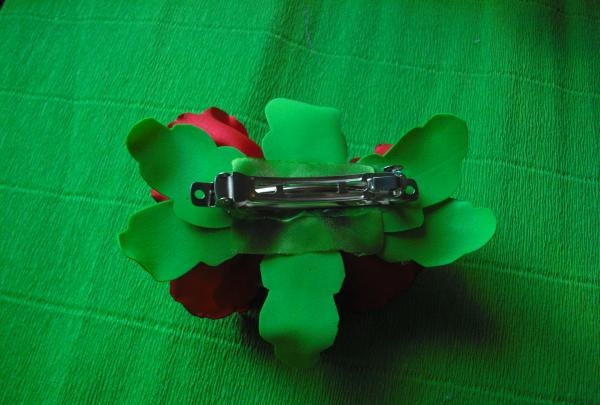
This completes the creation of the hairpin, it is ready!

To create such a charming hairpin I will need:
- hairpin.
- tweezers with thin long edges.
- red ribbon 5 cm wide.
- scissors.
- leaves from famiaran.
- glue gun.
- large beads in the shape of a crystal.
- lighter.
Creating decoration.
First, I need to make petals for the flowers, and for this I cut squares with sides of 5x5 cm from red ribbon. In total, I will need 24 of them for this hairpin. Each flower will use 12 petals.

Next, all the squares need to cut off the two upper corners, rounding them.

Now I carefully singe the rounded edge of the future petal, while every 1 cm I carefully stretch the cut to make a wave. Thus, all sides of the part should be processed, except the bottom cut.

Now I start processing the bottom cut. Turning the part face down, I make a counter fold in the middle of the unprocessed cut of the petal.

Now I secure the fold I made by singeing the fabric and soldering the joints together. This fold will make the petal voluminous, giving the necessary shape. After this I straighten the piece and straighten out the fold. The result is such a beautiful petal.

Using the same sequence, I need to make the rest of the petals needed for pinning. After creating them, you can start assembling the flowers. Each bud will require 12 petals. A large crystal-shaped bead will be used as the center of the flower. To such a bead I gradually glue the petals around the entire circumference, pressing them tightly to the base. As a result, I got two beautiful buds.

Now, after applying glue to the side of the bud, I glue them together. And I attach leaves to the base of the flowers.

After that, all I had to do was attach a hairpin to the base of the flowers.

This completes the creation of the hairpin, it is ready!
Similar master classes
Particularly interesting
Comments (0)

