Christmas tree toy
Very soon the New Year will come - everyone’s favorite holiday, regardless of age. Of course, on the eve of a magical night, we are in a special mood. We are happy to create a holiday menu, guest list and, of course, decorate the house. There are plenty of decorative elements on store shelves, but what could be better than DIY New Year's decorations. Today we invite you to sew a soft Christmas tree from leftover fabric that can be found in every home. So let's get started.
To work you will need:

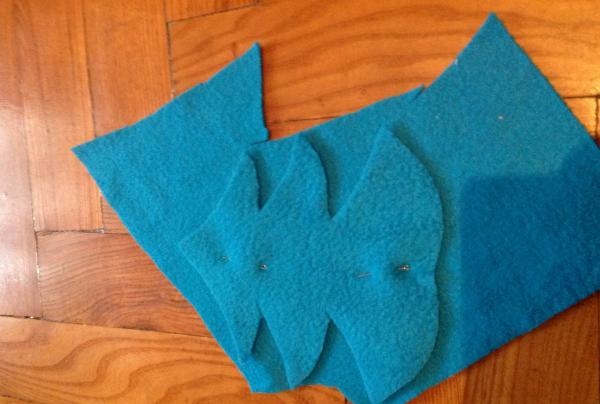
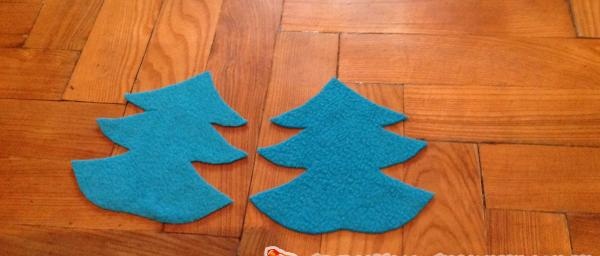
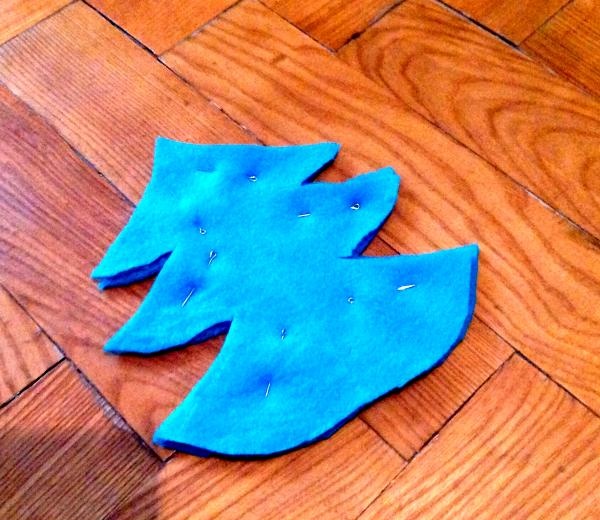
Next, carefully cut out our product along the contour. After this, remove the pins, straighten the workpiece and fasten it to the second piece of material to duplicate it.Now you need to fasten both blanks with their front sides facing each other. We fasten them with pins along the main contours so that our Christmas trees do not move during the sewing process.
Let's get to the main part - stitching the parts together on a sewing machine. For this, I chose the overlock stitch mode, but if your machine is not equipped with such a function, you can safely use a zigzag stitch or another one that is more familiar to you. We processed the entire workpiece in this way, not forgetting to leave a hole so that the Christmas tree could be turned out. I left a hole in the branch. Turn the tree right side out.
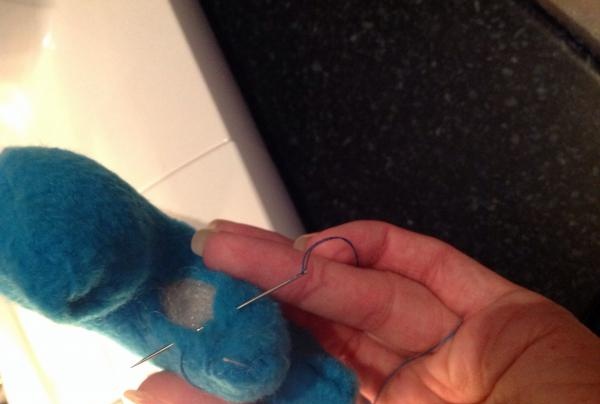
Next, it’s a matter of padding material. In order not to spend money on materials, you can use ordinary cotton wool and even unnecessary scraps. After filling the toy, carefully manually sew up the hole through which we stuffed our craft. The time has come to decorate our beauty. Here you can dream up. Everything you have on hand will work for decorating your Christmas tree. I decided to decorate it with soft snowflakes and shiny beads from my daughter’s old bracelet. We do this with a glue gun or sew it on.
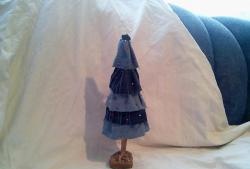
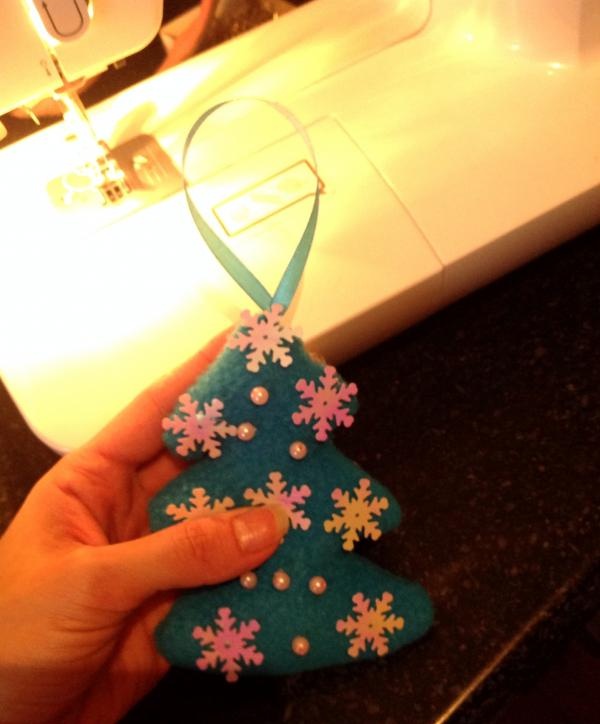
This is what we got. For the loop, you can use a narrow satin ribbon. In this case, a blue tint. We cut the ribbon to the required length and, using a needle and thread, secure our loop to the craft itself. That's all! Our forest beauty is ready to take pride of place among the New Year's souvenirs and crafts decorating your home!
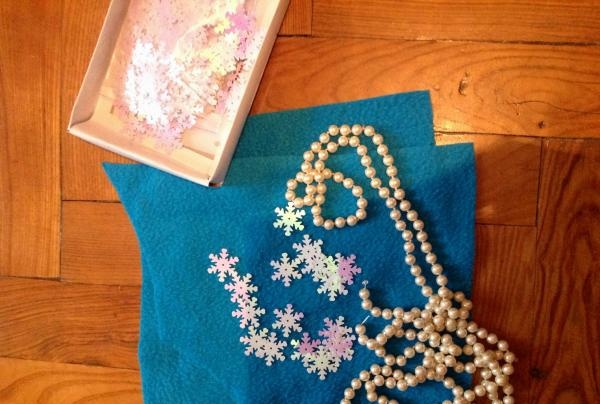
To work you will need:
- Scraps of soft dark blue fabric.
- The symbol of the coming year is the Blue Goat, then let us treat the mistress of the year with respect and use it for crafts her favorite color.
- Scissors.
- Threads to match.
- Snowflakes, beads, glass beads for decorating our Christmas tree.
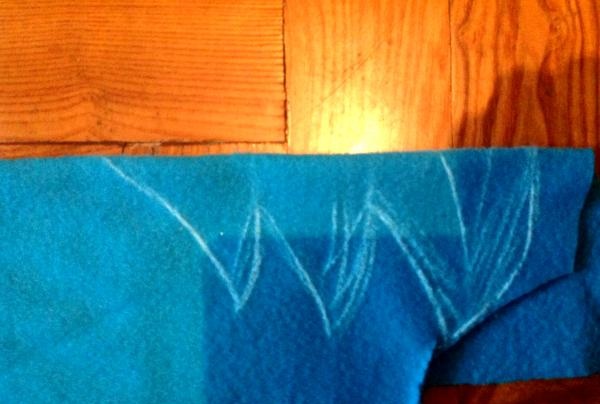
- We take tailor's chalk or a dry soap remnant and draw half of our future Christmas tree.
- We fold the fabric in half so that our drawing does not extend beyond the edges of the bottom layer. We fasten both layers of fabric with pins so that they do not move.

Next, carefully cut out our product along the contour. After this, remove the pins, straighten the workpiece and fasten it to the second piece of material to duplicate it.Now you need to fasten both blanks with their front sides facing each other. We fasten them with pins along the main contours so that our Christmas trees do not move during the sewing process.

Let's get to the main part - stitching the parts together on a sewing machine. For this, I chose the overlock stitch mode, but if your machine is not equipped with such a function, you can safely use a zigzag stitch or another one that is more familiar to you. We processed the entire workpiece in this way, not forgetting to leave a hole so that the Christmas tree could be turned out. I left a hole in the branch. Turn the tree right side out.

Next, it’s a matter of padding material. In order not to spend money on materials, you can use ordinary cotton wool and even unnecessary scraps. After filling the toy, carefully manually sew up the hole through which we stuffed our craft. The time has come to decorate our beauty. Here you can dream up. Everything you have on hand will work for decorating your Christmas tree. I decided to decorate it with soft snowflakes and shiny beads from my daughter’s old bracelet. We do this with a glue gun or sew it on.


This is what we got. For the loop, you can use a narrow satin ribbon. In this case, a blue tint. We cut the ribbon to the required length and, using a needle and thread, secure our loop to the craft itself. That's all! Our forest beauty is ready to take pride of place among the New Year's souvenirs and crafts decorating your home!


Similar master classes
Particularly interesting
Comments (0)

