Stained glass butterfly
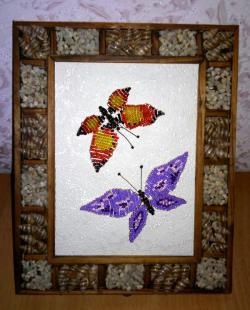
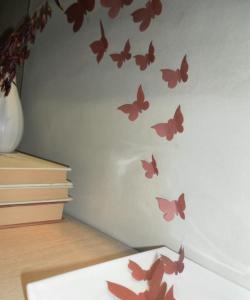
One of the favorite and most common decorations for bedrooms and living rooms is butterflies. Beautiful butterflies can be created from old plastic bottles and painted to your liking or in harmonious combination with the color of the wallpaper or home furnishings.
For crafts you will need:
1. Plastic bottle.
2. Special paints – acrylic.
3. Sharp small scissors.
4. Beads and wire.
5. A sheet of paper with a marker or a small butterfly template.
6. Hot glue.
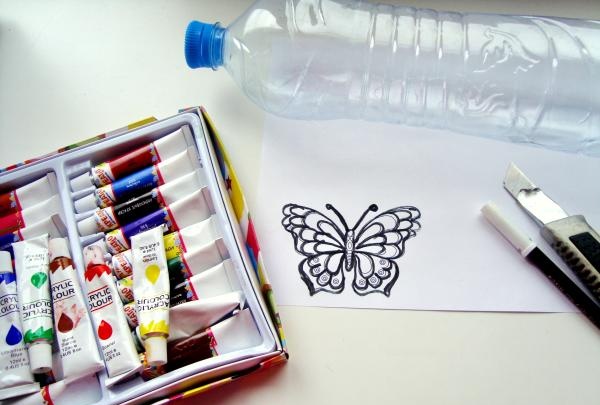
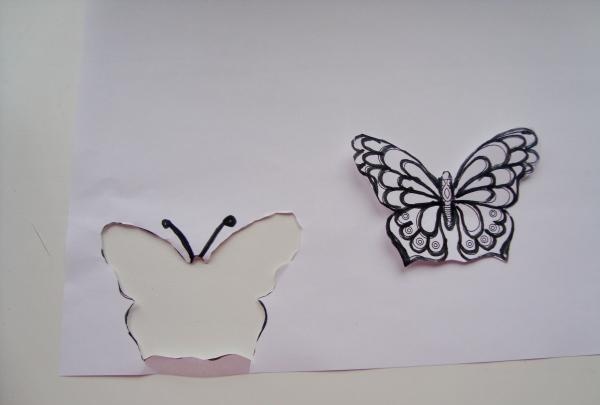
At the first stage you need to draw and cut out a butterfly. It can be any size, but the wingspan should not be larger than the circumference of the bottle.
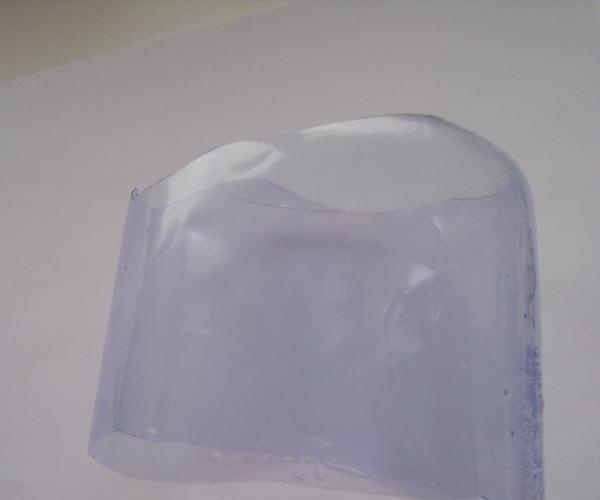
Cut off the narrow part of the bottle; you will only need the smooth part.
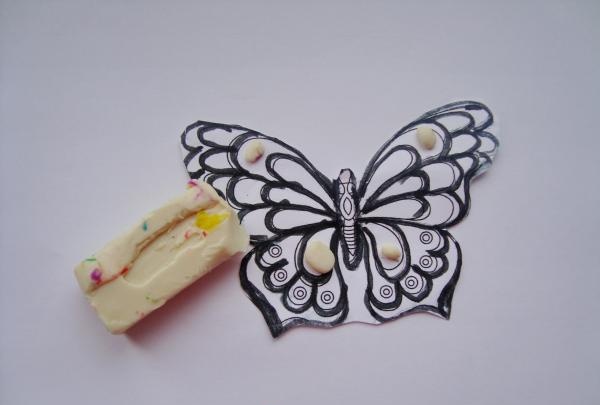
Use adhesive to attach the butterfly to the inside of the plastic bottle. Try to straighten all the wings so that the insect's halo is easier to trace and color.
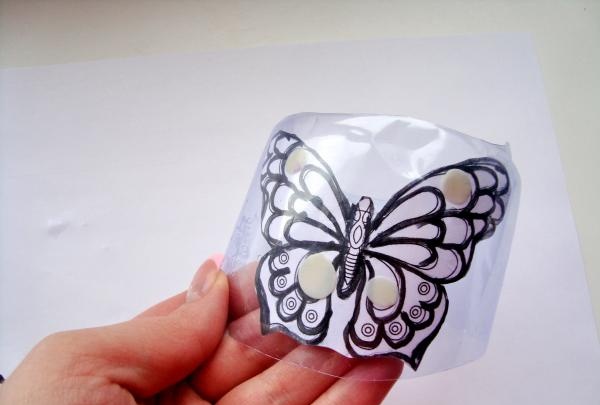
Squeeze the paints into the palette. You can use ready-made colors or create others by mixing, for example, pink is obtained from red and white, etc. Using a thin soft brush, outline the outline of the hovering insect. For convenience, you can color one side of the wings first, and then display the design on the opposite side.Each contour line is drawn with black paint.
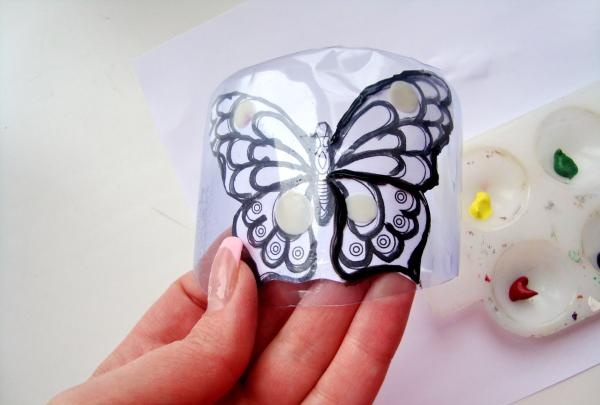
First paint the inside of the top wing. Then, apply paint to the remaining parts and begin decorating the lower wing.
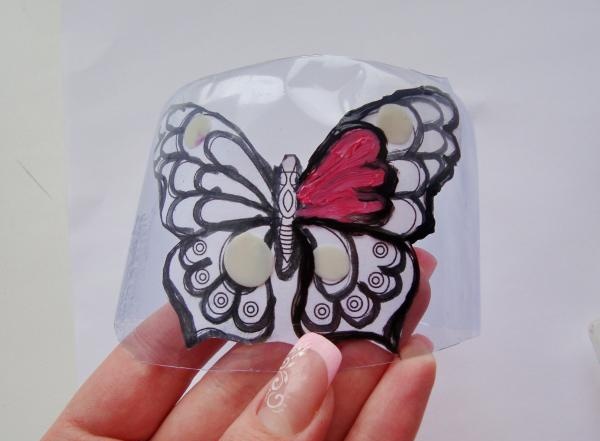
It is important when using these paints not to add too much water, otherwise the contours will spread.
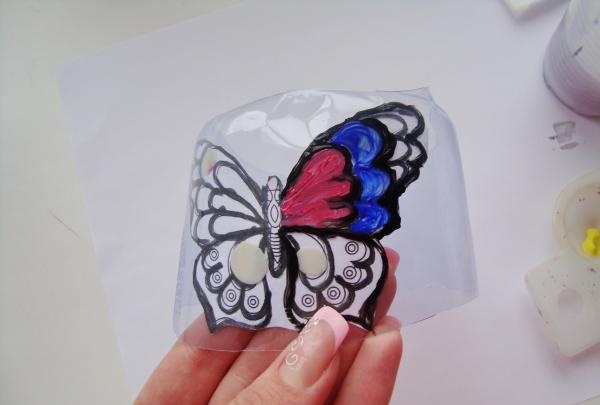
When the paint dries, apply dots with a contrasting shade; they will give a greater resemblance to a living insect.
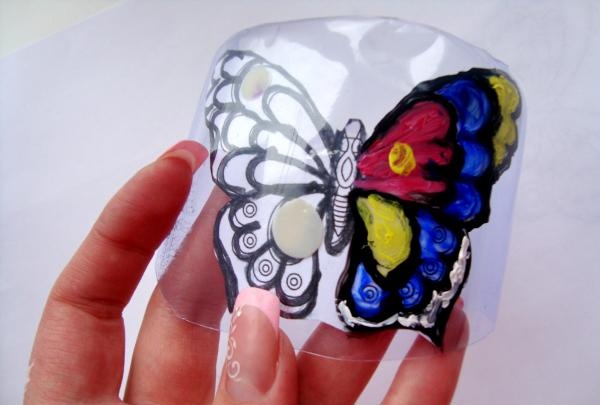
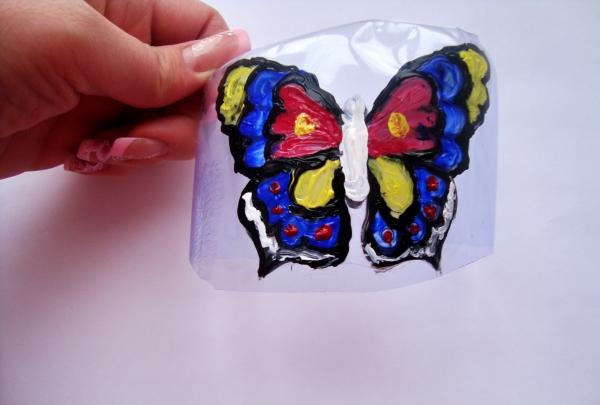
Next, paint the second pair of wings on the other side and let the work dry well.
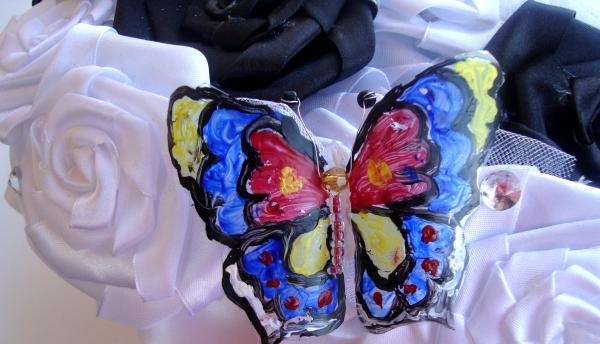
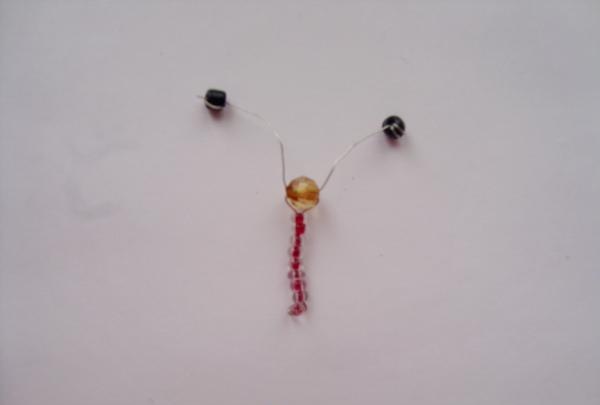
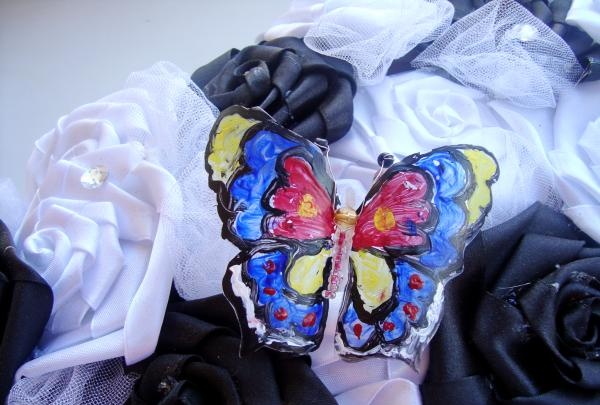
At this time, the butterfly's body, head and antennae are assembled from beads. The result should be something like this:
The butterfly must be cut out, be sure to repeat the wave of the wings, and do not cut in a straight line.
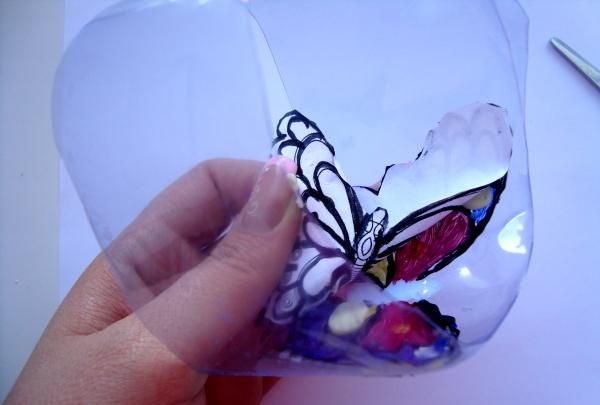
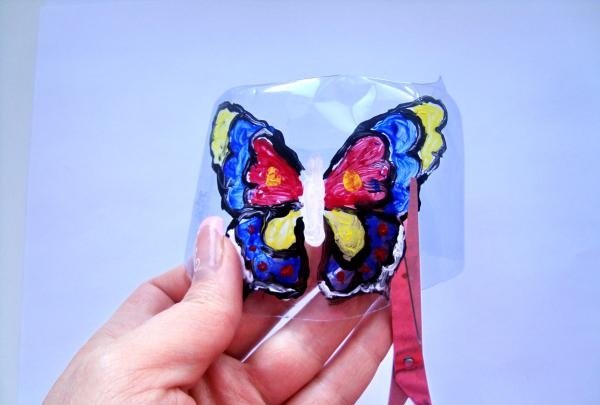
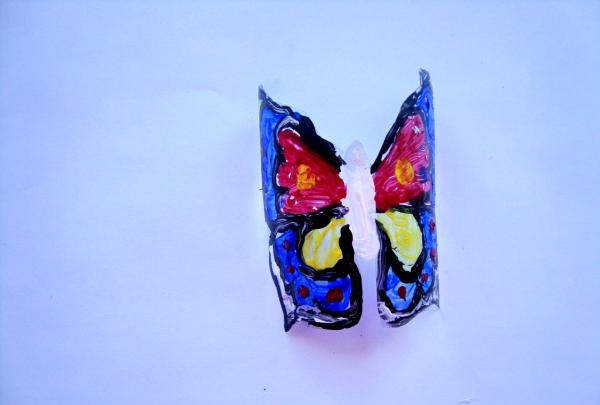
The resulting workpiece will curl inward in the shape of a tube. To make the wings flutter, bend the model of the insect in the center and the wings will take the desired shape.
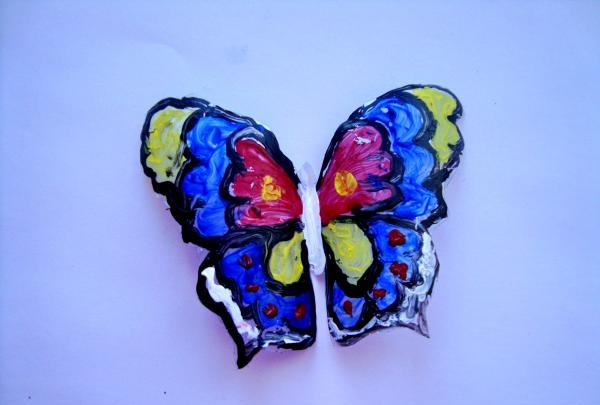
Grease the middle part of the butterfly with hot glue and immediately glue the “skeleton” made of beads. Then press it firmly and let the glue dry.
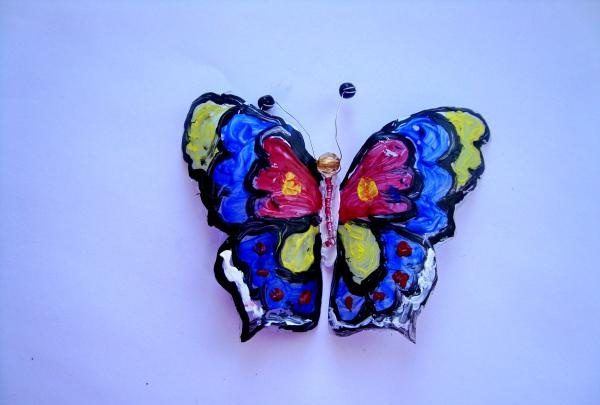
The butterfly is ready. It can be pinned to the wallpaper with a needle or attached to flowers; the butterfly looks great on a wall clock or indoor ikebana.

For crafts you will need:
1. Plastic bottle.
2. Special paints – acrylic.
3. Sharp small scissors.
4. Beads and wire.
5. A sheet of paper with a marker or a small butterfly template.
6. Hot glue.

At the first stage you need to draw and cut out a butterfly. It can be any size, but the wingspan should not be larger than the circumference of the bottle.

Cut off the narrow part of the bottle; you will only need the smooth part.

Use adhesive to attach the butterfly to the inside of the plastic bottle. Try to straighten all the wings so that the insect's halo is easier to trace and color.


Squeeze the paints into the palette. You can use ready-made colors or create others by mixing, for example, pink is obtained from red and white, etc. Using a thin soft brush, outline the outline of the hovering insect. For convenience, you can color one side of the wings first, and then display the design on the opposite side.Each contour line is drawn with black paint.

First paint the inside of the top wing. Then, apply paint to the remaining parts and begin decorating the lower wing.

It is important when using these paints not to add too much water, otherwise the contours will spread.

When the paint dries, apply dots with a contrasting shade; they will give a greater resemblance to a living insect.

Next, paint the second pair of wings on the other side and let the work dry well.

At this time, the butterfly's body, head and antennae are assembled from beads. The result should be something like this:

The butterfly must be cut out, be sure to repeat the wave of the wings, and do not cut in a straight line.


The resulting workpiece will curl inward in the shape of a tube. To make the wings flutter, bend the model of the insect in the center and the wings will take the desired shape.


Grease the middle part of the butterfly with hot glue and immediately glue the “skeleton” made of beads. Then press it firmly and let the glue dry.

The butterfly is ready. It can be pinned to the wallpaper with a needle or attached to flowers; the butterfly looks great on a wall clock or indoor ikebana.

Similar master classes
Particularly interesting
Comments (0)

