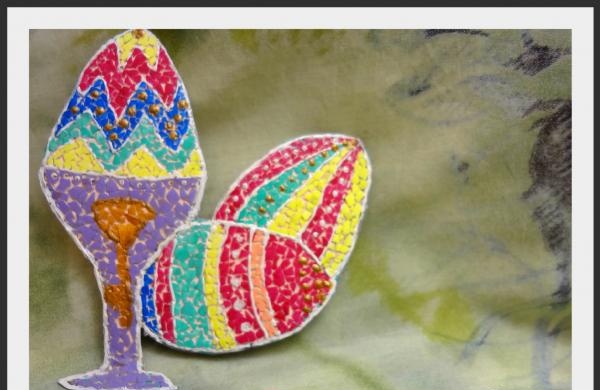
"Easter eggs" - eggshell mosaic
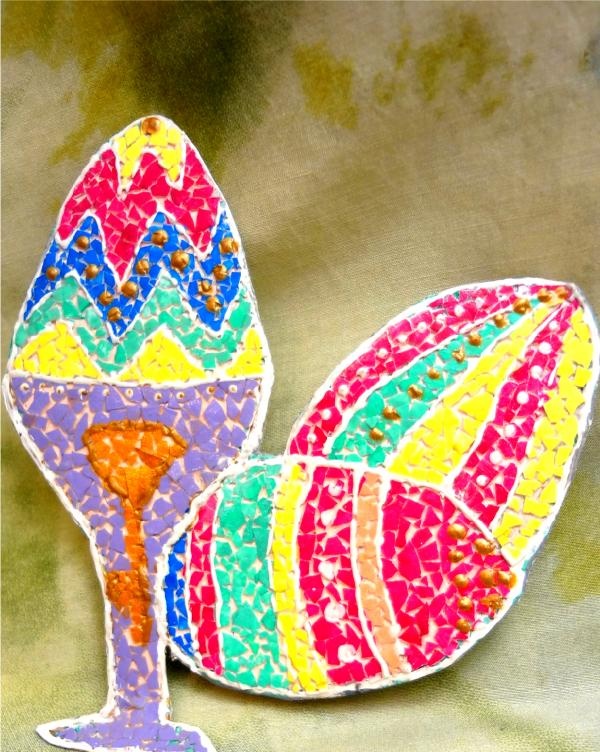
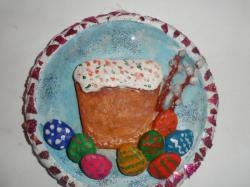
Easter is a holiday of peace and goodness, on this wonderful holiday we would like to congratulate our family and friends, this will help us present, made with your own hands. You can put together the Easter mosaic yourself or involve children in this entertaining process. So let's get started.
For the master class we will need:
- eggshell;
- acrylic paints or egg paint;
- white and gold outline;
- PVA glue;
- cardboard.
1. Remove the white film from raw eggshells, then wash the shells in a soda solution.
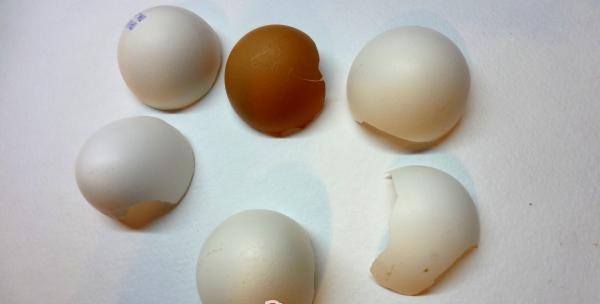
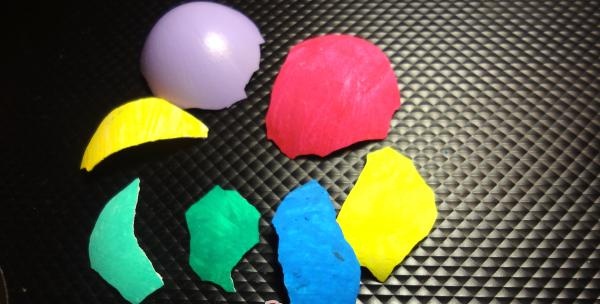
2. Paint the prepared eggshell with acrylic paints or special dyes for eggs. For this master class we will need shells in yellow, pink, blue, green, purple and gold.
3. Prime the cardboard sheet with a special primer or white acrylic paint. We make a sketch, but do not press too hard on the pencil so that you can easily erase unnecessary lines.
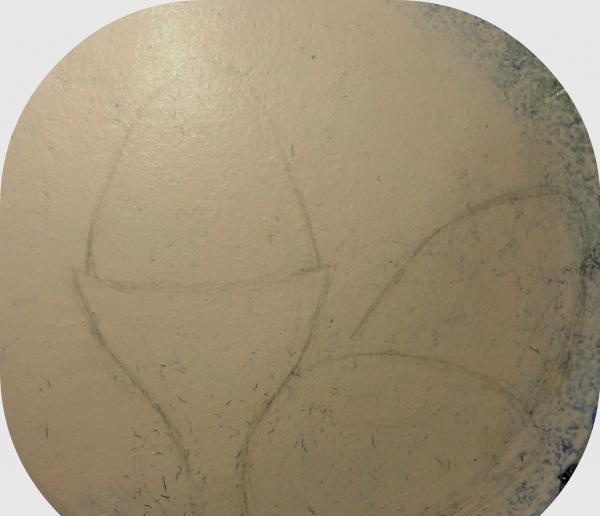
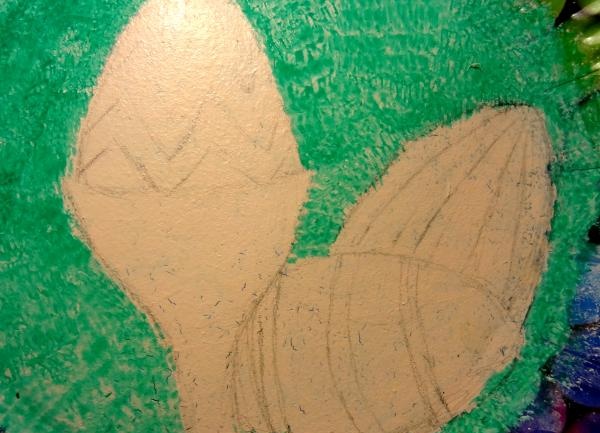
4. When the sketch is smooth, you can confidently draw the contours by pressing on the pencil. Let's draw the eggs in detail, apply a pattern on them in the form of zigzags and stripes.
5. Chop pink eggshells into small pieces.
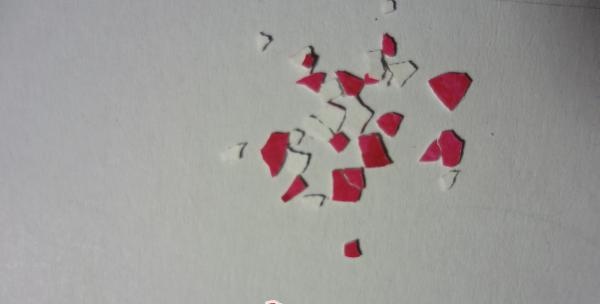
6.Using PVA glue, we begin to lay out pink shells in random order, but close to each other, on the part of the drawing where the pink color will be.
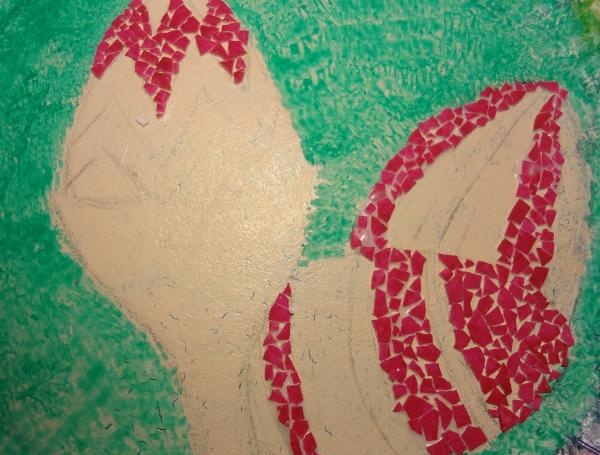
7. The next step is to lay out the yellow shell.
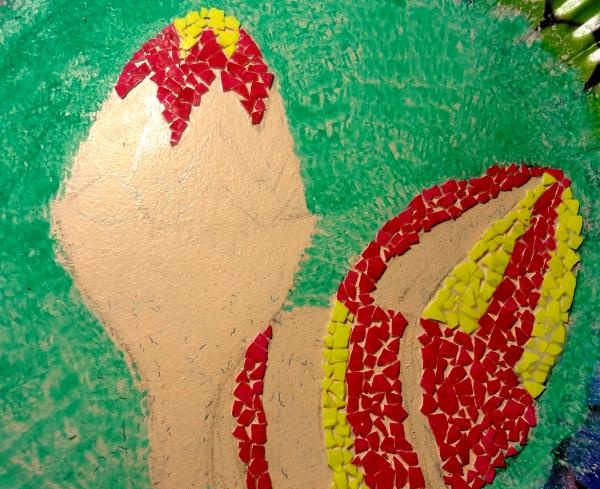
8. Then the shell is blue.
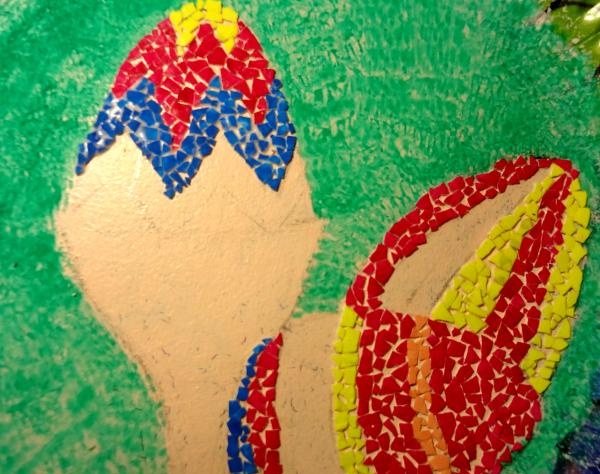
9. Use a green shell to finish laying out the mosaic on the eggs.
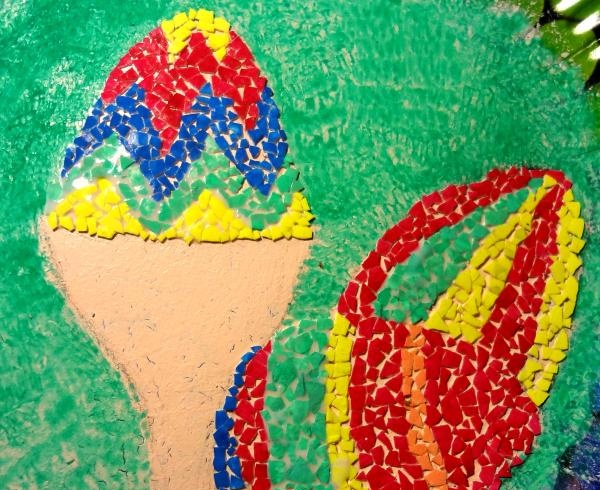
10. Now let’s start laying out the stand for the egg with a lilac-colored shell, while in the central part we lay out a rose with a golden-colored shell.

11. The final stage will be drawing a white outline of the transition of colors.
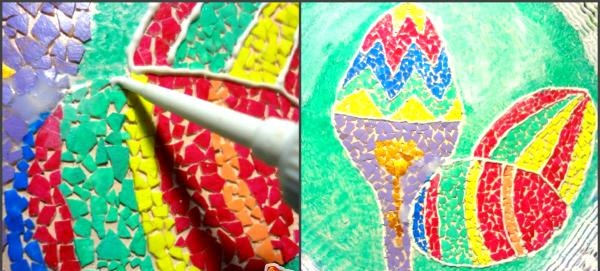
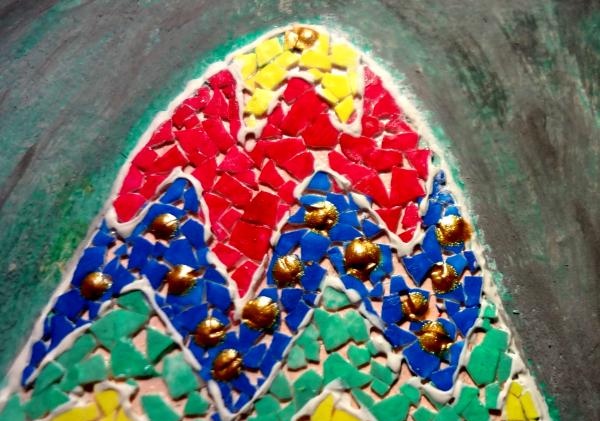
12. If desired, place dots on some stripes using a gold-colored outline.
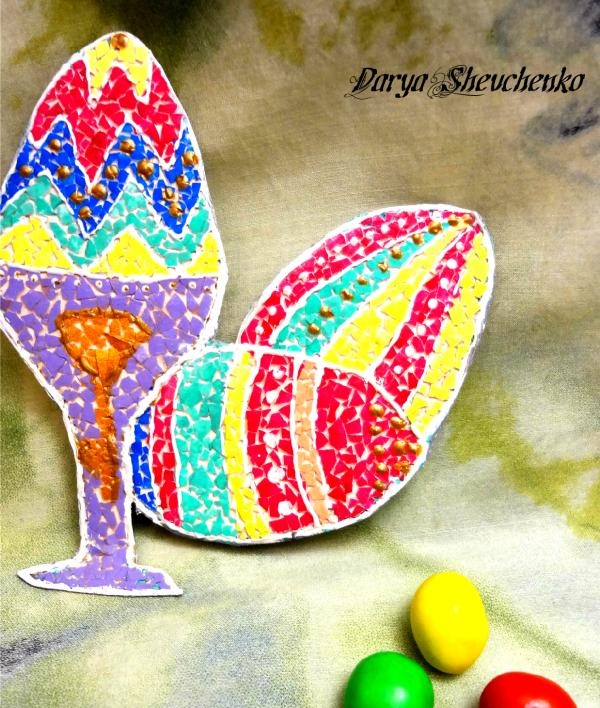
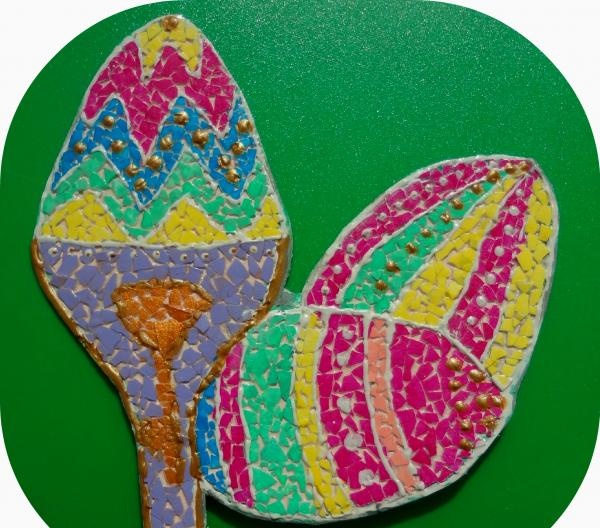
13. This composition can be left on a sheet of cardboard by drawing the background in green, or it can be cut out. Our Easter mosaic is ready, it can be used as a greeting card or as a separate composition. We wish you creative success!
Similar master classes
Particularly interesting
Comments (0)

