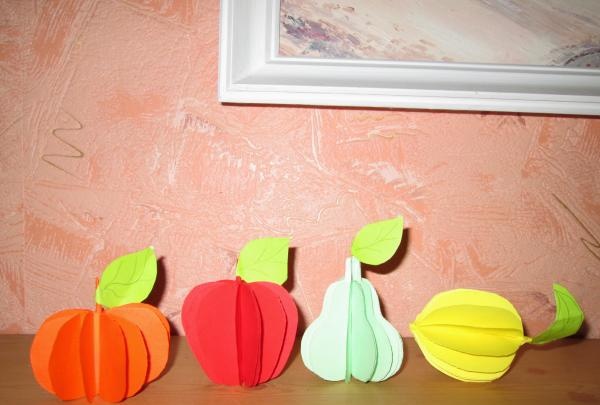
Bulk fruit
The creative process together with the baby can not only unite, but also enrich the child’s ideas about the world around him. Children willingly bring interesting ideas to life, realizing their creative potential and motor skills. The adult’s task is to competently present the material, touching the subtle strings of children’s curiosity and imagination. Bulk fruits made by a child’s hands fit well into the interior of the room and can be used as handouts during classes.
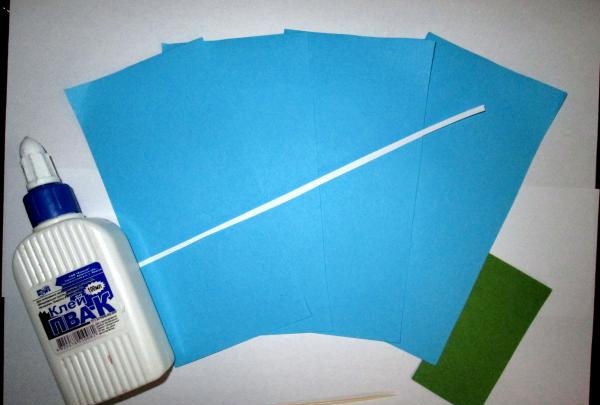
To make a voluminous pear you will need:
• Double-sided colored paper 2 colors
• Toothpick
• Glue
• Scissors
• pencil
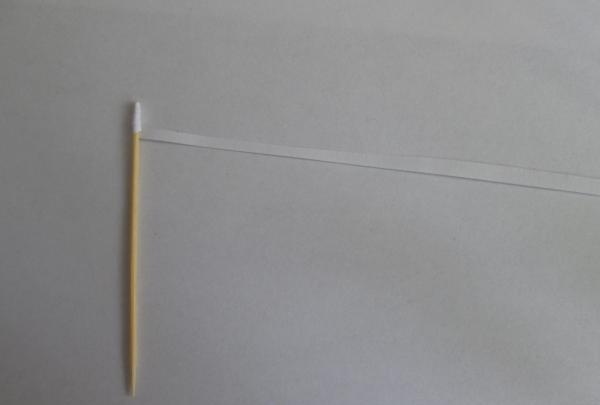
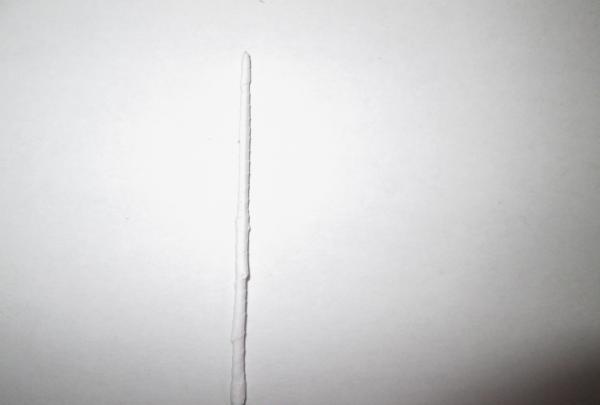
Prepare the small parts first and give them time to dry. The rigid rod will be a toothpick, pre-wrapped with a thin strip of paper soaked in glue. The main structure is well attached to such a base.
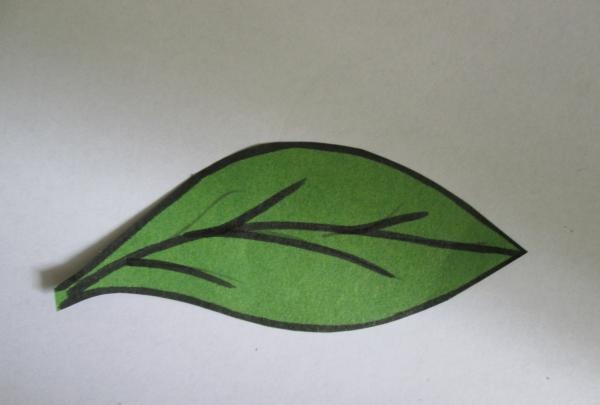
Next, cut out a green leaf of any size and shape. We put the blanks aside and proceed to the main part of the work.
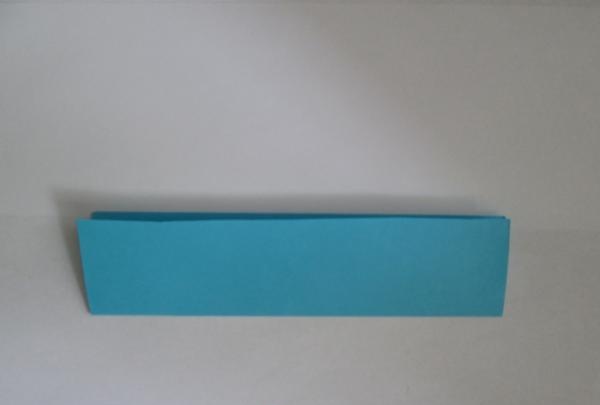
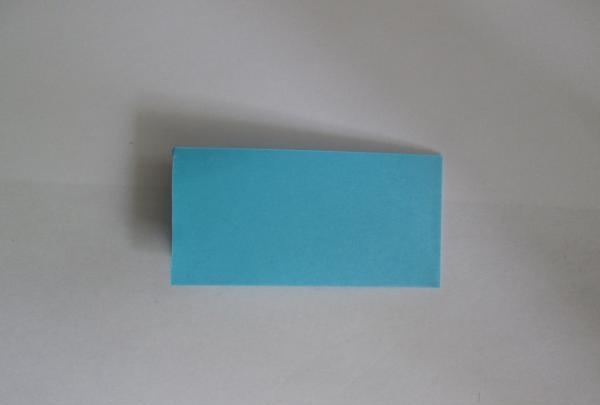
Take 4 strips of 8 x 14 colored paper, fold them in half lengthwise, then crosswise.
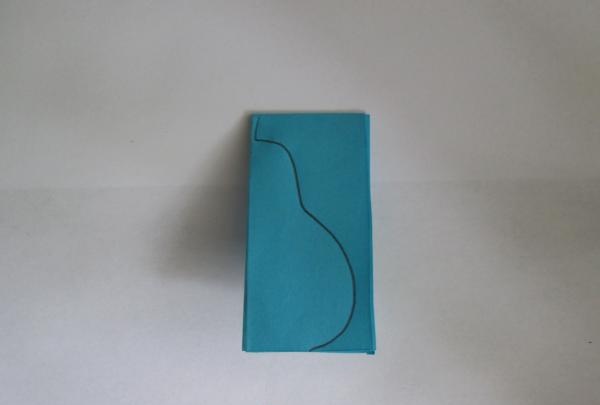
On the bend line, draw half of the intended fruit using a template or simply with a pencil. We carefully cut it out, resulting in eight pieces folded in half.
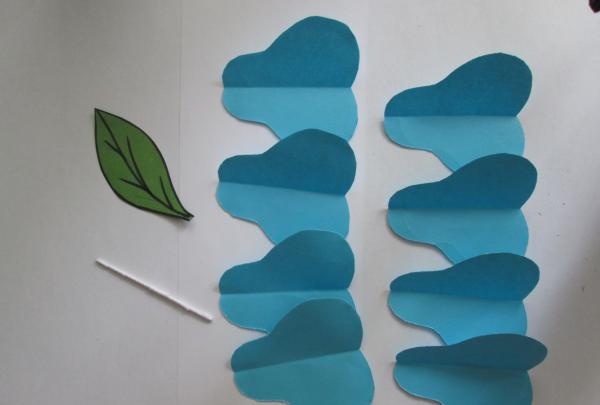
We arm ourselves with glue, coating the parts along the bent line. The amount of glue should be minimal, and the treatment area should be limited only to the bend line.
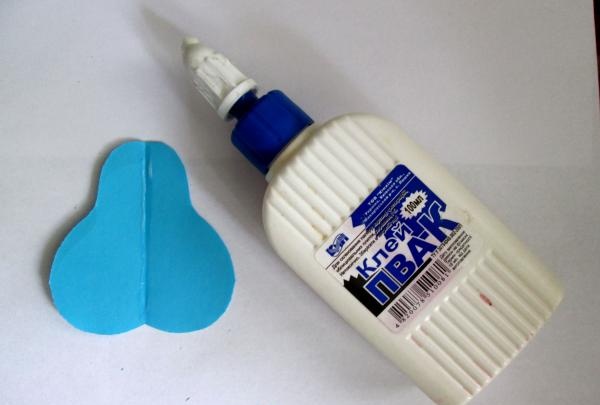
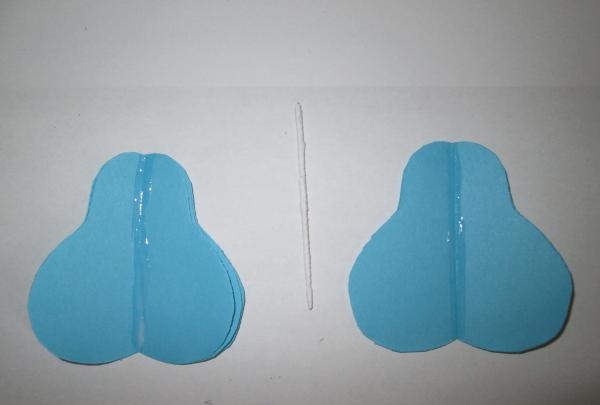
We put four pieces on each other, resulting in two halves of the future pear.
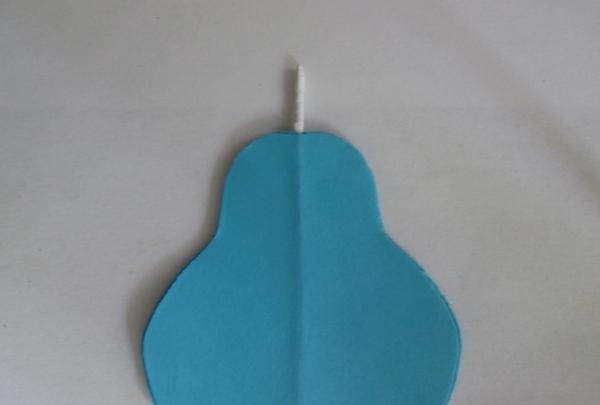
The rod, treated in advance with a strip of paper, is placed in the middle coated with glue. We place the parts on top of each other, fixing them by pressing along the bend line. Let the glue dry thoroughly, then straighten the parts evenly.
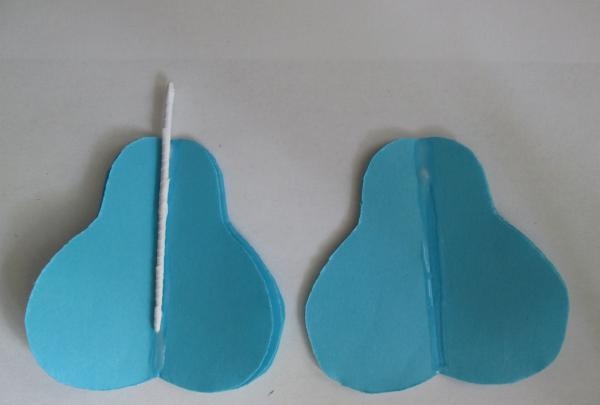
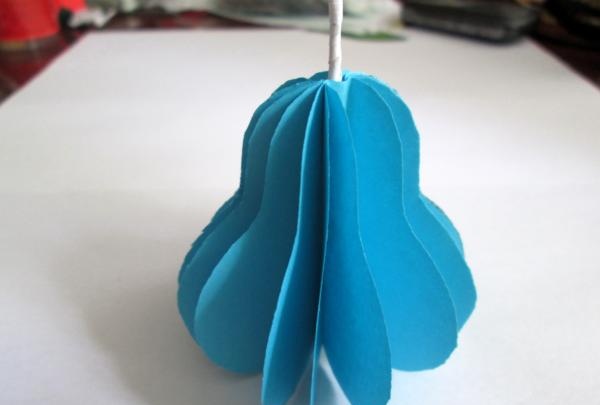
Carefully glue the leaf to the tail of the pear.
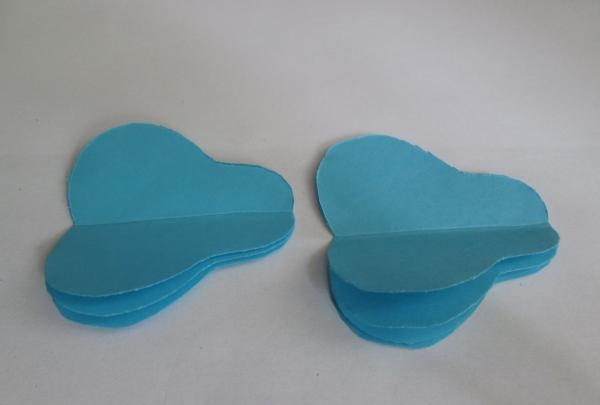
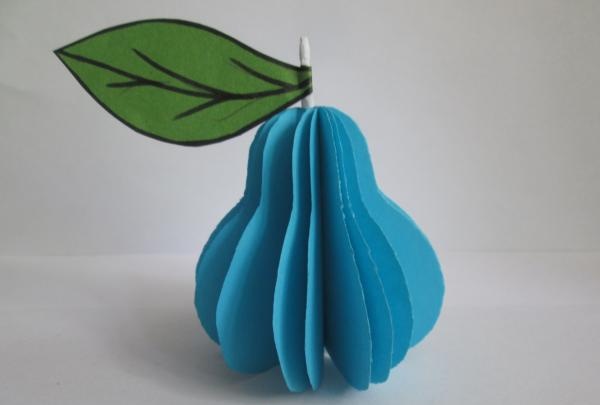
In order for your child to be truly interested in working with you in pairs, give him the right to choose the color of the consumables, and the opportunity to work independently under your strict guidance. Prepare a sample in advance so that your child has an idea of the result of the work.


To make a voluminous pear you will need:
• Double-sided colored paper 2 colors
• Toothpick
• Glue
• Scissors
• pencil

Prepare the small parts first and give them time to dry. The rigid rod will be a toothpick, pre-wrapped with a thin strip of paper soaked in glue. The main structure is well attached to such a base.


Next, cut out a green leaf of any size and shape. We put the blanks aside and proceed to the main part of the work.

Take 4 strips of 8 x 14 colored paper, fold them in half lengthwise, then crosswise.


On the bend line, draw half of the intended fruit using a template or simply with a pencil. We carefully cut it out, resulting in eight pieces folded in half.


We arm ourselves with glue, coating the parts along the bent line. The amount of glue should be minimal, and the treatment area should be limited only to the bend line.


We put four pieces on each other, resulting in two halves of the future pear.

The rod, treated in advance with a strip of paper, is placed in the middle coated with glue. We place the parts on top of each other, fixing them by pressing along the bend line. Let the glue dry thoroughly, then straighten the parts evenly.


Carefully glue the leaf to the tail of the pear.


In order for your child to be truly interested in working with you in pairs, give him the right to choose the color of the consumables, and the opportunity to work independently under your strict guidance. Prepare a sample in advance so that your child has an idea of the result of the work.

Similar master classes
Particularly interesting
Comments (0)


