Making an eternal light bulb
Anyway, let's get started :)
In order to start fleshing out this topic we will need:
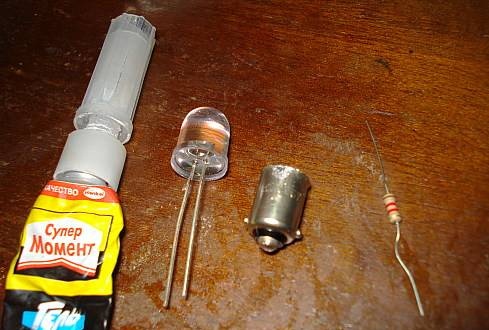
- “Super Moment” glue or any other second glue.
- Light-emitting diode
- light bulb housing
- resistor*
* the resistance of the resistor for different LEDs is needed differently, I have seen it so far LEDs at 3.5 and 1.5 volts or with an integrated 12 V resistor.
Here is the required resistance:
1.5 V - 1.5-1.8 kOhm
3.5 V - 1.1-1.2 kOhm
----------------------
So let's get started:
1) To one leg LED We solder the resistor, and we try to solder it as close to the LED as possible so that the structure is as short as possible, otherwise it may not fit in the light bulb body. Next, we solder 3-4 “hairs” of thin copper wire 2 centimeters long to the second leg and insulate the resistor using a thermal tube.
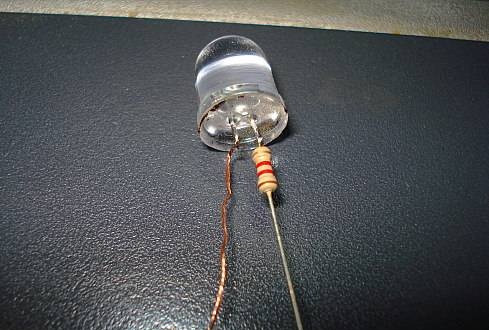
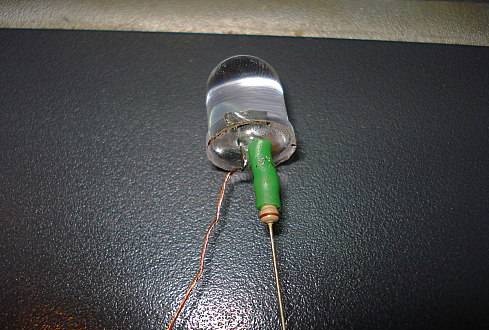
2) We insert the resulting structure into the body of the light bulb, insert the resistor into the “navel”, and stick out the wiring soldered to the other leg LED, and glue it all to the body of the light bulb. After the glue has dried, solder it.
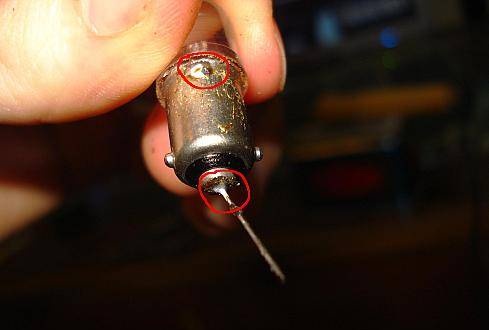
3) Result:
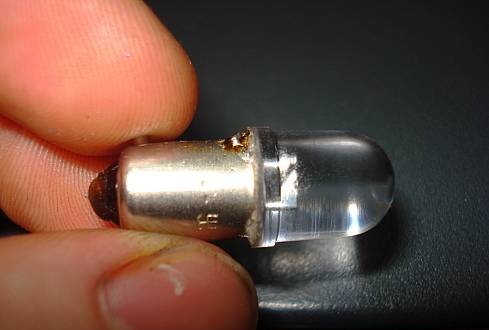
In general, of course, everything is clear here from the photographs, but still....here the most difficult part is to glue everything together correctly, the easiest and most effective way is to pour a little glue into the light bulb body and onto the bottom part LED, they will hold on iron-clad.

