Cordless soldering iron made from a resistor
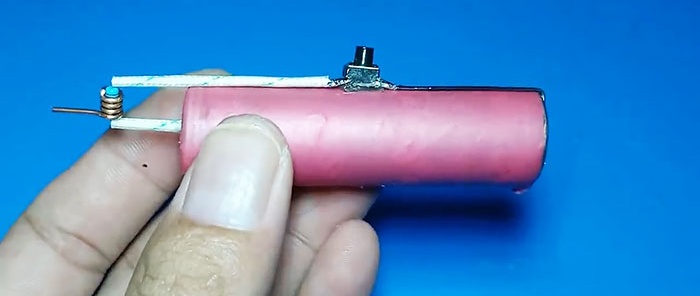
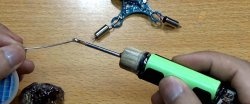
You can make a mini cordless soldering iron yourself in literally 15 minutes. Put it in your pocket and go soldering where there is no electricity. The main heating element is a 4.7 Ohm resistor. A 3.7 V 18650 series element is used as a battery. Its capacity is more than enough for a long operating time.
Will need
- Resistor 4.7 Ohm (0.25 W).
- 18650 battery at 3.7 V.
- Momentary button.
- Heat resistant tube.
- A piece of wire.
- A piece of copper wire 0.9 mm in diameter.
Making a mini soldering iron
We take a resistor.
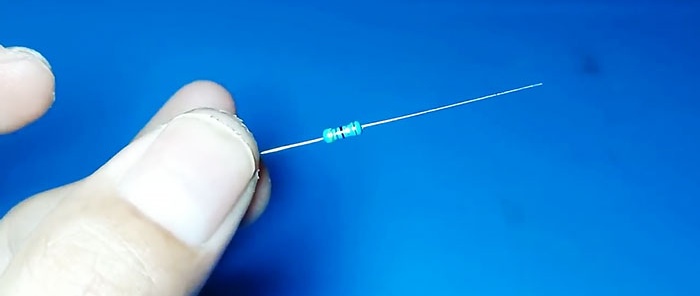
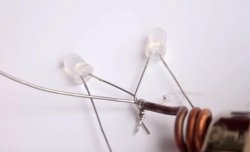
We wind copper wire around its middle, three turns. If the wire has varnish insulation, it must be removed using acetone or mechanically using sandpaper.
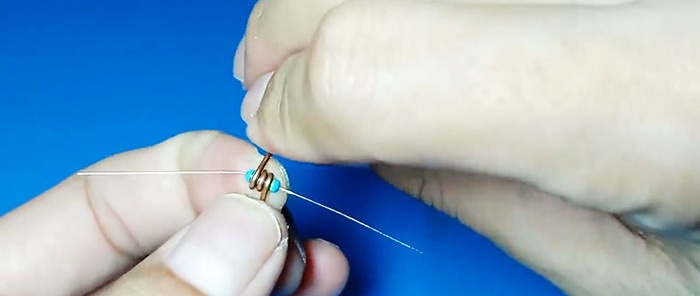
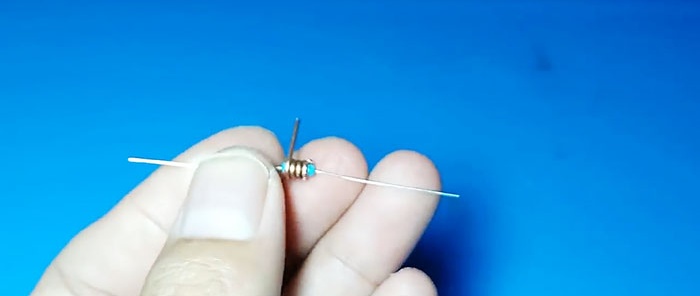
We press all the turns tightly together with pliers. We bite off one end of the wire closely, and the other at a distance of 0.8-1 cm.
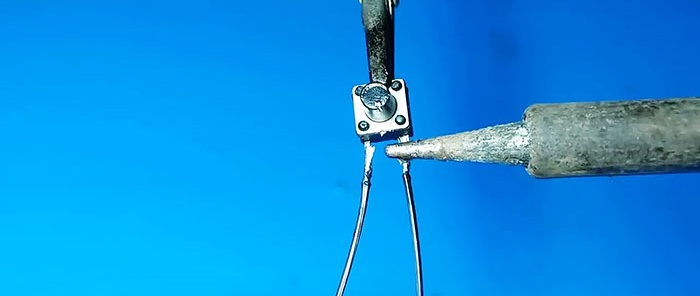
We take the button and solder the wires to its contactors.
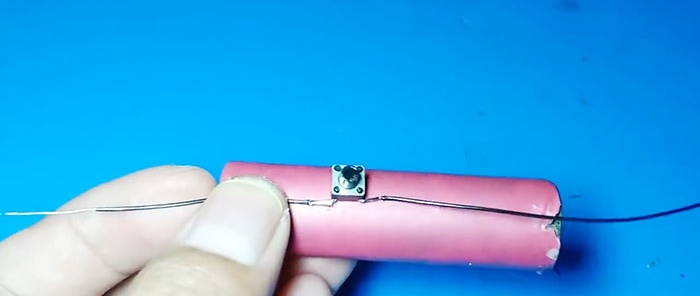
We bend the contacts and glue it with hot glue to the battery body.
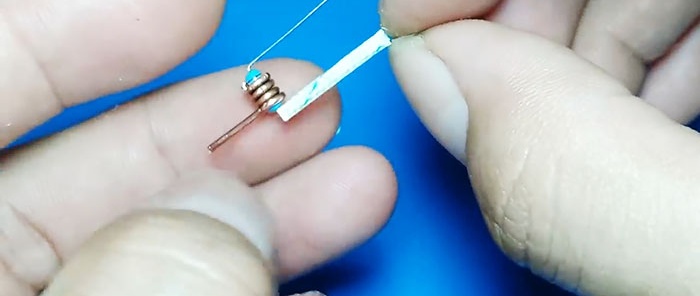
We put a piece of heat-resistant tube on one leg of the resistor.
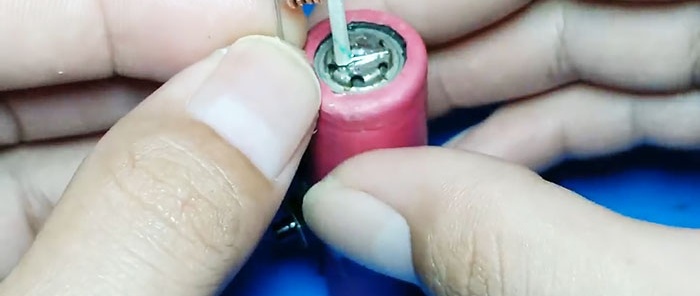
Solder to the battery pole. Polarity doesn't matter.
We solder a wire to the second terminal, also put on a heat-resistant tube and solder it to the button contact.
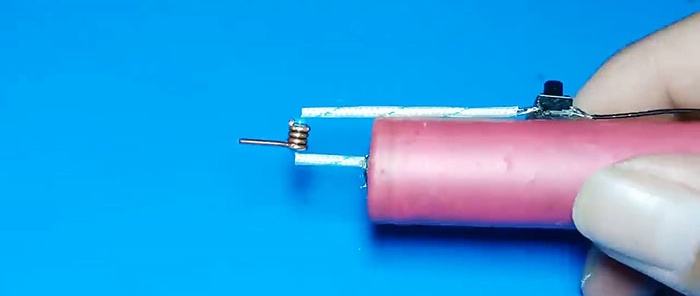
We solder the second lead from the button to the second pole of the battery.
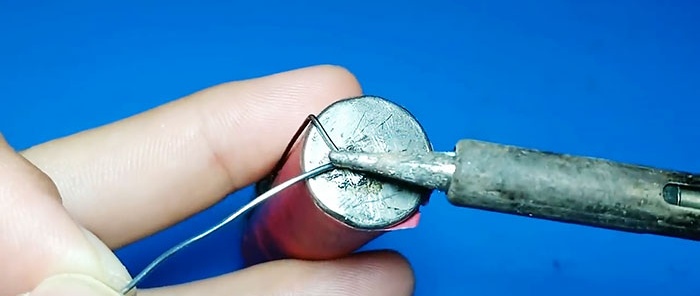
The soldering iron is ready.

We press the button. We wait a couple of seconds to warm up.
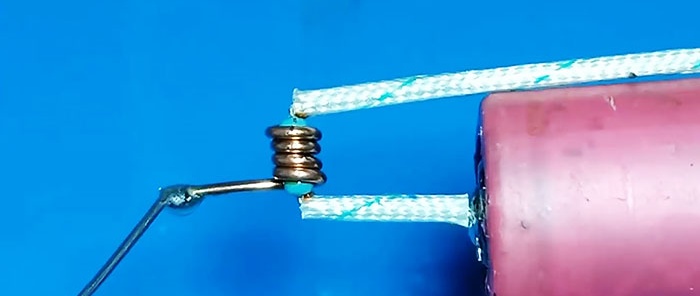
And we start soldering.
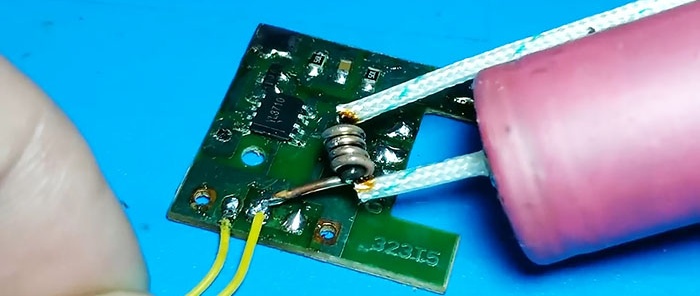
This is how easy, quick and simple it is to make a cordless soldering iron for soldering small elements in conditions without electricity.
Watch the video
Similar master classes
Particularly interesting
Comments (7)

