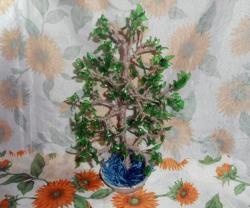
Cowberry
Do you know how you can make a beautiful decoration for your window from ordinary things? No, then I’ll show you now, and, of course, I’ll tell you how you can make lingonberries with your own hands.
For this we need:
- Red beads.
- Black beads.
- Green plastic bottle.
- Thin wire (preferably copper).
- Scissors.
- Nylon tights.
- Potty.
- Candle.
- Matches.
- Green sisal.
Let `s start? Let's take a wire and put one bead of black beads on it. We put the ends of the wire together, twist them together and put on a red bead. I didn’t have red beads, but I easily found a way out of the situation by painting the white beads with varnish of the desired color. Yes, it’s better to take larger red beads, so the berry will look more beautiful.
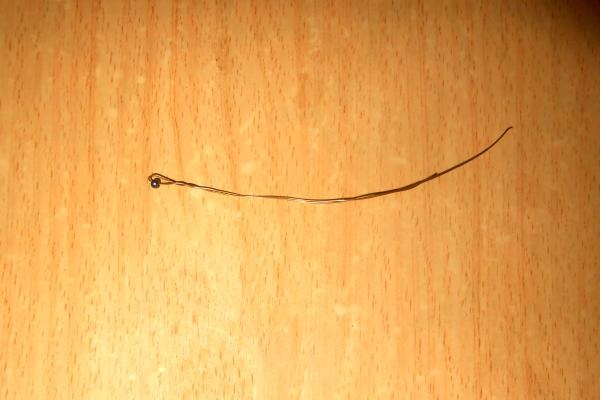
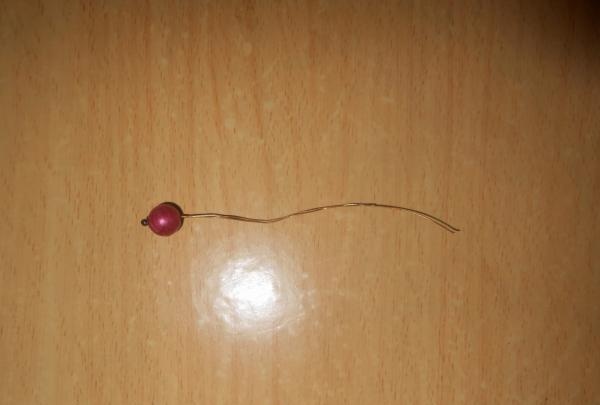
We will need 3 berries for one branch (or at your discretion). Thus, we make the required number of berries.
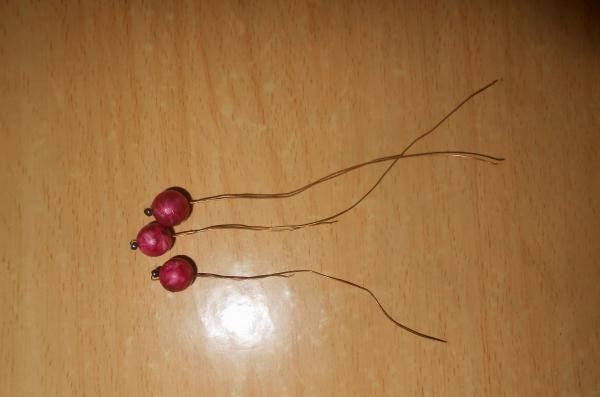
Place the berries together and twist the wire together. This is what should happen.
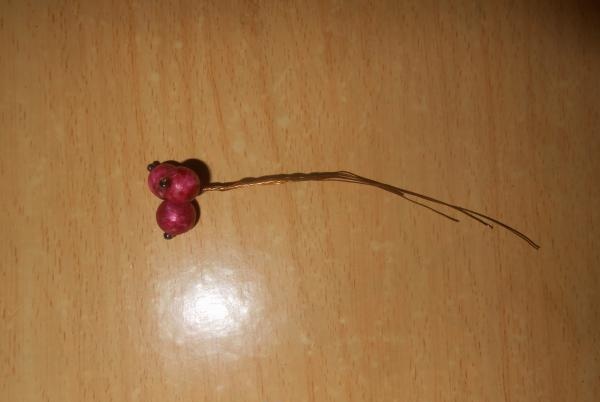
The preparation for the twig is ready, let’s put it aside for a while. Now we need a green plastic bottle. We will cut out leaves from it. To do this, you need to wash the bottle, dry it well, cut off the neck and bottom, then cut the bottle lengthwise.From this material we will cut out 3 leaves with rounded edges and twigs per branch.
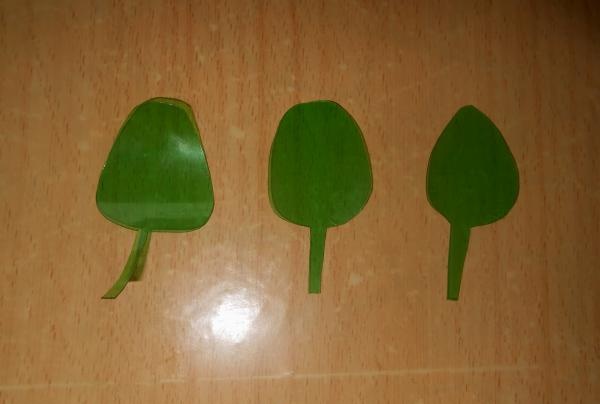
Using a regular lit candle, we will give the leaves beautiful shapes. To do this, you need to slightly melt the leaf over the fire, but you don’t need to melt the branches. The leaf should not be brought close to the fire, as the plastic may turn black. Here in the photo you can see that the edge of one leaf has slightly blackened, but there is nothing terrible, you can simply cut out another leaf and replace the one that didn’t work out.
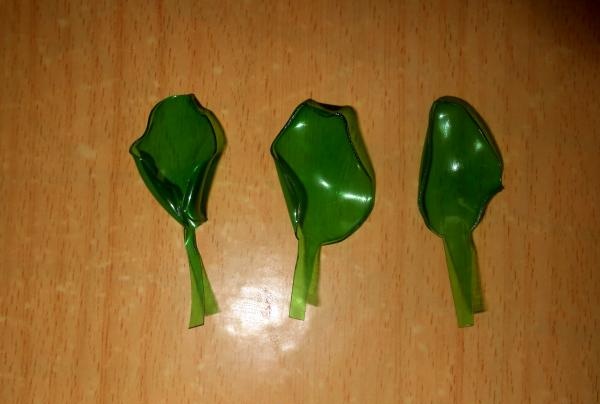
The leaves are ready (I advise you to make the required number of leaves at once, so as not to be distracted from creating branches. You can also do the number of leaves per branch at your discretion.) Now take nylon tights and cut a strip of 1 centimeter wide from them, the length will depend on the length of the wire (twig).
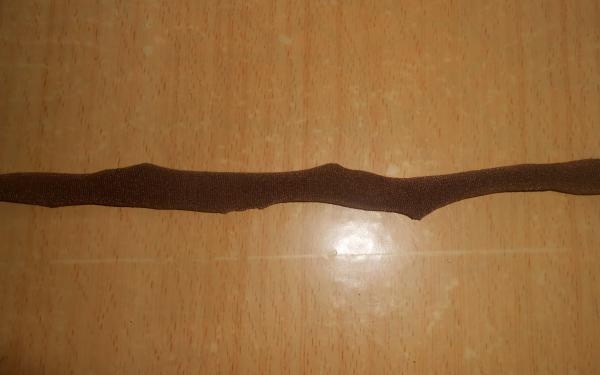
Let's start collecting a sprig of our lingonberry. Let's take a blank with berries, attach one leaf to it, so that its branch is pressed to the lingonberry stem, and wrap it tightly with a nylon strip. Next, we apply the second leaf and wrap it with nylon in the same way. We do the same with the third leaf. After all the leaves have taken their “place” (the leaves can be distributed along the entire length of the stem, or you can do it like I did, just on top), we wrap the stem itself with a nylon strip to the end. The end of the strip can be fixed with glue, or you can set it on fire and quickly press it to the stem. Be careful not to burn your fingers when doing this. Here is one branch ready.
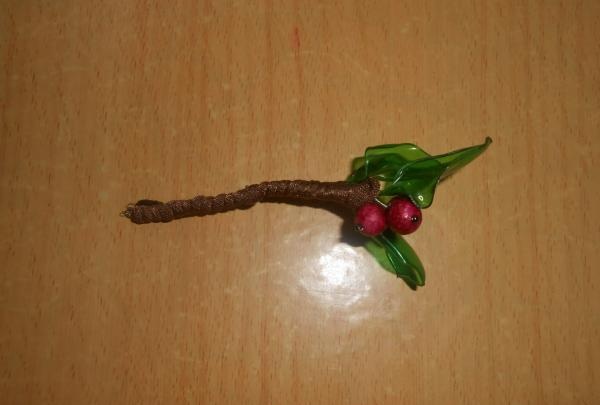
As you already understood, we make the required number of branches in exactly the same way; you can even make berries from different beads. I got 15 pieces. There are only 4 pieces in the photo.
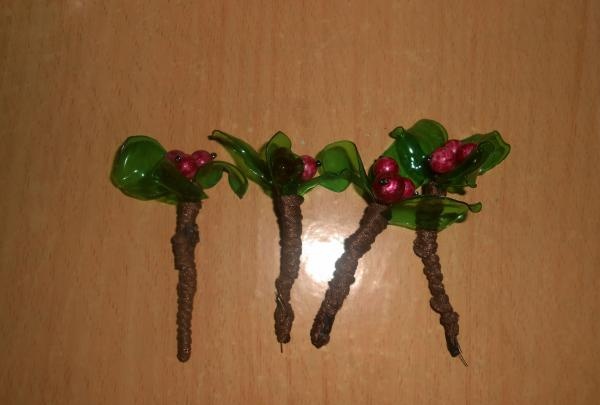
Let's take a pot and “plant” twigs in it, and put green sisal around the edge (to imitate grass). You can pour soil into the pot itself, but if you are making such a craft for the street, it would be better to pour gypsum or cement into it and, before the solution hardens, insert twigs into it and leave it alone until the solution dries completely.
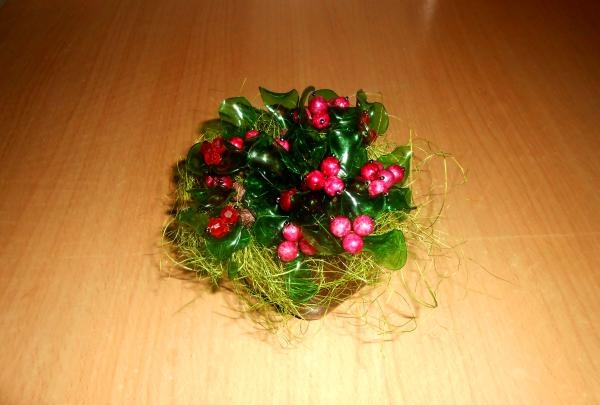
Beautiful hand-made lingonberries will look original and impressive on any windowsill or in the garden.
For this we need:
- Red beads.
- Black beads.
- Green plastic bottle.
- Thin wire (preferably copper).
- Scissors.
- Nylon tights.
- Potty.
- Candle.
- Matches.
- Green sisal.
Let `s start? Let's take a wire and put one bead of black beads on it. We put the ends of the wire together, twist them together and put on a red bead. I didn’t have red beads, but I easily found a way out of the situation by painting the white beads with varnish of the desired color. Yes, it’s better to take larger red beads, so the berry will look more beautiful.


We will need 3 berries for one branch (or at your discretion). Thus, we make the required number of berries.

Place the berries together and twist the wire together. This is what should happen.

The preparation for the twig is ready, let’s put it aside for a while. Now we need a green plastic bottle. We will cut out leaves from it. To do this, you need to wash the bottle, dry it well, cut off the neck and bottom, then cut the bottle lengthwise.From this material we will cut out 3 leaves with rounded edges and twigs per branch.

Using a regular lit candle, we will give the leaves beautiful shapes. To do this, you need to slightly melt the leaf over the fire, but you don’t need to melt the branches. The leaf should not be brought close to the fire, as the plastic may turn black. Here in the photo you can see that the edge of one leaf has slightly blackened, but there is nothing terrible, you can simply cut out another leaf and replace the one that didn’t work out.

The leaves are ready (I advise you to make the required number of leaves at once, so as not to be distracted from creating branches. You can also do the number of leaves per branch at your discretion.) Now take nylon tights and cut a strip of 1 centimeter wide from them, the length will depend on the length of the wire (twig).

Let's start collecting a sprig of our lingonberry. Let's take a blank with berries, attach one leaf to it, so that its branch is pressed to the lingonberry stem, and wrap it tightly with a nylon strip. Next, we apply the second leaf and wrap it with nylon in the same way. We do the same with the third leaf. After all the leaves have taken their “place” (the leaves can be distributed along the entire length of the stem, or you can do it like I did, just on top), we wrap the stem itself with a nylon strip to the end. The end of the strip can be fixed with glue, or you can set it on fire and quickly press it to the stem. Be careful not to burn your fingers when doing this. Here is one branch ready.

As you already understood, we make the required number of branches in exactly the same way; you can even make berries from different beads. I got 15 pieces. There are only 4 pieces in the photo.

Let's take a pot and “plant” twigs in it, and put green sisal around the edge (to imitate grass). You can pour soil into the pot itself, but if you are making such a craft for the street, it would be better to pour gypsum or cement into it and, before the solution hardens, insert twigs into it and leave it alone until the solution dries completely.

Beautiful hand-made lingonberries will look original and impressive on any windowsill or in the garden.
Similar master classes
Particularly interesting
Comments (0)

