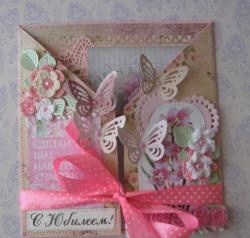
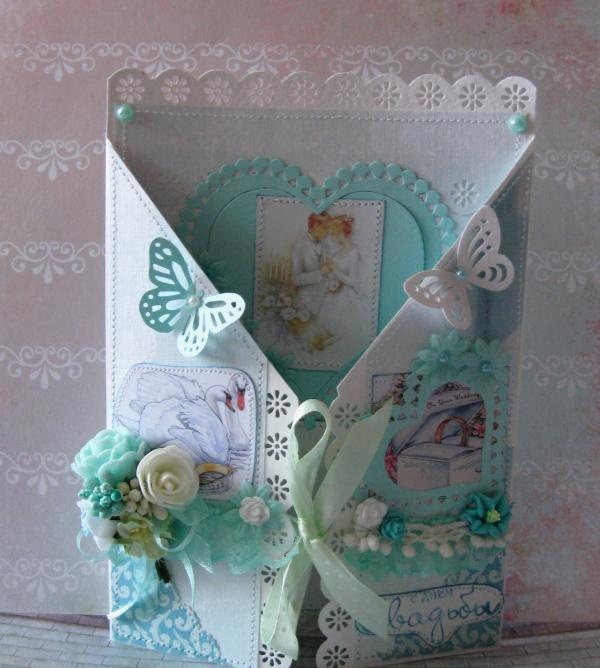
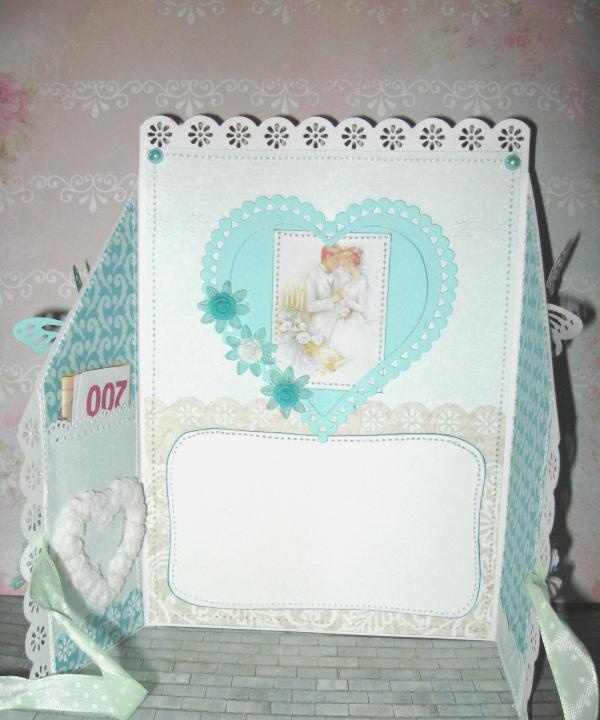
Folding card “Happy Wedding Day” tiffany color
Warm and beloved summer time is the time for wedding celebrations. Every year, starting from the beginning of summer, a lot of marriages take place. Everyone prefers to celebrate even weddings differently. Some couples enjoy a quiet home environment with their parents and closest family and friends. Others throw lavish events with hundreds of invited guests, and some even prefer to just get married and go on some romantic trip together. It all depends on the budget, the situation and, in general, human priorities. But the most important thing is one thing: no one has ever canceled congratulations, and even if there was no celebration itself, you can always congratulate the newlyweds just like that. It doesn’t have to be something expensive, the most important thing is that it is from the heart and tasteful and remains a long memory in their married life. Foremost present, these are congratulatory words in a wedding card.To add some zest to your gift, you can make the most delicate card in Tiffany color with your own hands. This color is very popular in the 2015 wedding season. Therefore, you must agree that nothing will please and surprise young people more than a handmade postcard of a very interesting shape. Moreover, now those gifts that are made by hand have become very valuable and rare. So now we will make a postcard using such an interesting technique as scrapbooking.
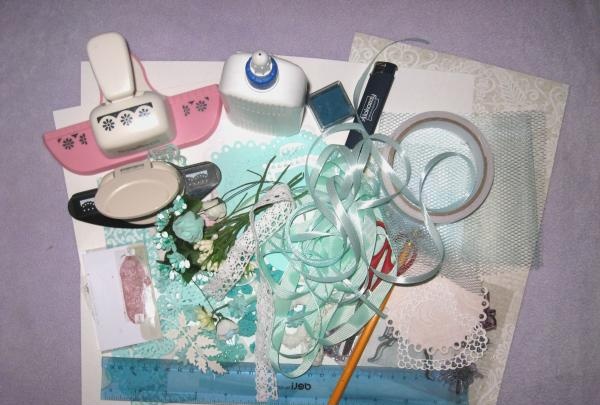
Let’s get started right now and for this we take the following:
• Watercolor paper A4 format, one sheet;
• Scrapbooking paper colors from the “Tiffany” and “Gentle Shabby” set, 4 different sheets;
• Wedding pictures: newlyweds, swans and a box with rings;
• Tiffany color cutting: large hollow heart, medium heart and small hollow heart, butterflies;
• White and Tiffany polymer decorations: heart frame with roses, roses, lilies;
• Stamens are complex with beige and tiffany glitter;
• Latex roses white and tiffany;
• Salad paper hydrangea;
• Fabric flowers small tiffany colors;
• Satin and organza ribbons of different widths in Tiffany color;
• Tiffany cotton lace;
• White ribbon with small pompoms;
• Half beads are white, turquoise and tiffany;
• Stamp “Happy Wedding Day”;
• Tools: PVA glue, double-sided tape, ruler, lighter, pencil, scissors, rubber band, floral and lace punches.
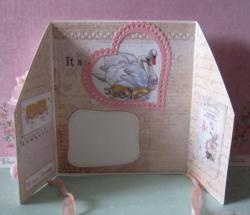
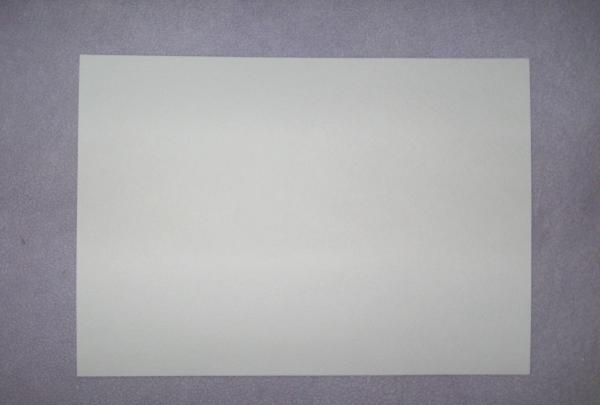
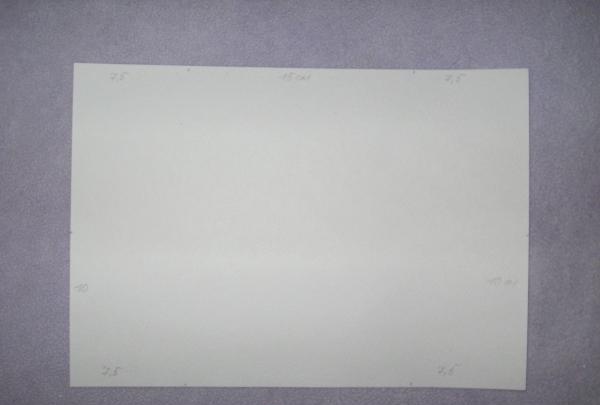
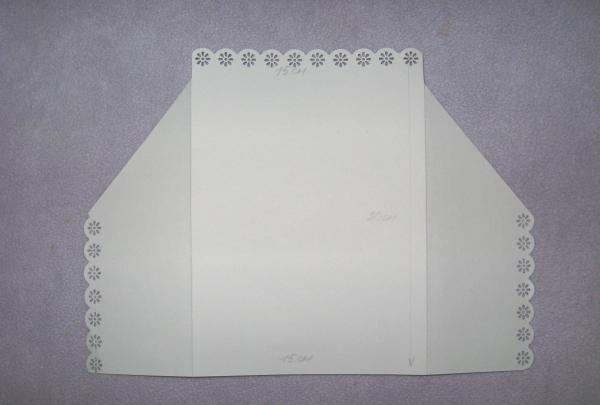
The shape of the postcard is interesting, so first we cut out its base. Place the sheet horizontally. We divide it into three parts: 7.5 cm, 15 cm and 7.5 cm.
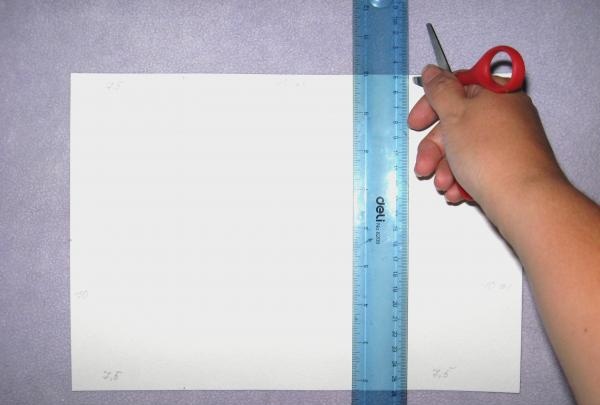
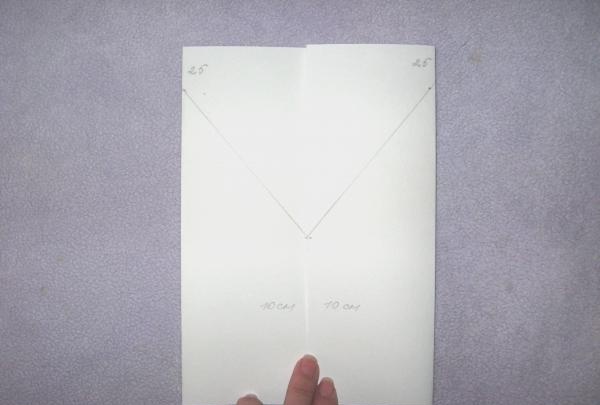
On the sides we retreat 10 cm from the bottom and 2.5 cm from the top. Under the ruler we connect these lines to each other. We make two bends and fold the base like this.
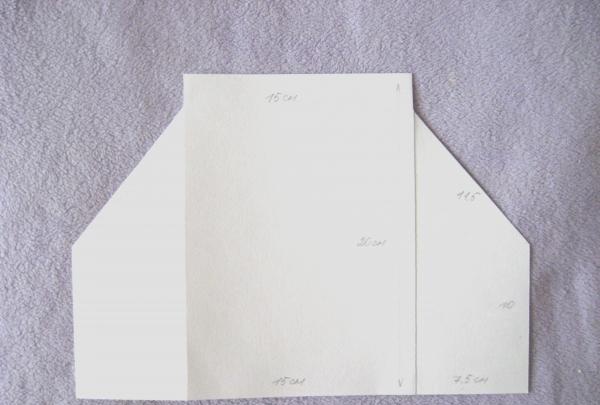
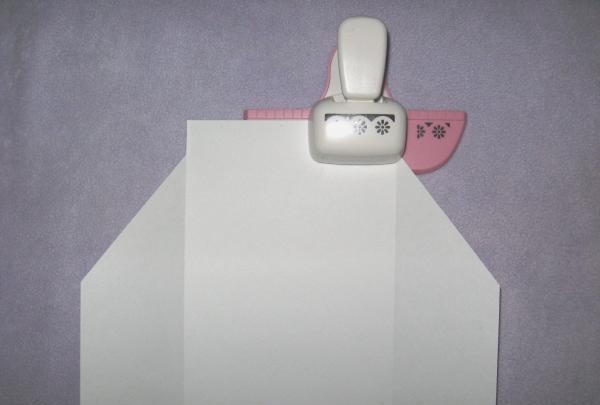
We cut off the extra corners and make the top and sides of the base floral using a hole punch.
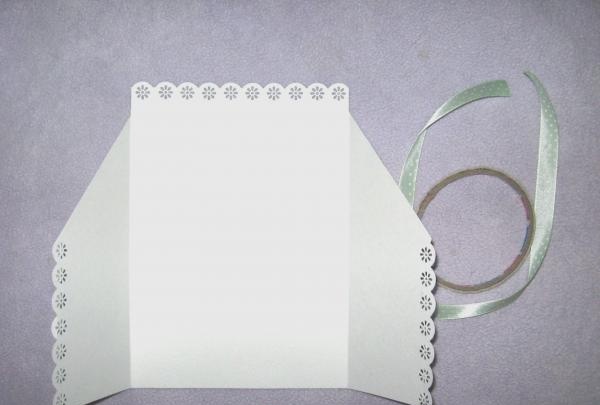
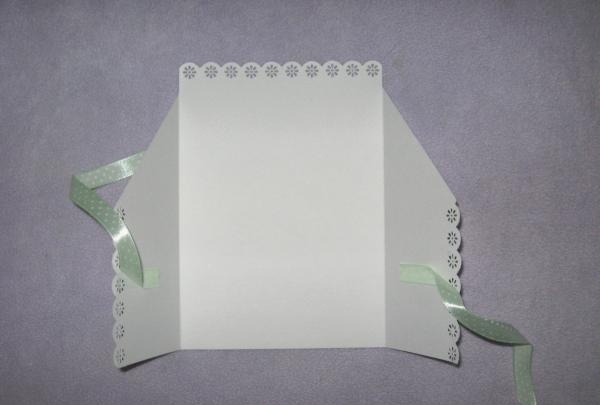
From the inside on the sides in the center we glue a satin strip, the postcard is then tied into a bow.
Now we will cut decor from scrap paper.
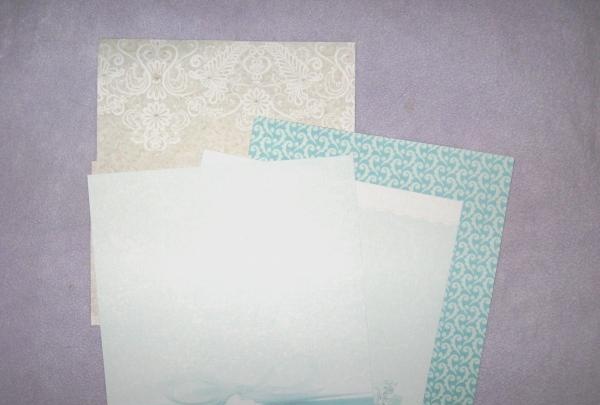
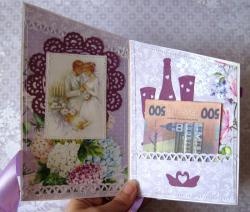
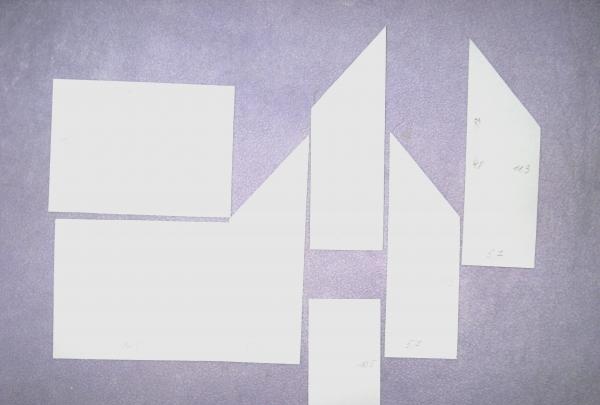
We cut these different shapes for interior and exterior decoration. We cut out a small rectangle for a pocket for money.
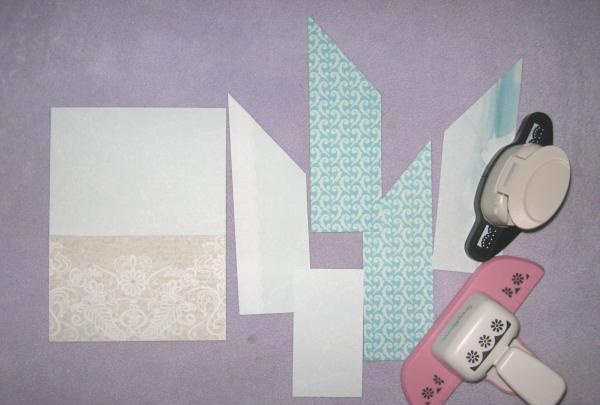
We make the individual remaining stripes into lace and floral ones, and glue them onto the finished figures as an additional decoration with PVA glue. We get these parts. Now we stamp the inscription itself, round off the pictures and tint everything with an ink pad.
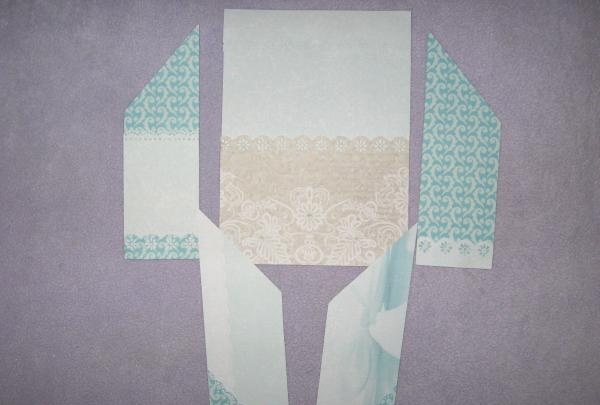
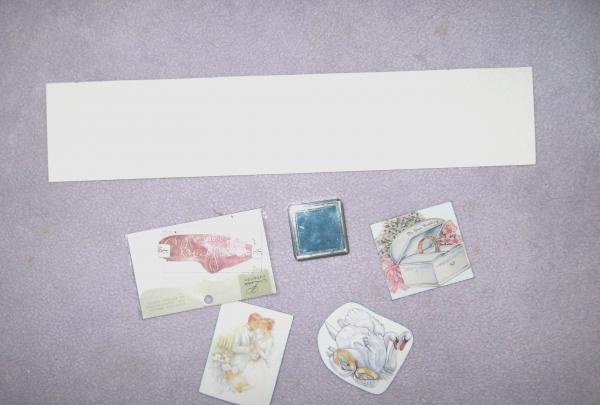
We cut out a shape with rounded edges from watercolors, tint it and glue it in the center of the postcard for the inscription. We glue pictures and inscriptions onto the shapes and sew each one with a machine.
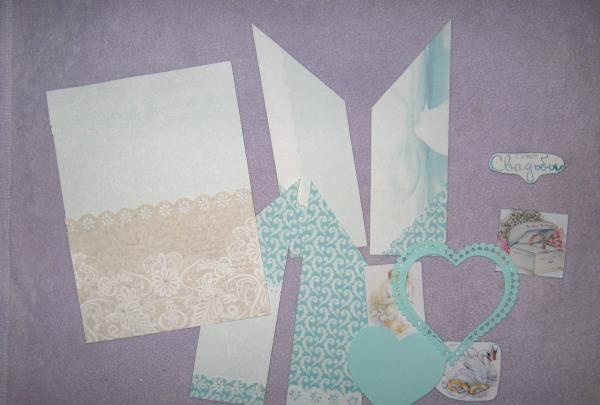
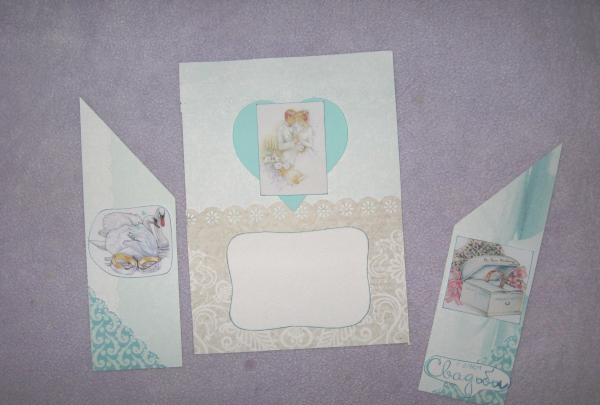
Now we sew these blanks to the base and also sew them separately.
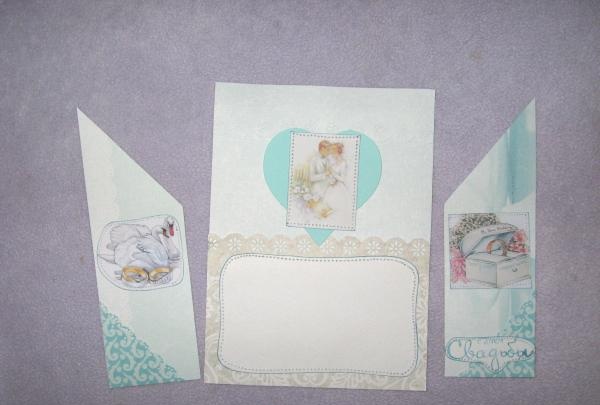
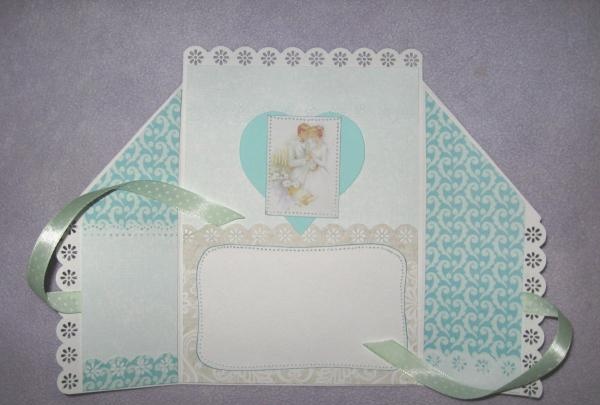
Glue the cut out hearts with PVA glue. Now we make a bouquet and tie bows.
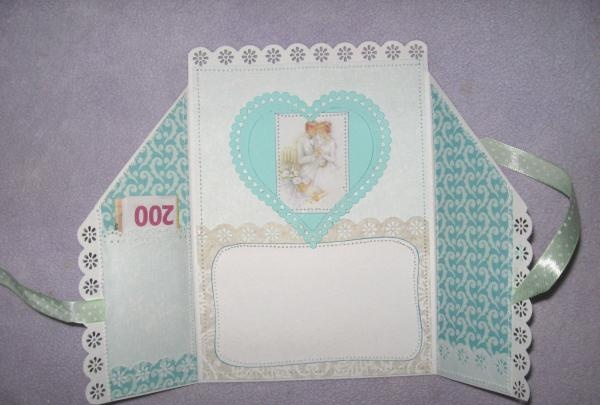
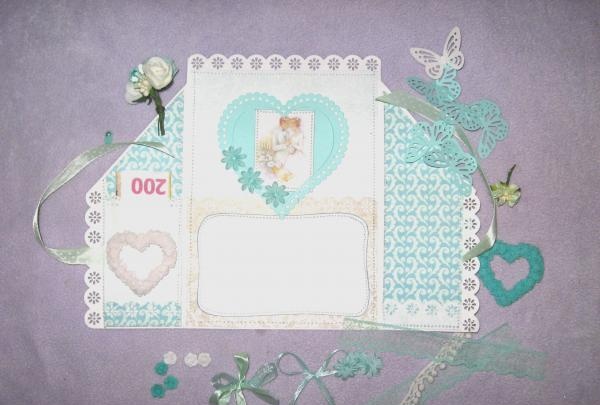
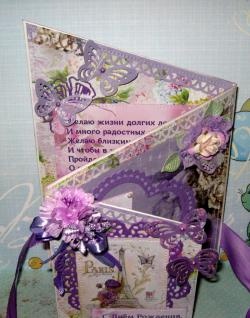
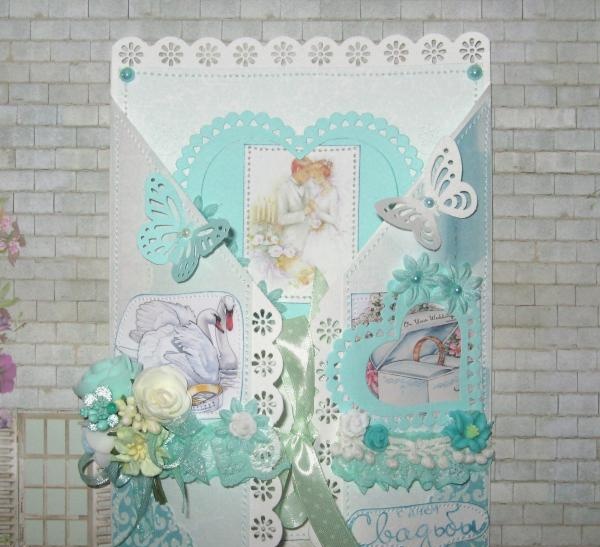
We glue all the decorations with a glue gun. Ready! We fold, tie and get this interesting Tiffany-colored wedding card.
Let’s get started right now and for this we take the following:
• Watercolor paper A4 format, one sheet;
• Scrapbooking paper colors from the “Tiffany” and “Gentle Shabby” set, 4 different sheets;
• Wedding pictures: newlyweds, swans and a box with rings;
• Tiffany color cutting: large hollow heart, medium heart and small hollow heart, butterflies;
• White and Tiffany polymer decorations: heart frame with roses, roses, lilies;
• Stamens are complex with beige and tiffany glitter;
• Latex roses white and tiffany;
• Salad paper hydrangea;
• Fabric flowers small tiffany colors;
• Satin and organza ribbons of different widths in Tiffany color;
• Tiffany cotton lace;
• White ribbon with small pompoms;
• Half beads are white, turquoise and tiffany;
• Stamp “Happy Wedding Day”;
• Tools: PVA glue, double-sided tape, ruler, lighter, pencil, scissors, rubber band, floral and lace punches.


The shape of the postcard is interesting, so first we cut out its base. Place the sheet horizontally. We divide it into three parts: 7.5 cm, 15 cm and 7.5 cm.


On the sides we retreat 10 cm from the bottom and 2.5 cm from the top. Under the ruler we connect these lines to each other. We make two bends and fold the base like this.


We cut off the extra corners and make the top and sides of the base floral using a hole punch.


From the inside on the sides in the center we glue a satin strip, the postcard is then tied into a bow.


Now we will cut decor from scrap paper.


We cut these different shapes for interior and exterior decoration. We cut out a small rectangle for a pocket for money.


We make the individual remaining stripes into lace and floral ones, and glue them onto the finished figures as an additional decoration with PVA glue. We get these parts. Now we stamp the inscription itself, round off the pictures and tint everything with an ink pad.


We cut out a shape with rounded edges from watercolors, tint it and glue it in the center of the postcard for the inscription. We glue pictures and inscriptions onto the shapes and sew each one with a machine.


Now we sew these blanks to the base and also sew them separately.


Glue the cut out hearts with PVA glue. Now we make a bouquet and tie bows.


We glue all the decorations with a glue gun. Ready! We fold, tie and get this interesting Tiffany-colored wedding card.


Similar master classes
Particularly interesting
Comments (0)


