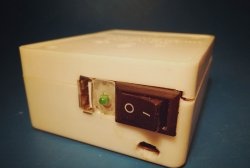
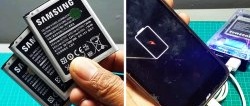
How to make a Power Bank from disposable HQDs
“Power Bank” - also known as an external battery - will allow you to charge gadgets without connecting to an electrical outlet. And today we make a power bank with our own hands from an electronic cigarette.
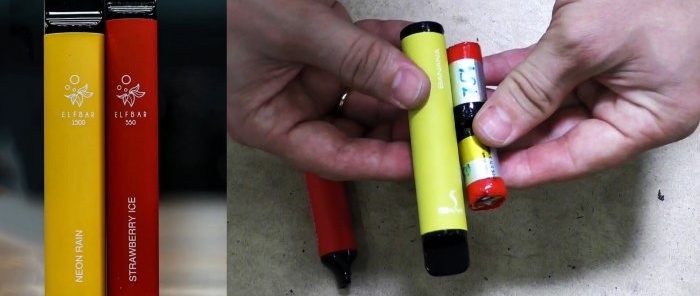
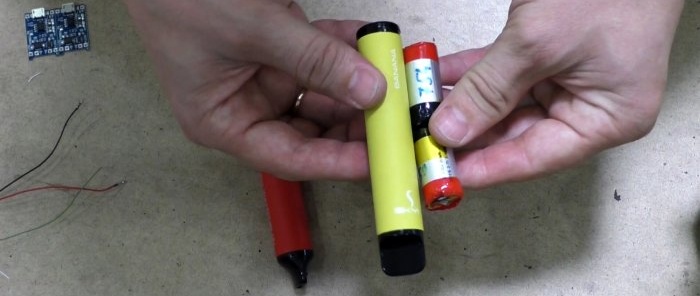
Why from her? The device includes a battery with a capacity of up to 1000 mAh. And in the body of the electronic cigarette, which we will use for the modification, two of these will fit. And there will still be room for the location of the circuit and connectors.
So, let's disassemble the body. Remove the battery carefully. We try not to damage the plastic mouthpiece and cap. They will also be used in our device in the future. As mentioned above, this case will accommodate two batteries. We take the second one from the same cigarette. The total capacity of the Power Bank will be 2000 mA/hour. We will connect the batteries in parallel.
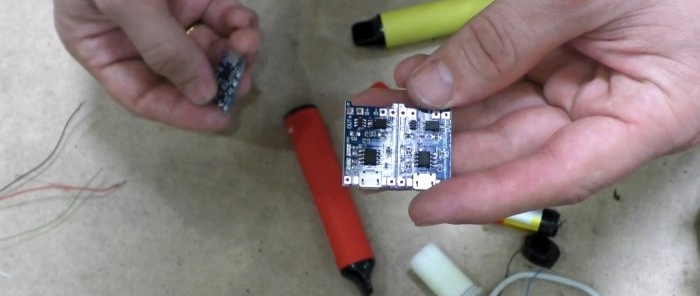
We also need a battery charge-discharge controller. Lithium-ion power supplies that are used in electronic cigarettes cannot be allowed to be completely discharged or, conversely, overcharged. It will be controlled like this “Charge-discharge module", purchased from an online store very inexpensively. It will ensure that the battery voltage does not exceed 4.2 Volts.And it did not drop below 2.8 Volts.
Making an external battery from an electronic cigarette
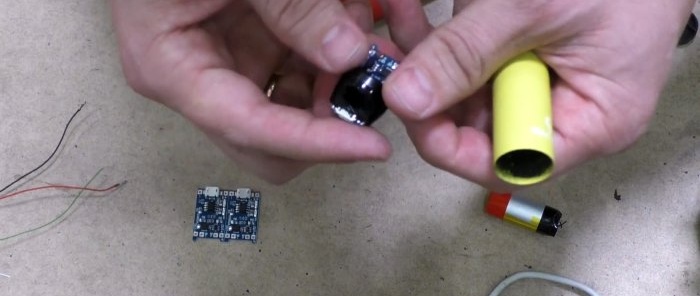
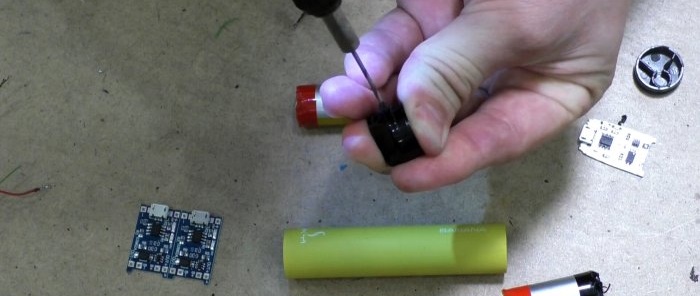
The plastic mouthpiece of the cigarette should be sharpened considerably so that the controller fits into it tightly enough and access to the socket is free. Later we will fix all this with hot glue.
On board module two installed LED for monitoring the network and charging. For visual inspection, at the location LEDs drill holes. That's it with the plumbing work. Let's start assembling the circuit.
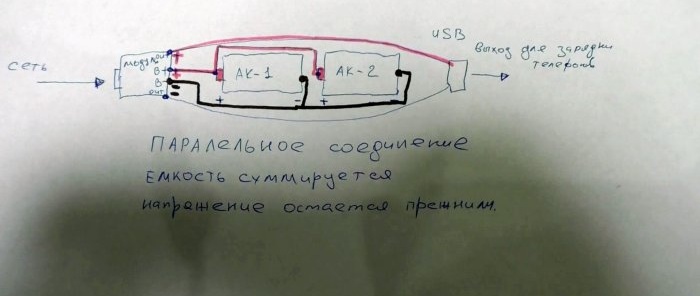
You can see the schematic diagram of the device in the figure.
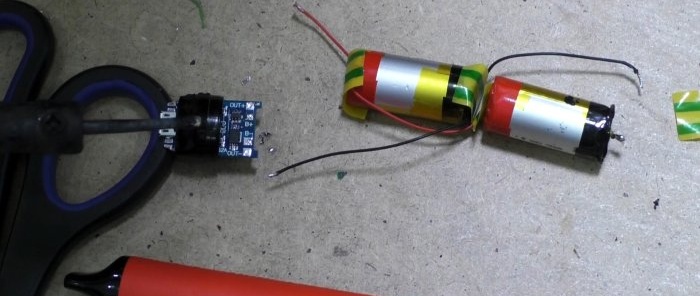
Nothing complicated: the batteries are connected in parallel, everything is connected to the controller according to the drawing on the board itself. All connection points are listed: plus and minus of the batteries, plus and minus of the power output to the gadget being charged. It’s difficult to make a mistake, and yet, we solder the wires to the batteries last. We insulate the terminals and soldering points with electrical tape.
The next step is to solder a cord with a connector through which our devices will be charged. We cannot place a full-fledged USB connector in the case, as is done on industrial power banks, due to lack of space. Therefore, we immediately use a plug on the flexible cord, which is used in most smartphones and tablets. This is microUSB. Let's take an old cord for this. We made a hole in the lid for it in advance.
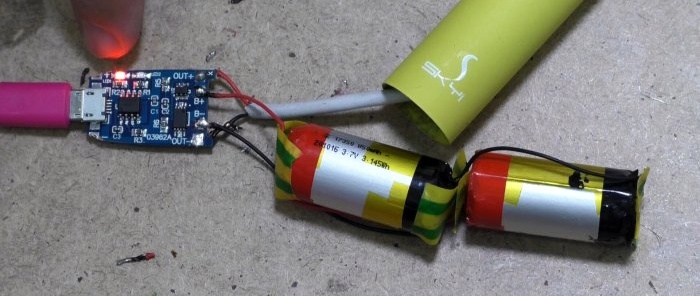
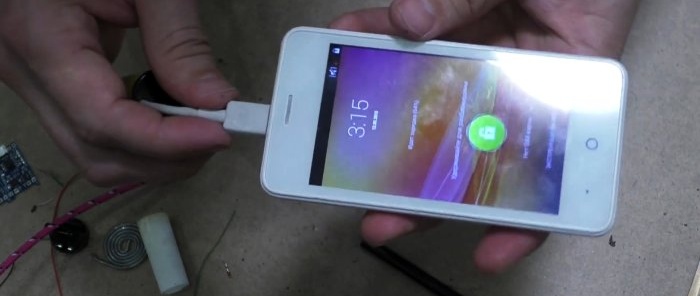
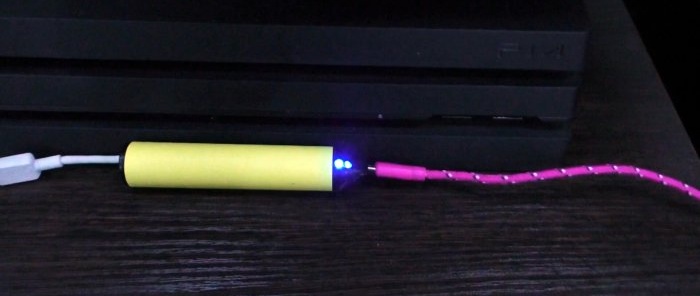
Now let's check. We connect the charger to the connector, which is located in the former mouthpiece. Lights up red Light-emitting diode - charging started. When the battery voltage reaches the threshold of 4.2 Volts, the blue light will turn on. Light-emitting diode and charging will stop. This is how a charge-discharge controller works. Well, let’s connect our power bank to the phone. What do we see? The phone shows that it is charging. Everything is working.
We received an excellent mobile external battery.

