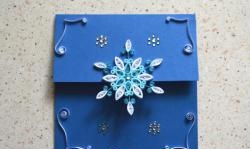
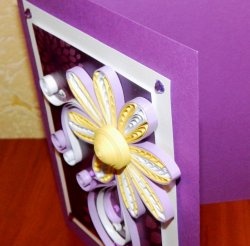
Festive beautiful card
When going to any celebration, for example, an anniversary, birthday, wedding, in addition to a gift, we most often buy a postcard. A beautiful festive card is a good addition to the main gift. In addition, if you sign it on your behalf and add sincere wishes from the heart, then it will be considered simply an indispensable addition to the gift.
A hand-made postcard has double value, since the strength and love of the person who made it is invested in the product. Therefore, such postcards are most valued. Want to make your own holiday card? Then this master class will be the best solution.
Let's take:
1. A4 cardboard, beige;
2. Design cardboard with flowers;
3. Figured hole punch (in this work it was used in the form of a daisy);
4. Quilling paper: beige - 12 strips, red - 6 strips;
5. Self-adhesive blue rhinestones - 3 pieces;
6. Double-sided foam tape;
7. Glue, scissors, quilling tool, tweezers.
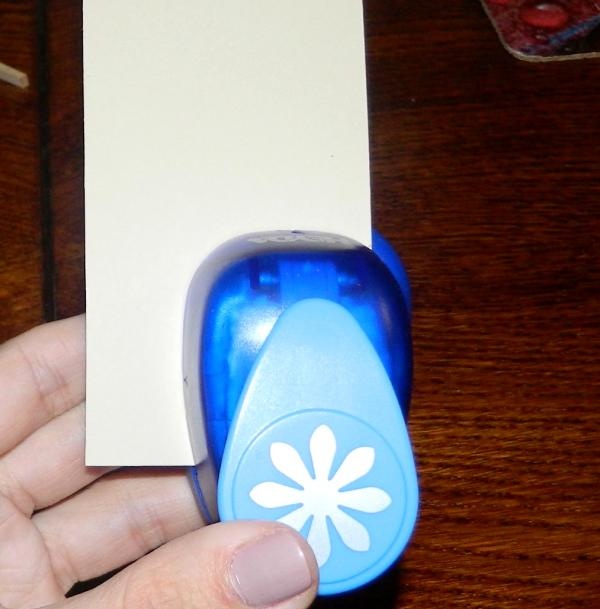
We take A4 beige cardboard, from which we need to make a rectangle measuring 15x30 cm.From the resulting part we make the base for the postcard, bending it in half. From the remaining strip of cardboard we make three flowers with a figured hole punch.
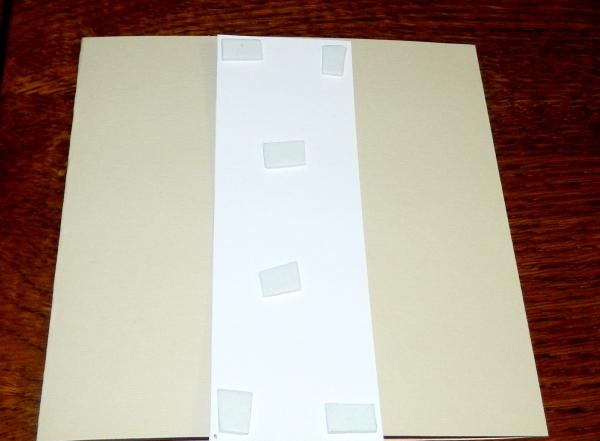
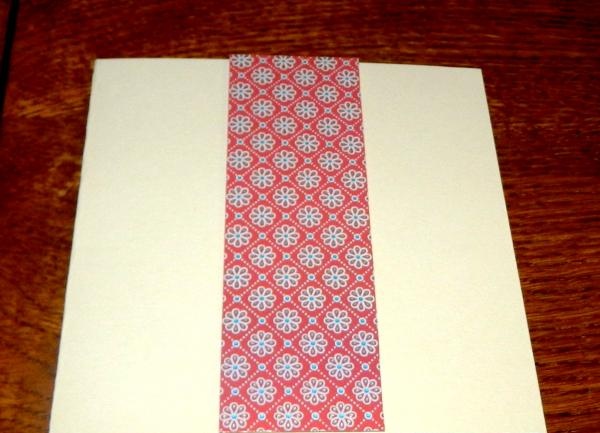
We cut out a rectangle measuring 5x15 cm from designer cardboard. Using double-sided foam tape, we attach the part to the beige base.
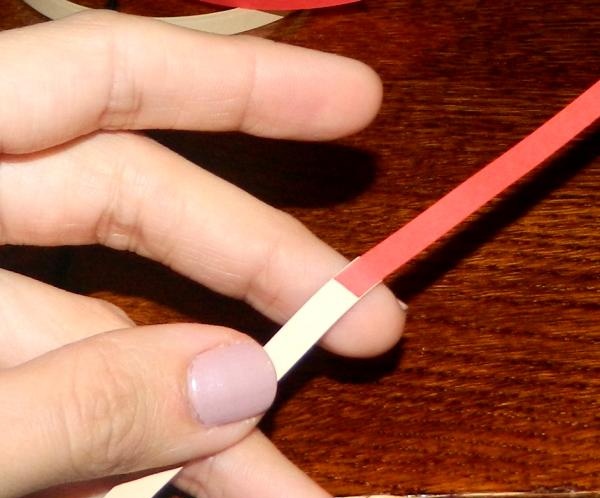
And we will make two flowers using quilling paper. For this we use beige and red quilling paper. Cut the red strips in half. Take one beige strip and half a red one and join it into one long strip using glue.
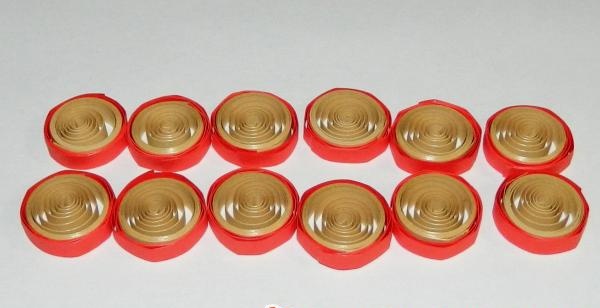
Using a quilling tool (you can use a toothpick, onto which you screw a strip of paper and form a roll), we form the rolls, then loosen them a little in your hand and secure them with glue. You will need 12 of these elements of the same size.
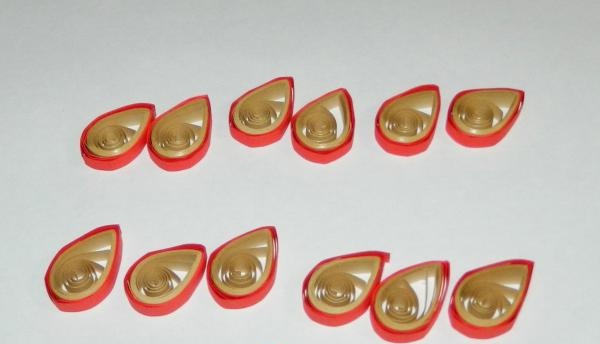
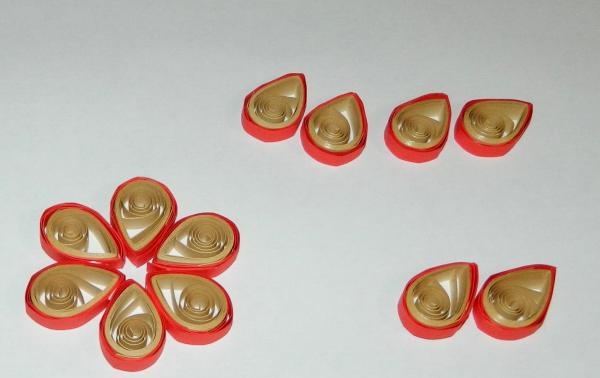
Then we press each element on one side with our fingers, giving it the shape of a drop.
Using glue, we form a flower from six elements and also make another one.
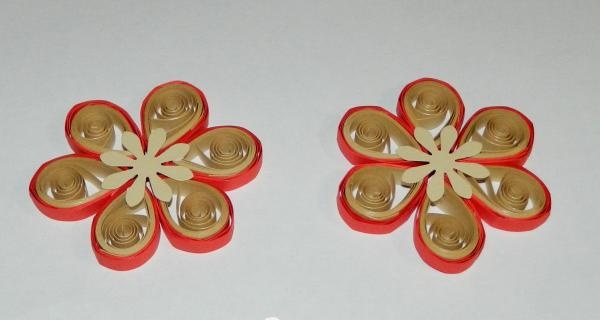
In the center of each flower we glue daisies, which we made using a figured hole punch.
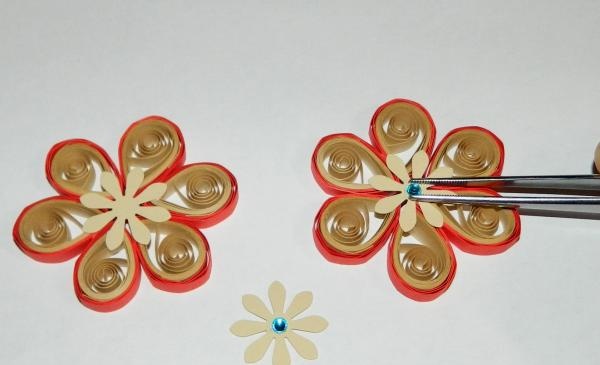
Now we attach blue rhinestones to each flower.
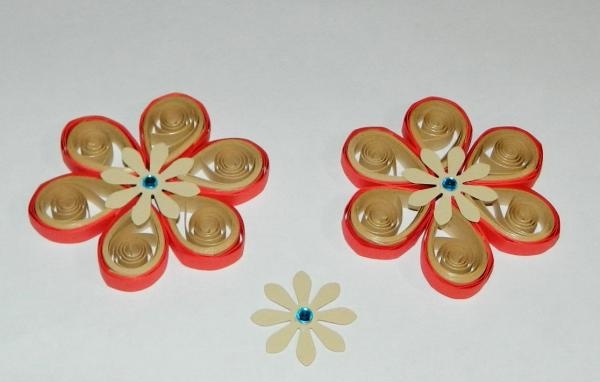
We attach the resulting flowers to the base of the card using glue, as in the photo.
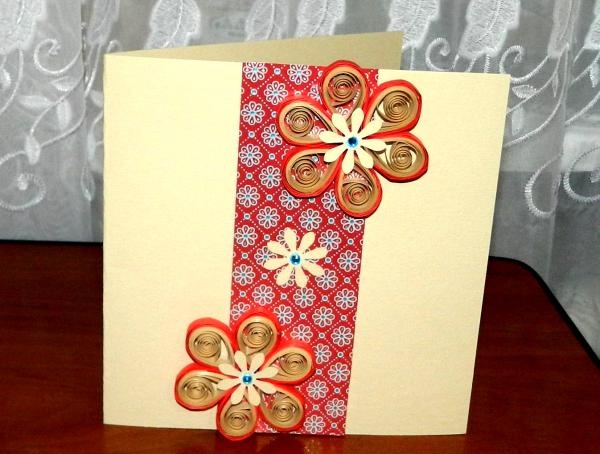
Your festive, beautiful and unique DIY postcard is ready!
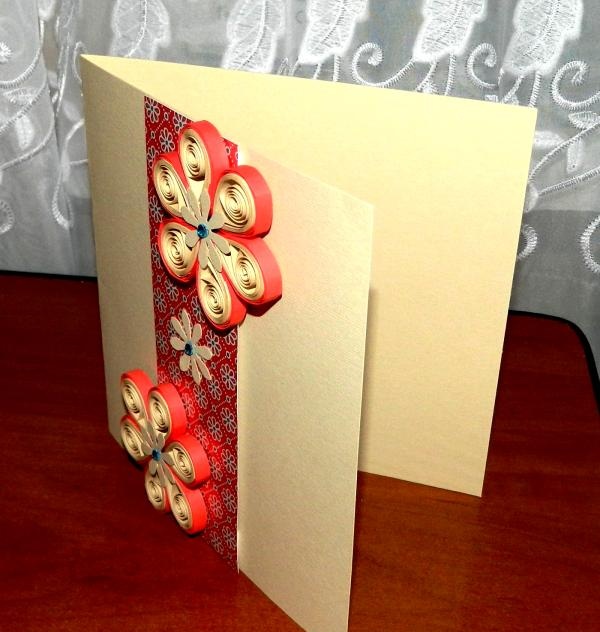
A hand-made postcard has double value, since the strength and love of the person who made it is invested in the product. Therefore, such postcards are most valued. Want to make your own holiday card? Then this master class will be the best solution.
Let's take:
1. A4 cardboard, beige;
2. Design cardboard with flowers;
3. Figured hole punch (in this work it was used in the form of a daisy);
4. Quilling paper: beige - 12 strips, red - 6 strips;
5. Self-adhesive blue rhinestones - 3 pieces;
6. Double-sided foam tape;
7. Glue, scissors, quilling tool, tweezers.
We take A4 beige cardboard, from which we need to make a rectangle measuring 15x30 cm.From the resulting part we make the base for the postcard, bending it in half. From the remaining strip of cardboard we make three flowers with a figured hole punch.

We cut out a rectangle measuring 5x15 cm from designer cardboard. Using double-sided foam tape, we attach the part to the beige base.


And we will make two flowers using quilling paper. For this we use beige and red quilling paper. Cut the red strips in half. Take one beige strip and half a red one and join it into one long strip using glue.

Using a quilling tool (you can use a toothpick, onto which you screw a strip of paper and form a roll), we form the rolls, then loosen them a little in your hand and secure them with glue. You will need 12 of these elements of the same size.

Then we press each element on one side with our fingers, giving it the shape of a drop.

Using glue, we form a flower from six elements and also make another one.

In the center of each flower we glue daisies, which we made using a figured hole punch.

Now we attach blue rhinestones to each flower.


We attach the resulting flowers to the base of the card using glue, as in the photo.

Your festive, beautiful and unique DIY postcard is ready!

Similar master classes
Particularly interesting
Comments (0)

