Blouse from a men's shirt
For many people, altering clothes has long turned from a necessity into an exciting hobby. Thanks to it, it’s easy to turn an ordinary (and often unnecessary) thing into an exclusive one.
Do you have a men's shirt that no one wears? Small for my husband, and even larger for my son. This is a great reason to turn it into a new thing for your beloved. Do-it-yourself women's blouse is not so difficult if you have a ready-made base. It just needs to be reworked a little.
For the alteration, we will use an elastic thread in our work. It will gather excess fabric into beautiful folds, completely change the appearance of the model, and at the same time reduce it by several sizes. The advantages of this method are that there is no need to reshape the shirt, and there is no need to make darts under the bust. The elastic will fit the figure in the right places and stretch on the chest and hips to the required size.
This shirt can be worn to the office. It will look great with classic trousers. And in combination with jeans you will get a wonderful ensemble for a walk or shopping trip.
Step-by-step recommendations for work
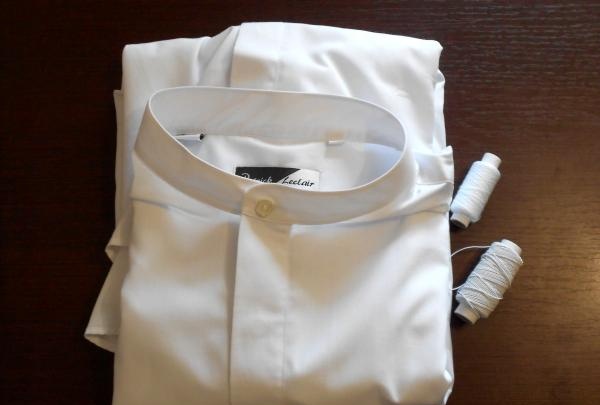
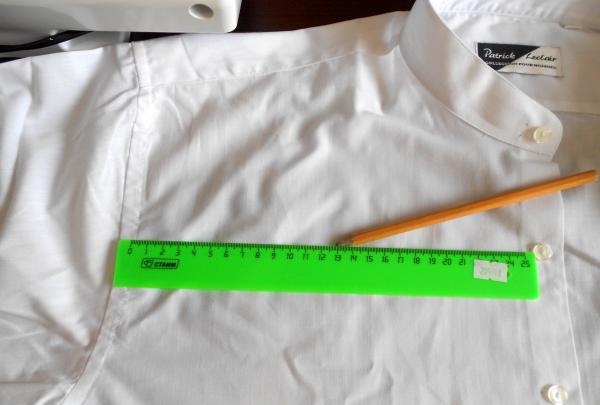
To make our assembly even and symmetrical, let’s mark the stitching locations. To do this, draw parallel stripes under the ruler.This can be done with soap or a simple pencil. The gathering points will start at the button location.
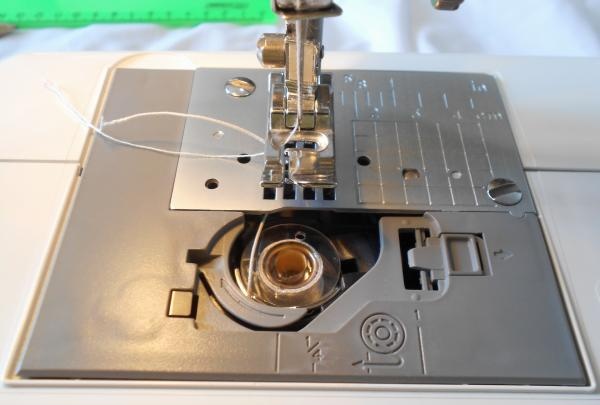
In this case, we use the elastic thread as the “bottom” thread of the machine stitch. Therefore, we wind it on a bobbin. You can do it manually, or you can use a special machine mechanism for this. This is not important. And then we insert the bobbin into place, and pull out the elastic thread, like a regular thread when threading.
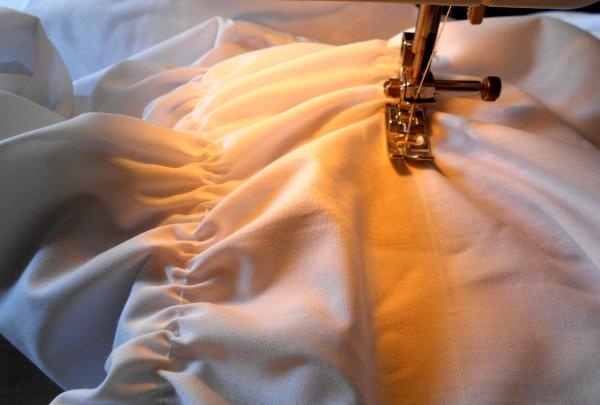
We lay the lines according to the markings on the front side of the shirt. The elastic thread is on the wrong side.
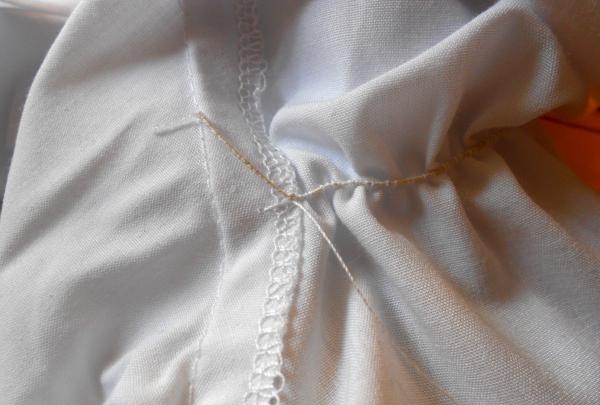
At the beginning and end of the stitch, the elastic thread and the regular thread should be tied together. Make the knots tight. During wear, there is a special load on this place, and the threads must hold firmly.
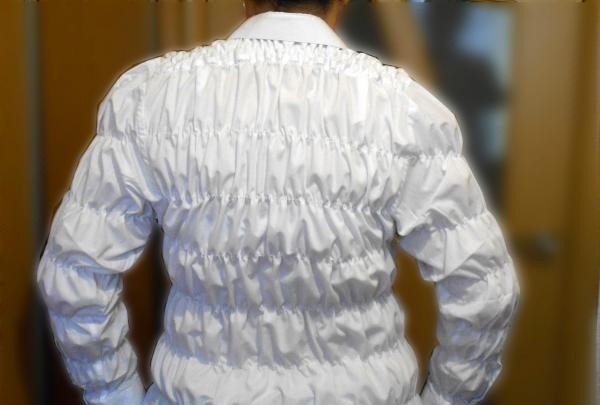
The yoke on the back is made double. Therefore, this area is denser than the rest of the shirt. To prevent the fabric from puffing up here, we sew the gathers more often.
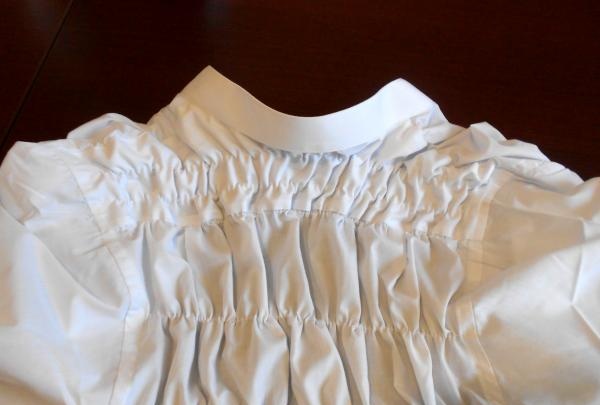
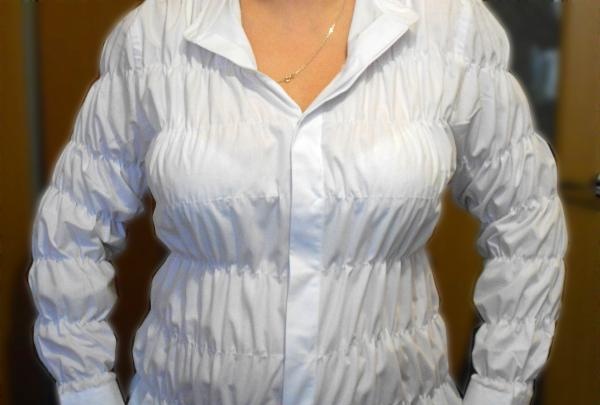
As a result, the details of the shirt are tightened with elastic bands, and visually the product is significantly reduced.
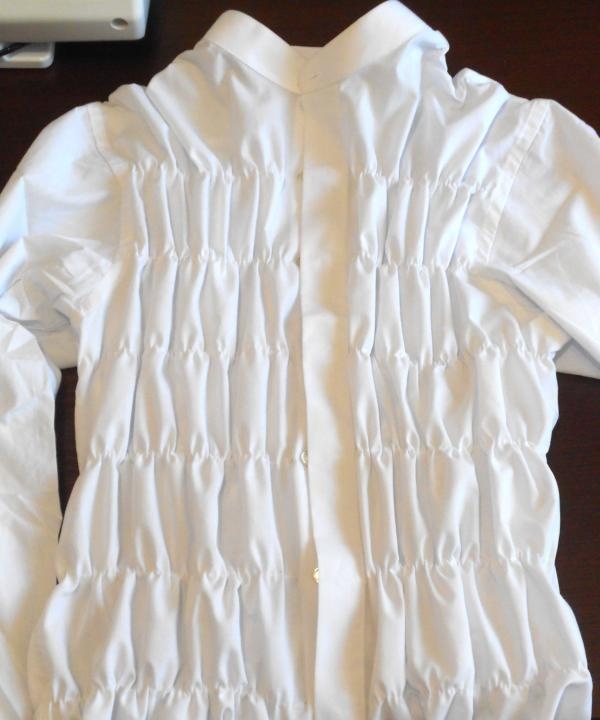
We draw markings on the sleeves, as if continuing the lines of the front and back.
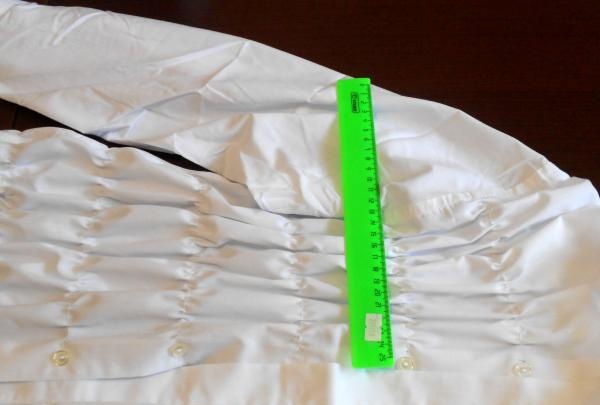
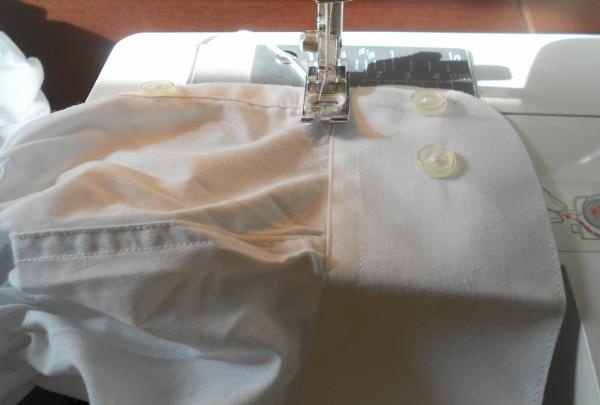
We also stitch along the front side. It is also worth making a tie at the cuff itself.
A stylish and unique women's blouse is ready! You can try on a new thing.
Do you have a men's shirt that no one wears? Small for my husband, and even larger for my son. This is a great reason to turn it into a new thing for your beloved. Do-it-yourself women's blouse is not so difficult if you have a ready-made base. It just needs to be reworked a little.
For the alteration, we will use an elastic thread in our work. It will gather excess fabric into beautiful folds, completely change the appearance of the model, and at the same time reduce it by several sizes. The advantages of this method are that there is no need to reshape the shirt, and there is no need to make darts under the bust. The elastic will fit the figure in the right places and stretch on the chest and hips to the required size.
This shirt can be worn to the office. It will look great with classic trousers. And in combination with jeans you will get a wonderful ensemble for a walk or shopping trip.
Step-by-step recommendations for work

To make our assembly even and symmetrical, let’s mark the stitching locations. To do this, draw parallel stripes under the ruler.This can be done with soap or a simple pencil. The gathering points will start at the button location.

In this case, we use the elastic thread as the “bottom” thread of the machine stitch. Therefore, we wind it on a bobbin. You can do it manually, or you can use a special machine mechanism for this. This is not important. And then we insert the bobbin into place, and pull out the elastic thread, like a regular thread when threading.

We lay the lines according to the markings on the front side of the shirt. The elastic thread is on the wrong side.

At the beginning and end of the stitch, the elastic thread and the regular thread should be tied together. Make the knots tight. During wear, there is a special load on this place, and the threads must hold firmly.

The yoke on the back is made double. Therefore, this area is denser than the rest of the shirt. To prevent the fabric from puffing up here, we sew the gathers more often.

As a result, the details of the shirt are tightened with elastic bands, and visually the product is significantly reduced.

We draw markings on the sleeves, as if continuing the lines of the front and back.

We also stitch along the front side. It is also worth making a tie at the cuff itself.

A stylish and unique women's blouse is ready! You can try on a new thing.


Similar master classes
Particularly interesting
Comments (0)

