Origami
We make a simple Christmas tree out of paper. It's very simple. We will need scissors and a sheet of paper.
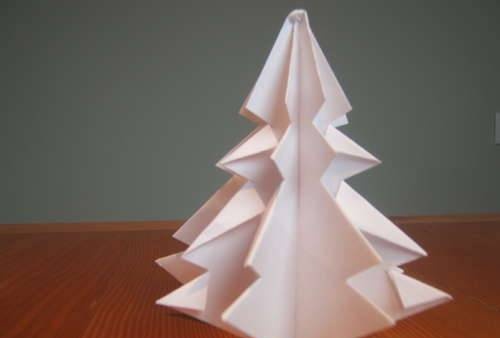
Take a square sheet of paper and fold it. Fold it three times as in the first photo. Then, without unfolding, bend and fold the sheet as in the photo.
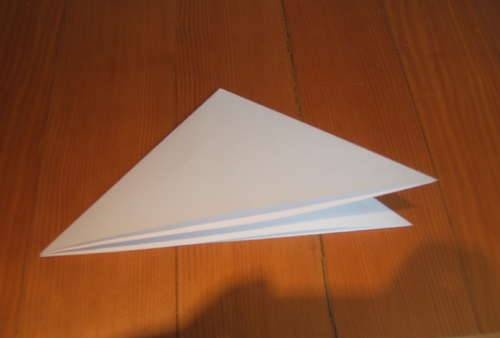
Now we make folds in the corners as in the photo:
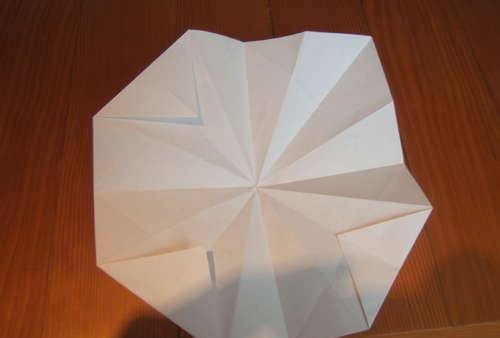
We bend along all radial folds, alternating between folding inward and folding outward.
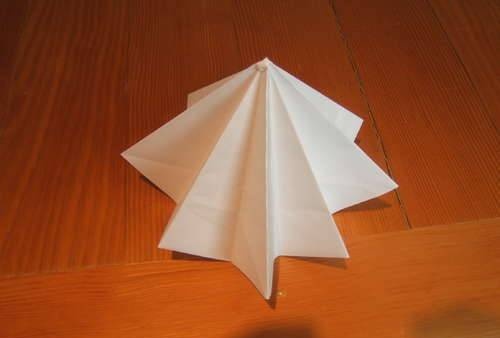
We make several cuts on each vertical triangle. Fold from the top of each cut so that the fold forms a triangle.
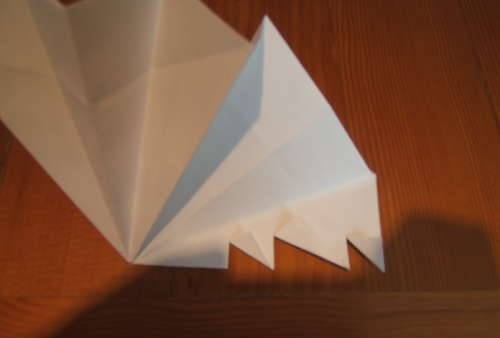
The Christmas tree is ready! It couldn't be simpler!

DIY snowflakes
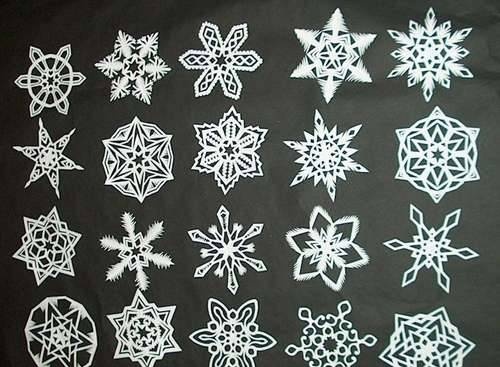
Before you begin, please note that all paper snowflakes SIX-pointed. What do we need ? of course - scissors and paper.
I usually make two snowflakes (each piece of paper is about 22x28cm), so I first cut the paper in half and then make a square out of each half. This makes the snowflake approximately 13cm across.
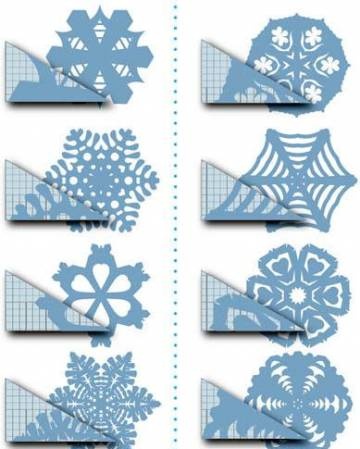
Let's begin. Fold the square of paper diagonally to make a triangle.
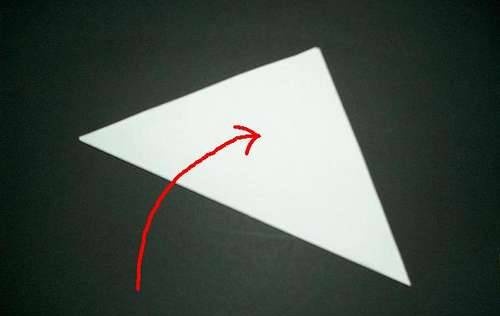
We fold this triangle again.
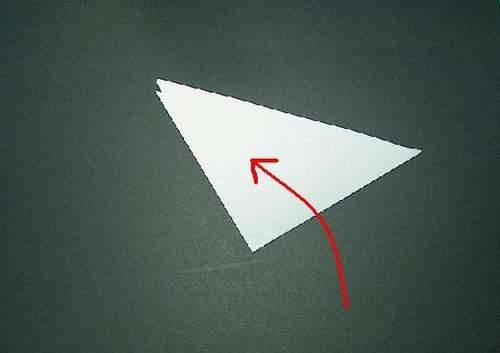
Imagine a triangle in thirds and fold the right third.
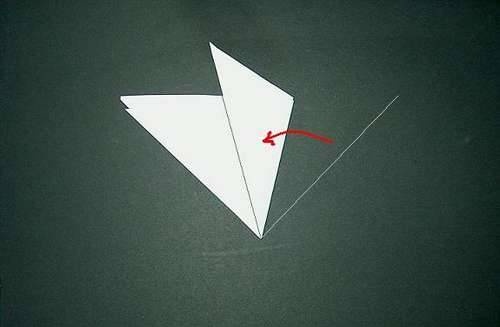
Roll up the transferred third.

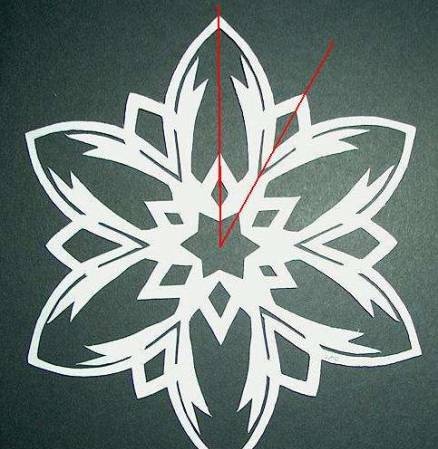
Cut the top of the paper at an angle.Make sure to cut so that all remaining layers of paper are equal. Cutting at an angle is the action that makes the ends of the snowflake. Ultimately, you will learn to cut at different angles to make snowflakes with tips that are more or less sharp.

Well, now turn on your imagination and act. Usually, cutting small triangles from the sides is easiest, but don't forget to try other shapes.
For this snowflake, I modified the top edge a bit to give my tips a different shape.
My snowflakes never repeat because I don't usually plan their shape.
Now unfold the paper very carefully. I got this snowflake:
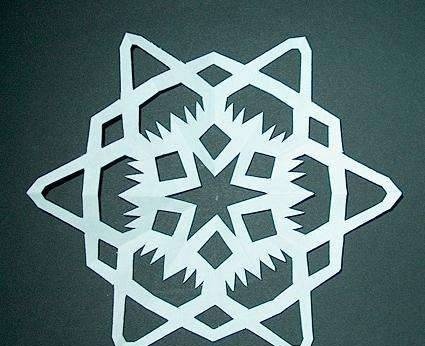
After all the operations done, the snowflake turns out crumpled; to fix this, you can put it between the pages of a book for a while or iron it with an iron without steam.
That's all as usual! Good luck !
Similar master classes
Particularly interesting
Comments (0)

