Blue paper Christmas tree
For the New Year, most people put up a Christmas tree, decorating it with toys. At the same time, you can not get by with just one forest beauty, but decorate your home with small Christmas trees. This is exactly the kind of paper Christmas tree that we propose to make in our master class.

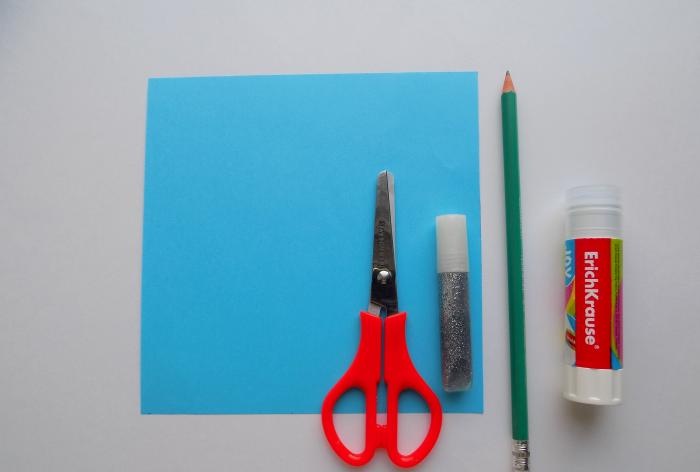
To work you will need to take:
- a square sheet of blue paper;
- scissors;
- pencil;
- glue;
- silver glitter.
We begin making the Christmas tree by folding a sheet of paper, first making folds along two diagonals.

Then we make transverse folds and leave the workpiece folded in half.

From the sides we make folds to the previously outlined diagonal lines.

Cut off the excess under the folded triangles.

Then we fold the blank for the future Christmas tree again.

We cut off the lower protruding corners with scissors.

We unfold the sheet and see that we have an octagon with radial folds.
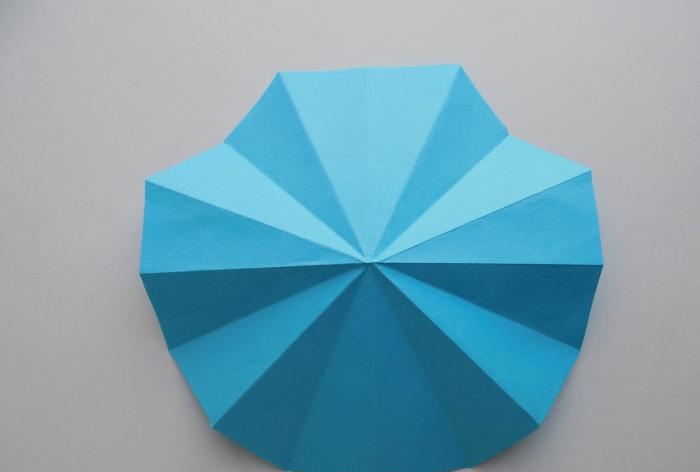
Now you need to fold the future Christmas tree so that there are 4 folds on both sides.

Use a pencil to mark the locations of future cutouts.
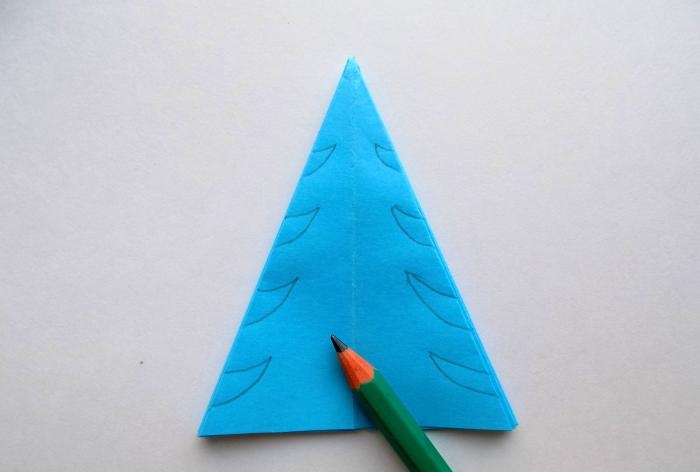
Cut off the excess along the marked lines.
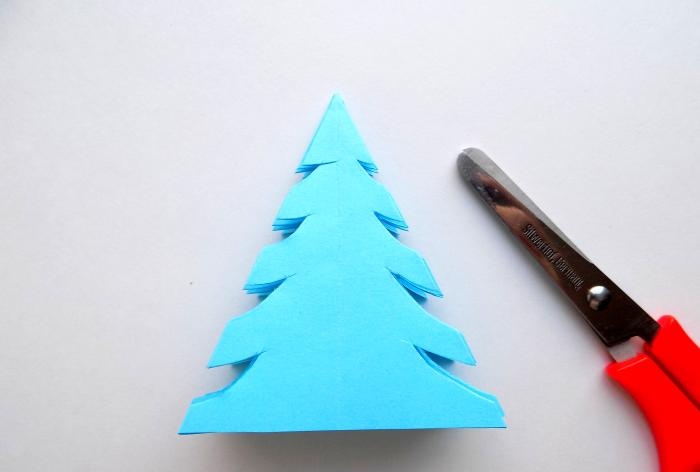
Straighten the Christmas tree again with the inside facing up. This surface needs to be coated with glue.
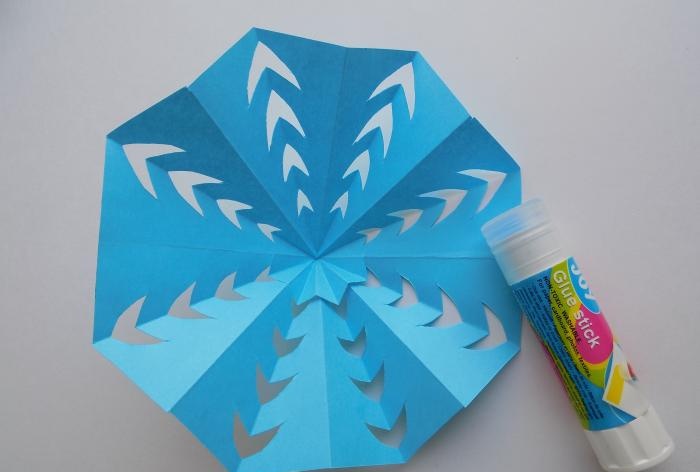
Fold along the folds made earlier. The result should be a Christmas tree with 8 branches.

We decorate our craft with silver sparkles, applying them to the edge.

Our blue paper Christmas tree is ready.


To work you will need to take:
- a square sheet of blue paper;
- scissors;
- pencil;
- glue;
- silver glitter.

We begin making the Christmas tree by folding a sheet of paper, first making folds along two diagonals.

Then we make transverse folds and leave the workpiece folded in half.

From the sides we make folds to the previously outlined diagonal lines.

Cut off the excess under the folded triangles.

Then we fold the blank for the future Christmas tree again.

We cut off the lower protruding corners with scissors.

We unfold the sheet and see that we have an octagon with radial folds.

Now you need to fold the future Christmas tree so that there are 4 folds on both sides.

Use a pencil to mark the locations of future cutouts.

Cut off the excess along the marked lines.

Straighten the Christmas tree again with the inside facing up. This surface needs to be coated with glue.

Fold along the folds made earlier. The result should be a Christmas tree with 8 branches.

We decorate our craft with silver sparkles, applying them to the edge.

Our blue paper Christmas tree is ready.

Similar master classes
Particularly interesting
Comments (0)

