Master class on wrapping a children's gift
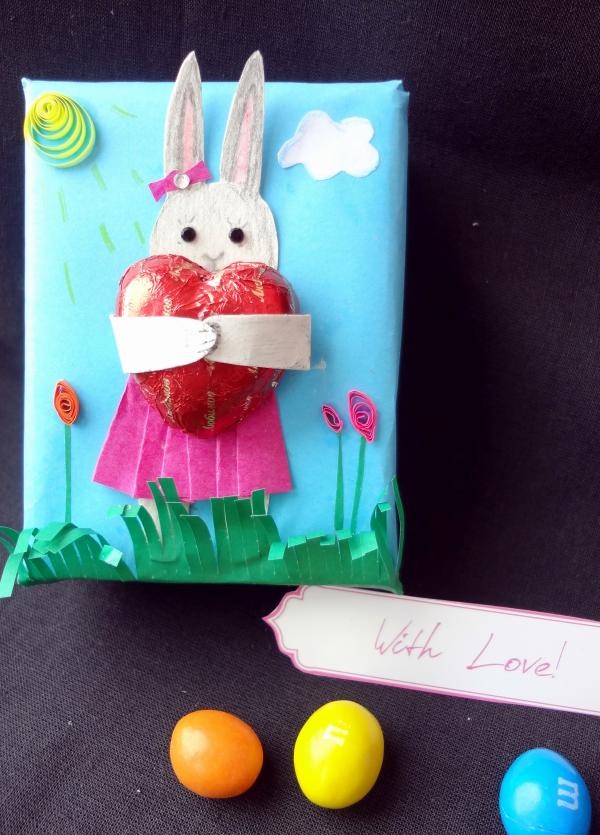
It's so nice to give to children present, and giving beautiful gifts is doubly pleasant. What a surprise the baby will be if, in addition to the main gift, he is congratulated by a bunny holding a delicious candy. Packing a gift in this way is not difficult, you just need a little imagination and your desire.
Materials for the master class:
- a sheet of cardboard;
- colored paper;
- colored pencils or markers;
- tape measure;
- chocolate candy;
- measuring tape, scissors, glue.
Progress:
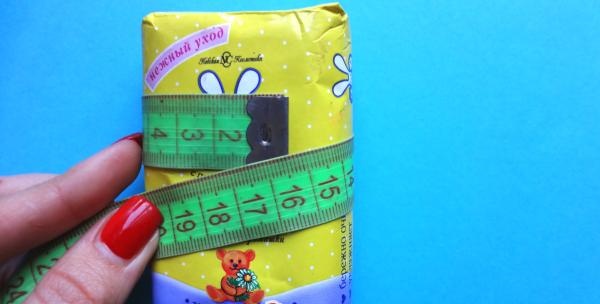
1. We take the gift that we will wrap, in this example it is baby soap, and use a centimeter tape to measure the width around the perimeter.
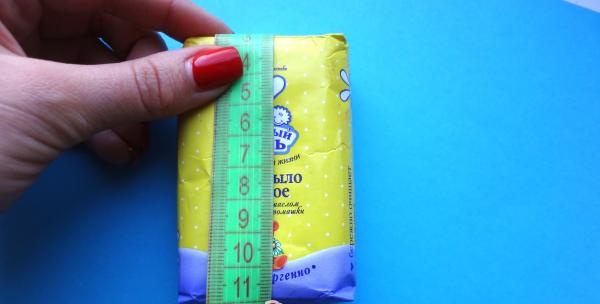
2.Now we measure the length of the front and side parts of the future gift.
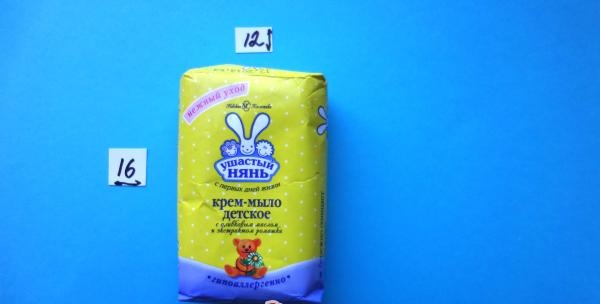
3.Add 1 cm per hem to the resulting values and place them on a sheet of colored paper.
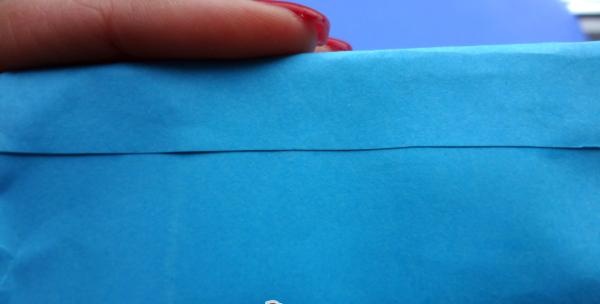
4.Glue the main part of the box together.
5.Fold and glue the side parts.
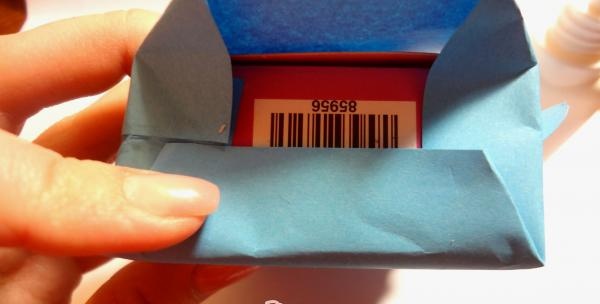
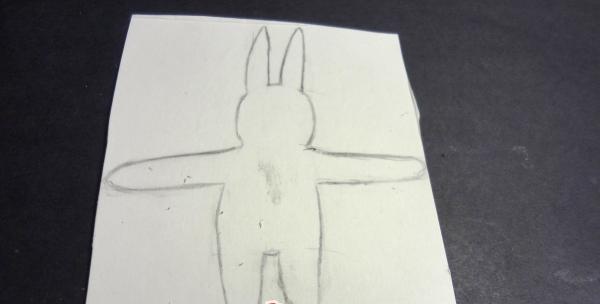
6.Draw a hare template on a sheet of white cardboard. Please note that the hare's paws must be long enough to be attached to the candy.
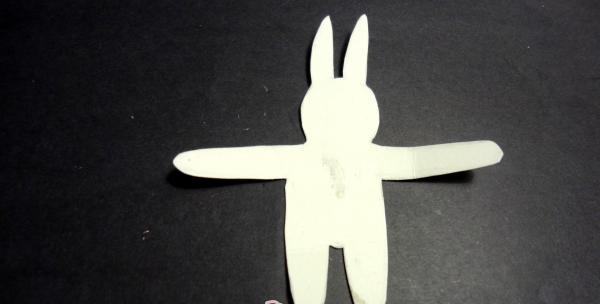
7.Cut out the hare.
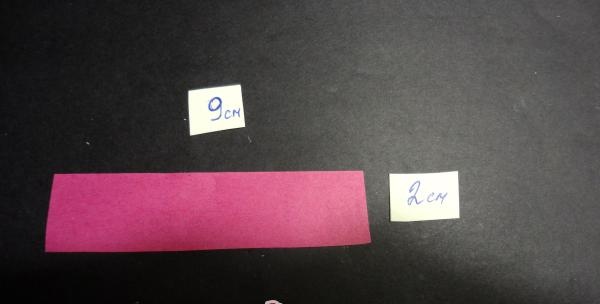
8.Cut out a strip from pink paper.
9. We lay out the folds of the future skirt.
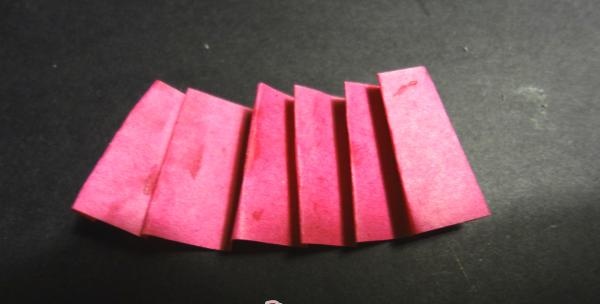
10.Lubricate the folds with glue on the reverse side.
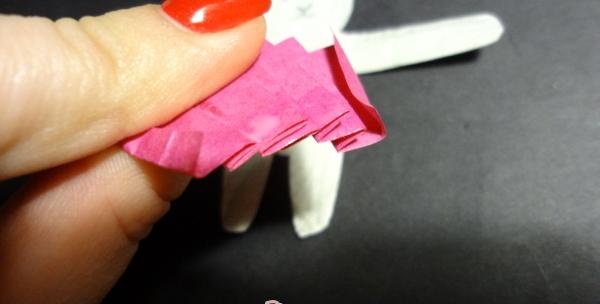
11. Decorate the hare and glue on the skirt.
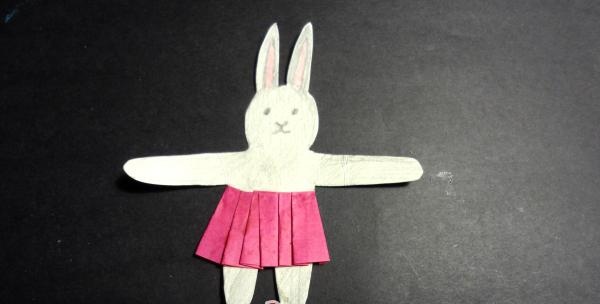
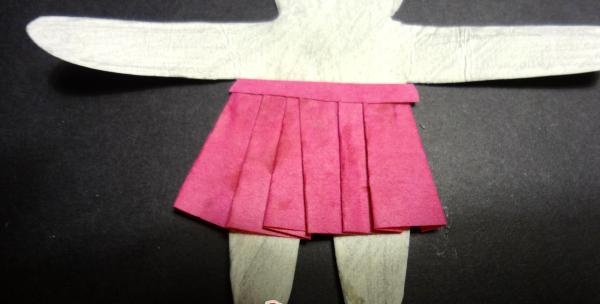
12.Glue a strip on top - this will be the waistband of the skirt.
13.Cut out a green rectangle - 3 cm wide.
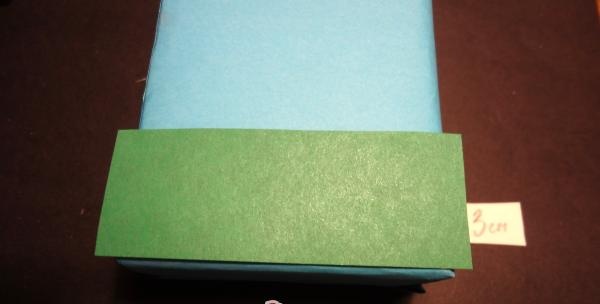
14. We cut this rectangle into small strips, not reaching 1 cm from the edge.
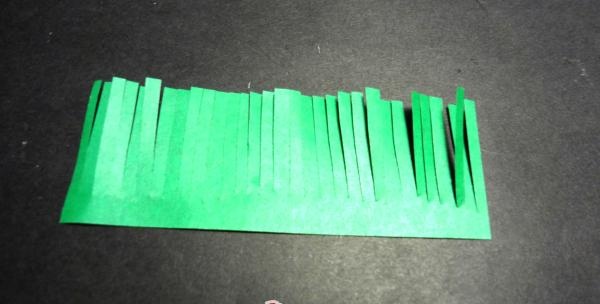
15.Curl the edges using a pencil.
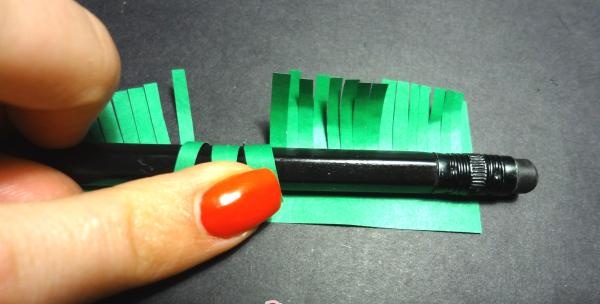
16. Glue the hare to the wrapping paper.
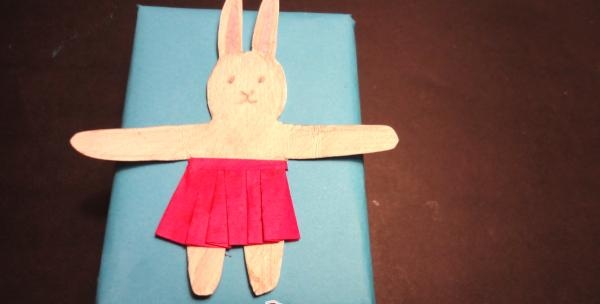
17. Grass on top.
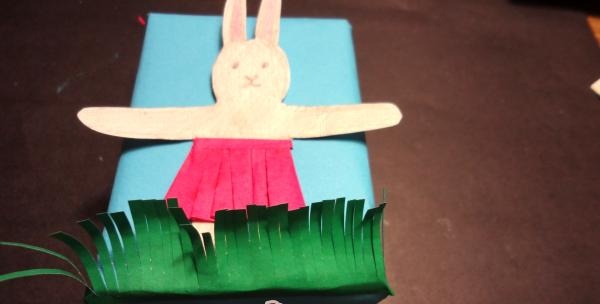
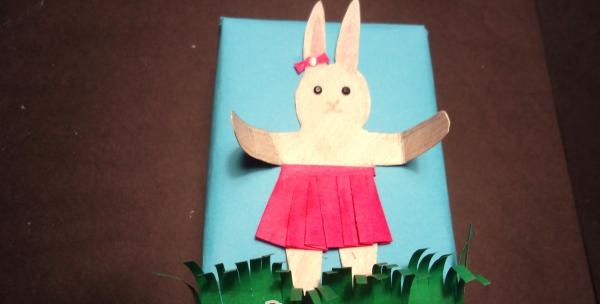
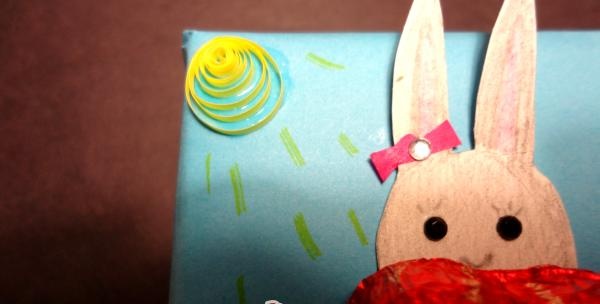
18.The bunny’s eyes can be decorated with beads, and the ear with a paper bow.
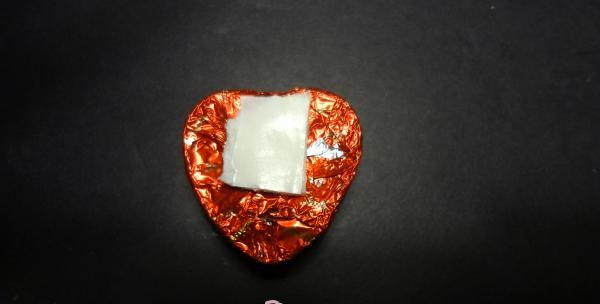
19. Take a chocolate candy and glue double-sided tape to its back side.
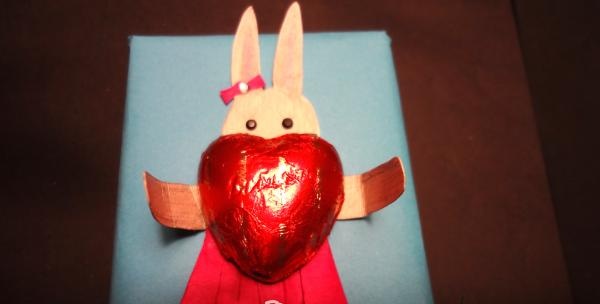
20.Glue the candy to the hare.
21. From colored paper, cut out strips with a width of 0.2 to 0.3 mm.
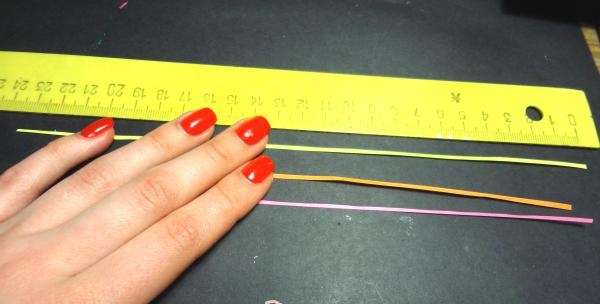
22.Using a quilling tool or a split toothpick, begin to wind the roll from a strip of yellow paper.
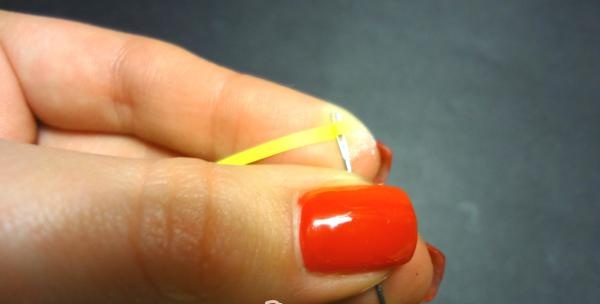
23. Roll up the roll.
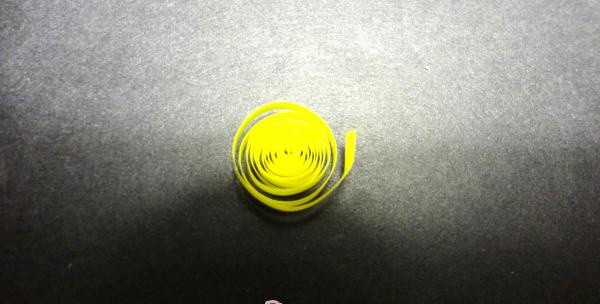
24.Glue the yellow roll-sun with PVA glue, add rays with a yellow pencil or felt-tip pen.
25. We make droplet flowers, for this we cut the pink strip in half, and roll it into a roll, after which we flatten it along the edges with our fingers.
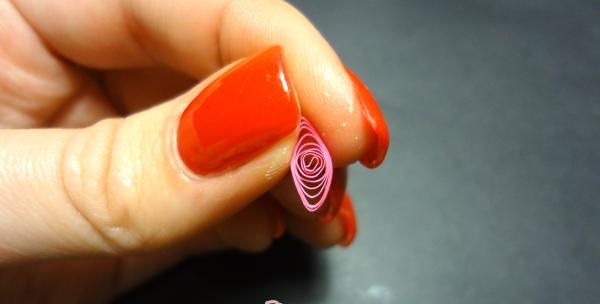
26.Glue the resulting flower droplets at the bottom of the box, into the grass.
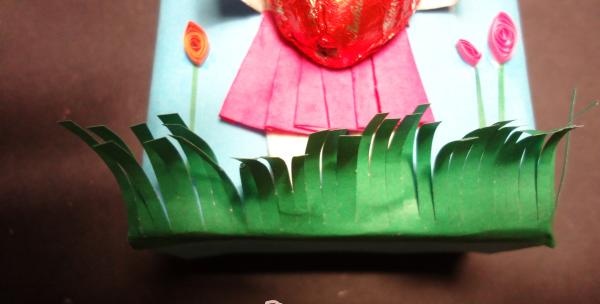
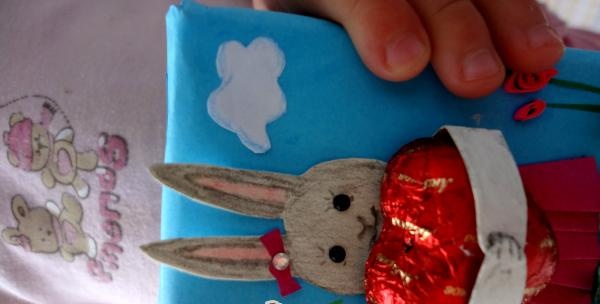
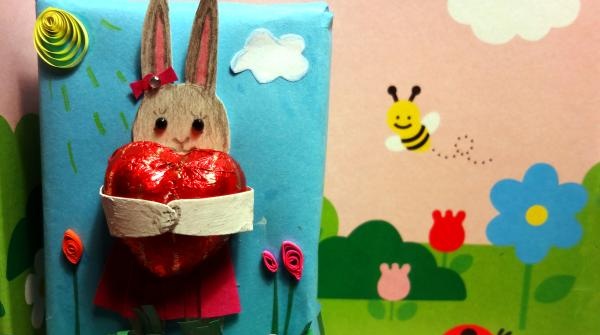
27.This composition can be supplemented with clouds made of white cardboard, or whatever your imagination dictates. That's it, our gift is ready!

Materials for the master class:
- a sheet of cardboard;
- colored paper;
- colored pencils or markers;
- tape measure;
- chocolate candy;
- measuring tape, scissors, glue.
Progress:
1. We take the gift that we will wrap, in this example it is baby soap, and use a centimeter tape to measure the width around the perimeter.

2.Now we measure the length of the front and side parts of the future gift.

3.Add 1 cm per hem to the resulting values and place them on a sheet of colored paper.

4.Glue the main part of the box together.

5.Fold and glue the side parts.

6.Draw a hare template on a sheet of white cardboard. Please note that the hare's paws must be long enough to be attached to the candy.

7.Cut out the hare.

8.Cut out a strip from pink paper.

9. We lay out the folds of the future skirt.

10.Lubricate the folds with glue on the reverse side.

11. Decorate the hare and glue on the skirt.

12.Glue a strip on top - this will be the waistband of the skirt.

13.Cut out a green rectangle - 3 cm wide.

14. We cut this rectangle into small strips, not reaching 1 cm from the edge.

15.Curl the edges using a pencil.

16. Glue the hare to the wrapping paper.

17. Grass on top.

18.The bunny’s eyes can be decorated with beads, and the ear with a paper bow.

19. Take a chocolate candy and glue double-sided tape to its back side.

20.Glue the candy to the hare.

21. From colored paper, cut out strips with a width of 0.2 to 0.3 mm.

22.Using a quilling tool or a split toothpick, begin to wind the roll from a strip of yellow paper.

23. Roll up the roll.

24.Glue the yellow roll-sun with PVA glue, add rays with a yellow pencil or felt-tip pen.

25. We make droplet flowers, for this we cut the pink strip in half, and roll it into a roll, after which we flatten it along the edges with our fingers.

26.Glue the resulting flower droplets at the bottom of the box, into the grass.

27.This composition can be supplemented with clouds made of white cardboard, or whatever your imagination dictates. That's it, our gift is ready!


Similar master classes
Particularly interesting
Comments (0)

