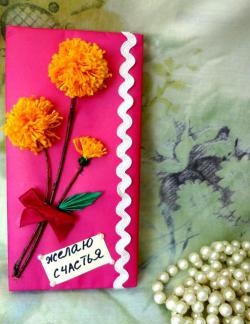
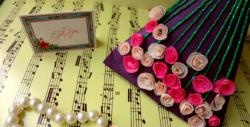
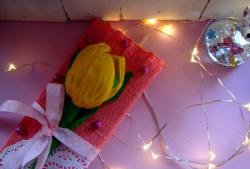
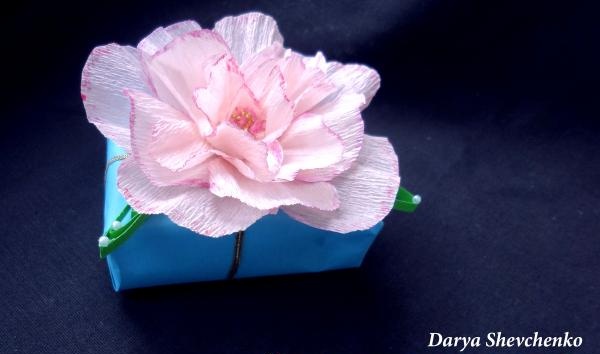
Gift packaging “Delicate flower”
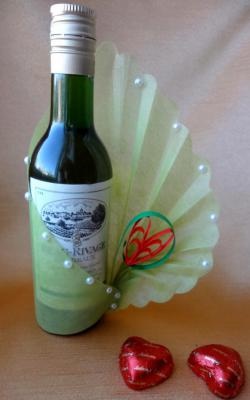
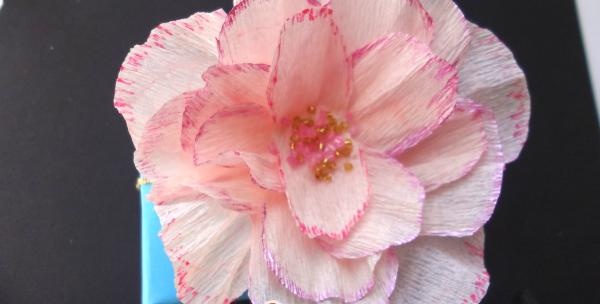
Throughout the year we repeatedly choose present to relatives and friends. Of course, you can pack a gift directly in the store, but if you want to make the packaging beautiful, exclusive and unusual, this master class is just for you. He will clearly demonstrate how, using colored, corrugated paper, as well as some beads, you can create unusual packaging that will pleasantly surprise the recipient.
For this master class we will need:
- light pink corrugated paper;
- Double-sided tape;
- pink paint or pink felt-tip pen;
- colored paper in blue and green colors;
- pink and gold beads;
- measuring tape;
- golden decorative ribbon;
- glue, scissors, ruler.
Progress:
1. Take the box that we want to pack and measure its width with a measuring tape. To the result obtained, add 1 cm to the hem. We measure this value on a sheet of blue colored paper as the width of the future packaging.
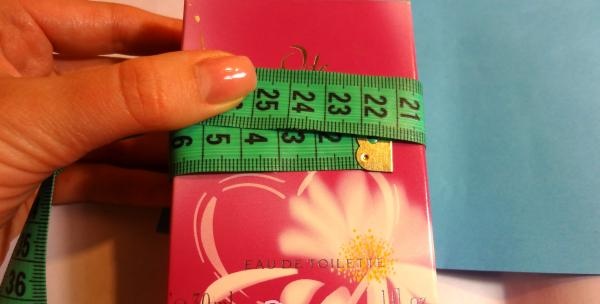
2.Using a centimeter tape, measure the height of the front and side of the box, add 1 cm to the resulting value for the hem and place it on a sheet of blue paper as the width.
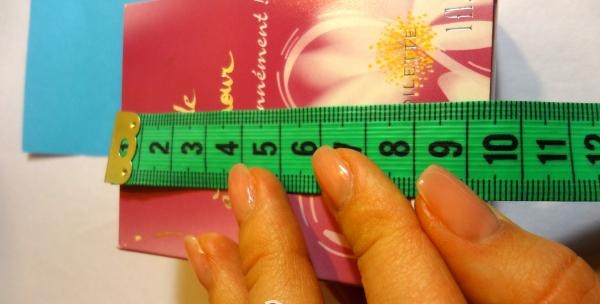
3. We put the obtained measurements on a sheet of paper and cut them out.
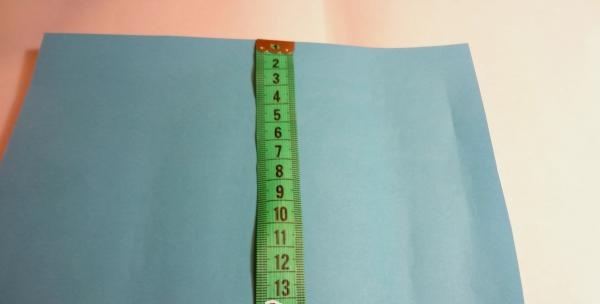
4. Wrap the gift and glue the free sides of the package vertically.
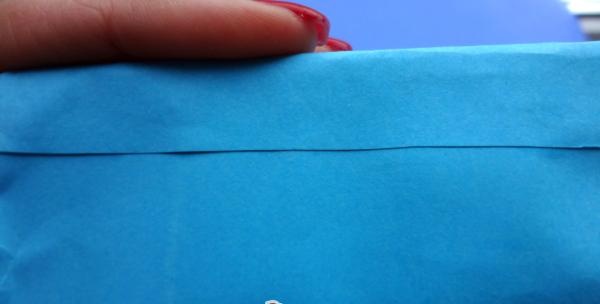
5. And now - horizontally.
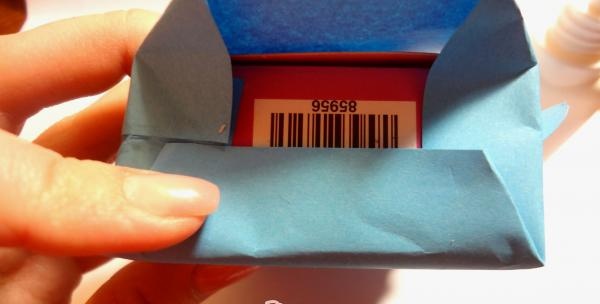
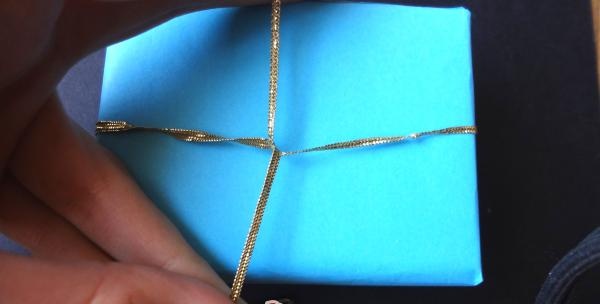
6. We tie our gift with gold decorative ribbon.
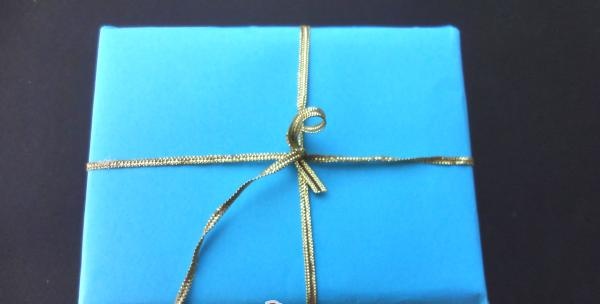
7. Fix the edges and trim the ends of the tape.
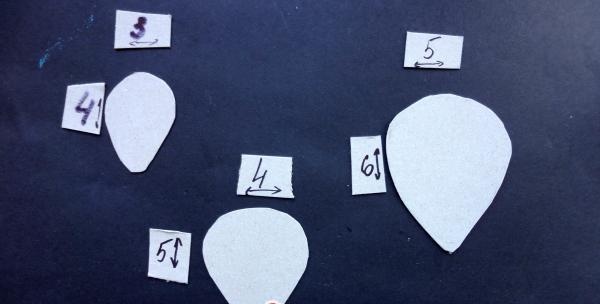
8. Cut out three drop-shaped templates of different sizes from cardboard.
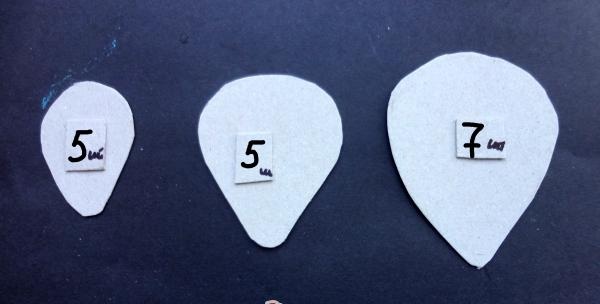
9. Using templates, cut out petals from light pink corrugated paper.
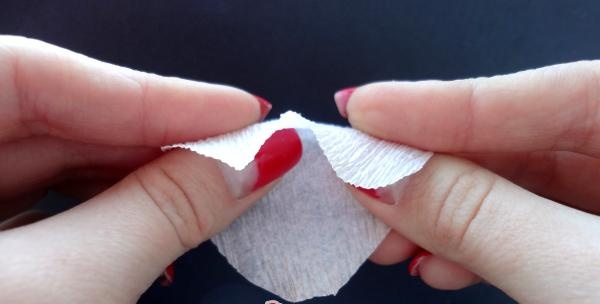
10. To give the petals a convex shape, you need to slightly stretch each of them in the middle in different directions.
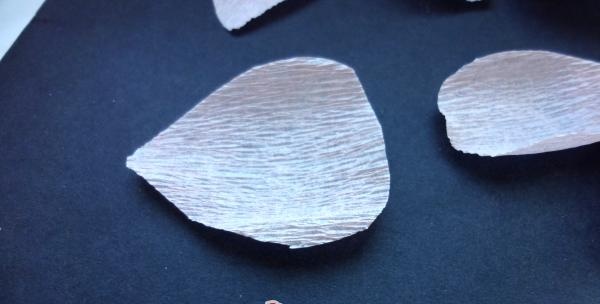
11. We also stretch the remaining petals.
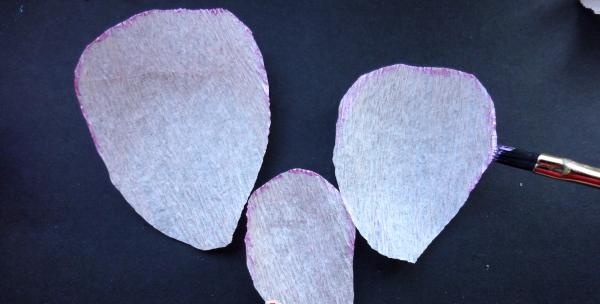
12. To make the petals look realistic, apply pink paint to the edges of the petals.
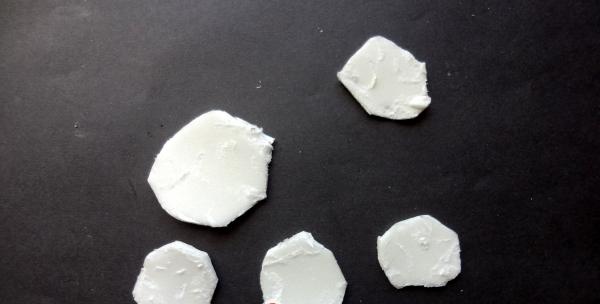
13. Cut out circles of different diameters from double-sided tape.
14. First, glue the largest petals to double-sided tape with the largest diameter, arranging them like a fan.
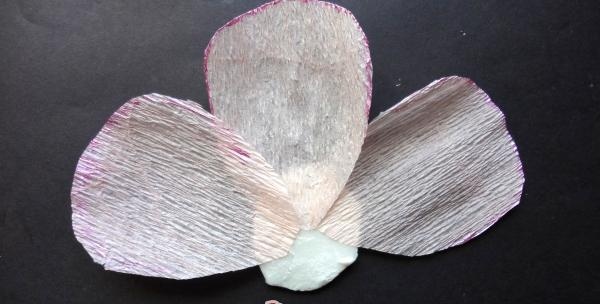
15. We again glue a circle of double-sided tape of a slightly smaller diameter on top.
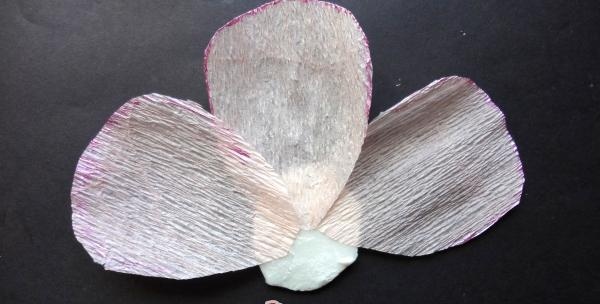
16. We attach medium-sized petals to the second tier using double-sided tape.
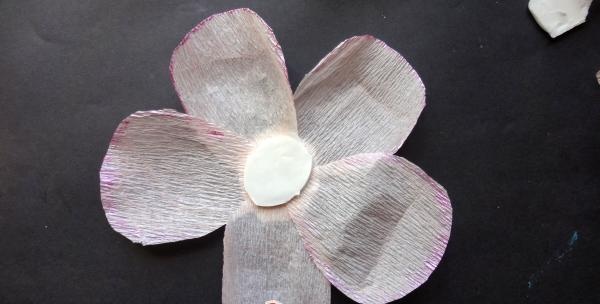
17.Glue four small petals onto double-sided tape of an even smaller diameter.
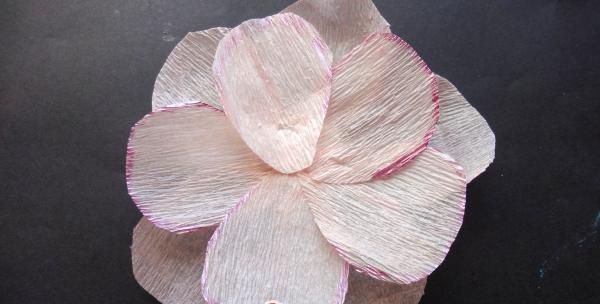
18. And as the last tier we glue three petals of the smallest size.
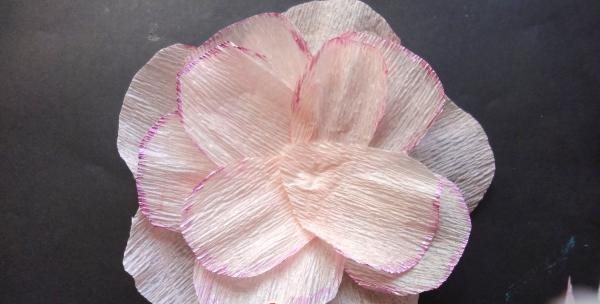
19. Now let's give our flower a shape. To do this, squeeze its lower part in a fist.
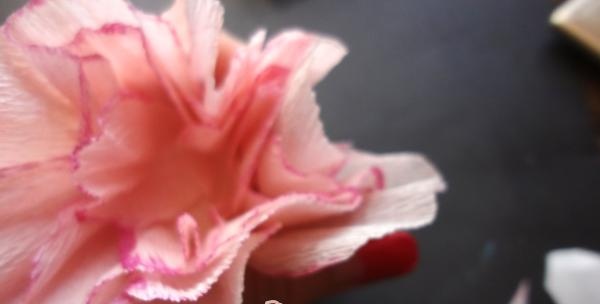
20. After which our flower should take this shape.
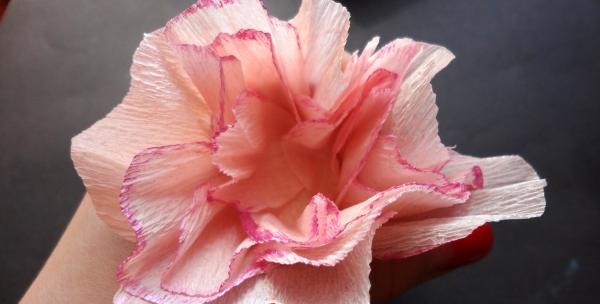
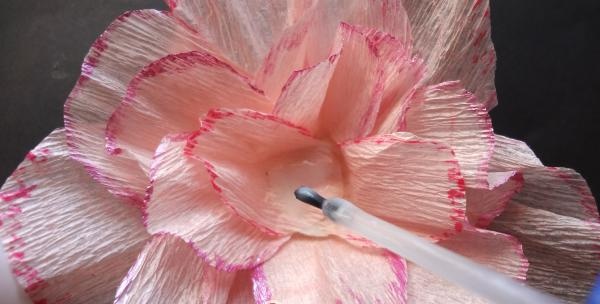
21. Making the middle. To do this, generously grease the middle part of the flower with PVA glue.
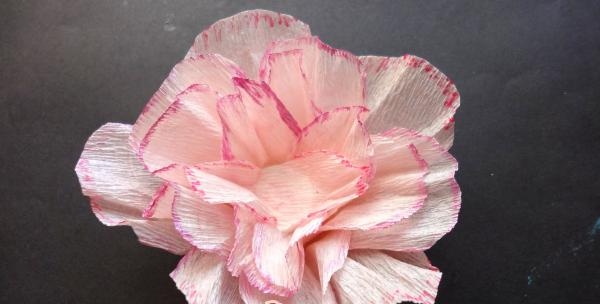
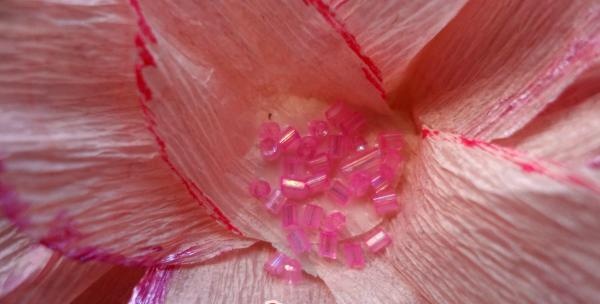
22. Pour pink beads onto PVA glue.
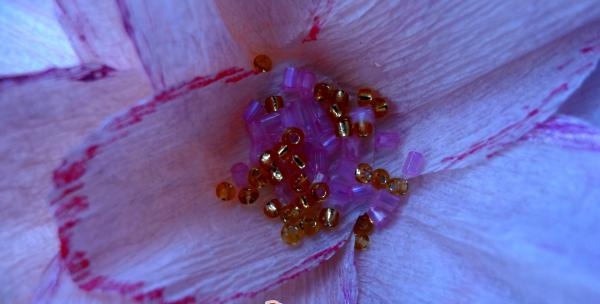
23. And on top of the pink beads we will add some gold beads.
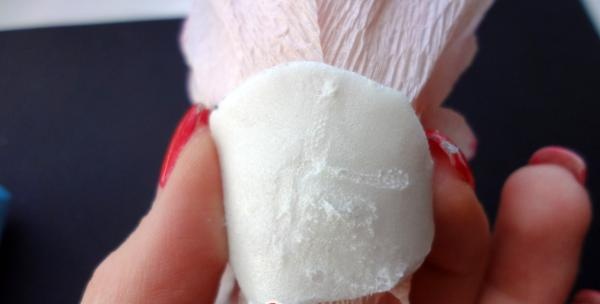
24.We glue the finished flower with double-sided tape on one side.
25. And with the other side of the tape we glue it to the gift.
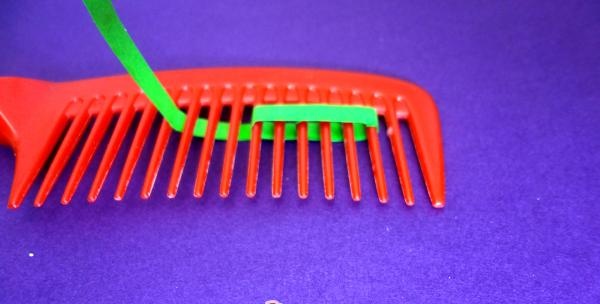
26. Making leaves. We cut out two strips of green paper 0.5 cm by 20 cm. Take a comb and, fixing the beginning of the strip, begin to wind a strip of green paper between the teeth.
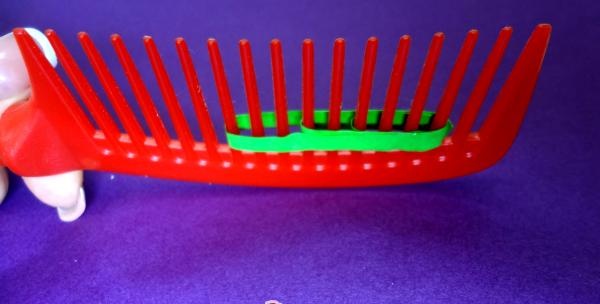
27. Having made three to four turns, fix the edge with glue.
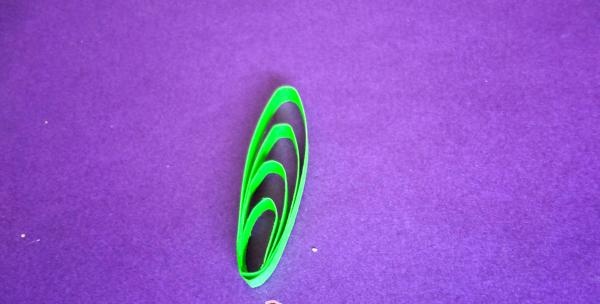
28. Carefully remove the leaf from the scallop. If desired, you can decorate it with beads.
29. Glue the edges of the leaves to the packaging.
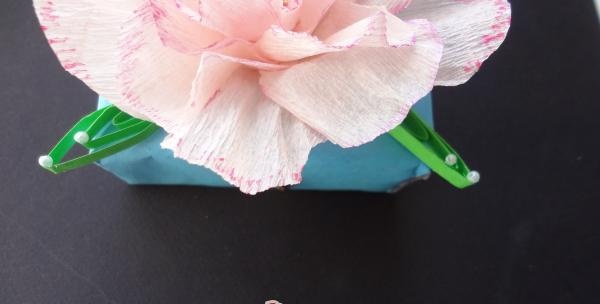
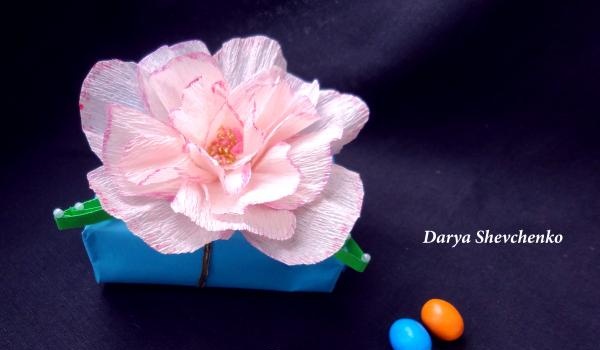
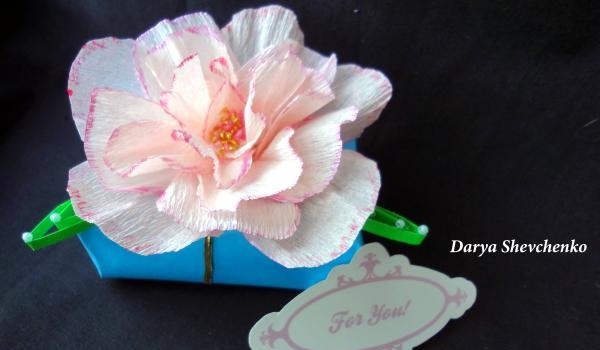
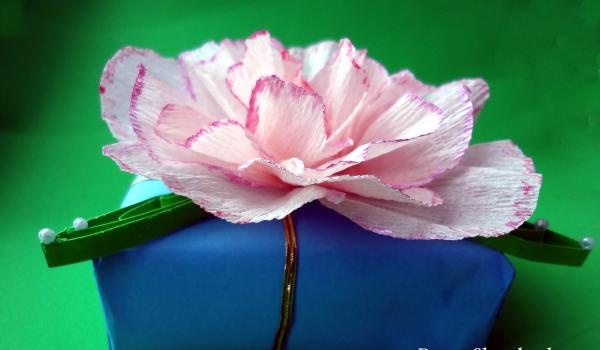
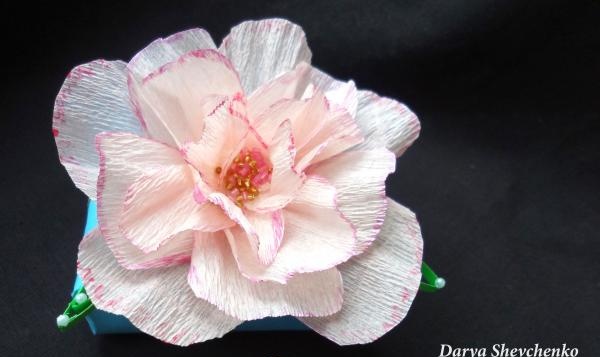
Our flower packaging is ready!
Of course, they say that gifts, like books, should not be judged by their cover. But if you want your gift to be remembered, and, most importantly, to surprise the recipient even before unpacking, take the time to decorate the gift yourself. We wish you creative success!

For this master class we will need:
- light pink corrugated paper;
- Double-sided tape;
- pink paint or pink felt-tip pen;
- colored paper in blue and green colors;
- pink and gold beads;
- measuring tape;
- golden decorative ribbon;
- glue, scissors, ruler.
Progress:
1. Take the box that we want to pack and measure its width with a measuring tape. To the result obtained, add 1 cm to the hem. We measure this value on a sheet of blue colored paper as the width of the future packaging.

2.Using a centimeter tape, measure the height of the front and side of the box, add 1 cm to the resulting value for the hem and place it on a sheet of blue paper as the width.

3. We put the obtained measurements on a sheet of paper and cut them out.

4. Wrap the gift and glue the free sides of the package vertically.

5. And now - horizontally.

6. We tie our gift with gold decorative ribbon.

7. Fix the edges and trim the ends of the tape.

8. Cut out three drop-shaped templates of different sizes from cardboard.

9. Using templates, cut out petals from light pink corrugated paper.

10. To give the petals a convex shape, you need to slightly stretch each of them in the middle in different directions.

11. We also stretch the remaining petals.

12. To make the petals look realistic, apply pink paint to the edges of the petals.

13. Cut out circles of different diameters from double-sided tape.

14. First, glue the largest petals to double-sided tape with the largest diameter, arranging them like a fan.

15. We again glue a circle of double-sided tape of a slightly smaller diameter on top.

16. We attach medium-sized petals to the second tier using double-sided tape.

17.Glue four small petals onto double-sided tape of an even smaller diameter.

18. And as the last tier we glue three petals of the smallest size.

19. Now let's give our flower a shape. To do this, squeeze its lower part in a fist.

20. After which our flower should take this shape.

21. Making the middle. To do this, generously grease the middle part of the flower with PVA glue.

22. Pour pink beads onto PVA glue.

23. And on top of the pink beads we will add some gold beads.

24.We glue the finished flower with double-sided tape on one side.

25. And with the other side of the tape we glue it to the gift.

26. Making leaves. We cut out two strips of green paper 0.5 cm by 20 cm. Take a comb and, fixing the beginning of the strip, begin to wind a strip of green paper between the teeth.

27. Having made three to four turns, fix the edge with glue.

28. Carefully remove the leaf from the scallop. If desired, you can decorate it with beads.

29. Glue the edges of the leaves to the packaging.


Our flower packaging is ready!
Of course, they say that gifts, like books, should not be judged by their cover. But if you want your gift to be remembered, and, most importantly, to surprise the recipient even before unpacking, take the time to decorate the gift yourself. We wish you creative success!
Similar master classes
Particularly interesting
Comments (0)

