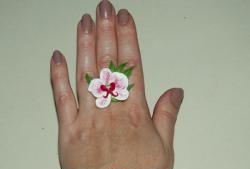
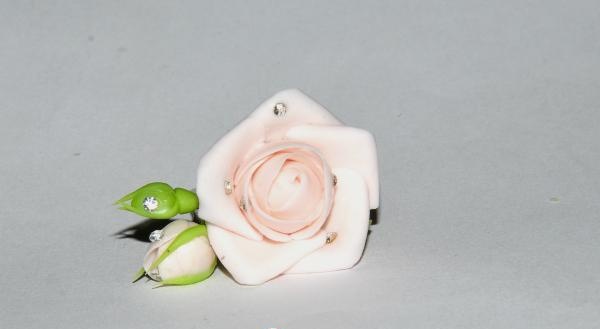
Cold porcelain rose ring
Anyone can create magic with their own hands, you just have to want to! A little patience and in a couple of hours a beautiful flower will bloom in your hands. Even a beginner can make such a ring; it is especially interesting to do this with children. So, let's begin.
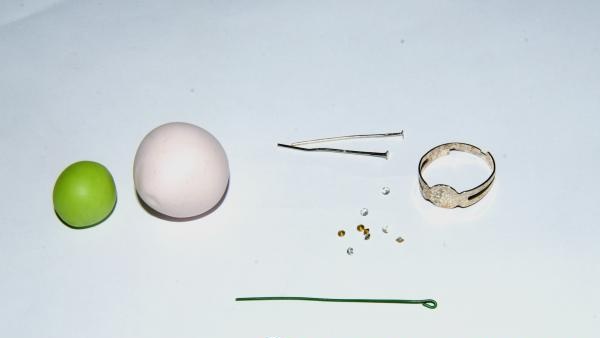
Materials and tools.
1. Cold porcelain in green and pale pink.
2. Three pieces of wire or pins. You need to make a loop at the end of the wire using round pliers.
3. Base for the ring.
4. Crystals.
5. PVA glue.
6. Brush and stack for rolling out porcelain.
Modeling a flower and buds
From pink porcelain we roll a droplet with a diameter of about 1 cm on the palm.
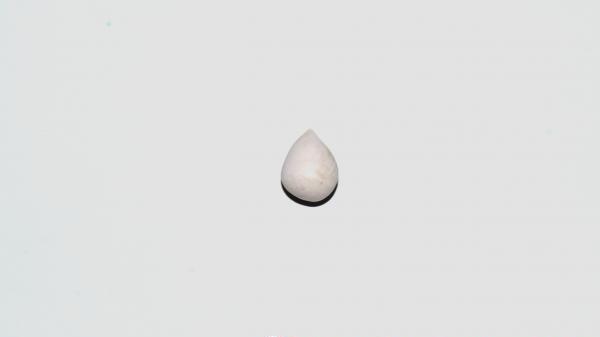
Make the second pink drop half as big. The third, green, is slightly smaller than the second. These will be the basics of the flower and buds.
Apply glue to the wires and put droplets on them.
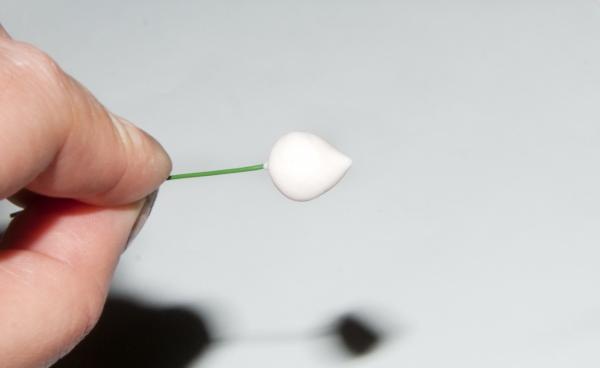
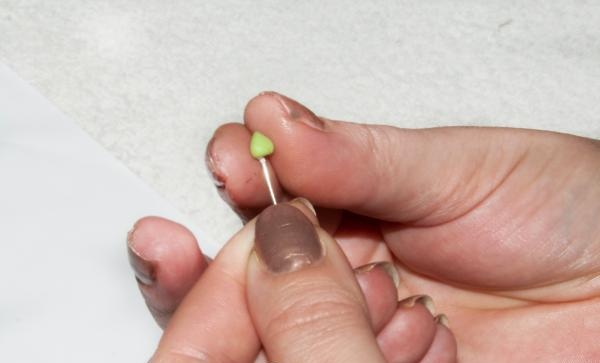
Let's model six more drops, three smaller and three larger. From these we roll out the first petals of our composition.
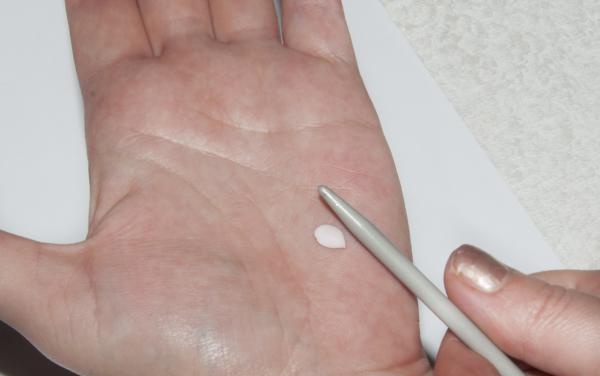
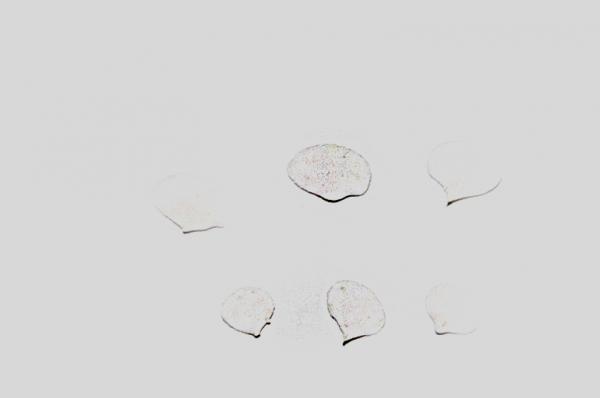
We apply glue to the large base and begin to glue larger petals to it, overlapping.
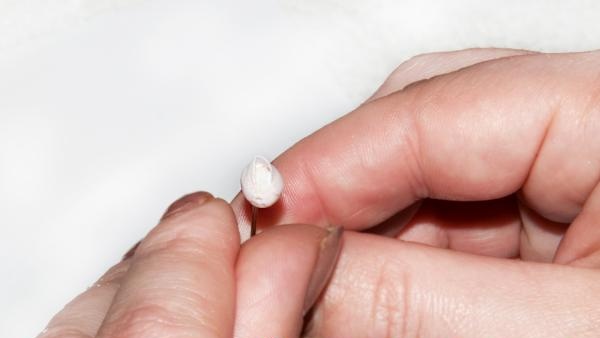
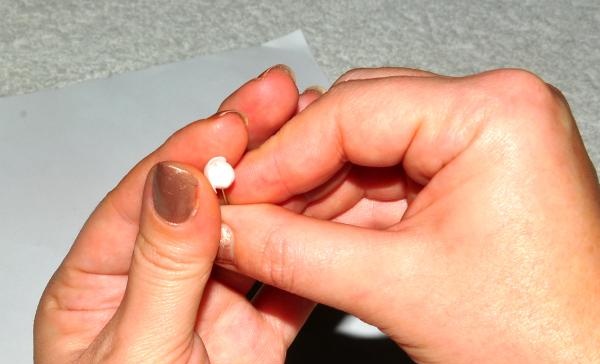
We do the same with the smaller base, leaving the green one alone for now. For the base of the flower, we sculpt 4 more petals, and also glue them with an overlap.
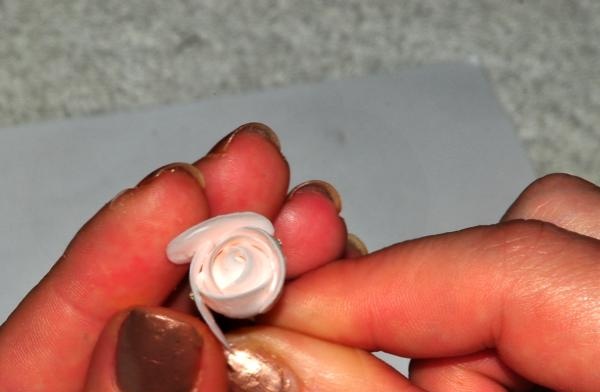
Using a stack, roll out 5 more petals measuring approximately 2 cm along the wide side. Two or three petals can be decorated with crystals, but this is a matter of taste. Apply a drop of glue to the petal and use a stack or toothpick to press the crystal into the porcelain.
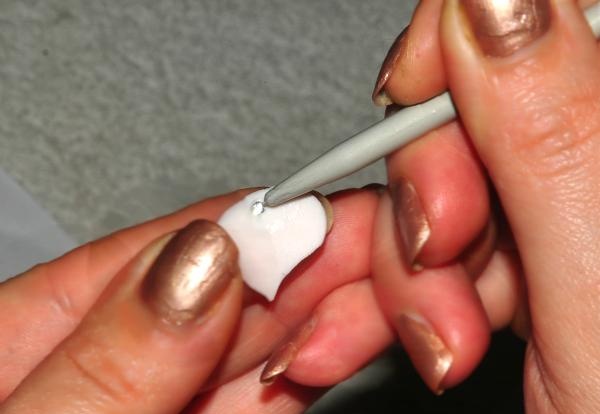
We bend each petal on the wide side, giving them shape.
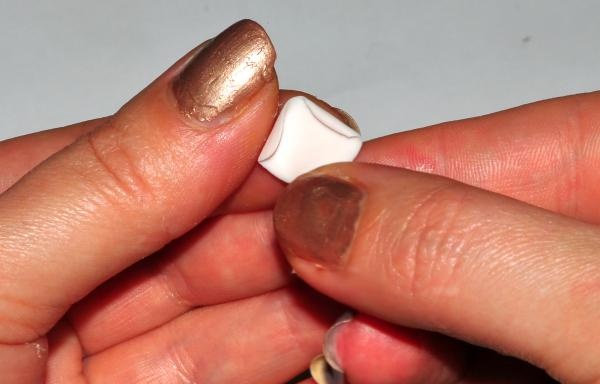
We glue these 5 petals to the base of the flower.
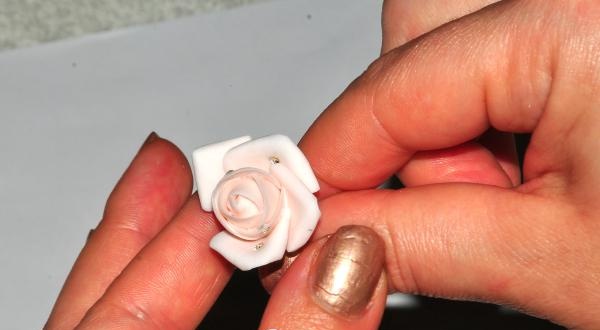
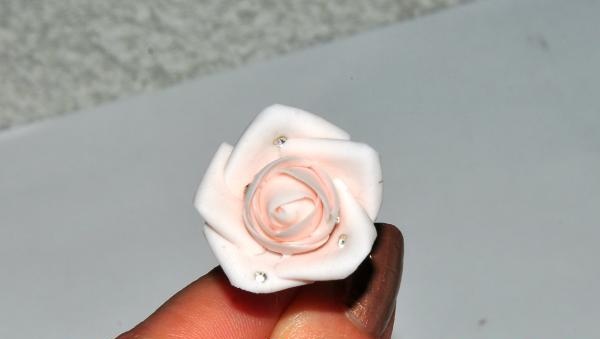
Our rose is ready!
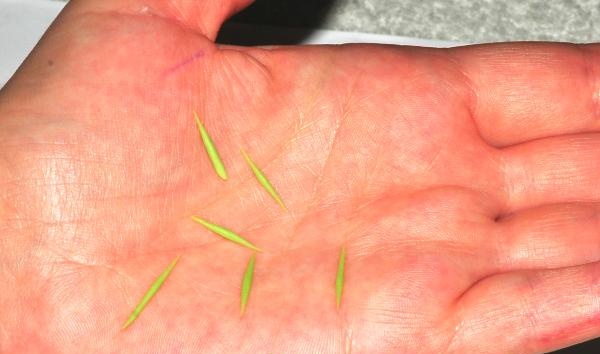
Let's start creating the sepals. Roll out 10 elongated and thin drops from green porcelain. Four large ones for a flower, 3 medium ones for a pink bud and three small ones for a green one. Flatten them slightly.
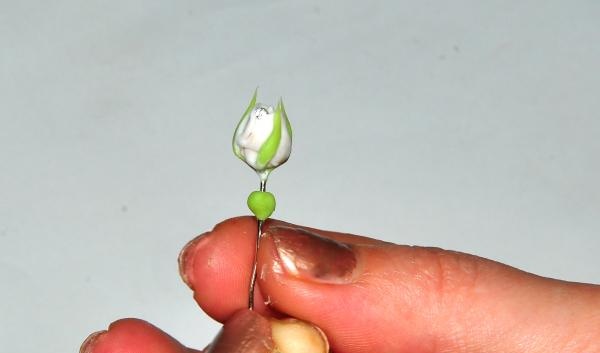
We glue it to the buds first, since you will have to tinker a little with the rose. After this, roll it out into a small ball and thread it onto the wire from below, rolling it 0.5 cm.
Let's start with the flower. Carefully remove it from the wire. Using nail scissors, cut off the excess porcelain from the bottom. This part should be as flat as possible so that it fits well on the base for the ring. Apply glue to the back of the flower and glue the green blanks.
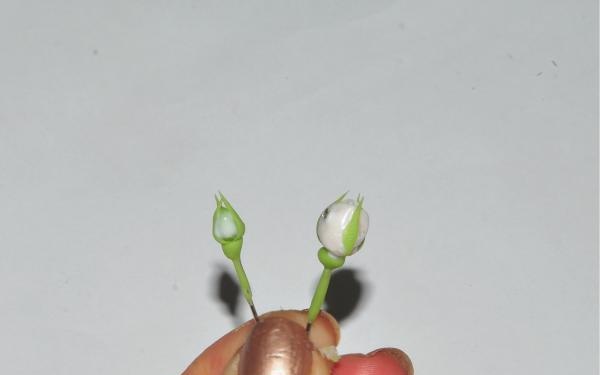
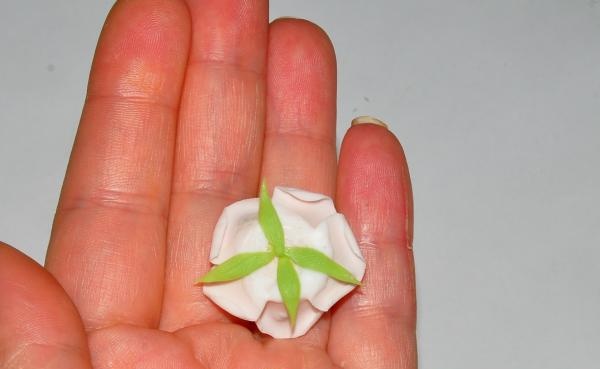
Assembling the ring and the final joy
Roll out a “sausage” 2 cm long from green porcelain and flatten it. Apply PVA glue to it and thread it through the base for the ring, so that the base is in the middle of the “sausage”. Then we bend it on both sides onto the base, creating something like a pillow. We apply glue to it and fix our buds, having first shortened them to the required length.
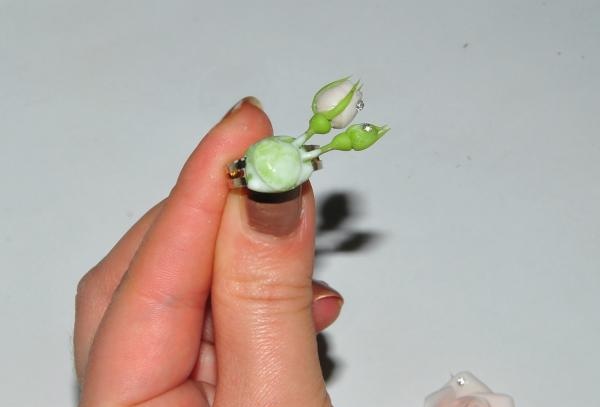
Once again we coat it with glue and fix the flower so that delicate buds peek out from under it.
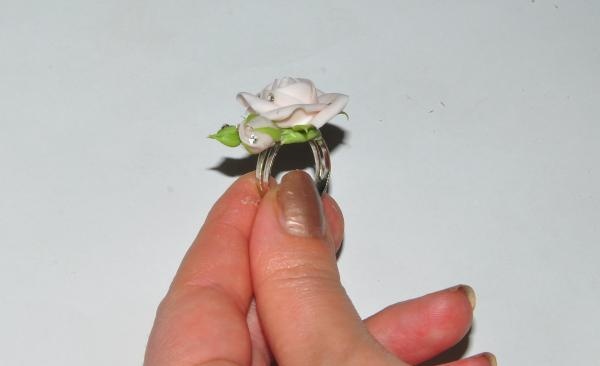
Leave to dry for 24 hours. If desired, apply acrylic varnish. And in the end we get a beautiful composition created by ourselves.You can create such beauty for yourself so that a delicate rose with drops of dew blooms on your finger, or make a unique present to a loved one. The main thing is that everything worked out and you became the creator of a wonderful product!
Materials and tools.
1. Cold porcelain in green and pale pink.
2. Three pieces of wire or pins. You need to make a loop at the end of the wire using round pliers.
3. Base for the ring.
4. Crystals.
5. PVA glue.
6. Brush and stack for rolling out porcelain.

Modeling a flower and buds
From pink porcelain we roll a droplet with a diameter of about 1 cm on the palm.

Make the second pink drop half as big. The third, green, is slightly smaller than the second. These will be the basics of the flower and buds.
Apply glue to the wires and put droplets on them.


Let's model six more drops, three smaller and three larger. From these we roll out the first petals of our composition.


We apply glue to the large base and begin to glue larger petals to it, overlapping.


We do the same with the smaller base, leaving the green one alone for now. For the base of the flower, we sculpt 4 more petals, and also glue them with an overlap.

Using a stack, roll out 5 more petals measuring approximately 2 cm along the wide side. Two or three petals can be decorated with crystals, but this is a matter of taste. Apply a drop of glue to the petal and use a stack or toothpick to press the crystal into the porcelain.

We bend each petal on the wide side, giving them shape.

We glue these 5 petals to the base of the flower.

Our rose is ready!

Let's start creating the sepals. Roll out 10 elongated and thin drops from green porcelain. Four large ones for a flower, 3 medium ones for a pink bud and three small ones for a green one. Flatten them slightly.

We glue it to the buds first, since you will have to tinker a little with the rose. After this, roll it out into a small ball and thread it onto the wire from below, rolling it 0.5 cm.

Let's start with the flower. Carefully remove it from the wire. Using nail scissors, cut off the excess porcelain from the bottom. This part should be as flat as possible so that it fits well on the base for the ring. Apply glue to the back of the flower and glue the green blanks.


Assembling the ring and the final joy
Roll out a “sausage” 2 cm long from green porcelain and flatten it. Apply PVA glue to it and thread it through the base for the ring, so that the base is in the middle of the “sausage”. Then we bend it on both sides onto the base, creating something like a pillow. We apply glue to it and fix our buds, having first shortened them to the required length.

Once again we coat it with glue and fix the flower so that delicate buds peek out from under it.

Leave to dry for 24 hours. If desired, apply acrylic varnish. And in the end we get a beautiful composition created by ourselves.You can create such beauty for yourself so that a delicate rose with drops of dew blooms on your finger, or make a unique present to a loved one. The main thing is that everything worked out and you became the creator of a wonderful product!

Similar master classes
Particularly interesting
Comments (1)


