New handle for an old knife
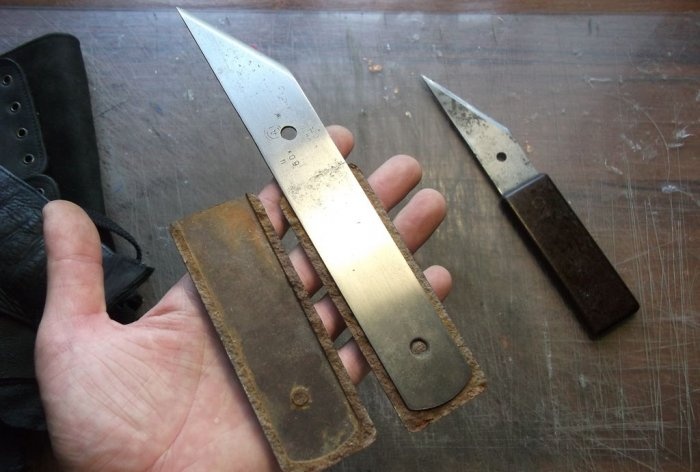
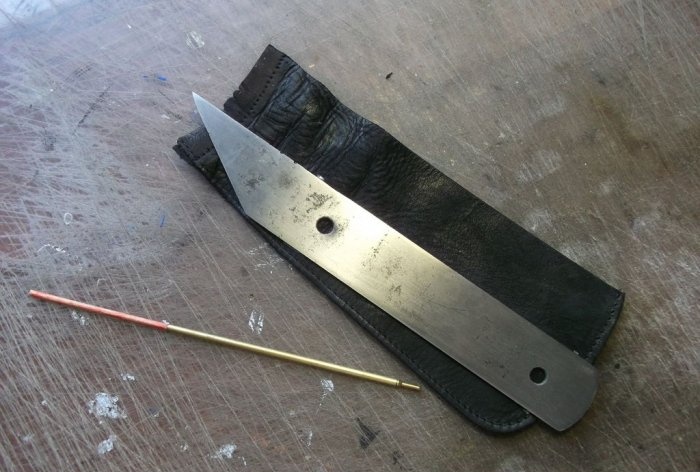
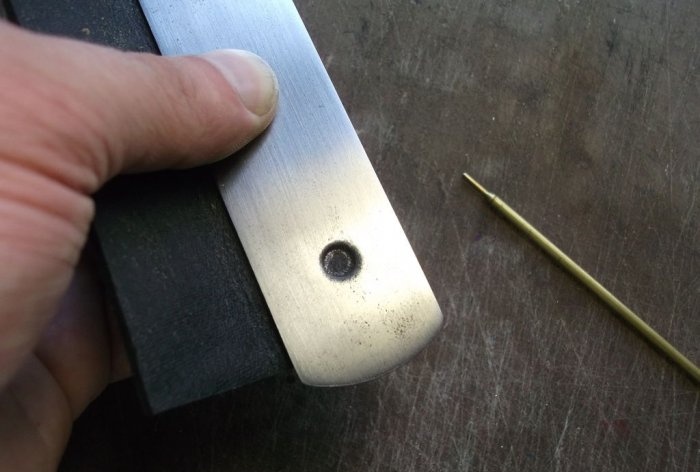
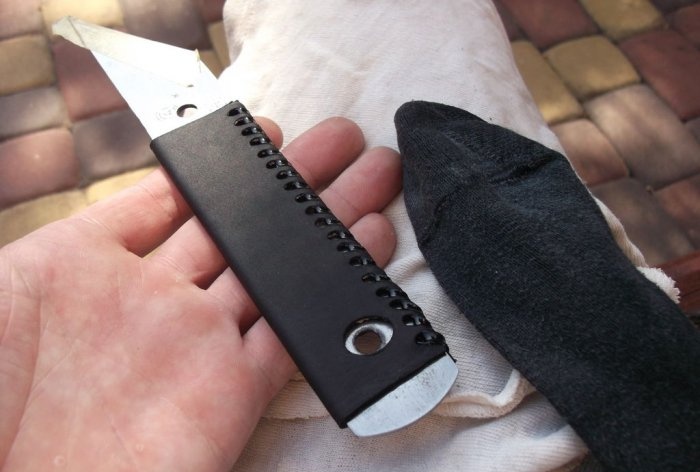
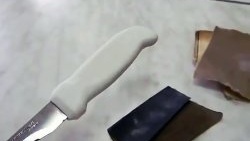
Today I will tell you how you can make a new handle for an old knife if the original handle has fallen apart. I had a couple of shoe knives, one of which had a handle that cracked and split into two halves.
Making a leather handle
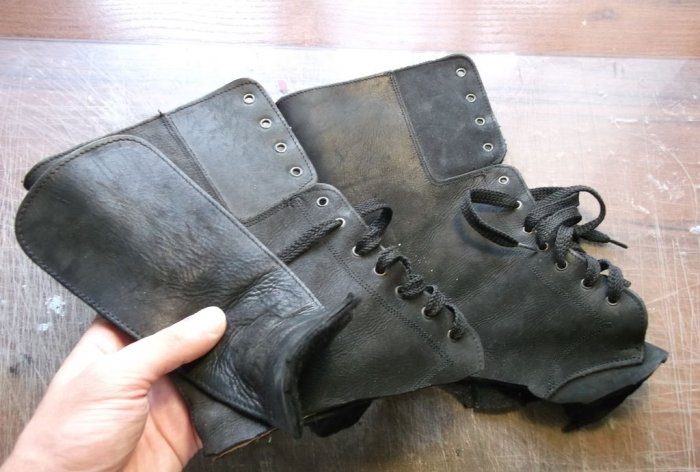
I decided to make a new handle for it, or rather a cover, using leather from the top of old boots.
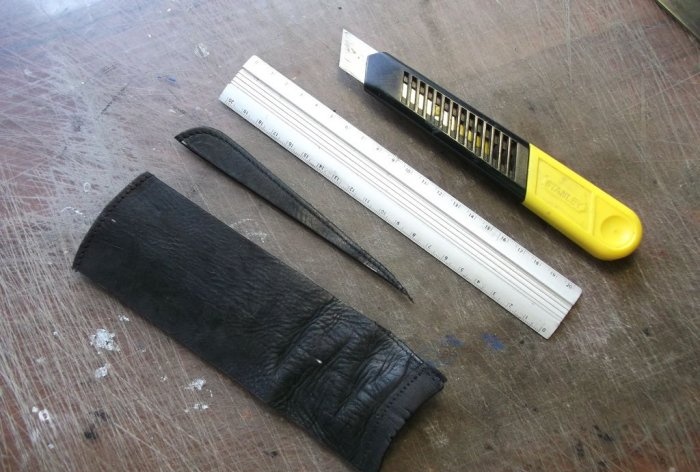
Having estimated the size of the knife, one tongue was just enough for what was planned. I carefully flogged it and trimmed the edges so that I could wrap the knife plate.
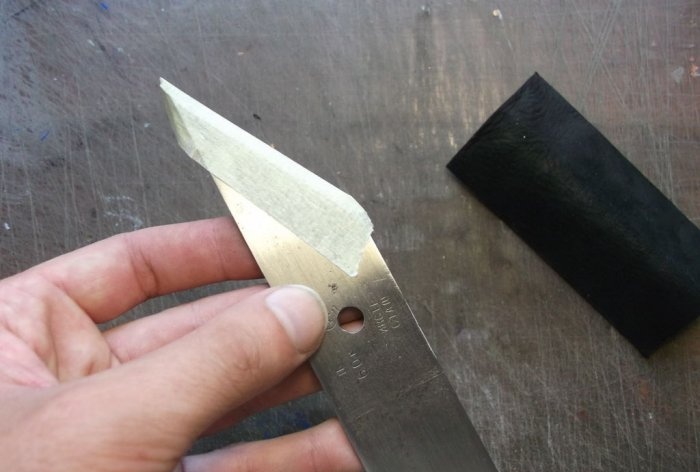
Advice! To avoid cutting myself while working, I sealed the cutting edge of the knife with masking tape, but you can use something else.
The next step is to measure the required length of the handle and cut the leather blank.
Hole preparation
The most important step is preparing and making holes, and you will need a lot of them.
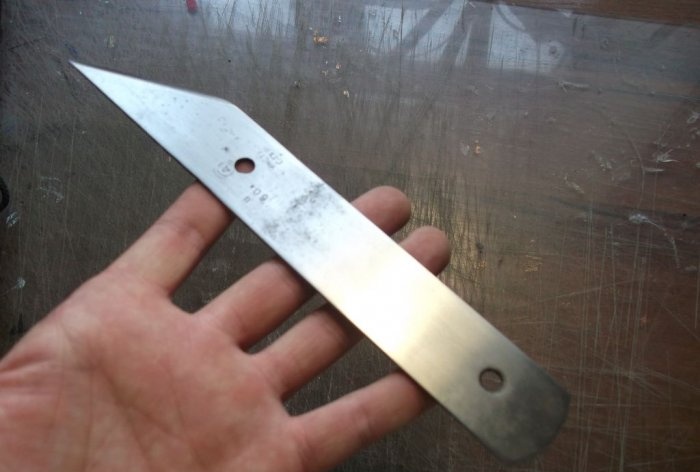
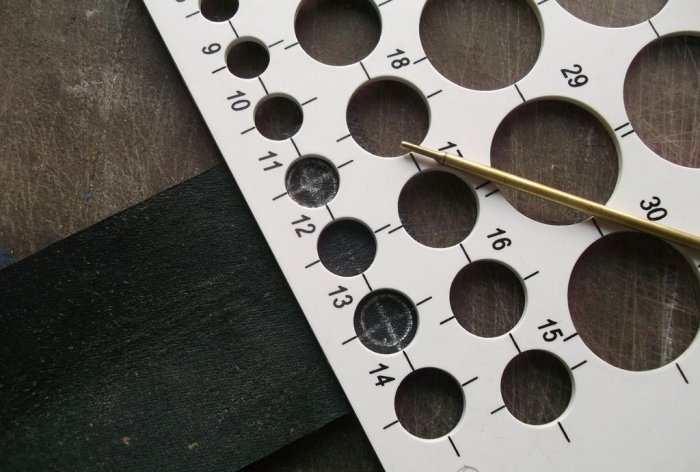
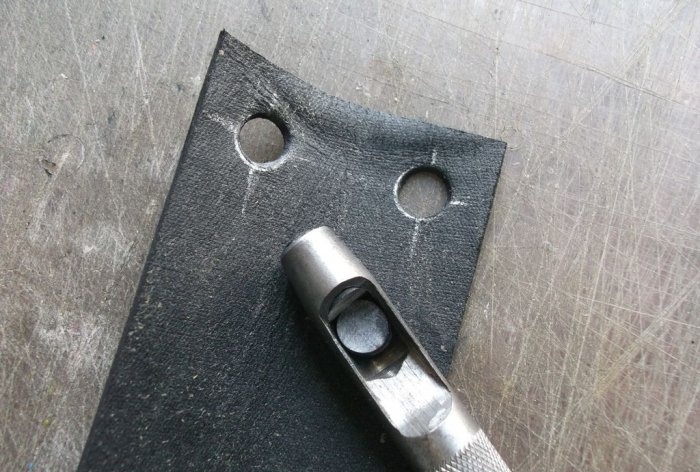
There was a hole at the end of the plate. I decided to leave it and use it later for threading a loop. I marked the centers of the holes on the future handle and punched them using a punch of a suitable diameter.
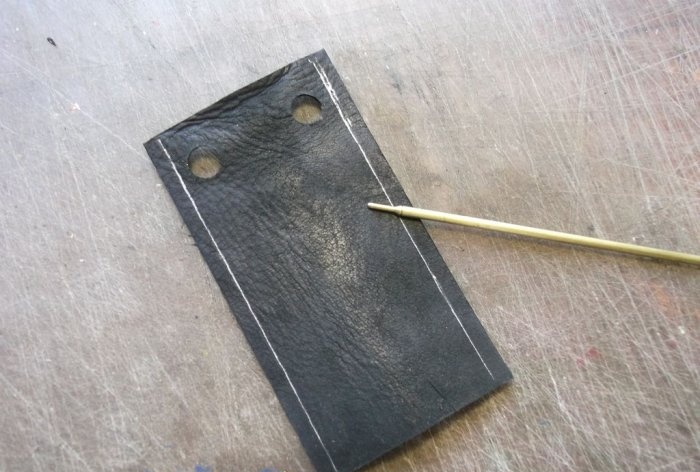
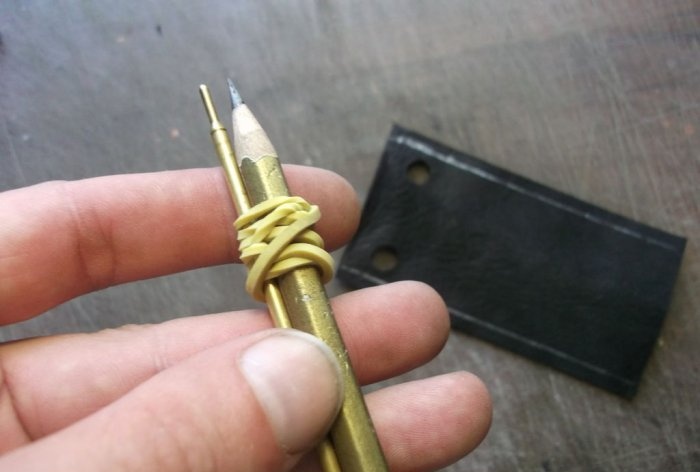
Now, at equal intervals, you need to mark holes along the edges of the leather piece so that it can be stitched.I used a simple makeshift device: I used an eraser to connect a pencil and a white gel stick so that the marks were clearly visible on the black leather. It was possible to mark quickly and accurately.
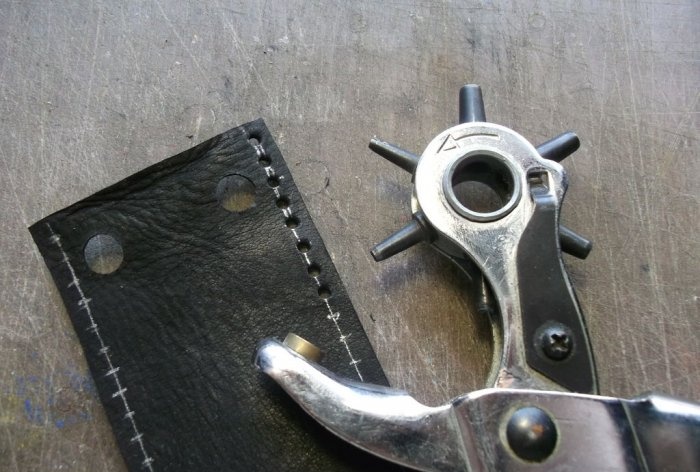
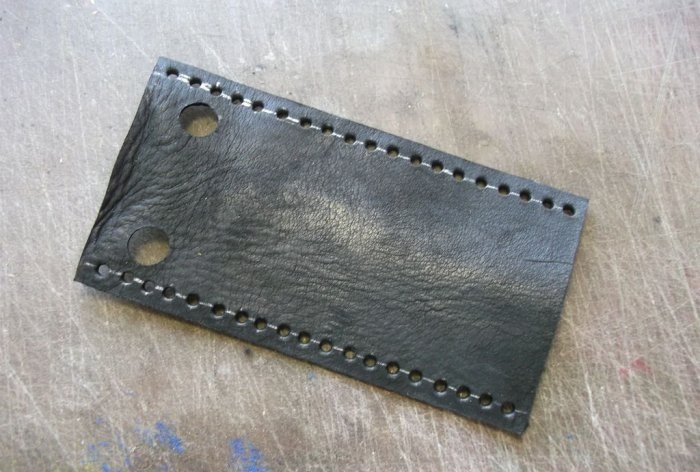
After making marks on both sides, I carefully make holes with a punch.
Some may say that this is unnecessary; one could simply pierce the holes with an awl and sew the leather together. But, firstly, it is smooth and neat, and secondly, such round holes are more resistant to tearing. In addition, for stitching I decided to use not harsh threads, but a slightly different material.
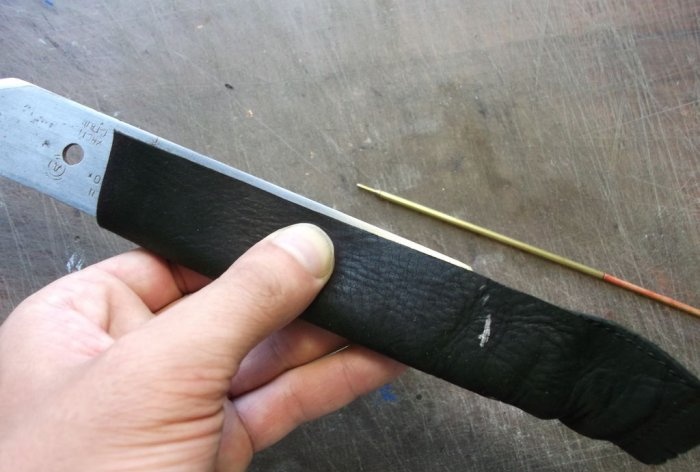
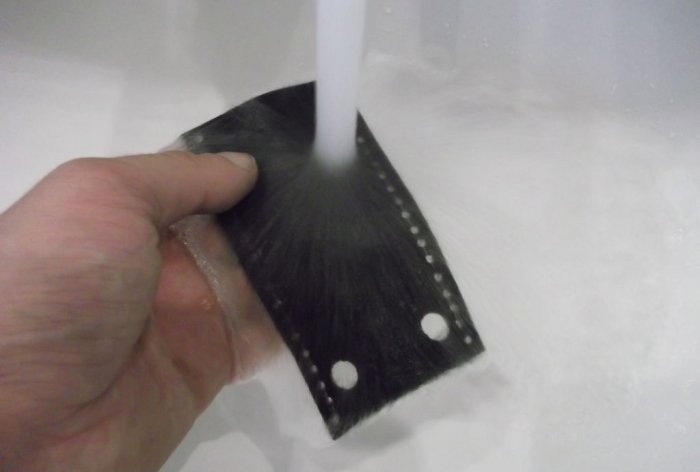
Now you need to wet the skin in slightly warm water so that it becomes more elastic and stretches a little. At the same time, you can wash off the previously applied markings. After drying, it will shrink and tightly grip the knife blade.
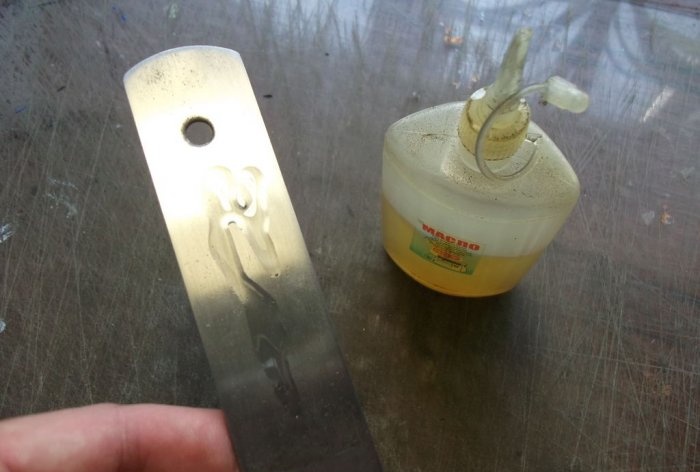
Note! To prevent the blade from rusting, I lightly lubricated it with machine oil.
Lacing
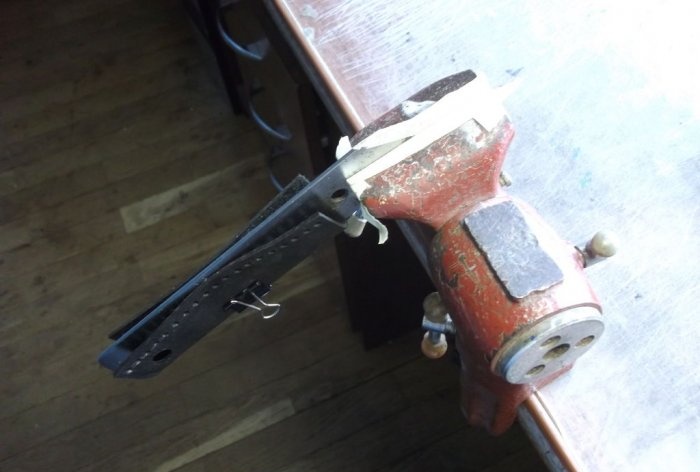
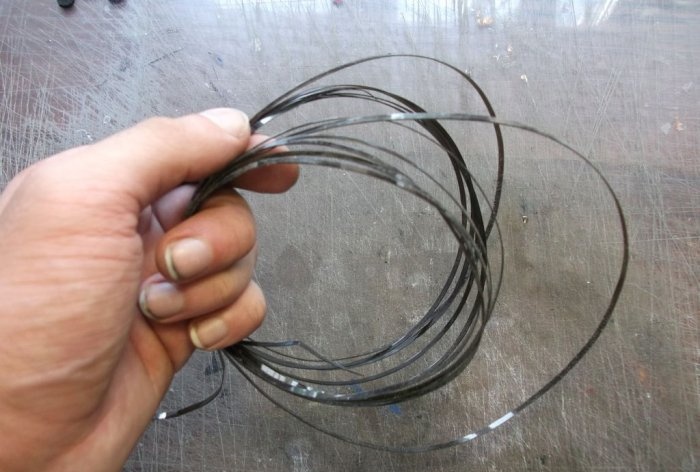
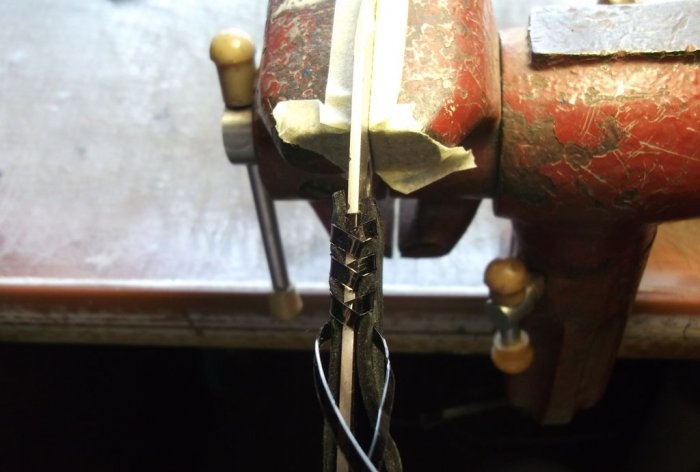
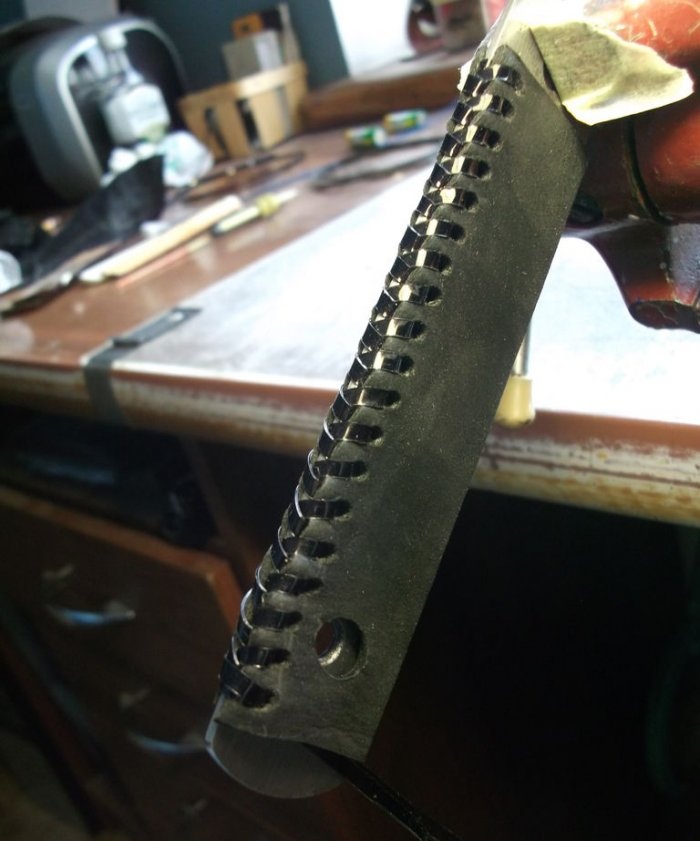
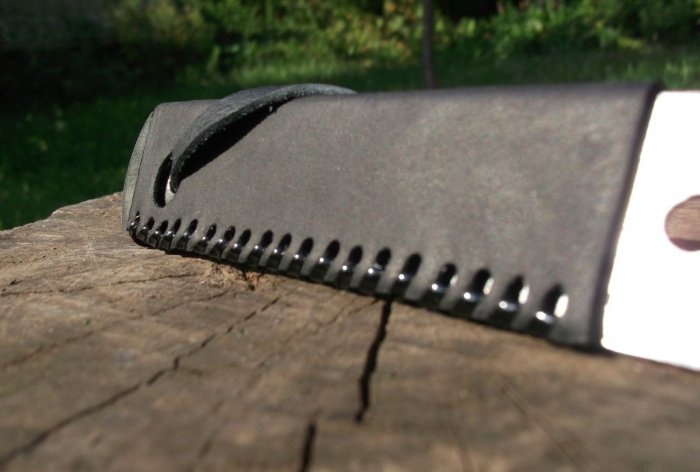
While the leather was still wet, I immediately started lacing. To do this, I fixed the workpiece in a vice. As a “lace” I used a thin strip cut from a plastic bottle. The lacing was done as usual, but you can experiment with the lace material and type of lacing. I didn’t make a knot at the end of the lacing, but simply hid the ends under a leather cover, lightly greasing them with rubber glue so that they wouldn’t stick out.
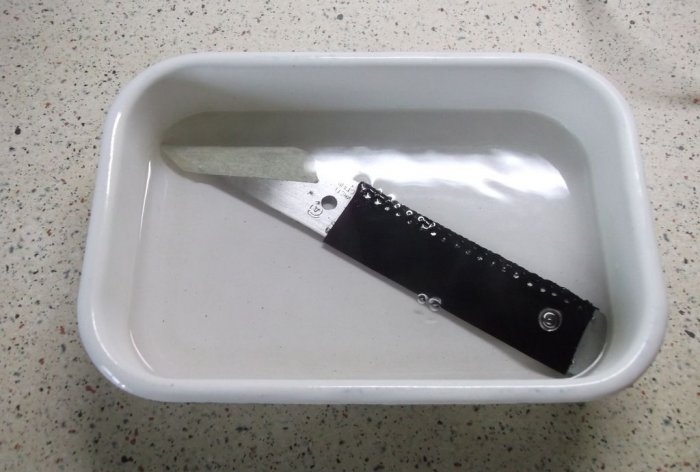
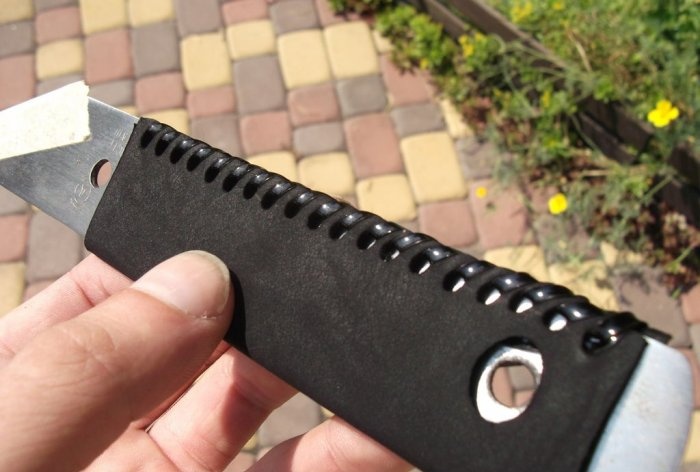
The edges of the plastic tape are a little sharp, and the lacing itself is rough to the touch. Therefore, heat treatment is needed to correct this problem. The best option is to use a hair dryer or other heating equipment. But, unfortunately, I don’t have that, so I used hot (not boiling) water.
After soaking the knife in hot water for about 10 minutes, I took it out with tongs and put it in the sun to dry.
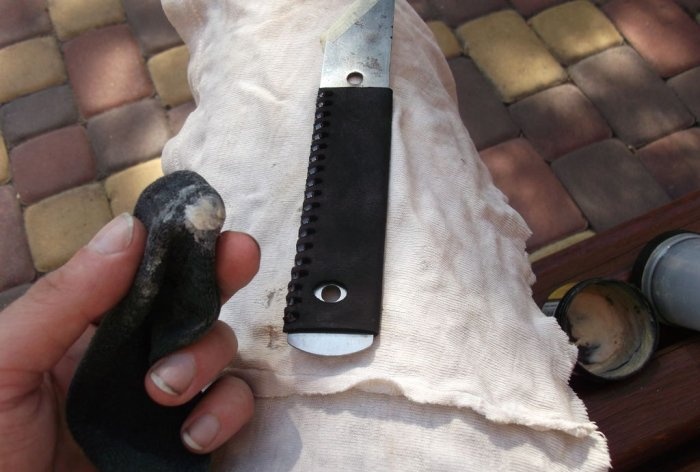
When the leather began to dry out, I treated it with a special mastic for caring for leather products. She softened the skin, making it elastic, after which the case fit even better on the handle.
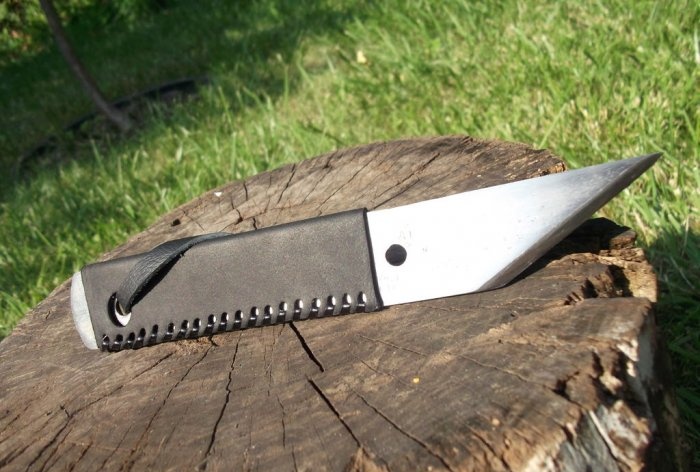
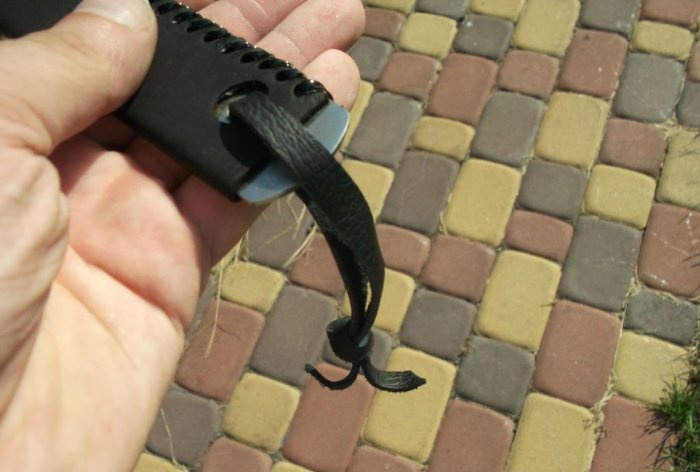
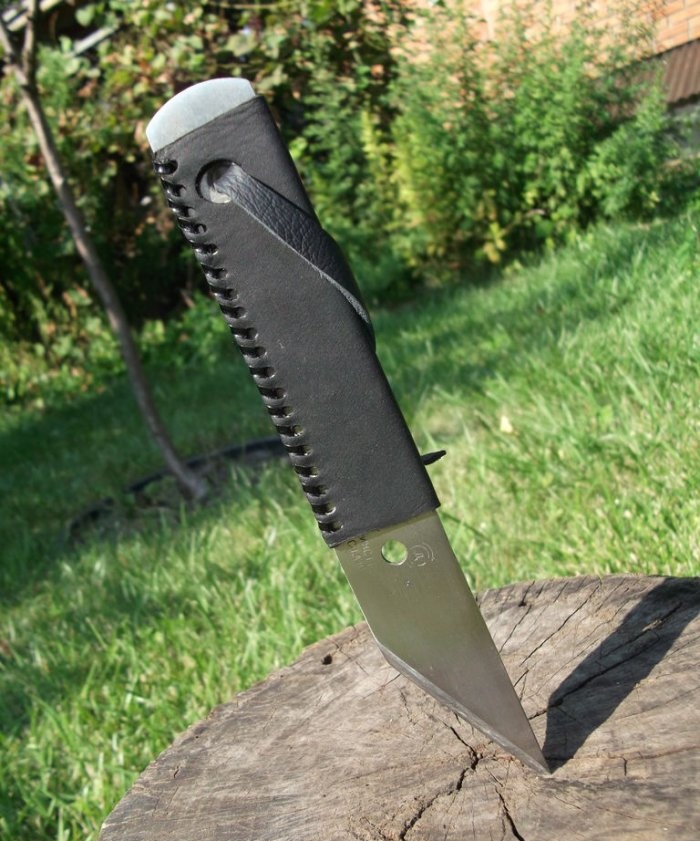
The finishing touch is a leather loop cut from leftover material. The loop complements the leather handle perfectly, and I will also use it to hang the knife on a hook.
The handle fits well in the hand, the lacing does not cut your fingers and provides a pleasant roughness to the contact. The only drawback of such a cover is that you need to make sure that water does not flow under it, otherwise the knife will begin to rust.
Original article in English
Similar master classes
Particularly interesting
Comments (4)

