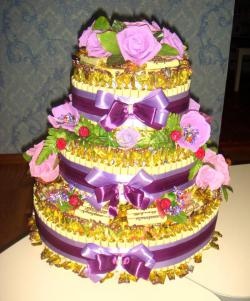
Bouquet of sweets “Yellow roses” in a basket
Bouquets of sweets have long ceased to be a new and unusual gift. More and more often, instead of fresh flowers, you can get a basket with wonderful homemade compositions and your favorite candies inside each flower. I offer a simple master class on creating a small basket without a handle with wonderful bright yellow and orange roses.
To make such a composition you will need:
1. Crepe paper (or corrugated) in the desired colors (yellow, orange).
2. Wooden skewers.
3. Candy (mine is “Martian”).
4. Green organza.
5. Basket.
6. Toothpicks.
7. Construction adhesive.
8. Spool of thread.
9. Polystyrene foam (can be replaced with polyurethane foam or sheets of backing for laminate).
10. Scissors.
11. Clothes pin.
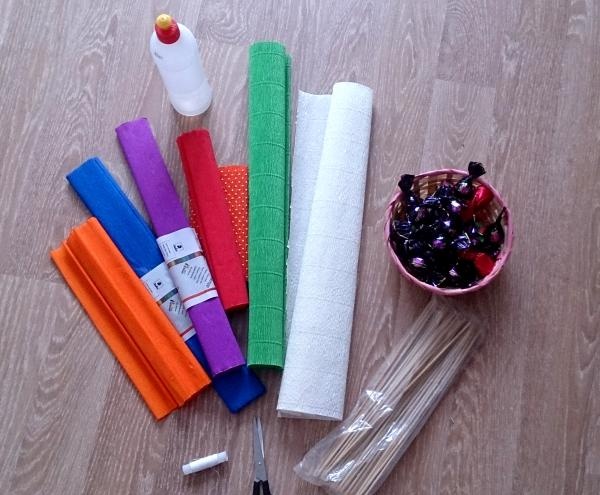
First, let me explain a little. In my basket there are flowers made of crepe paper. It is softer, less durable and not as fluffy as corrugated paper. Flowers made from corrugated paper are made lighter, more voluminous, and the paper is much stronger. At the same time, crepe paper produces more natural flowers and is more neat.
Step 1. Prepare the basket.To do this, cut out a piece of foam plastic along the inner diameter of the basket, secure it tightly in the basket and decorate it with green paper. You can do it differently and much easier than with polystyrene foam. I use leftover laminate underlayment. I cut out two circles. One is the diameter of the bottom of the basket, and the second is the diameter of the top. We insert these two circles tightly into the basket. It turns out more neat than with polystyrene foam; you don’t even have to decorate it with anything on top. Everything will be covered with flowers and organza buns.
Step 2. Prepare the candies. I take “Martian” candies, since they are not too large and perfectly round. We attach the candies to the skewer using thread. You can re-wrap the candy a little to make it even rounder, and the tail of the candy wrapper will be longer, making it more convenient to attach it with thread. We make as many candies as we think necessary (based on the size of your basket).
Step 3. Making roses. To do this, cut off a piece of paper from the edge, as much as is needed to make roses, while the height and length of the petal will remain unchanged. We unwind an accordion into six petals from the cut roll, using scissors we give it a rounded shape, that is, we cut off the top in a circle. Cut off the corners from the bottom. At the same time, we cut so that the accordion is not damaged. We make another accordion, but we cut out six separate rose petals from it, without preserving the integrity of the accordion.
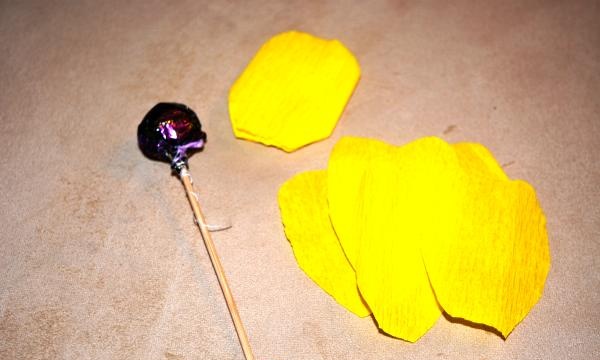
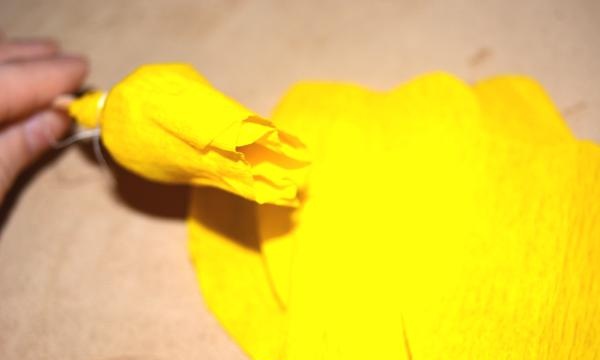
First, we wrap the candy with the first accordion, tie it tightly with a thread and carefully form the necessary folds of the bud with our hands. Then we apply the remaining six petals in different orders and also tie them with a thread. First, slightly deform the petals with your hands, making a depression in them for the candy. This must be done carefully and not forcefully, so as not to tear the paper. We twist the edges of the petals using the blade of scissors.
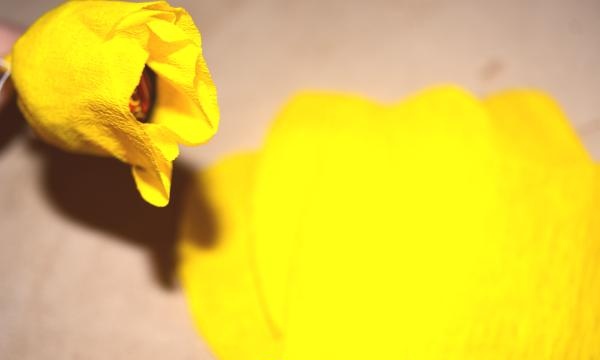
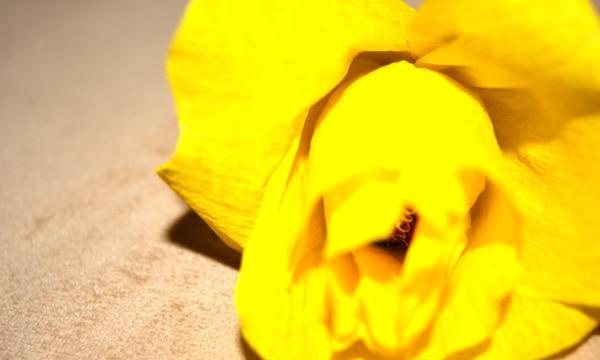
Next, cut a small ribbon of green paper and wrap it around the stem of our flower. You don't need a lot of glue here. Just drop some glue under the bud and secure it at the end.
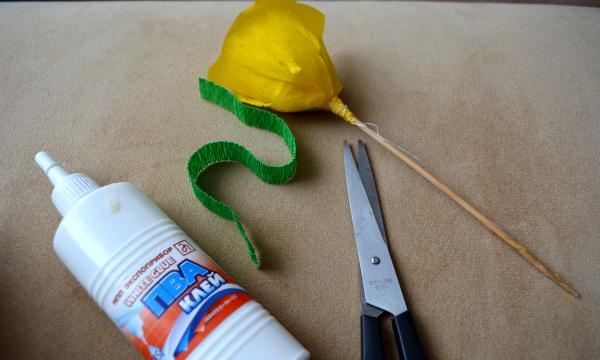
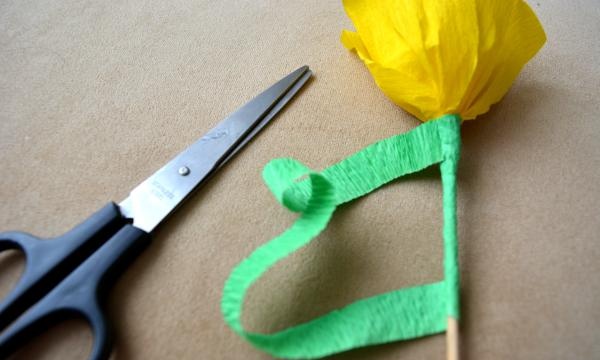
This is how we make fluffy roses in yellow and orange. Plus we’ll make a few more roses without individual petals, that is, rose buds.
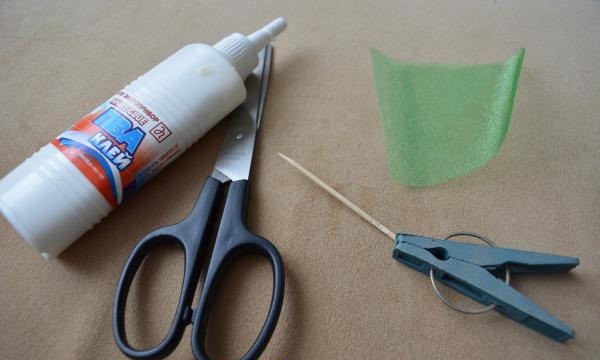
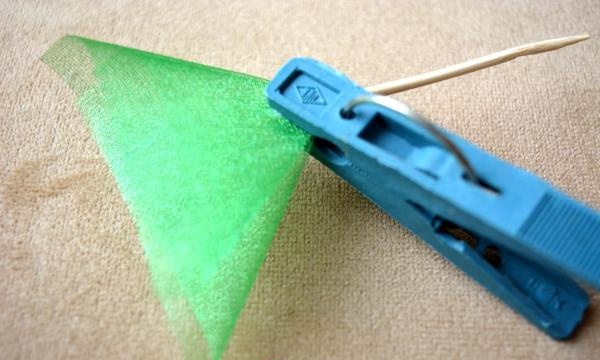
Step4. We make organza buns for decoration. We cut a lot of small organza squares, about 5 by 5 centimeters, again, based on the size of your basket. We fold the organza square into an isosceles triangle twice and attach it to a toothpick with a drop of glue. Clothes pins will help a lot with this. We press the joint with a clothespin and wait for it to dry completely, otherwise the organza will peel off from the toothpick. It’s even better to use construction glue instead of regular PVA glue; it dries faster and holds much better!
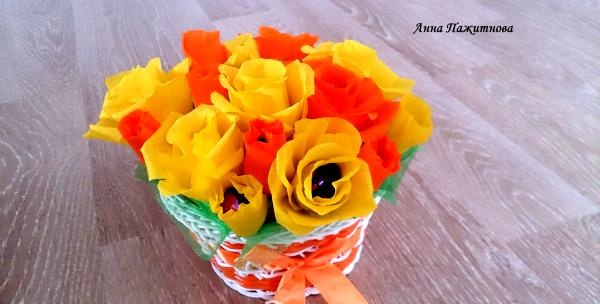
When all the elements are ready, we begin to assemble the flower basket. We first insert the organza strips along the edges into the foam, and then the roses. You can decorate the space between the roses with pound cakes!
Enjoy a bright bouquet of wonderful yellow and orange roses!
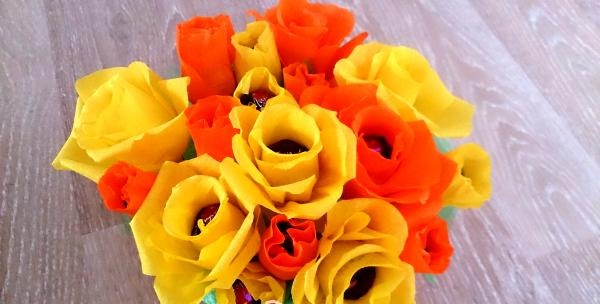
Photo of the finished basket:
To make such a composition you will need:
1. Crepe paper (or corrugated) in the desired colors (yellow, orange).
2. Wooden skewers.
3. Candy (mine is “Martian”).
4. Green organza.
5. Basket.
6. Toothpicks.
7. Construction adhesive.
8. Spool of thread.
9. Polystyrene foam (can be replaced with polyurethane foam or sheets of backing for laminate).
10. Scissors.
11. Clothes pin.

First, let me explain a little. In my basket there are flowers made of crepe paper. It is softer, less durable and not as fluffy as corrugated paper. Flowers made from corrugated paper are made lighter, more voluminous, and the paper is much stronger. At the same time, crepe paper produces more natural flowers and is more neat.
Step 1. Prepare the basket.To do this, cut out a piece of foam plastic along the inner diameter of the basket, secure it tightly in the basket and decorate it with green paper. You can do it differently and much easier than with polystyrene foam. I use leftover laminate underlayment. I cut out two circles. One is the diameter of the bottom of the basket, and the second is the diameter of the top. We insert these two circles tightly into the basket. It turns out more neat than with polystyrene foam; you don’t even have to decorate it with anything on top. Everything will be covered with flowers and organza buns.
Step 2. Prepare the candies. I take “Martian” candies, since they are not too large and perfectly round. We attach the candies to the skewer using thread. You can re-wrap the candy a little to make it even rounder, and the tail of the candy wrapper will be longer, making it more convenient to attach it with thread. We make as many candies as we think necessary (based on the size of your basket).
Step 3. Making roses. To do this, cut off a piece of paper from the edge, as much as is needed to make roses, while the height and length of the petal will remain unchanged. We unwind an accordion into six petals from the cut roll, using scissors we give it a rounded shape, that is, we cut off the top in a circle. Cut off the corners from the bottom. At the same time, we cut so that the accordion is not damaged. We make another accordion, but we cut out six separate rose petals from it, without preserving the integrity of the accordion.


First, we wrap the candy with the first accordion, tie it tightly with a thread and carefully form the necessary folds of the bud with our hands. Then we apply the remaining six petals in different orders and also tie them with a thread. First, slightly deform the petals with your hands, making a depression in them for the candy. This must be done carefully and not forcefully, so as not to tear the paper. We twist the edges of the petals using the blade of scissors.


Next, cut a small ribbon of green paper and wrap it around the stem of our flower. You don't need a lot of glue here. Just drop some glue under the bud and secure it at the end.


This is how we make fluffy roses in yellow and orange. Plus we’ll make a few more roses without individual petals, that is, rose buds.
Step4. We make organza buns for decoration. We cut a lot of small organza squares, about 5 by 5 centimeters, again, based on the size of your basket. We fold the organza square into an isosceles triangle twice and attach it to a toothpick with a drop of glue. Clothes pins will help a lot with this. We press the joint with a clothespin and wait for it to dry completely, otherwise the organza will peel off from the toothpick. It’s even better to use construction glue instead of regular PVA glue; it dries faster and holds much better!


When all the elements are ready, we begin to assemble the flower basket. We first insert the organza strips along the edges into the foam, and then the roses. You can decorate the space between the roses with pound cakes!
Enjoy a bright bouquet of wonderful yellow and orange roses!
Photo of the finished basket:


Similar master classes
Particularly interesting
Comments (0)

