Crochet applique “Spring mood”
With the onset of warmer weather, you want to diversify your wardrobe with bright and rich colors. After all, very soon you will have to be outside more often, enjoying nature and lush green vegetation. Children will go out onto the playground and settle into sandboxes, slides and carousels. Things on babies will simply “burn”, so you will need a lot of change of clothes. It's time to stock up on new things! And cheerful knitted appliques will always help decorate children's sweaters, turtlenecks, dresses and pants.
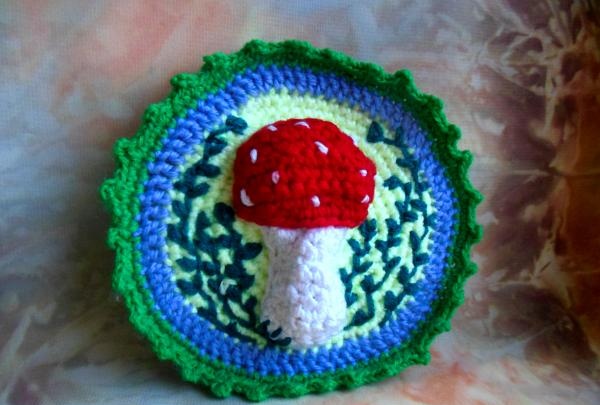
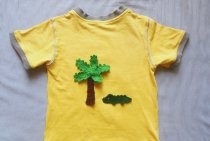
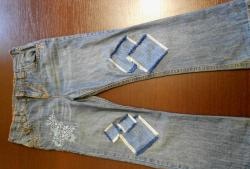
A bright stitched picture will not only be an excellent decoration for children's clothing, but will also help to disguise stains, holes and any other damage formed on the fabric.
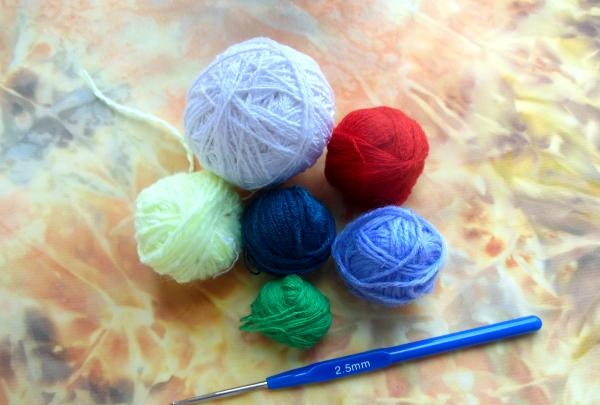
This decorative attribute is knitted with a thin crochet, the yarn is selected accordingly (preferably thin, but not woolen or fluffy). The background of the applique can be yellow, beige, light pink or light green (only dull, not bright) thin yarn; for edging the base, a thread of cold tones (lilac, blue, blue, gray) and also of low saturation is selected.You will also need two green balls of different shades, plus some white and red yarn for the mushroom.
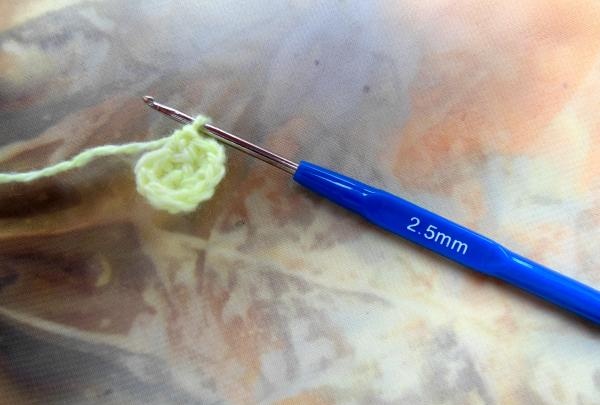
From the “background” yarn we collect 4-5 air loops and collect them into a ring. We knit the workpiece in a circle with single crochets (10 rows with increases).
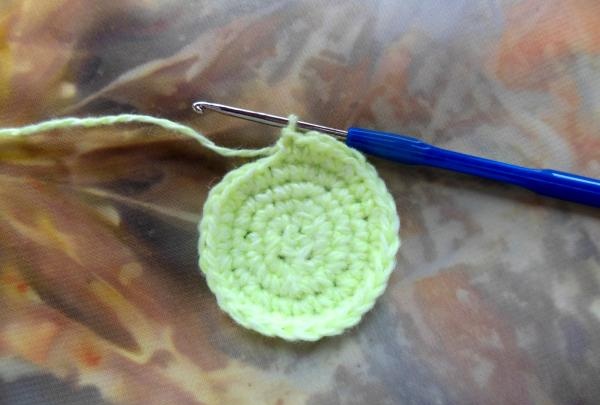
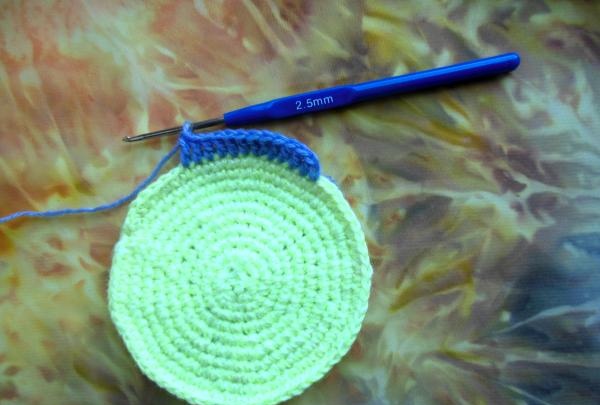
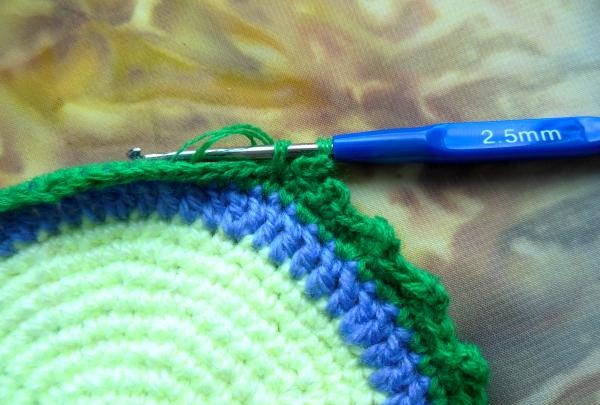
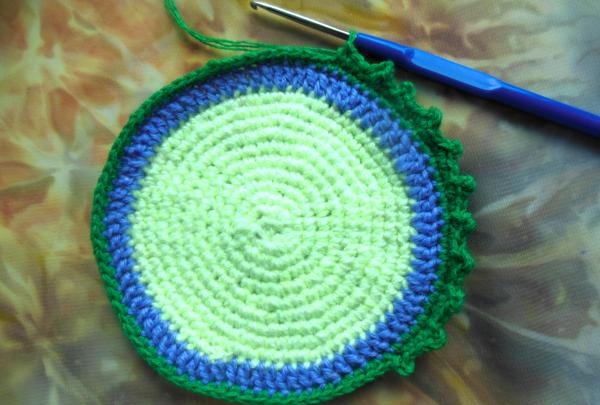
After completing this work, we do the edging. First, we tie the circle with a double crochet using a cold-colored thread, then we make one green circular row of double crochet. n.
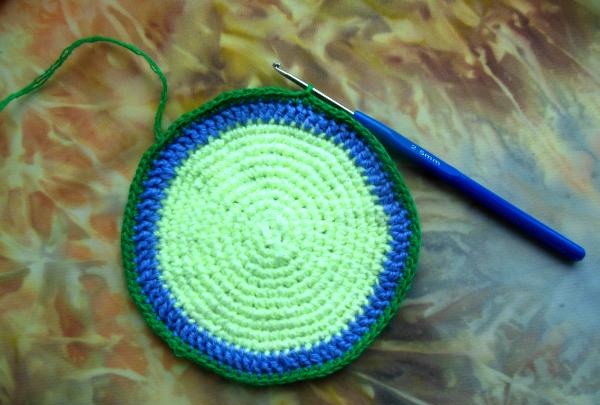
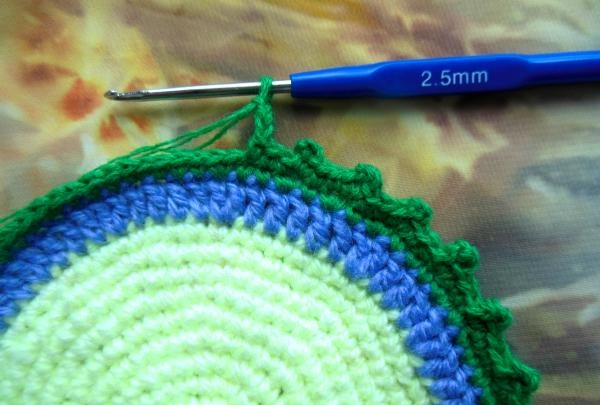
We supplement the green outline with “teeth”, making them from 3 air loops (which should begin and end in the same loop). Between each elevation, another 3 stitches are additionally knitted. n.
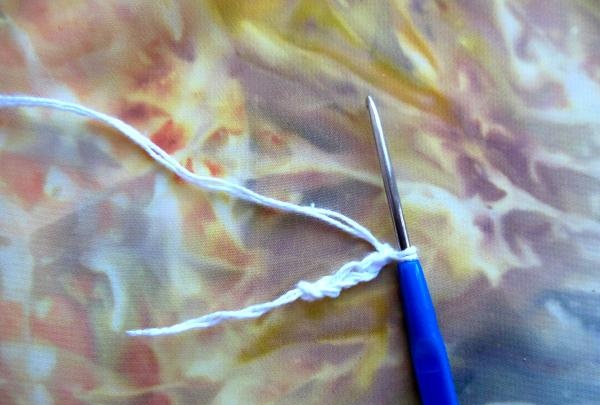
Now let's start creating a three-dimensional mushroom. From white yarn we cast on 5 v. n and knit according to the pattern presented below.
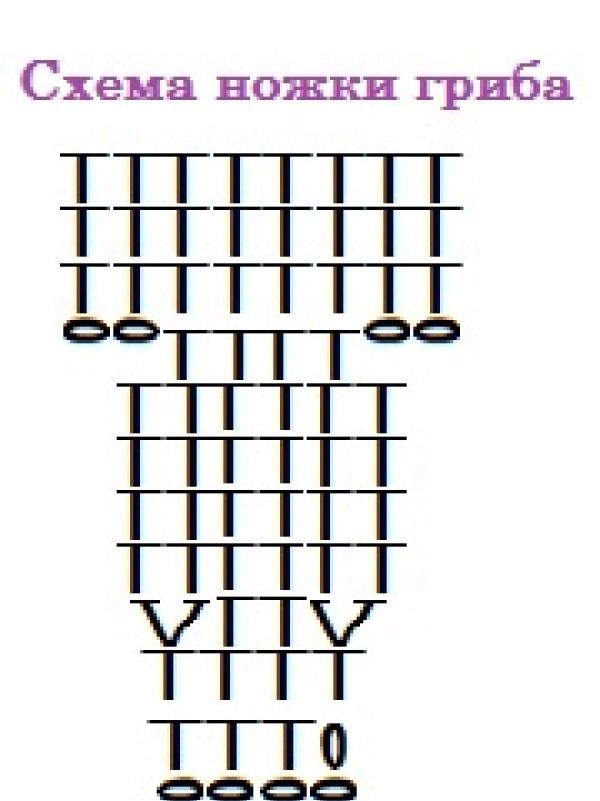
Already in the 3rd row we increase the number of columns, knitting 2 columns at once from the extreme points.
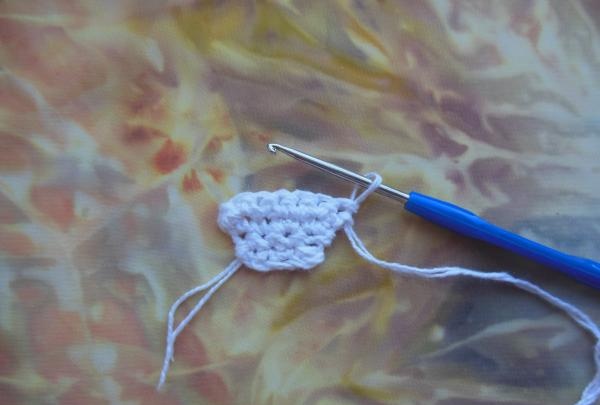
In this quantity, they are knitted for another 4 rows, then the mushroom stem is chewed (remove 1 from the edges) and immediately expanded with additional air loops (2 on each side).
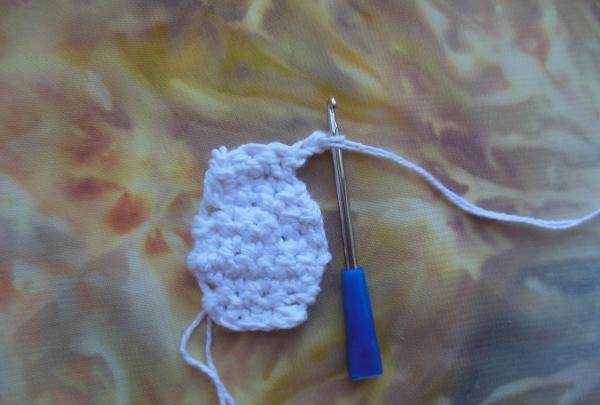
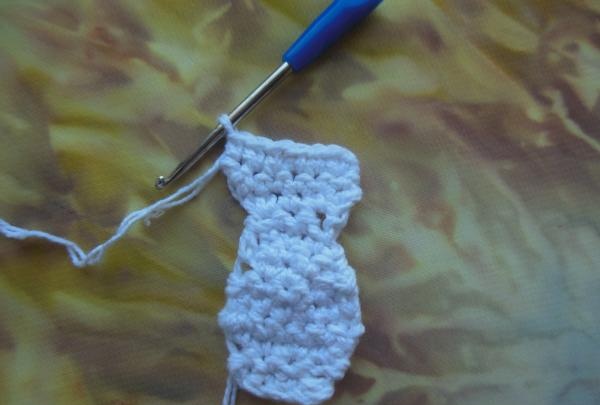
Next, the finished part is tied along the contour.
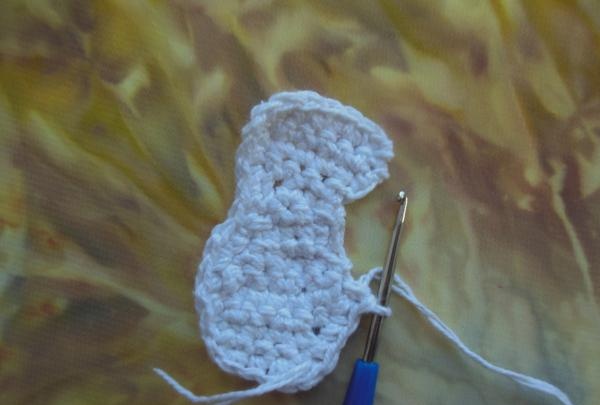
And in order for it to become voluminous when re-tying, you just need to reduce the number of loops.
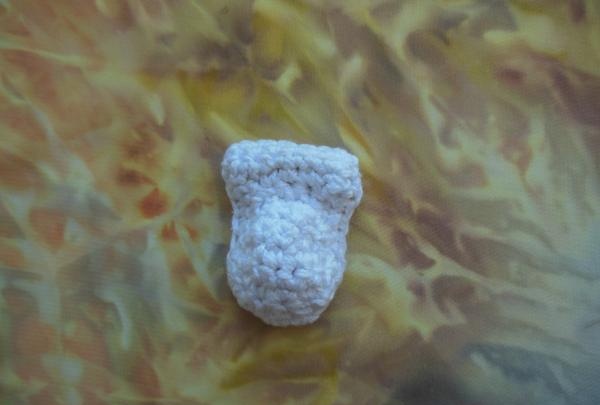
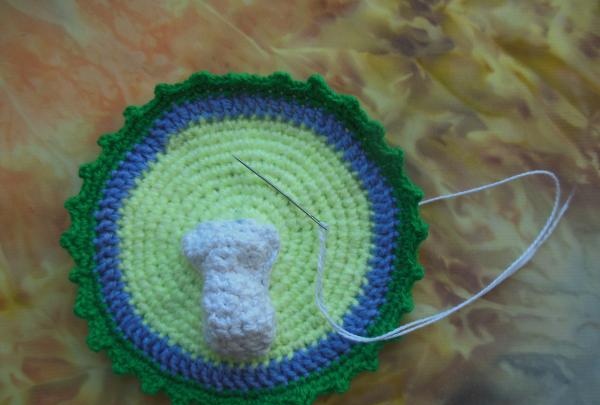
Now you can sew the leg to the bottom of the round base and start knitting the red hat.
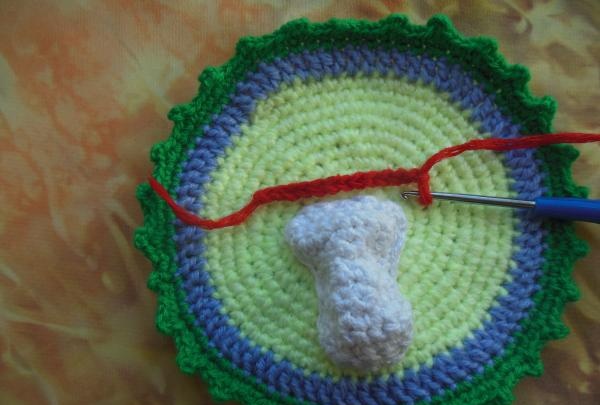
Here you should cast on 13 loops, knit 5-6 rows as usual, and in the last two reduce the number of columns. Reducing the loops when tying will again help make the part convex. We also place the already voluminous hat on the base
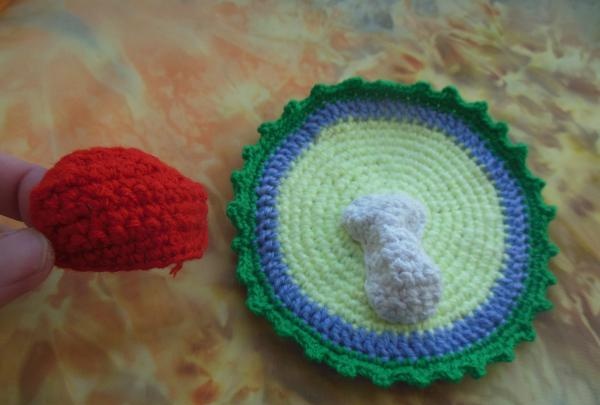
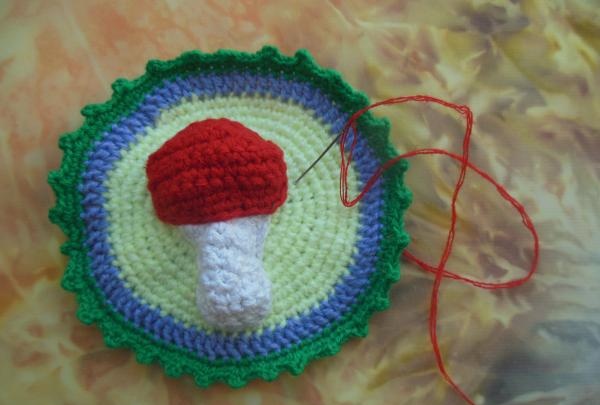
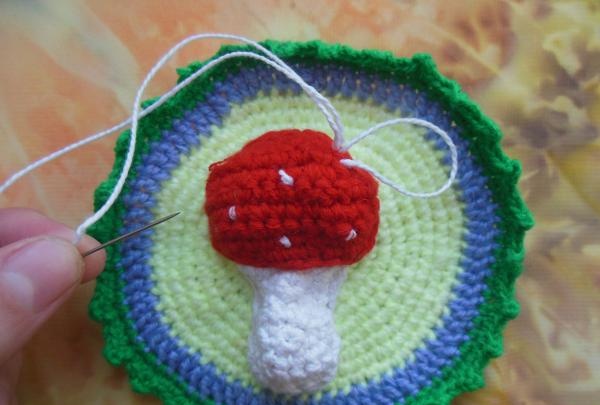
At the end, white dots are embroidered on it and you get a very natural fly agaric.
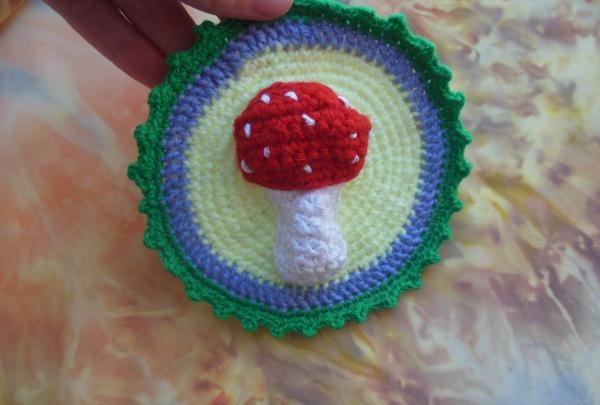
The sides of the base are filled with branches with pointed leaves (we embroider them in a second shade of green).
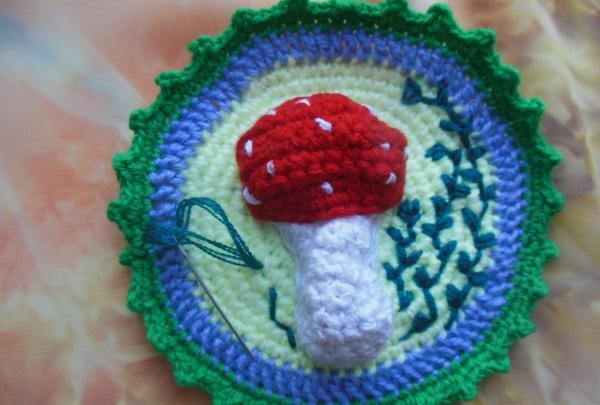
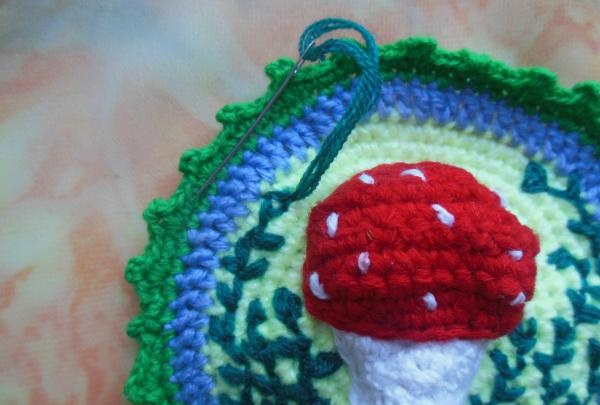
And now your wonderful crochet applique is ready! The positive and cute drawing is suitable for both girls and boys.

A bright stitched picture will not only be an excellent decoration for children's clothing, but will also help to disguise stains, holes and any other damage formed on the fabric.
This decorative attribute is knitted with a thin crochet, the yarn is selected accordingly (preferably thin, but not woolen or fluffy). The background of the applique can be yellow, beige, light pink or light green (only dull, not bright) thin yarn; for edging the base, a thread of cold tones (lilac, blue, blue, gray) and also of low saturation is selected.You will also need two green balls of different shades, plus some white and red yarn for the mushroom.

From the “background” yarn we collect 4-5 air loops and collect them into a ring. We knit the workpiece in a circle with single crochets (10 rows with increases).


After completing this work, we do the edging. First, we tie the circle with a double crochet using a cold-colored thread, then we make one green circular row of double crochet. n.


We supplement the green outline with “teeth”, making them from 3 air loops (which should begin and end in the same loop). Between each elevation, another 3 stitches are additionally knitted. n.


Now let's start creating a three-dimensional mushroom. From white yarn we cast on 5 v. n and knit according to the pattern presented below.


Already in the 3rd row we increase the number of columns, knitting 2 columns at once from the extreme points.

In this quantity, they are knitted for another 4 rows, then the mushroom stem is chewed (remove 1 from the edges) and immediately expanded with additional air loops (2 on each side).


Next, the finished part is tied along the contour.

And in order for it to become voluminous when re-tying, you just need to reduce the number of loops.

Now you can sew the leg to the bottom of the round base and start knitting the red hat.


Here you should cast on 13 loops, knit 5-6 rows as usual, and in the last two reduce the number of columns. Reducing the loops when tying will again help make the part convex. We also place the already voluminous hat on the base


At the end, white dots are embroidered on it and you get a very natural fly agaric.


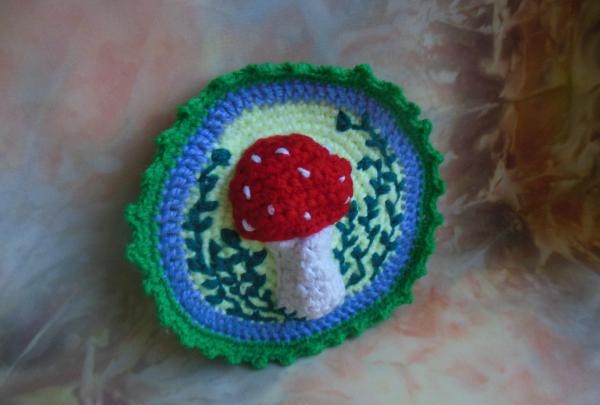
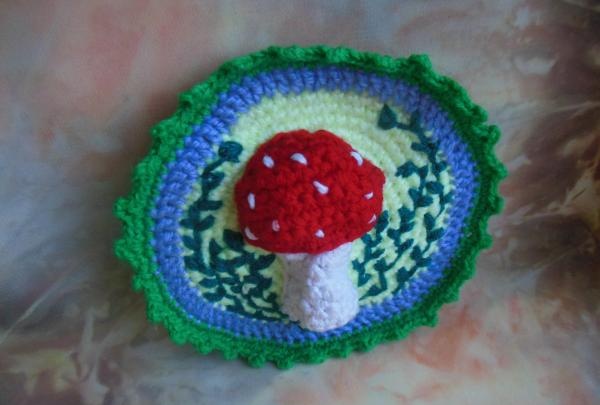
The sides of the base are filled with branches with pointed leaves (we embroider them in a second shade of green).


And now your wonderful crochet applique is ready! The positive and cute drawing is suitable for both girls and boys.


Similar master classes
Particularly interesting
Comments (0)


