Vest – crocheted mesh
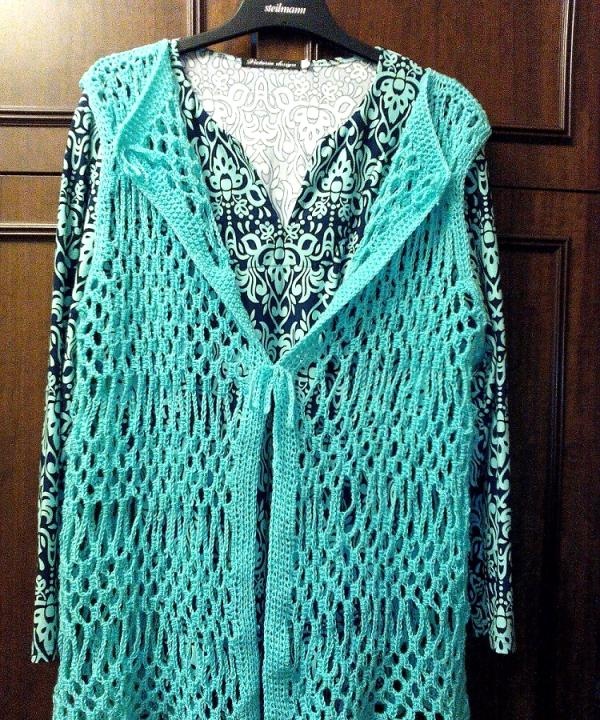
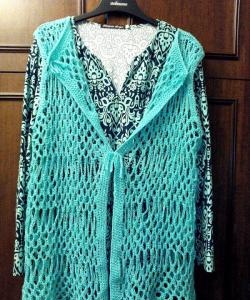
Vests are now the trend of the season. And you can be sure that they will not quickly give up their positions. This is a very convenient and versatile thing. Those who are not yet very experienced in the practice of knitting can, without a doubt, begin making such a wardrobe item without fear that the item will remain unknitted. There are a lot of vest models, and among them there are definitely original ones.
Take, for example, crocheted models. Surely many will be interested in an unusual model - a weightless mesh knit vest that can be knitted from literally 170 grams of yarn, that is, from leftovers when you were able to buy the last couple of skeins in the store or you have threads left over from previous projects. For our vest, depending on the size, you may need from 120 to 180 grams of yarn; this is very economical and at the same time practical in terms of using leftover threads.
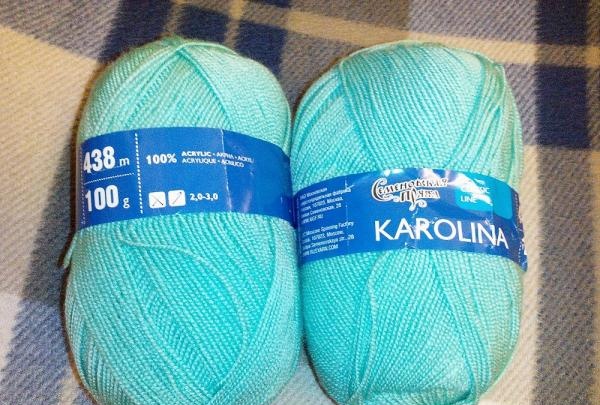
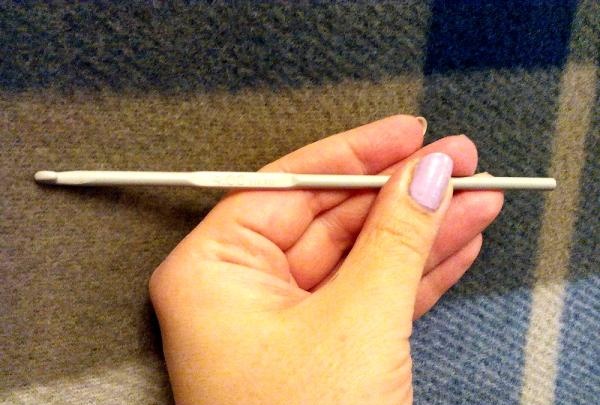
So, we use delicate acrylic from the Semenovskaya factory, brand "Carolina", 438 m per 100 g. Recommended crochet hook size: N2 - N3, in our case we used hook No. 4, which did not prevent the knitting in the loops from looking loose. The airiness of a thing is determined by the pattern.A little about knitting threads: this brand of yarn consists of 100% acrylic, the thread is quite thin, but at the same time voluminous, has a silky smooth texture and the same silky unobtrusive shine. The rich turquoise color of the yarn in our case is selected in accordance with the tunic, on which you can wear a vest to see its pattern in harmony with the mesh knitting of the latter.
Besides the fact that the vest uses a small amount of yarn, it also has a fairly simple pattern. The entire vest is knitted in one piece, which allows you to speed up the work and see the finished result faster.
Another piece of advice: when working with acrylic yarn of this type, expect that the finished item will stretch, i.e. increase in size. With tight knitting, the increase is mainly in length; with mesh knitting, as in our case, not only in length, but also in width. If you use a hook half a size larger, this will give you a slight increase in the dimensions of the finished product. Based on this, it is worth estimating the measurements and amount of yarn. For a vest of small sizes, one skein of thread 100 grams may be enough!
The highlight of this vest lies in the pattern pattern. Quite simple, but at the same time original, it, like all crochet patterns, requires careful calculation.
The pattern diagram is shown in the figure.
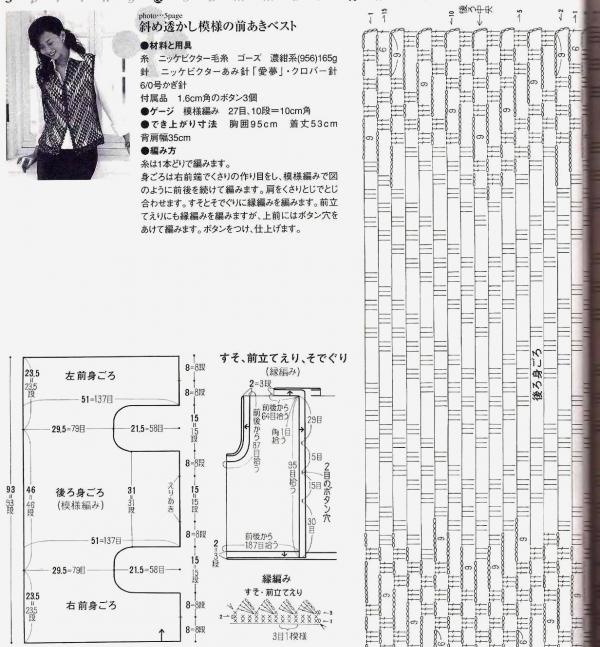
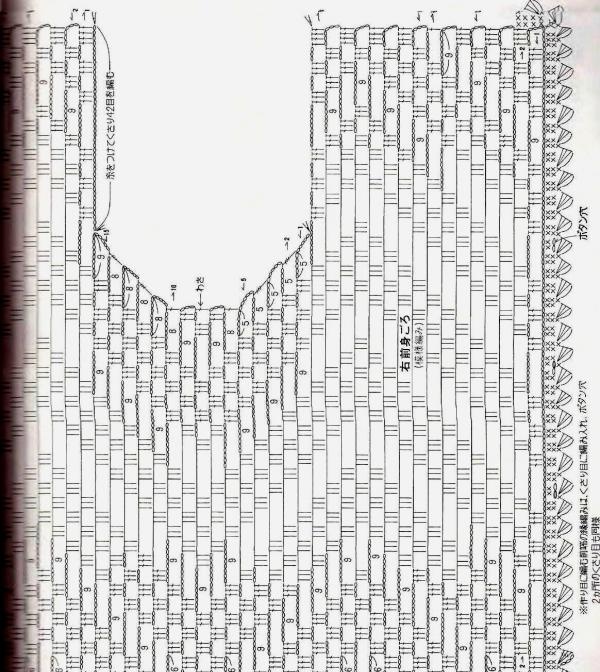
The number of loops should be a multiple of 9 + 3 loops per rise when moving to the next row. The item is knitted in one piece with armhole notches; the finished product has only shoulder seams.
Measurements for the product: product width - hip circumference, product length - along the back from the collar area, back width - distance along the back from one shoulder seam to the other.
Let's start knitting from a chain of air loops, the length of which corresponds to the total length of the product. Pattern report: *3 vp, 3 tbsp. double crochet, 3 ch, 3 tbsp. double crochet, 3 ch, 3 tbsp. with double crochet, 9 ch*
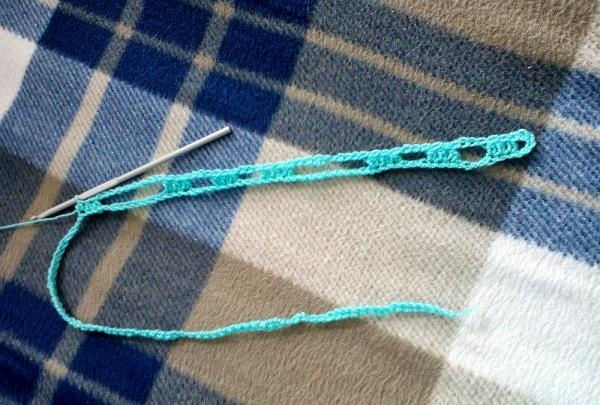
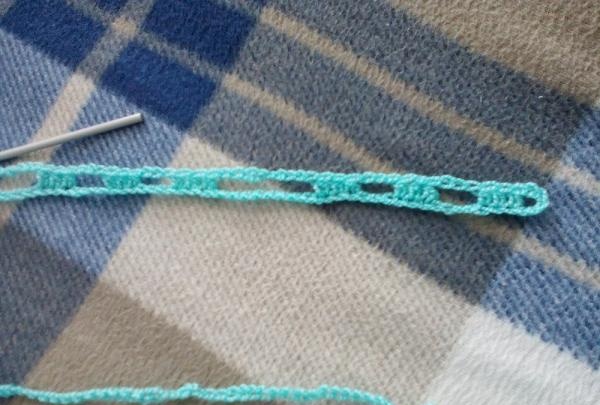
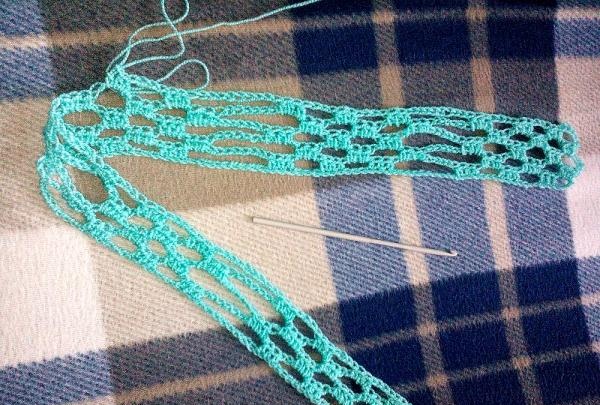
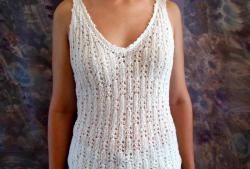
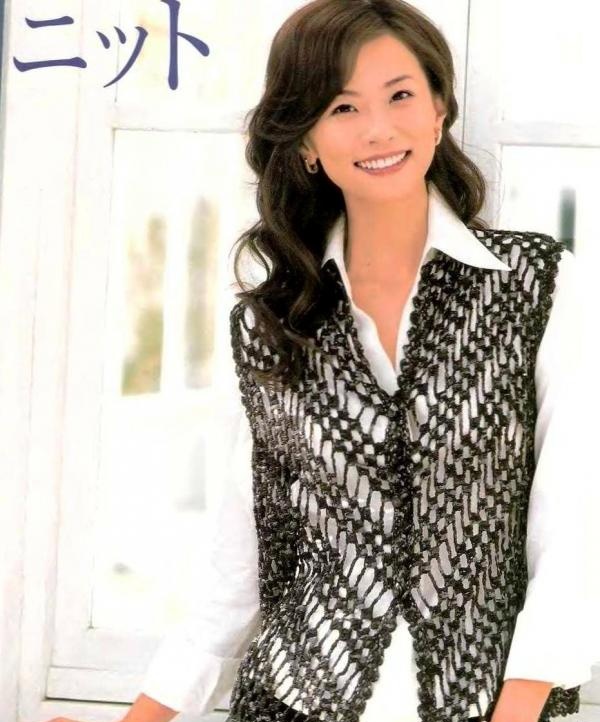
In the opposite direction, you can knit in symmetry, as the model is made from turquoise yarn, or by shifting the report to get a diagonal pattern. The model in the photo from the magazine was made in this way (see photo).
Knitting order: front, back, front.
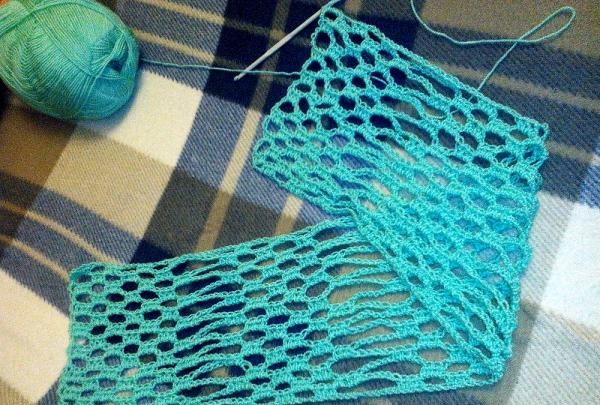
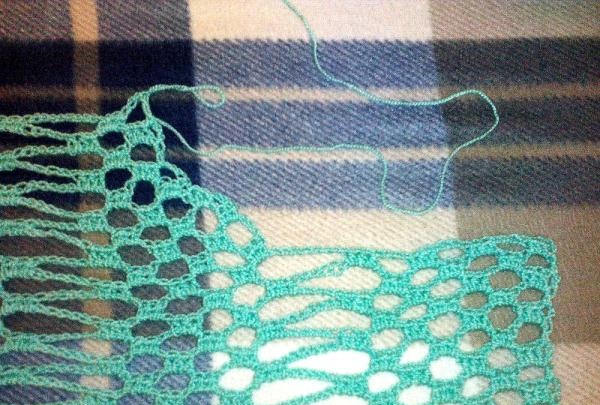
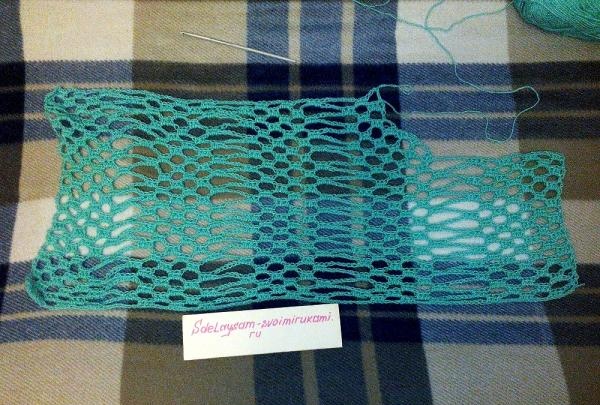
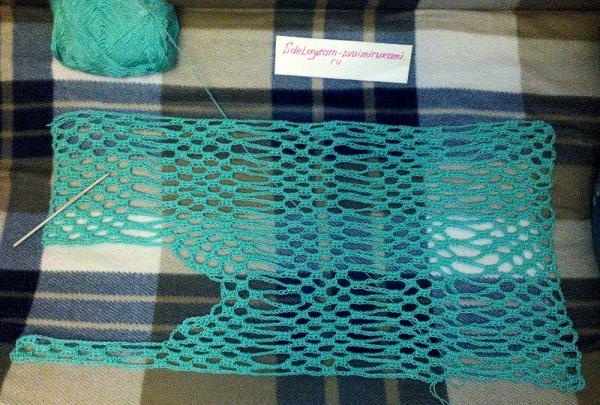
For the armhole, close 1 row 1 report shorter; 2nd row on *3 vp, 3 st. double crochet* shorter; 3, 4, row repeat row 2; 5th row add *3 vp, 3 tbsp. double crochet, row 6, 7 repeat row 5; 8 add completely 1 rapport. If the armhole is not needed so deep, then you can reduce the decrease in rows.
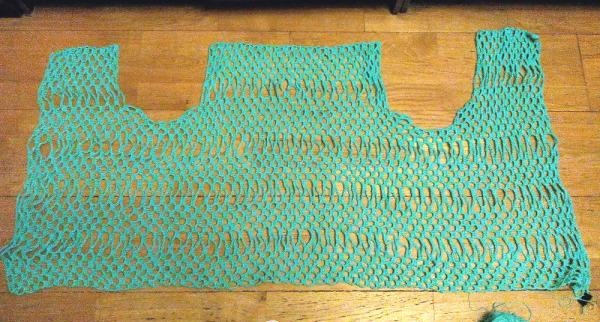
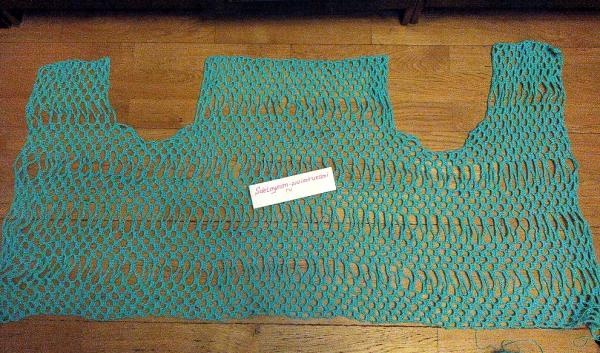
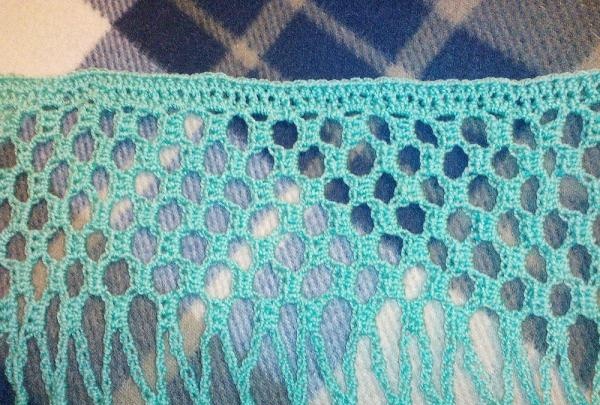
Having finished knitting the second shelf, we proceed to tying the product, we perform two rows of double crochets in each loop of the previous row around the entire part. Then we sew the product along the shoulder seams.
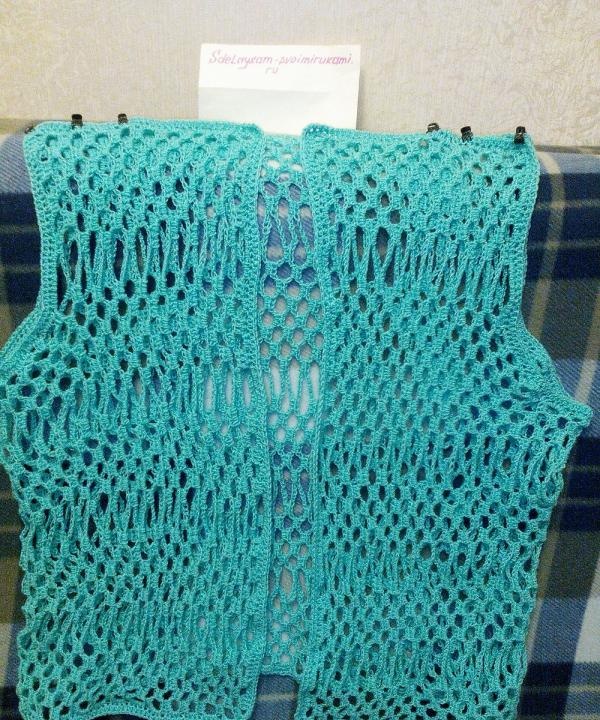
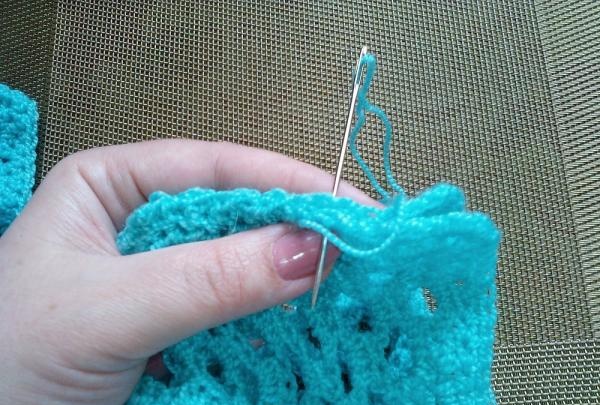
And we perform two more rows of similar binding along the bottom of the product, the shelves and the collar part. The armholes do not need to be additionally tied, but a circular tie around the entire product will help the vest keep its shape.
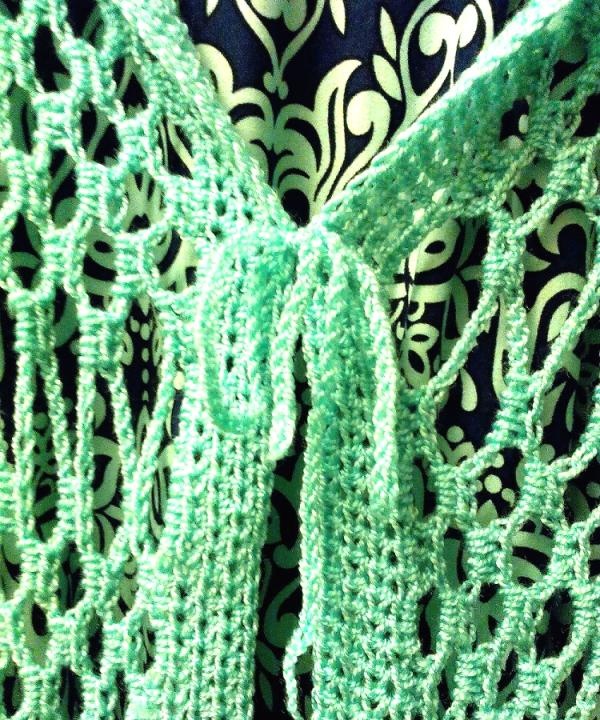
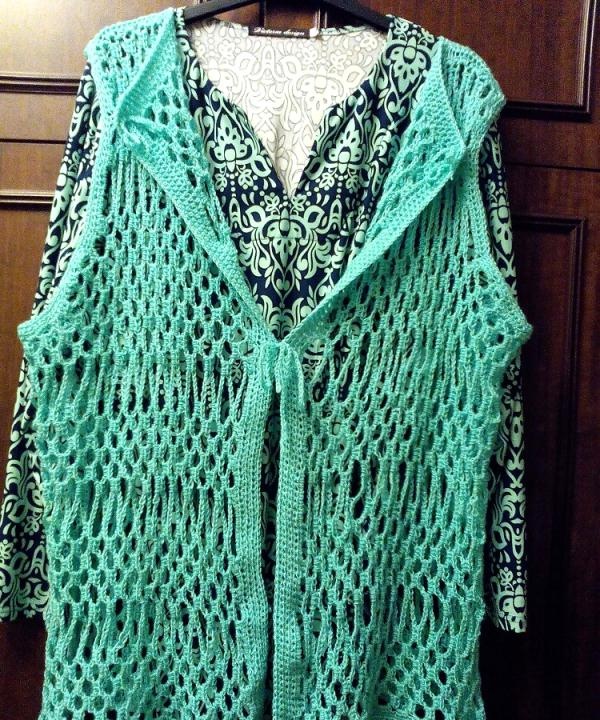
Next, we knit three thin ribbons of the same yarn of arbitrary length, they should be small. Using these ribbons, we secure the corners of the shelves in the form of a turn-down collar. And we use the third ribbon as a tie to connect the shelves at chest or waist level.
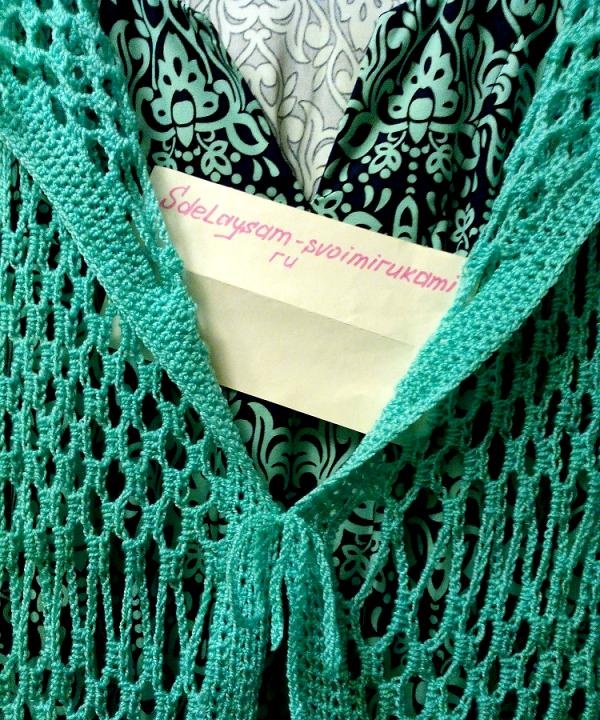
This completes the work of making a mesh vest.
Similar master classes
Particularly interesting
Comments (0)


