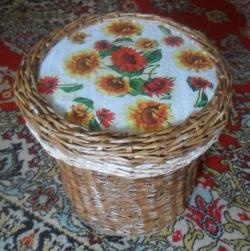
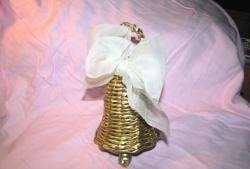
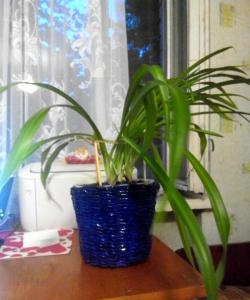
Braided newspaper tubes
In today's Master Class we would like to introduce you to the technique of newspaper weaving and teach you how to make braided paper from newspaper tubes. Making it will take you some time, but it’s worth it, because as a result you will get a wonderful product that any housewife needs.
To make braided paper from newspaper tubes, you will need the following materials:
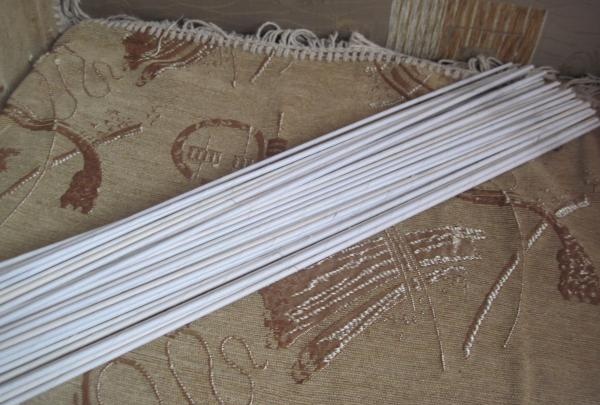
Let's start weaving crafts using newspaper weaving technique:
To begin, cut out two circles from cardboard and cover both sides with fabric. Next, glue newspaper tubes to one of the cardboards, and glue the other on top. We weave several rows and lift the tubes. We weave the walls with ordinary rope into two tubes.
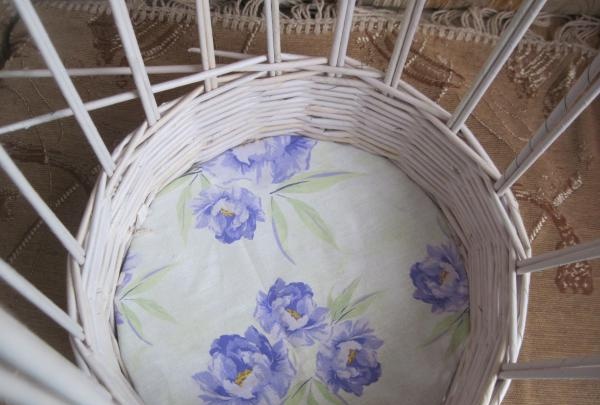
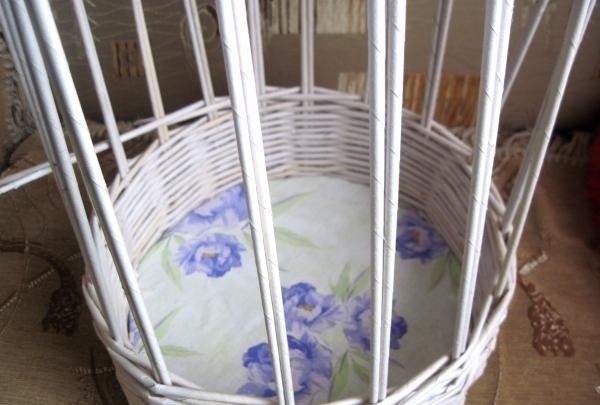
We weave the last row with a rope of three tubes in order to give the product volume.
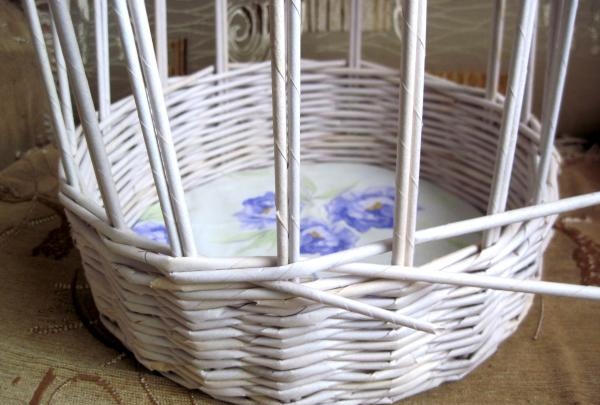
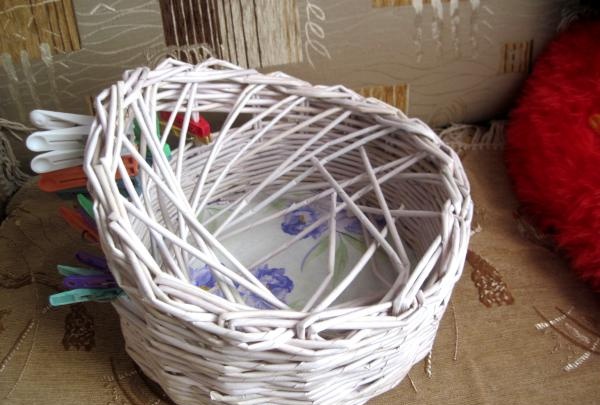
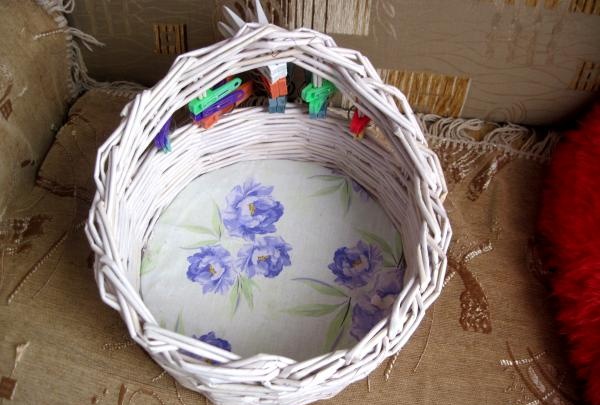
Then, using ordinary clothespins, we will form a pattern or design. We attach them to the tubes as shown in the photo.
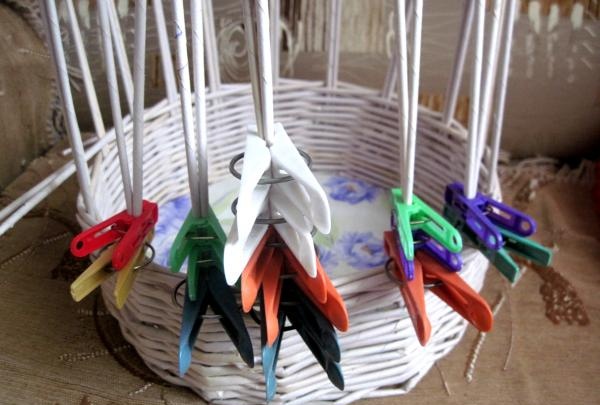
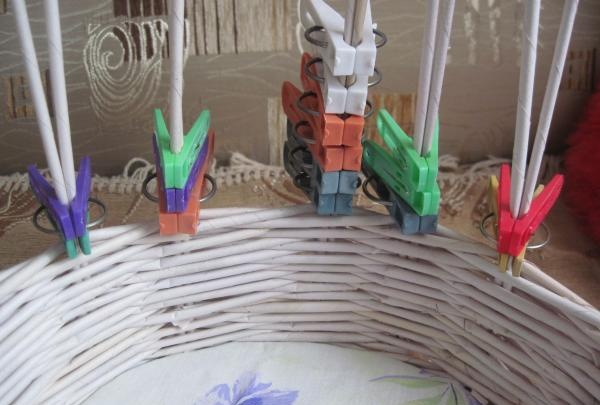
We attach three tubes and weave a rope from three tubes.
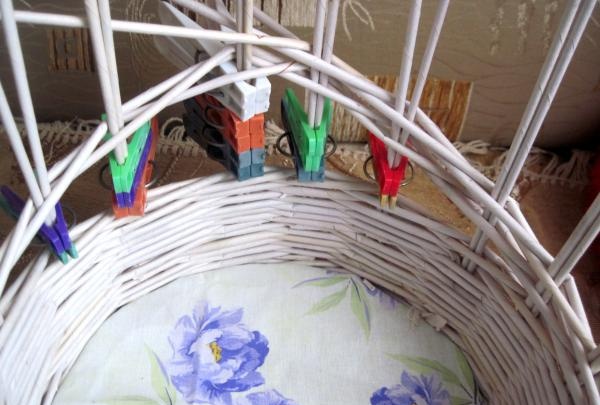
We weave five or six rows and tuck the tubes into a row.
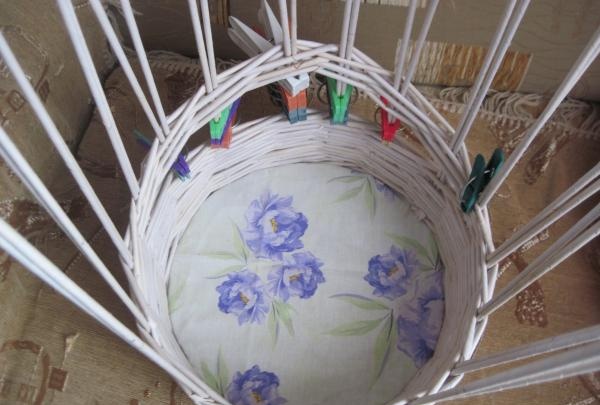
We form a bend from the risers. First we bend them all outwards, and then inwards. To ensure that they do not break and it is convenient to form a bend, we moisten them with water.
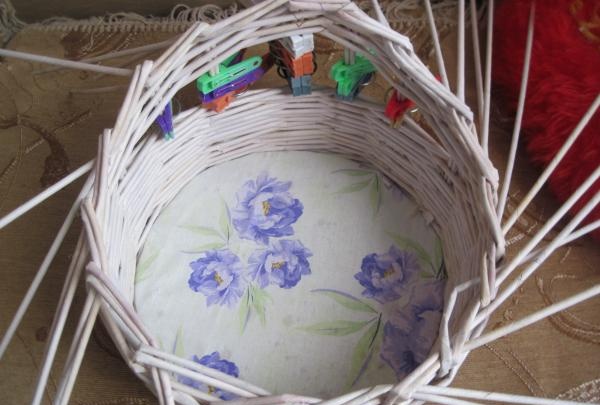
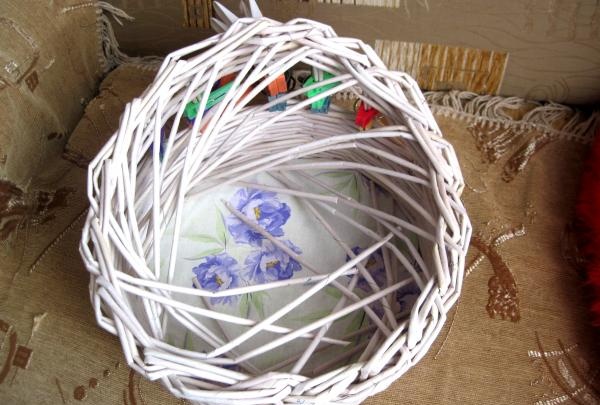
After the bend is ready. We cut off the excess tubes and tuck in the ends.
Next we start painting the wicker. Mix PVA glue and water in a 1:1 ratio. Using a brush, carefully saturate the wicker with the resulting solution. Let the basket dry overnight. After the product has dried, coat it with acrylic varnish and leave it to dry again.
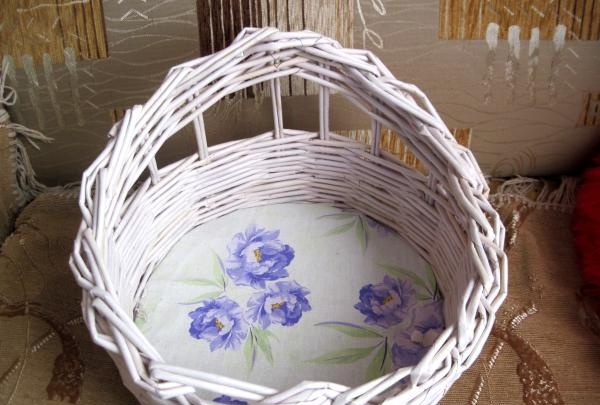
The braid is ready.
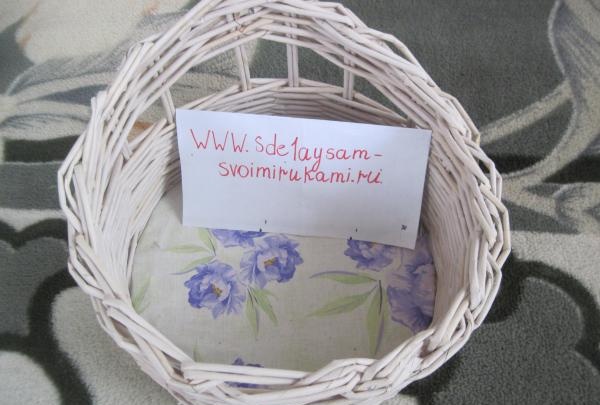
This wickerwork will be an original gift for a person who does needlework. You can store many materials in it (fabric, balls, beads, floss and much more).
To make braided paper from newspaper tubes, you will need the following materials:
- Newspaper tubes.
- Thick cardboard.
- Scissors.
- Glue gun.
- Textile.
- Clothespins.
- PVA glue.
- Brush.
- Acrylic lacquer.

Let's start weaving crafts using newspaper weaving technique:
To begin, cut out two circles from cardboard and cover both sides with fabric. Next, glue newspaper tubes to one of the cardboards, and glue the other on top. We weave several rows and lift the tubes. We weave the walls with ordinary rope into two tubes.


We weave the last row with a rope of three tubes in order to give the product volume.

Then, using ordinary clothespins, we will form a pattern or design. We attach them to the tubes as shown in the photo.


We attach three tubes and weave a rope from three tubes.

We weave five or six rows and tuck the tubes into a row.

We form a bend from the risers. First we bend them all outwards, and then inwards. To ensure that they do not break and it is convenient to form a bend, we moisten them with water.


After the bend is ready. We cut off the excess tubes and tuck in the ends.


Next we start painting the wicker. Mix PVA glue and water in a 1:1 ratio. Using a brush, carefully saturate the wicker with the resulting solution. Let the basket dry overnight. After the product has dried, coat it with acrylic varnish and leave it to dry again.

The braid is ready.

This wickerwork will be an original gift for a person who does needlework. You can store many materials in it (fabric, balls, beads, floss and much more).
Similar master classes
Particularly interesting
Comments (0)


