Photo frame made from newspaper tubes
From the pages of an old glossy magazine you can make interesting and useful projects. crafts, which will become an original gift and decorate the interior. We will make a fun photo frame.
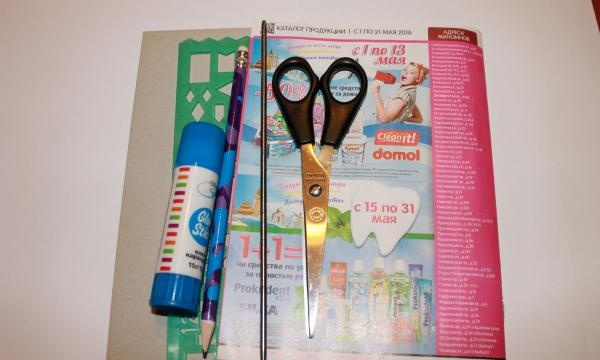
In addition to magazine pages, we will need scissors, a pencil and a ruler, a thin knitting needle, glue and thick cardboard for the base.
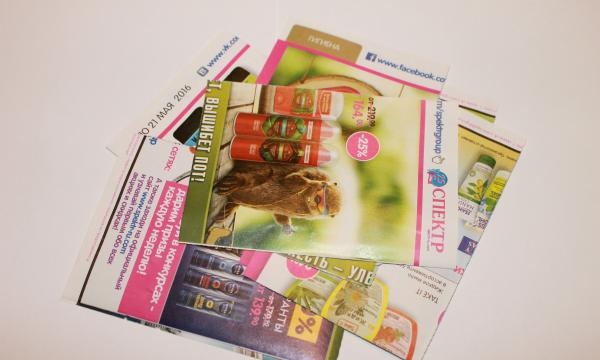
-Cut the sheets into rectangles measuring 10x12 cm.
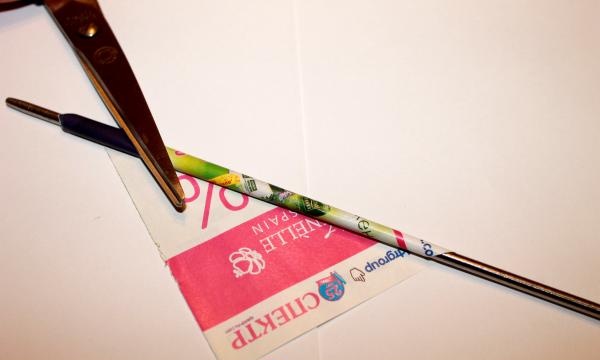
-Tightly wind the workpiece onto the knitting needle, starting from the corner.
-Carefully glue the tip of the paper sheet and remove the tube from the knitting needle.
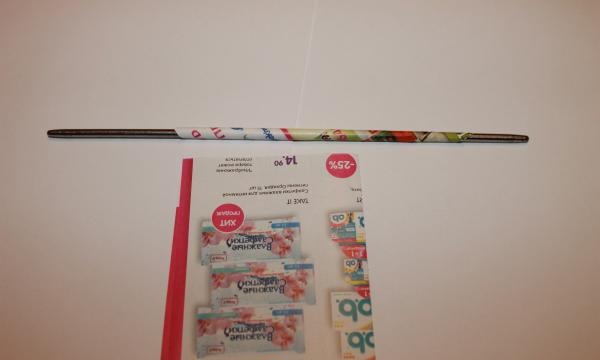
- We get these blanks.
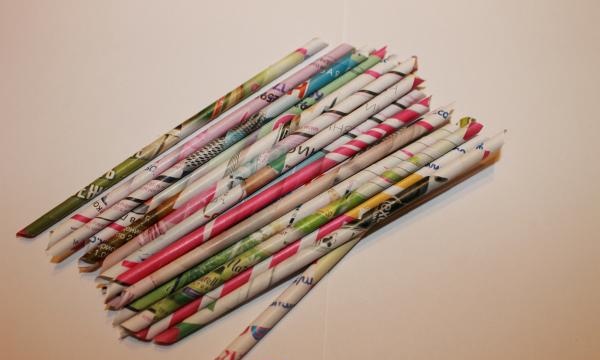
-Cut out the base of the craft from fairly thick cardboard. The frame can be square, rectangular, oval.
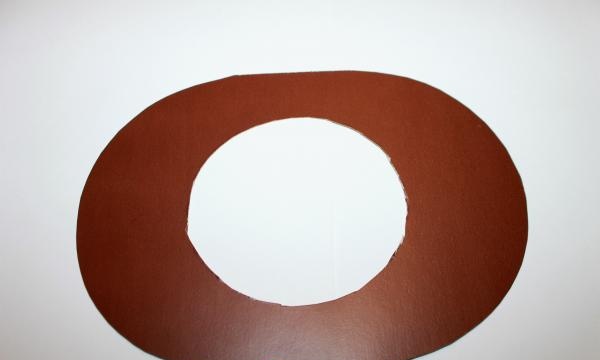
-Lubricate the cardboard with glue and place paper tubes on it. The pieces should fit tightly, with a slight allowance at the edges.
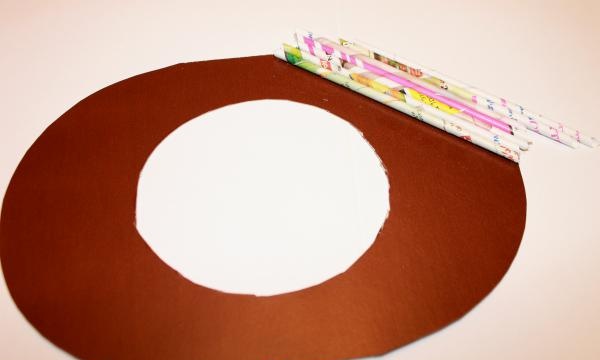
-As it dries, the protruding edges of the tubes can be carefully trimmed around the perimeter of the base.
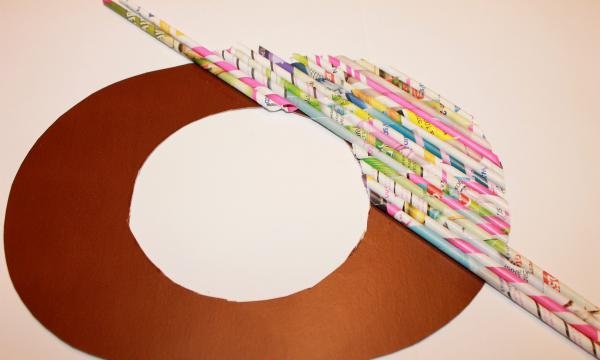
- We tightly cover the entire surface of the future photo frame with tubes and carefully trim off the protruding parts. For strength, the front side of the product can be coated with any available varnish or PVA glue diluted in half with water.Glue a sheet of thin cardboard on the back side so that there is free space for replacing the photo.
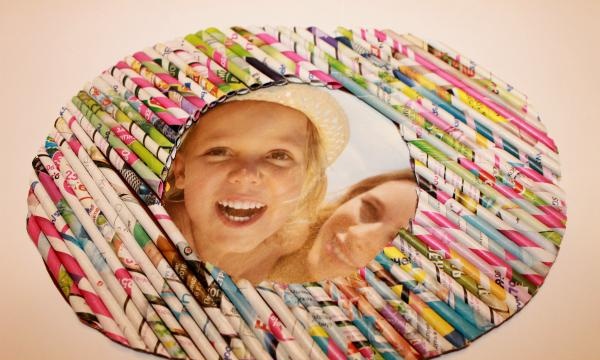
Our original photo frame is ready.
In addition to magazine pages, we will need scissors, a pencil and a ruler, a thin knitting needle, glue and thick cardboard for the base.

-Cut the sheets into rectangles measuring 10x12 cm.

-Tightly wind the workpiece onto the knitting needle, starting from the corner.

-Carefully glue the tip of the paper sheet and remove the tube from the knitting needle.

- We get these blanks.

-Cut out the base of the craft from fairly thick cardboard. The frame can be square, rectangular, oval.

-Lubricate the cardboard with glue and place paper tubes on it. The pieces should fit tightly, with a slight allowance at the edges.

-As it dries, the protruding edges of the tubes can be carefully trimmed around the perimeter of the base.

- We tightly cover the entire surface of the future photo frame with tubes and carefully trim off the protruding parts. For strength, the front side of the product can be coated with any available varnish or PVA glue diluted in half with water.Glue a sheet of thin cardboard on the back side so that there is free space for replacing the photo.

Our original photo frame is ready.
Similar master classes
Particularly interesting
Comments (0)


