Water lily
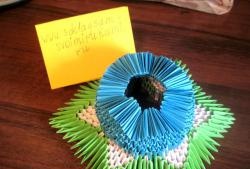
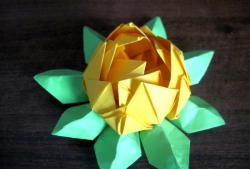
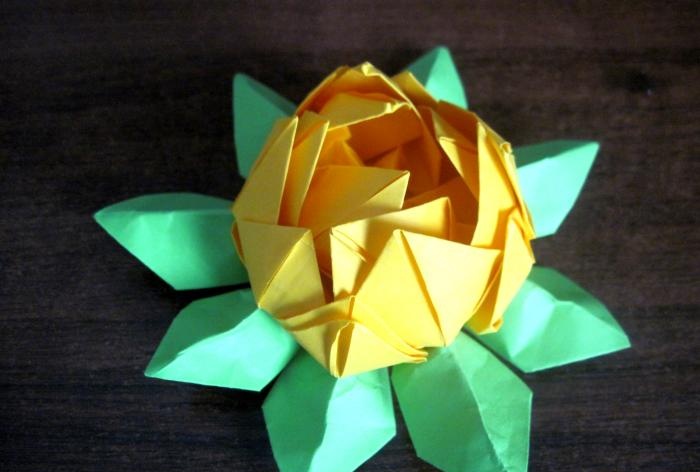
In today's Master Class we would like to show and tell you how to make a water lily from ordinary colored paper. If you like making different crafts from paper. Then this Master Class is just for you. Making it will not take you much time and as a result you can decorate your working time with such an interesting souvenir or even create a composition.
Paper crafts are very interesting and exciting; with each new craft you make yourself, you hone your skills and you have more and more new ideas.
To make this craft we will need the following materials:
To begin, take office paper and cut it into equal pieces measuring 13.5 centimeters by 4.5 centimeters. We will need four green pieces of paper and eight orange ones.
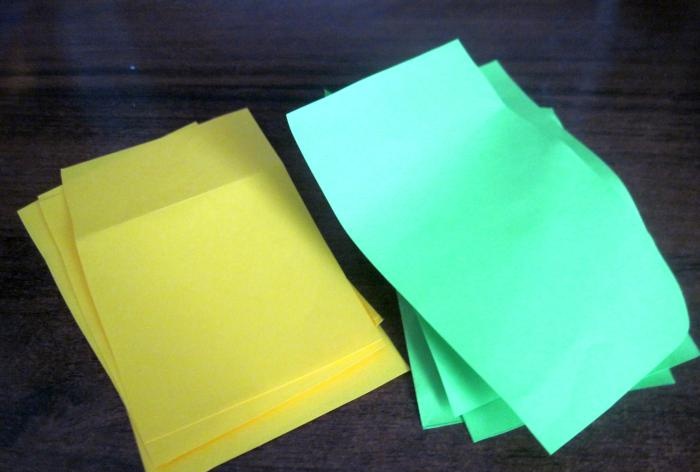
When the parts are ready, we begin to manufacture the parts. Take a sheet of paper.
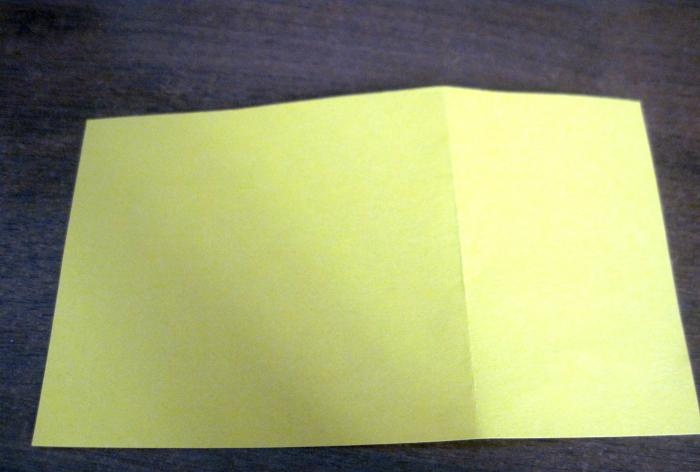
We fold it in half. Carefully bend the edges.
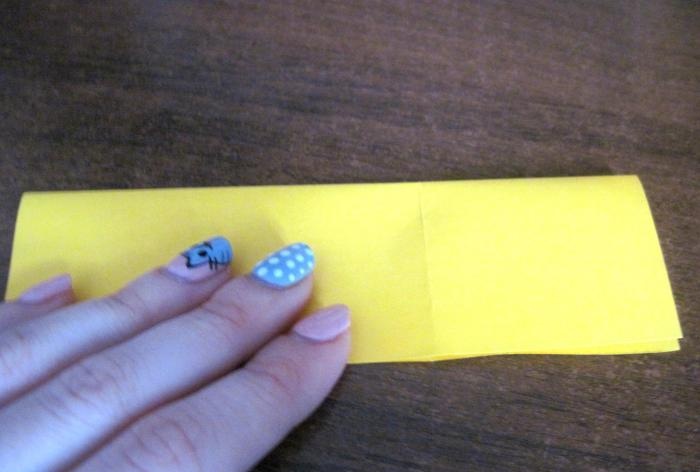
Then we fold the corners of each side towards the middle as shown in the photo.To make the paper bend better, you can iron the fold lines with a knitting needle or scissors.
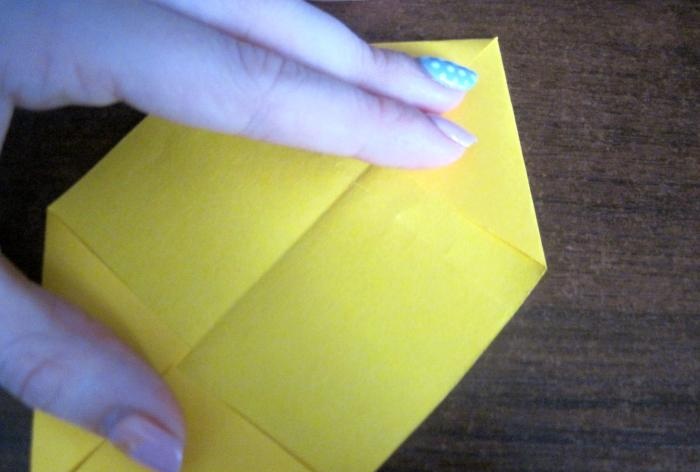
Then we turn to the middle again.
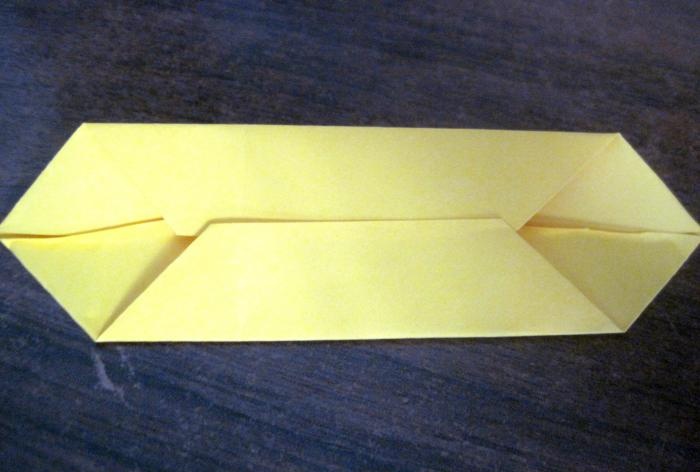
The part is ready.
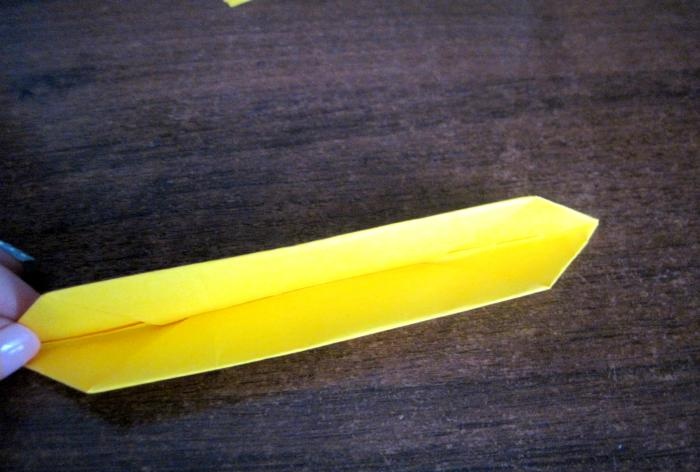
We make the remaining parts in the same way.
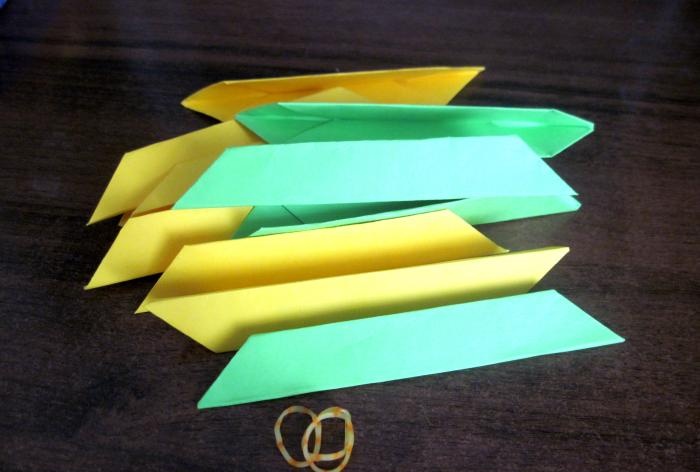
Next you need to connect the three parts in the same way as shown in the photo.
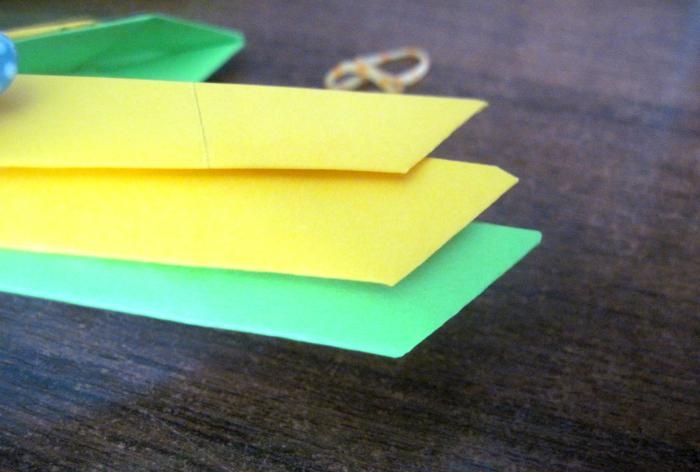
Then we connect these parts into one large part using an elastic band. You need small stationery erasers; they can be found in any store.

We straighten the part along the fold lines.
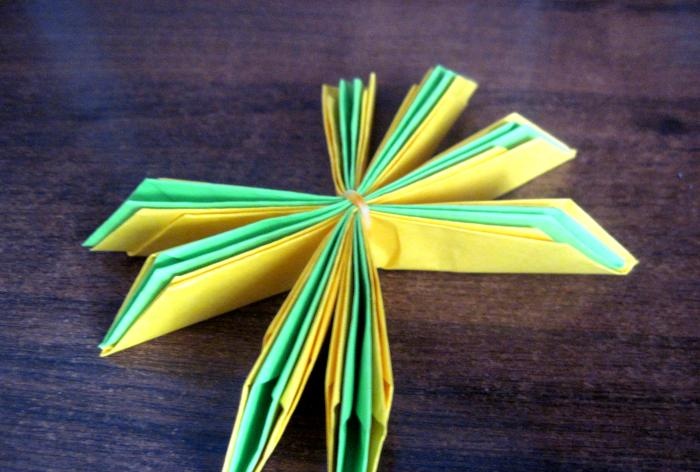
We form the petals as shown in the photo.
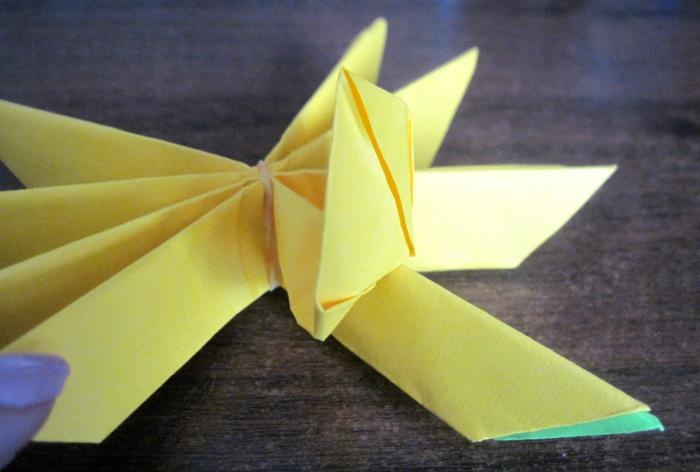
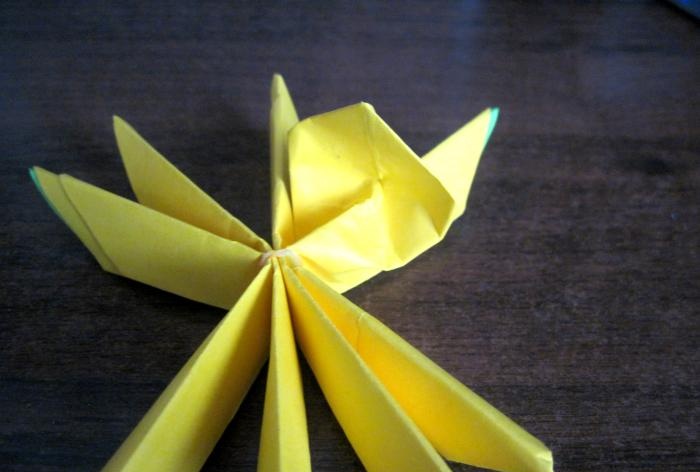
It should look like a bud like this.
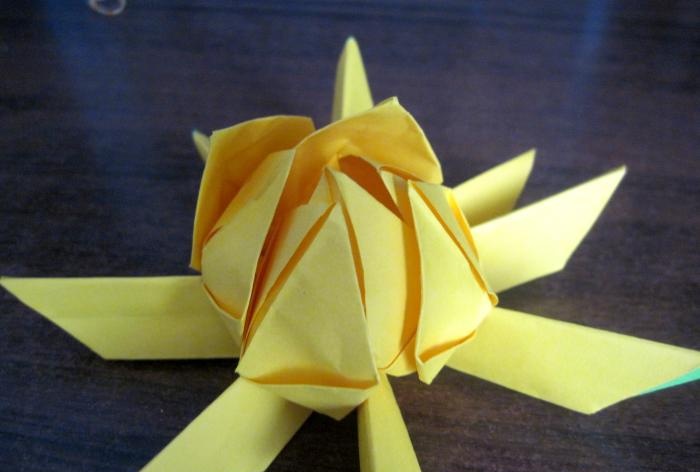
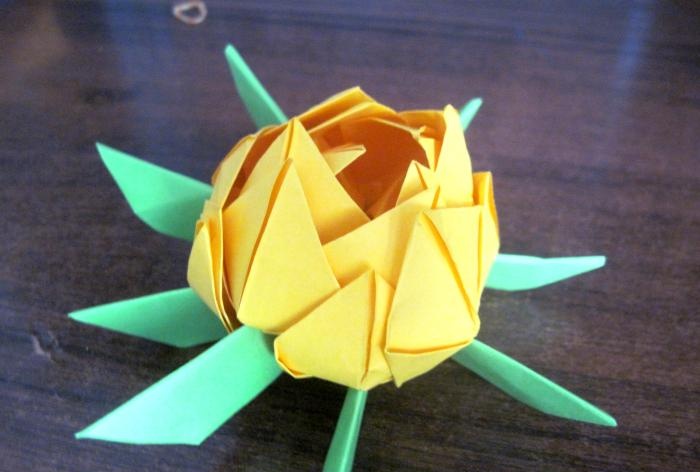
Next, we form the green leaves of the water lily.
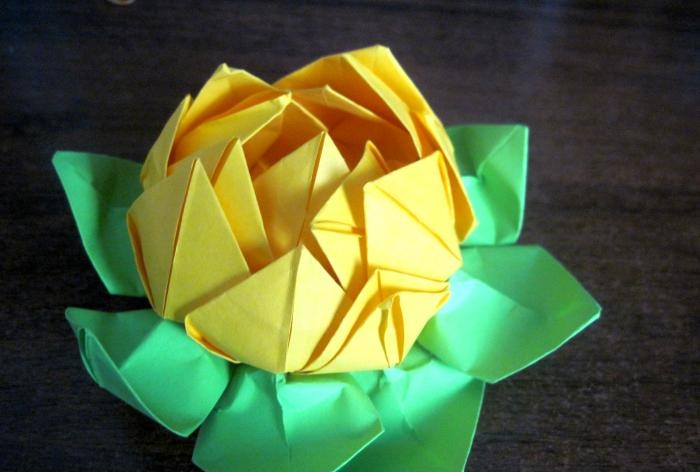

The craft is finished, the water lily is ready.
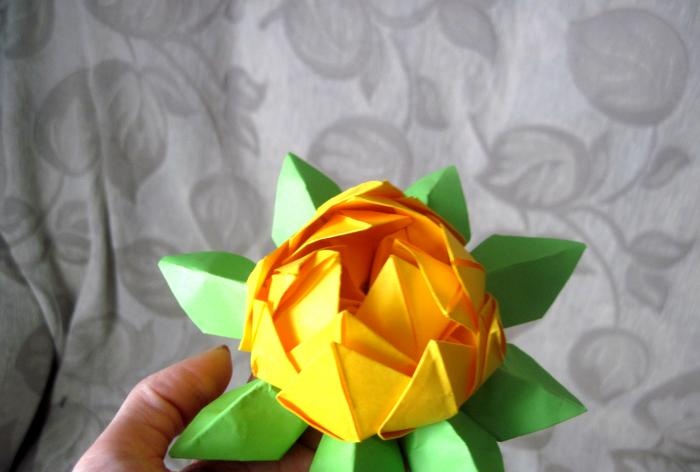
In today's Master Class you learned how to make a water lily from simple colored paper. You can do this craft with your children. Crafts of this type will help develop their hand motor skills.
Thank you for your attention.
Paper crafts are very interesting and exciting; with each new craft you make yourself, you hone your skills and you have more and more new ideas.

To make this craft we will need the following materials:
- Colored office paper in two colors: green and orange.
- Scissors.
- Stationery eraser.
Let's start making the water lily.
To begin, take office paper and cut it into equal pieces measuring 13.5 centimeters by 4.5 centimeters. We will need four green pieces of paper and eight orange ones.

When the parts are ready, we begin to manufacture the parts. Take a sheet of paper.

We fold it in half. Carefully bend the edges.

Then we fold the corners of each side towards the middle as shown in the photo.To make the paper bend better, you can iron the fold lines with a knitting needle or scissors.

Then we turn to the middle again.

The part is ready.

We make the remaining parts in the same way.

Next you need to connect the three parts in the same way as shown in the photo.

Then we connect these parts into one large part using an elastic band. You need small stationery erasers; they can be found in any store.

We straighten the part along the fold lines.

We form the petals as shown in the photo.


It should look like a bud like this.


Next, we form the green leaves of the water lily.


The craft is finished, the water lily is ready.

In today's Master Class you learned how to make a water lily from simple colored paper. You can do this craft with your children. Crafts of this type will help develop their hand motor skills.
Thank you for your attention.
Similar master classes
Particularly interesting
Comments (2)

