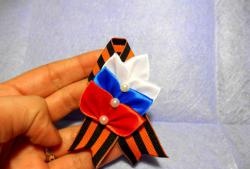
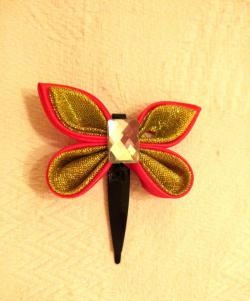
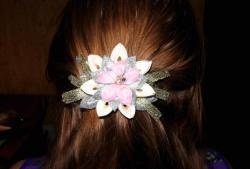
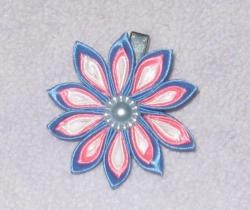
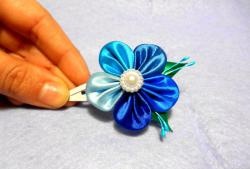
Set of hairpins using kanzashi technique
Frequent and very popular jewelry among modern fashionistas are handmade jewelry. After all, these jewelry are unique, exclusive and very beautiful. They are always carried out in individual orders and 100% repetition is simply impossible, since the work is very delicate and sensitive, and besides, it is calculated on the fact that the work will be done very accurately down to the smallest detail. It is among hair decorations that a very common technique in modern needlework called kanzashi. This is a technique that came to us from oriental beauties, who can very subtly combine and create flower arrangements in different colors and ratios. Thus, oriental beauties learned to decorate combs, hairpins, headbands, and elastic bands with beautiful flowers, which gave their hair special beauty and sophistication. This technique came to us and is very popular today. Therefore, in order not to look for a master who makes jewelry, you can familiarize yourself with this master class and make beautiful hairpins with your own hands.
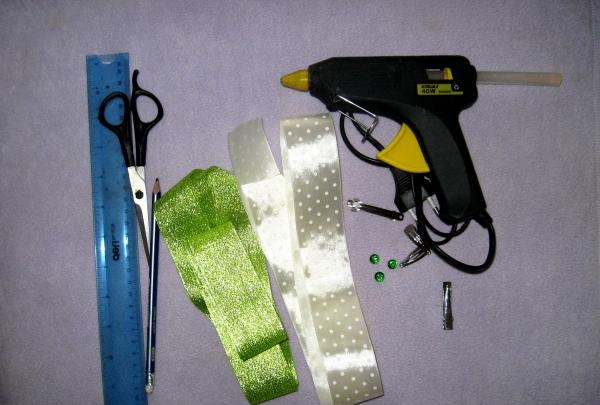
For the master class you need to take:
• Ribbon made of light green brocade, 4 cm wide;
• Beige satin ribbon with polka dots, 35 mm wide;
• Automatic metal hairpin;
• Two metal clips;
• Scissors;
• Shiny cabochons for green centers;
• Glue gun;
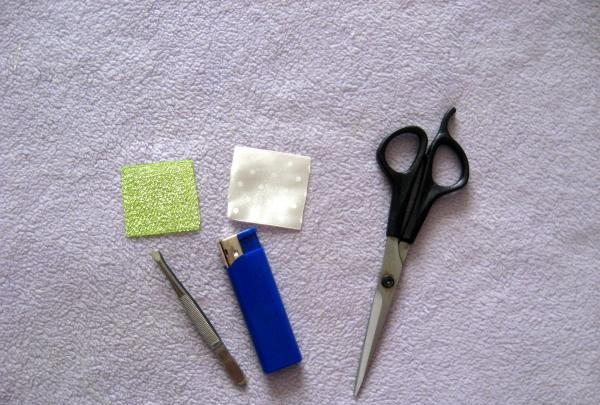
• Scissors, ruler, lighter, tweezers and pencil.
In this master class we will look at creating different hairpins, the flowers on which will be made in two colors and the petals will be made of two types.
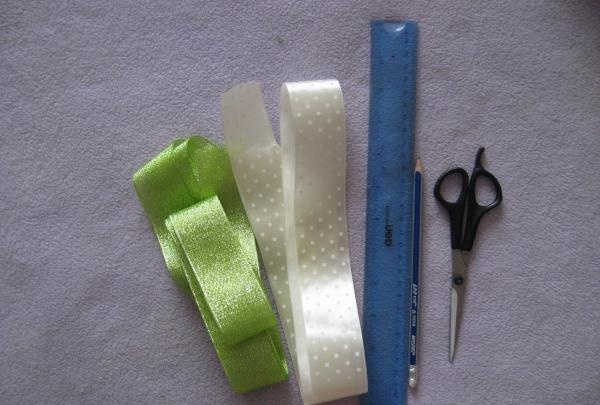
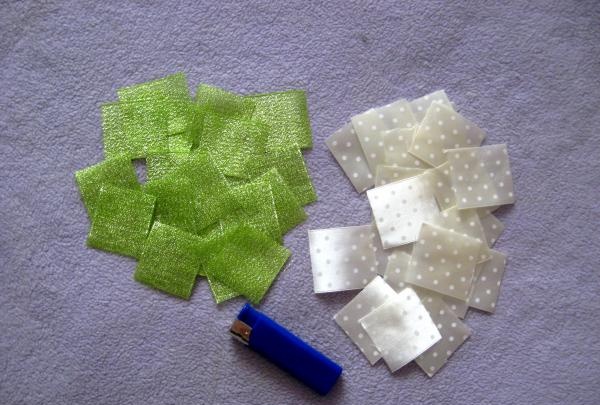
We cut squares from brocade ribbon 4*4 cm and from satin ribbon 35*35 mm. We cut a lot of squares from both tapes and burn them all along the edges with a lighter.
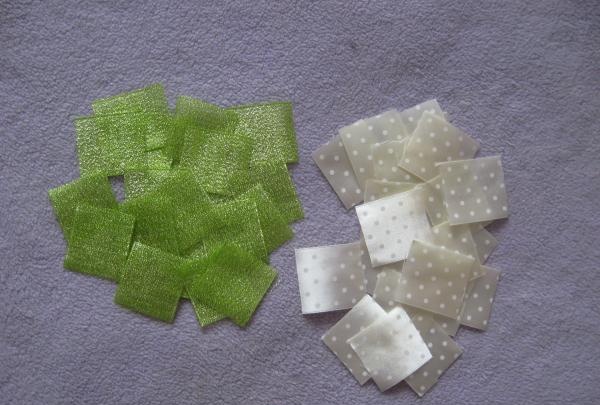
So, we take one square at a time. Fold the satin square diagonally.
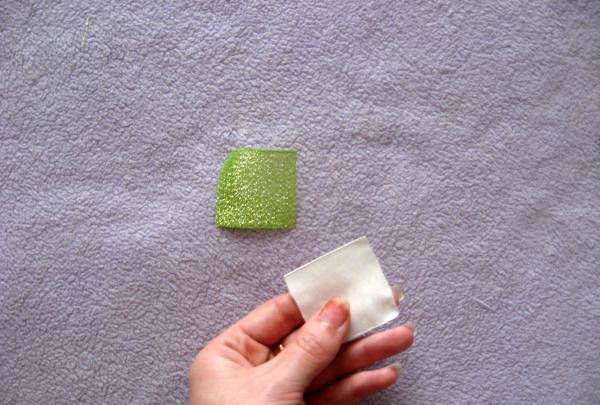
Then fold it again.
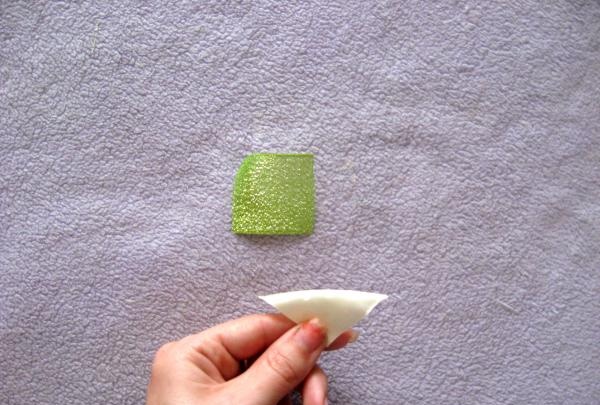
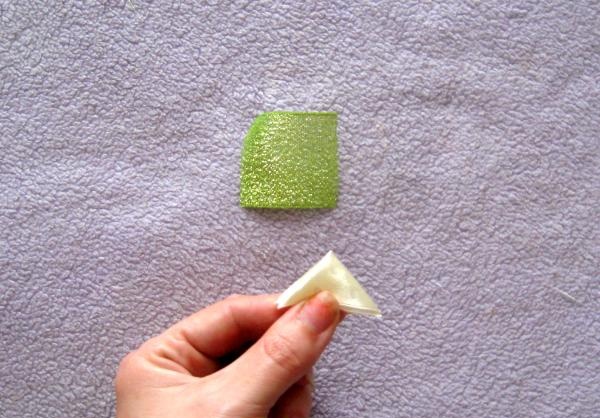
Clamp it into a clamp and set it aside for now. Now we also fold the brocade square.
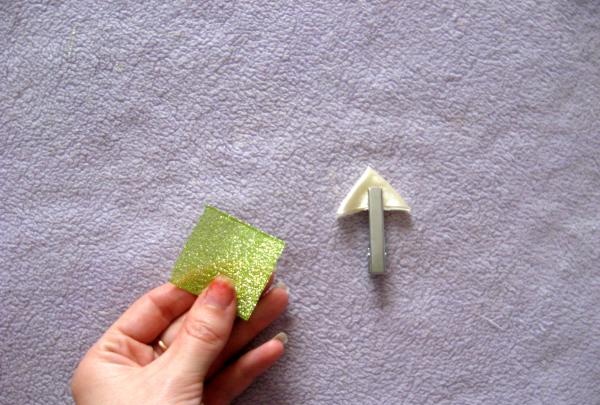
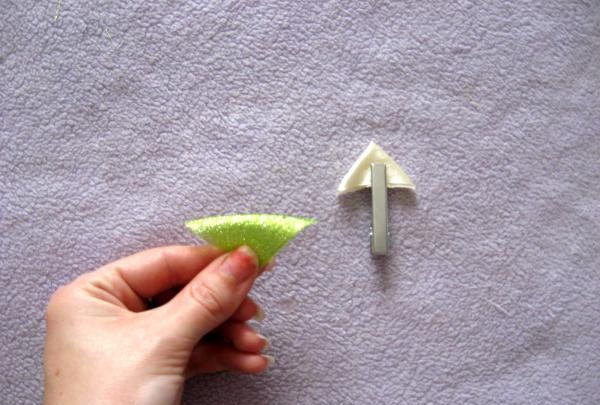
The first time they folded and the second time. Now we place the salad preparation on the beige one, with a shift of about 2 mm downwards. Clamp together.
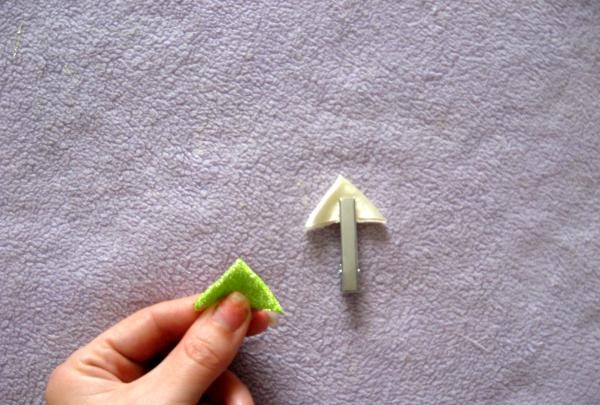
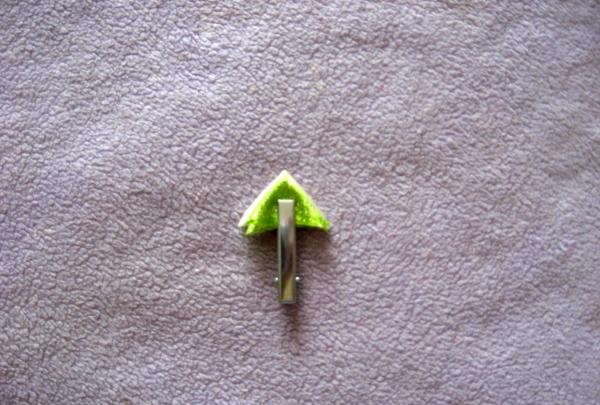
Fold it in half again and make cuts on the sides and bottom. They need to be burned with a lighter.
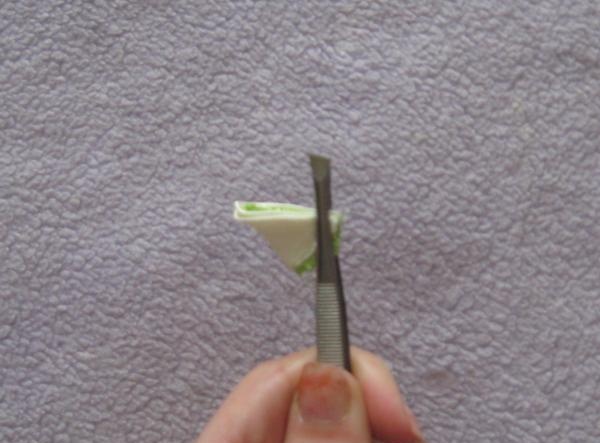
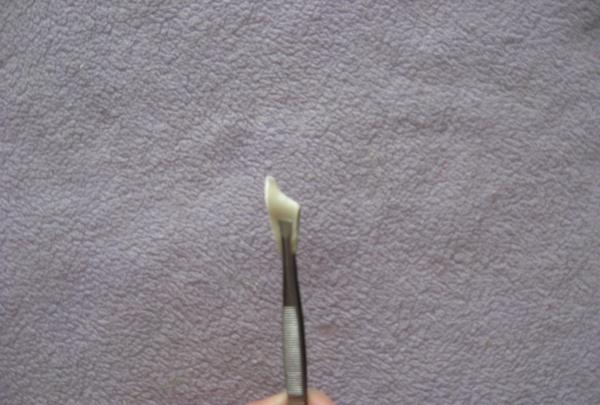
The first type of petal is ready. Now we will make petals of a different type. We also take a square.
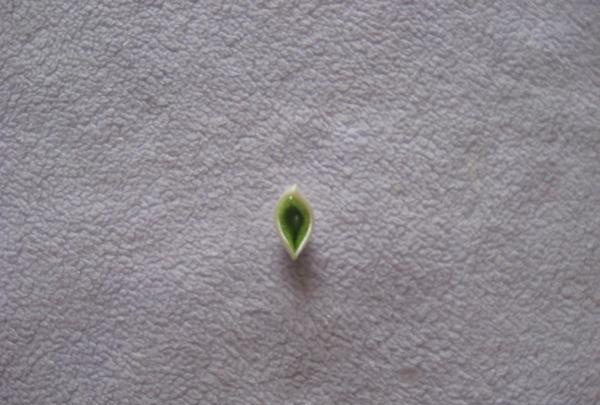
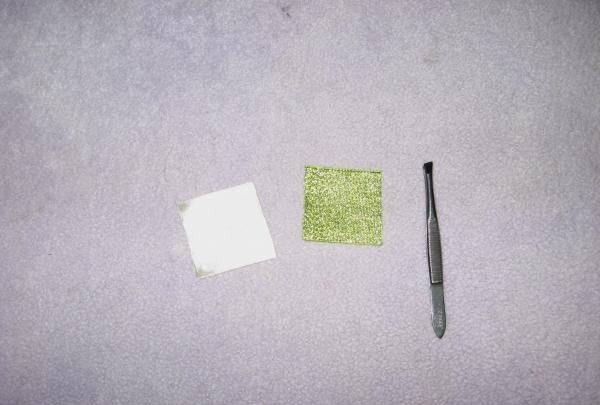
Fold it in half diagonally once, then fold the right side of the petal inward.
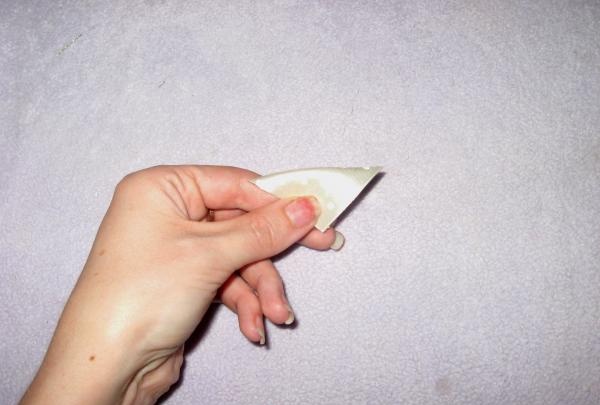
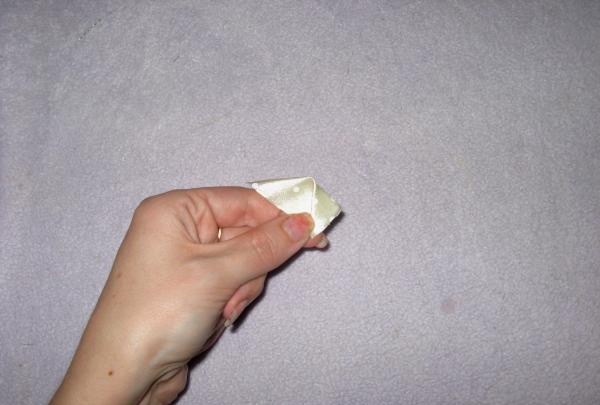
Then the left side of the petal. Now we turn the petal back and cut it off from the bottom and side.
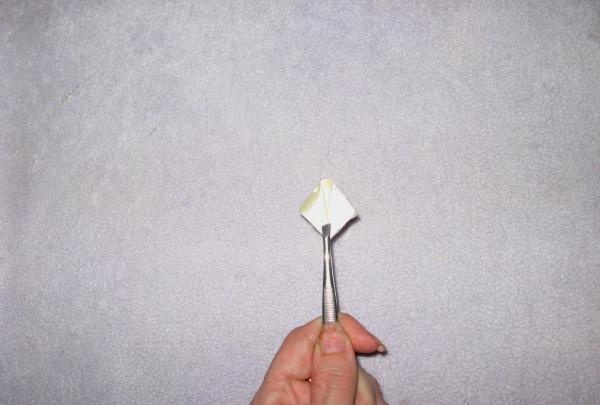
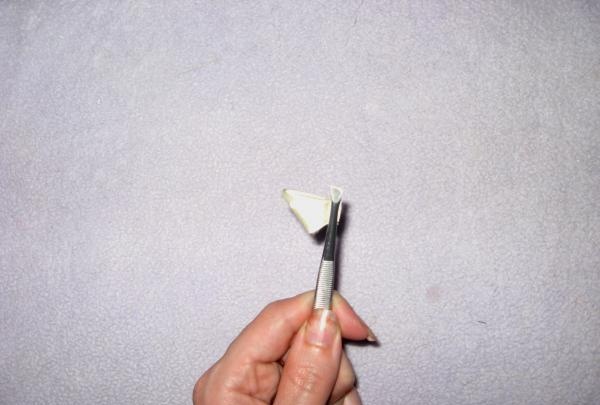
We also burn all the cuts and level the petal.
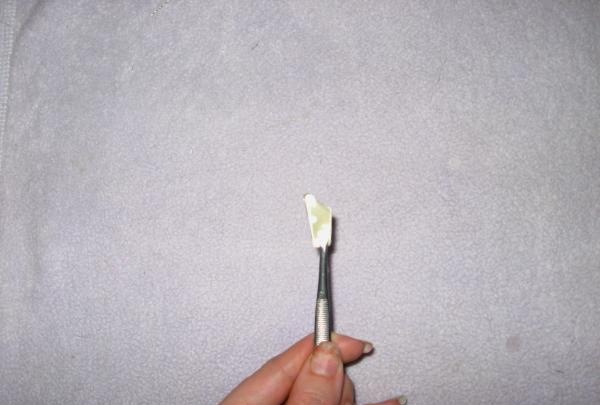
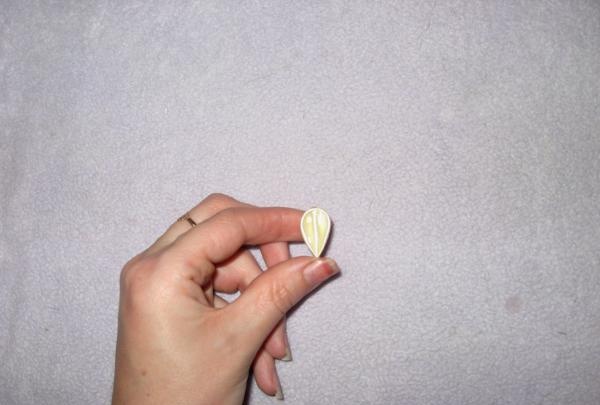
We do the same with a brocade square.
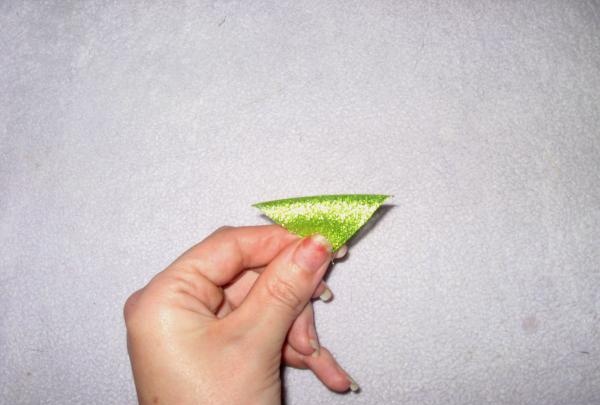
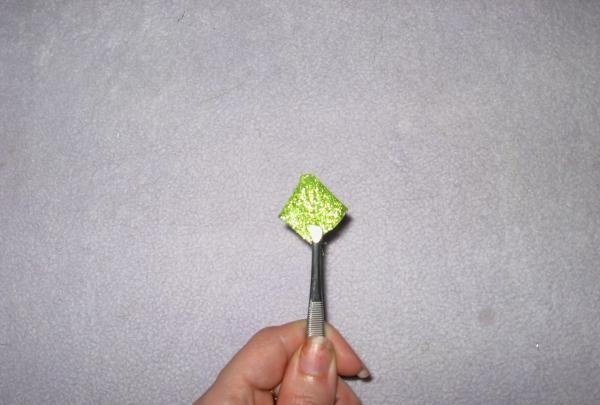
We get the same petal with a partition.
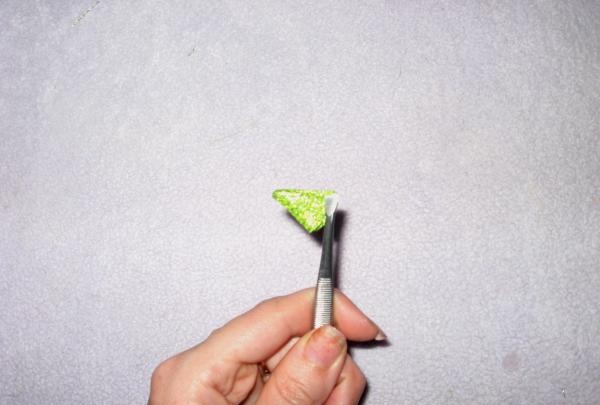
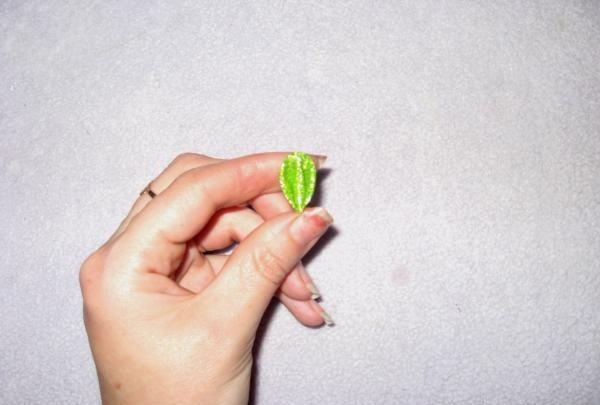
So, we make 14 double petals, and 8 single petals from each ribbon.
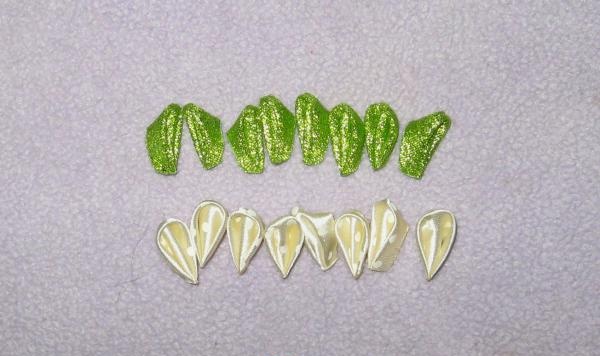
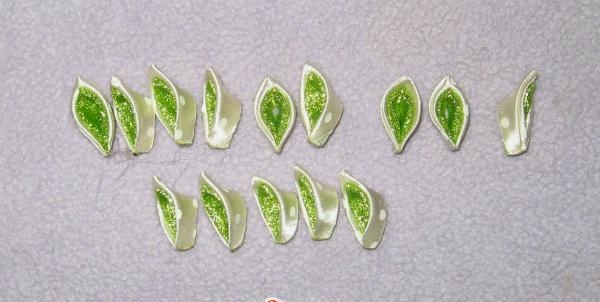
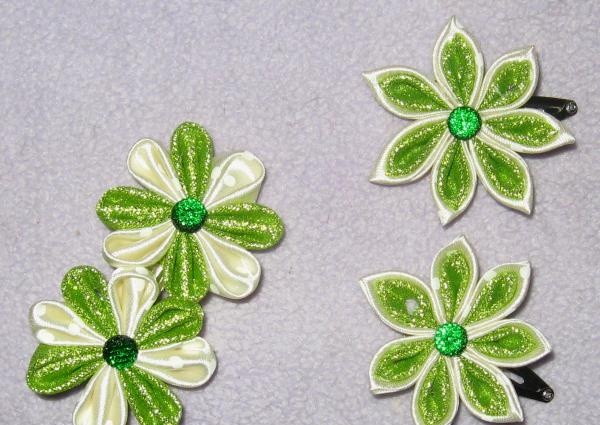
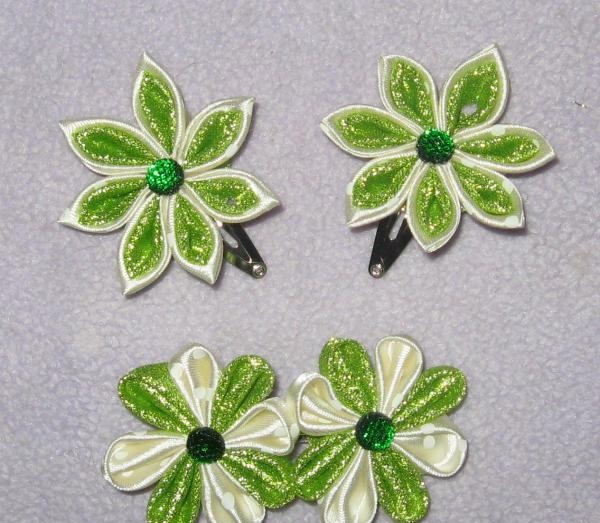
We cut out four circles from a brocade ribbon and burn them. Now we begin to collect and paste flower petals onto the circles.We alternate the rounded petals and glue eight petals per flower, and the sharp double petals we collect seven petals per flower. We glue the cabochons inside, then glue the flowers onto metal pins.
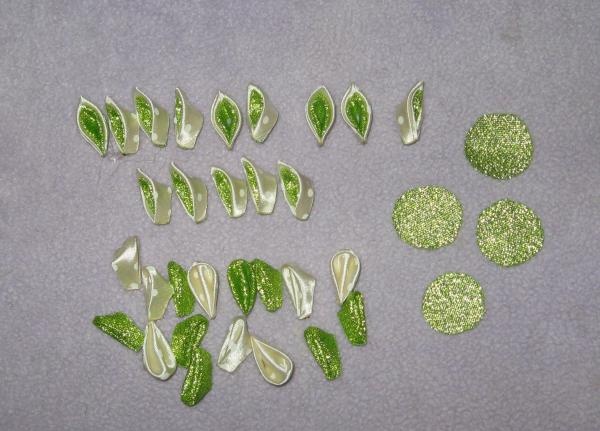
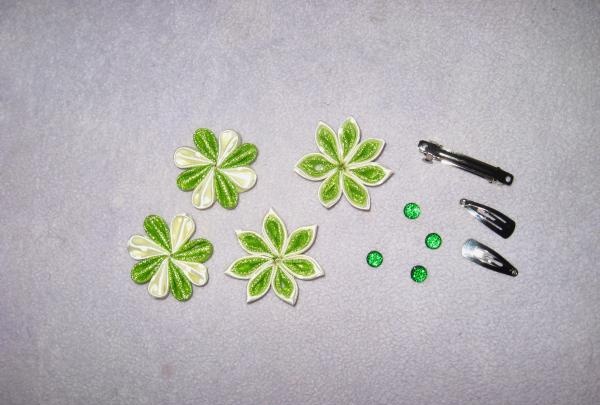
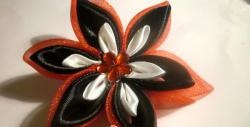
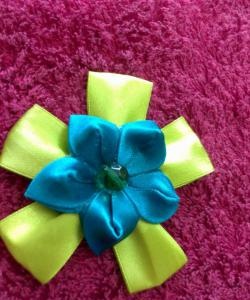
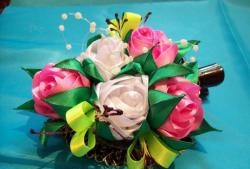
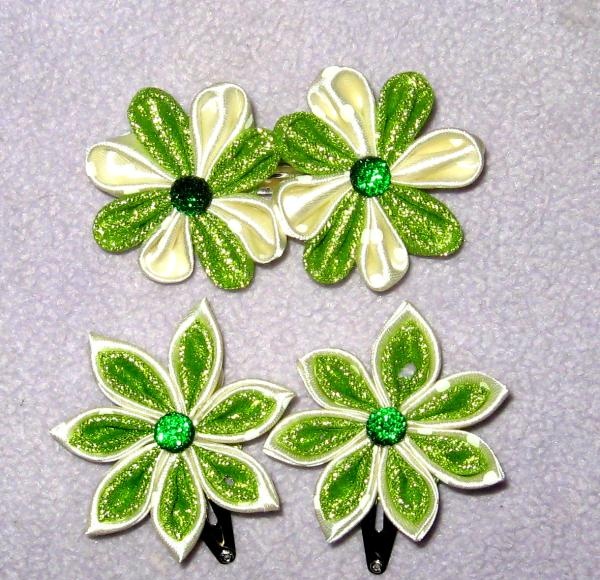
The hairpins are assembled and look like this. It turned out very stylish and elegant, and the most important thing is that no one else has such hairpins. Thanks for your attention and good luck!
For the master class you need to take:
• Ribbon made of light green brocade, 4 cm wide;
• Beige satin ribbon with polka dots, 35 mm wide;
• Automatic metal hairpin;
• Two metal clips;
• Scissors;
• Shiny cabochons for green centers;
• Glue gun;
• Scissors, ruler, lighter, tweezers and pencil.
In this master class we will look at creating different hairpins, the flowers on which will be made in two colors and the petals will be made of two types.


We cut squares from brocade ribbon 4*4 cm and from satin ribbon 35*35 mm. We cut a lot of squares from both tapes and burn them all along the edges with a lighter.


So, we take one square at a time. Fold the satin square diagonally.


Then fold it again.


Clamp it into a clamp and set it aside for now. Now we also fold the brocade square.


The first time they folded and the second time. Now we place the salad preparation on the beige one, with a shift of about 2 mm downwards. Clamp together.


Fold it in half again and make cuts on the sides and bottom. They need to be burned with a lighter.


The first type of petal is ready. Now we will make petals of a different type. We also take a square.


Fold it in half diagonally once, then fold the right side of the petal inward.


Then the left side of the petal. Now we turn the petal back and cut it off from the bottom and side.


We also burn all the cuts and level the petal.


We do the same with a brocade square.


We get the same petal with a partition.


So, we make 14 double petals, and 8 single petals from each ribbon.


We cut out four circles from a brocade ribbon and burn them. Now we begin to collect and paste flower petals onto the circles.We alternate the rounded petals and glue eight petals per flower, and the sharp double petals we collect seven petals per flower. We glue the cabochons inside, then glue the flowers onto metal pins.


The hairpins are assembled and look like this. It turned out very stylish and elegant, and the most important thing is that no one else has such hairpins. Thanks for your attention and good luck!


Similar master classes
Particularly interesting
Comments (0)


