Oriental tree made of wire and yarn “Bonsai”
Decorative figurine in Japanese style to decorate your interior! An exotic “resident” will give any room greater expressiveness and unique beauty.
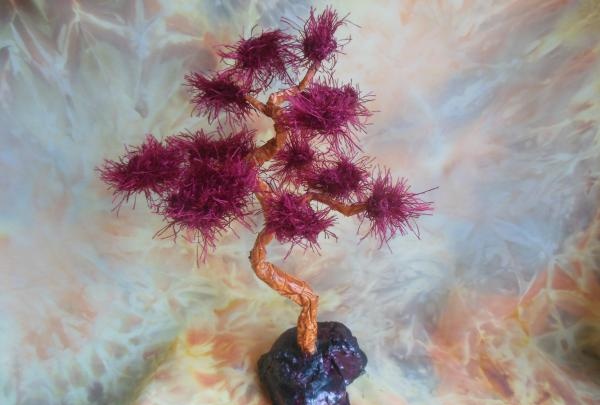
This specimen is very easy to manufacture and, moreover, has an amazing resemblance to its natural prototype.
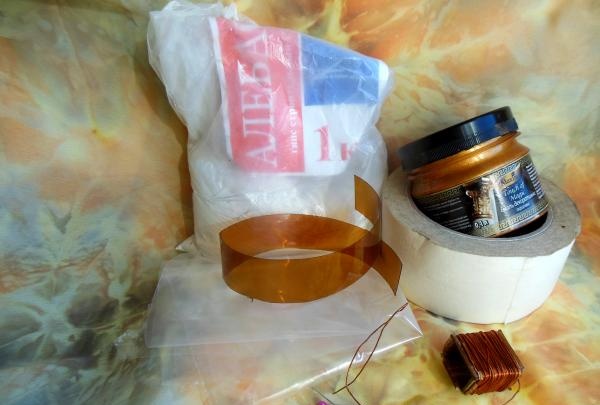
To create a dwarf tree we will need:
• “Grass” yarn;
• crochet hook (2.0 mm);
• a coil of thick copper wire (about 4-5 mm);
• alabaster;
• a small plastic strip (can be from a bottle) to form a hill;
• oilcloth;
• construction tape (paper);
• decorative acrylic enamel;
• black gouache;
• brush.
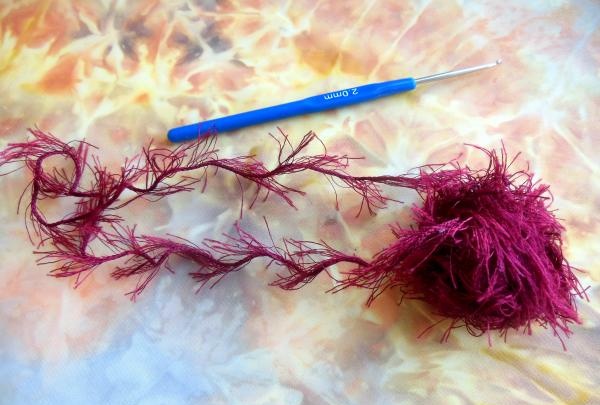
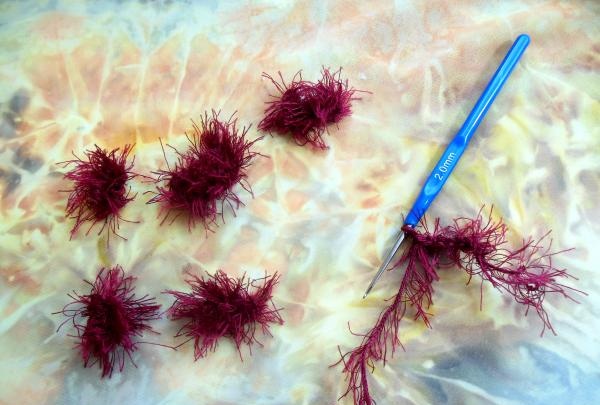
We knit 12 different pieces of yarn using a single crochet stitch (3-4 large, all the rest are medium-sized).
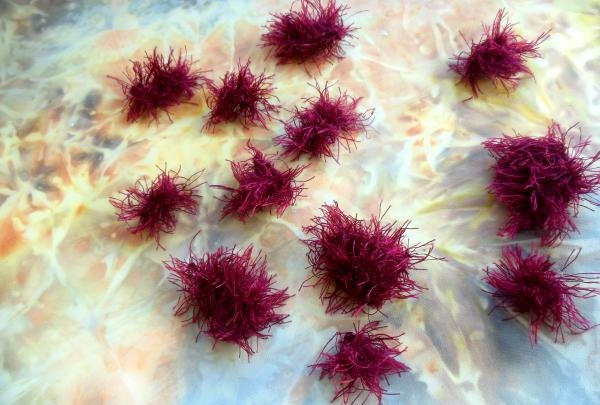
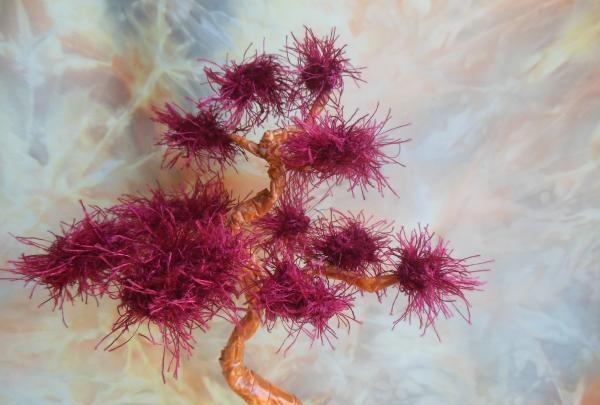
Then we assemble branches from these knitted parts, distinctive in size and quantity of “foliage”. The top consists of one “bush”, which should simply be strung on a copper base and tightly secured at the base (twist the 2 ends of the wire until it stops).
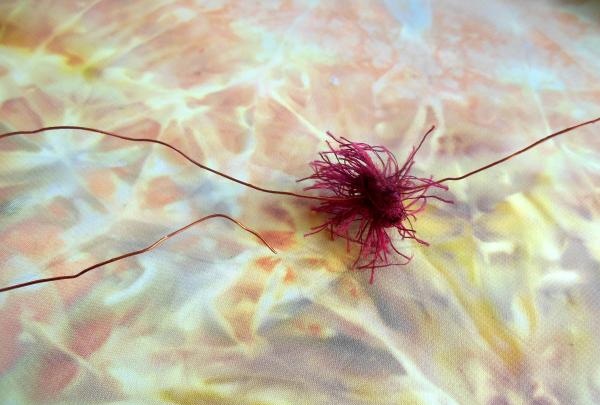
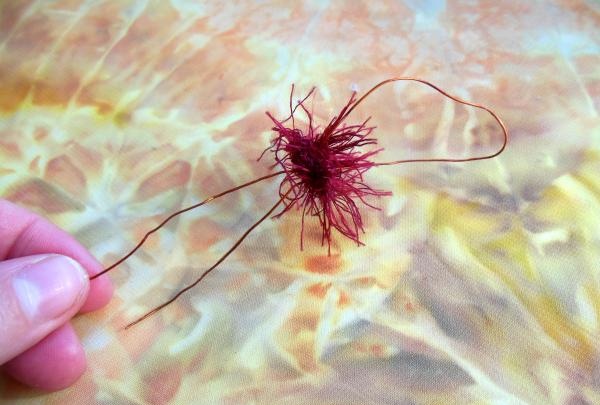
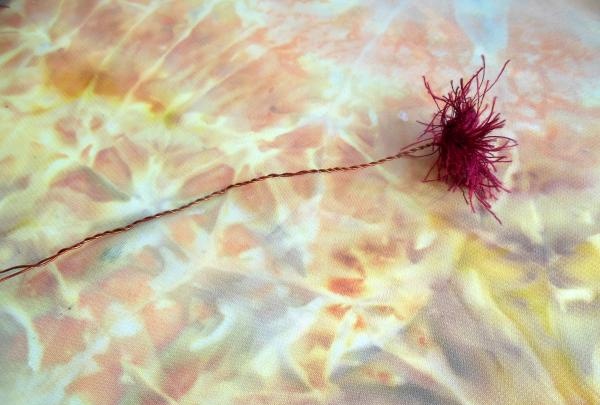
Double and triple branches should be collected a little differently.Here we divide the wire into two halves, one of which should be much longer (the working end). We place the required number of blanks on this long section, retreating the same distance between them.
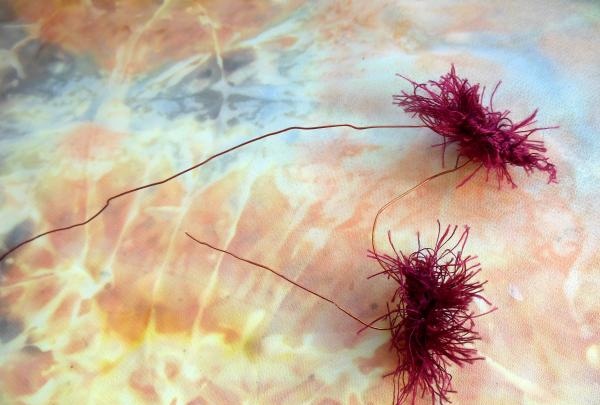
We twist the opposite parts of each small branch and get several branches on one.
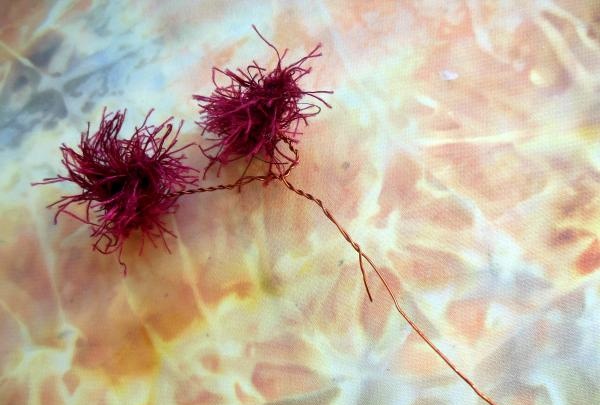
We make large branches (of 3-4 parts) using the same principle.
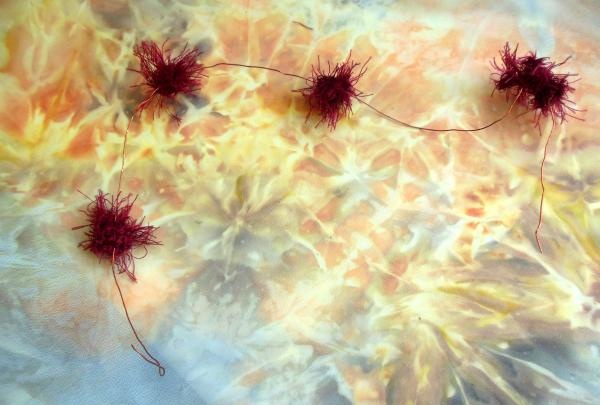
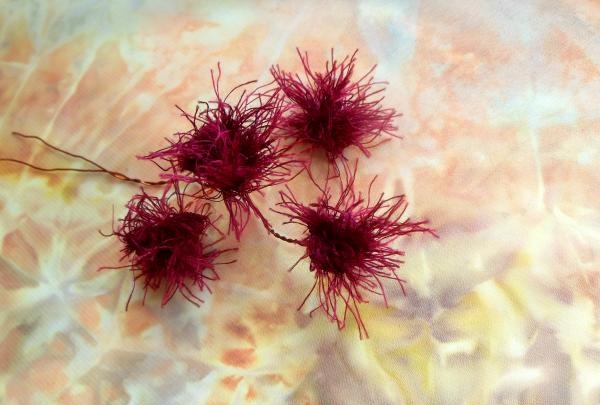
A big plus of this composition is the number of branches. You will need only 5 of them: 2 large, 2 medium and a single branch (crown).
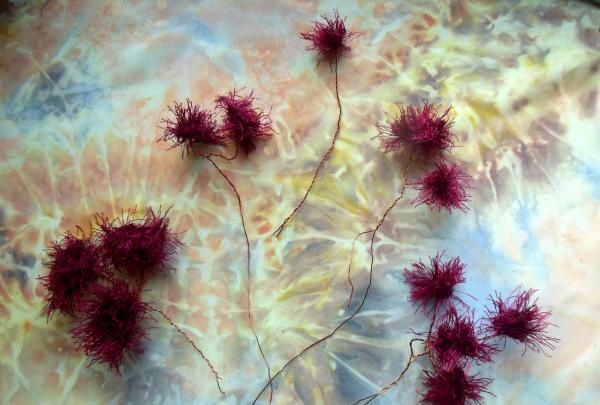
We begin to collect from top to bottom, distributing the branches on both sides of the trunk (taking the crown as the central axis).
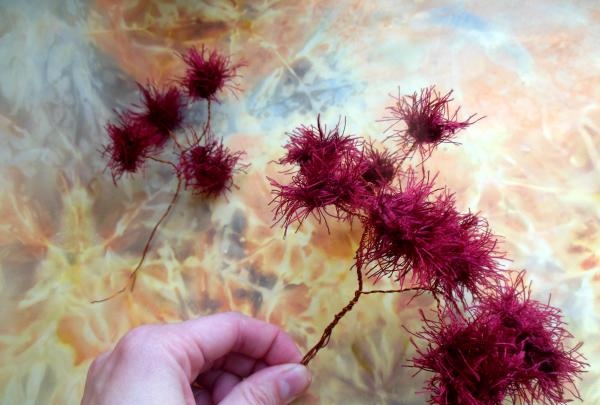
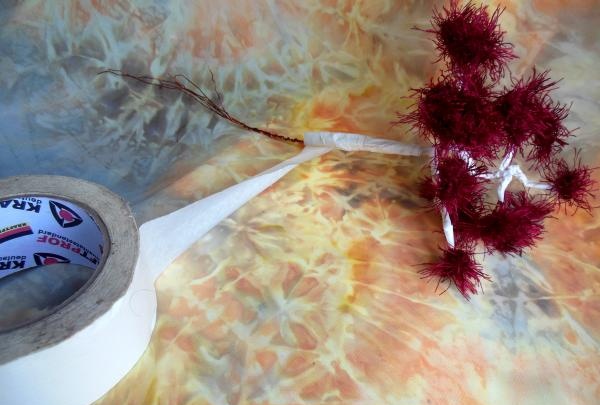
We wrap the already assembled tree with tape, making the branches and trunk powerful. At the end, the bonsai trunk should be made curved.
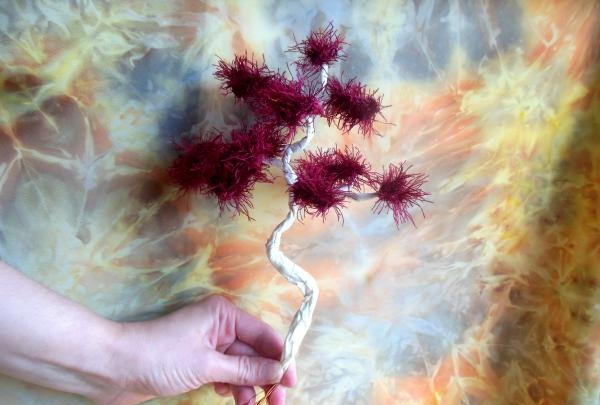
Now let's start creating the cement base. We form a figure of any shape from a dense strip, place this blank on an oilcloth and put a thick mixture of diluted alabaster inside.
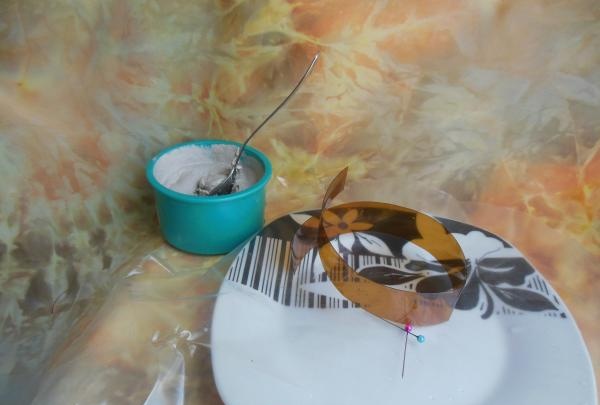
We immerse the tree in the “rock” and give it a few minutes to dry.
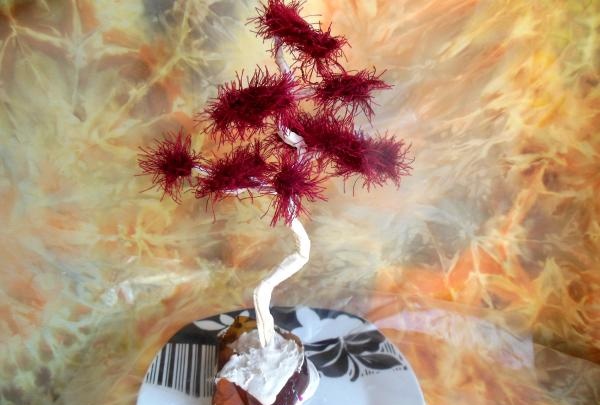
Then we remove the mold and oilcloth, after which we begin painting all the white surfaces.
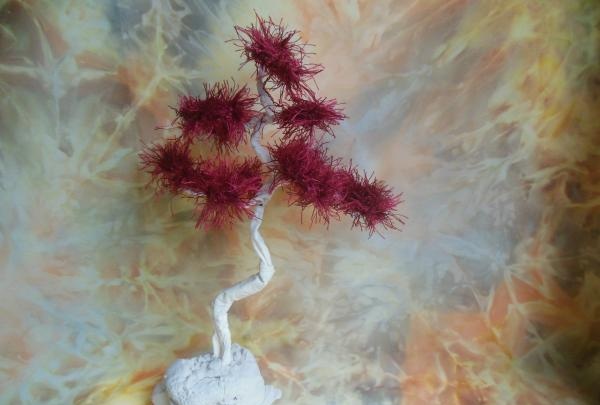
We cover the trunk and branches with acrylic.
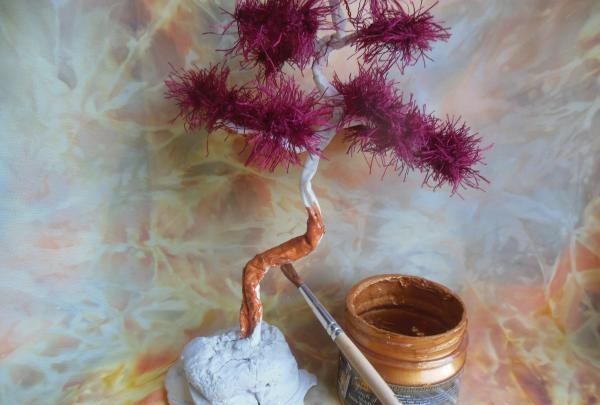
Hill – black gouache.
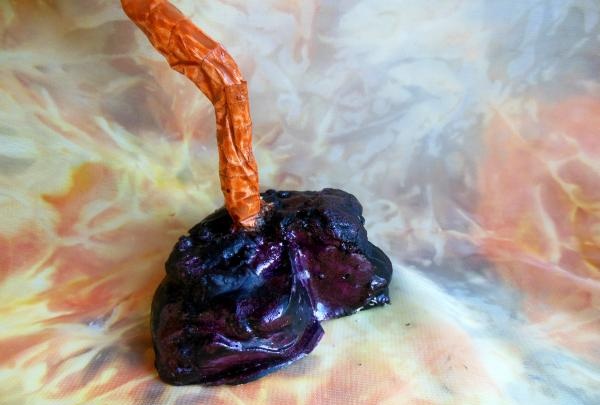
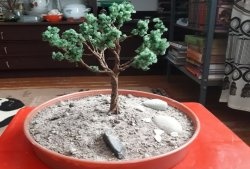
And now the bonsai is ready! This tree looks very natural and attractive.
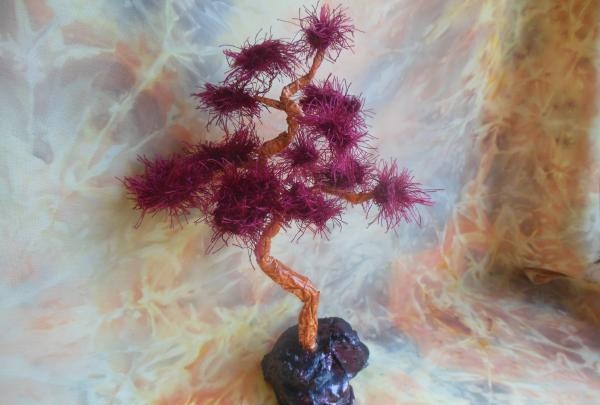

This specimen is very easy to manufacture and, moreover, has an amazing resemblance to its natural prototype.
To create a dwarf tree we will need:
• “Grass” yarn;
• crochet hook (2.0 mm);
• a coil of thick copper wire (about 4-5 mm);
• alabaster;
• a small plastic strip (can be from a bottle) to form a hill;
• oilcloth;
• construction tape (paper);
• decorative acrylic enamel;
• black gouache;
• brush.


We knit 12 different pieces of yarn using a single crochet stitch (3-4 large, all the rest are medium-sized).


Then we assemble branches from these knitted parts, distinctive in size and quantity of “foliage”. The top consists of one “bush”, which should simply be strung on a copper base and tightly secured at the base (twist the 2 ends of the wire until it stops).


Double and triple branches should be collected a little differently.Here we divide the wire into two halves, one of which should be much longer (the working end). We place the required number of blanks on this long section, retreating the same distance between them.

We twist the opposite parts of each small branch and get several branches on one.

We make large branches (of 3-4 parts) using the same principle.


A big plus of this composition is the number of branches. You will need only 5 of them: 2 large, 2 medium and a single branch (crown).

We begin to collect from top to bottom, distributing the branches on both sides of the trunk (taking the crown as the central axis).

We wrap the already assembled tree with tape, making the branches and trunk powerful. At the end, the bonsai trunk should be made curved.


Now let's start creating the cement base. We form a figure of any shape from a dense strip, place this blank on an oilcloth and put a thick mixture of diluted alabaster inside.

We immerse the tree in the “rock” and give it a few minutes to dry.

Then we remove the mold and oilcloth, after which we begin painting all the white surfaces.

We cover the trunk and branches with acrylic.


Hill – black gouache.

And now the bonsai is ready! This tree looks very natural and attractive.

Similar master classes
Particularly interesting
Comments (0)

