Felt fox
A bright red felt fox will perfectly complement the interior of any room, and on a cold autumn evening she will share with you a cup of hot tea, which she uses to warm her paws. Learn how to make an unforgettable soft felt toy with your own hands.
First you need to prepare the elements necessary for the work:
•Felt in two colors (red and white);
•Floss threads (red, white, black and red);
•Pins;
•Needles;
•Chalk for marking the outline of the pattern;
•Scissors;
•Narrow tape;
•Pattern.
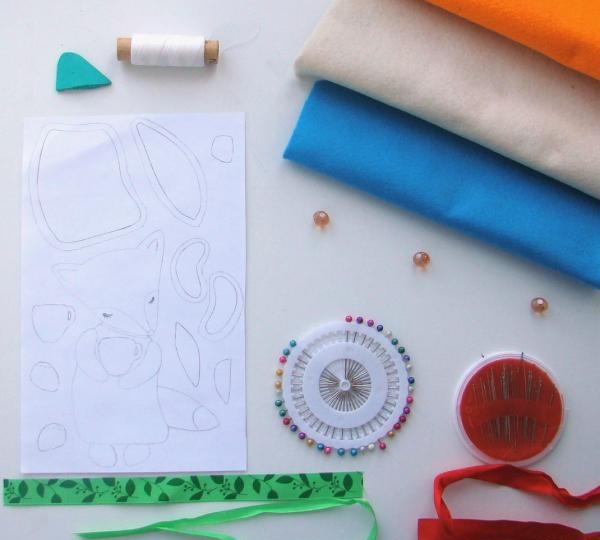
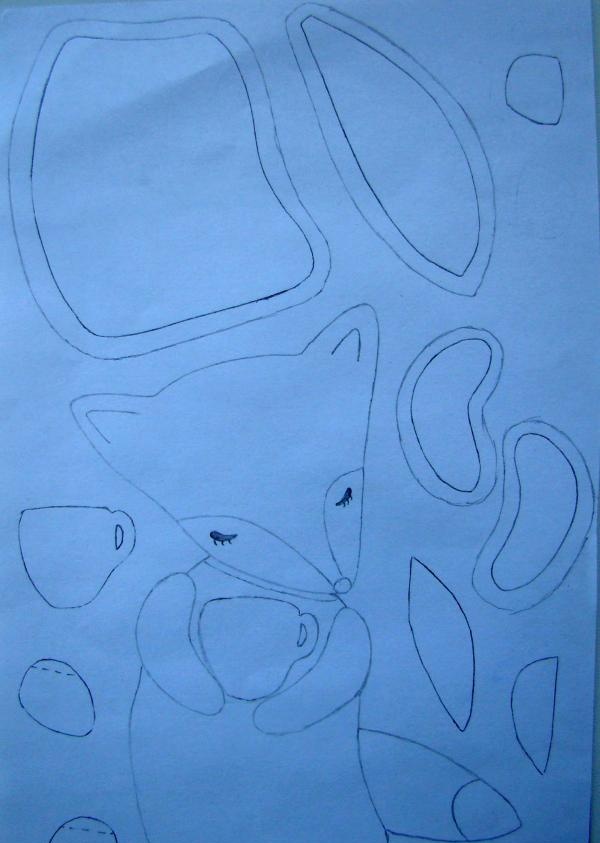
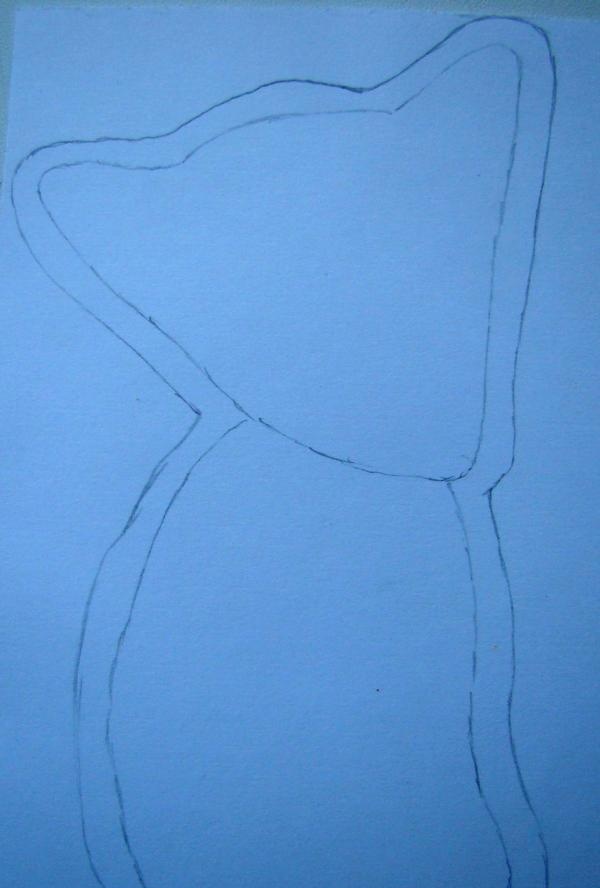
After you have prepared the necessary things, you can begin making the pattern from which the toy will be created. On a sheet of white paper we will make a ready-made drawing of the future toy - this will make it easier to make individual parts of the fox. Don't forget to leave extra space after the outline.
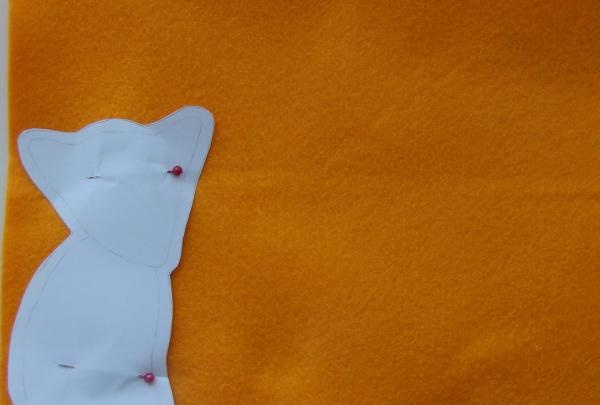
We cut out the template of the fox's body, apply it to the red felt and secure it with pins - this will make it easier for you to cut out the fabric.
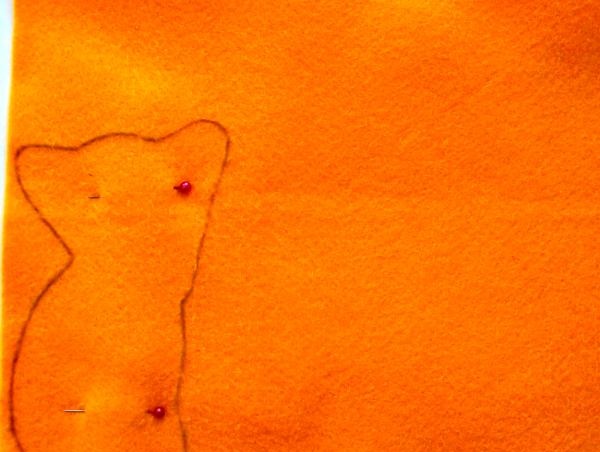
We trace the pattern along the contour, remove the paper and fold the felt in half, leaving the pins.
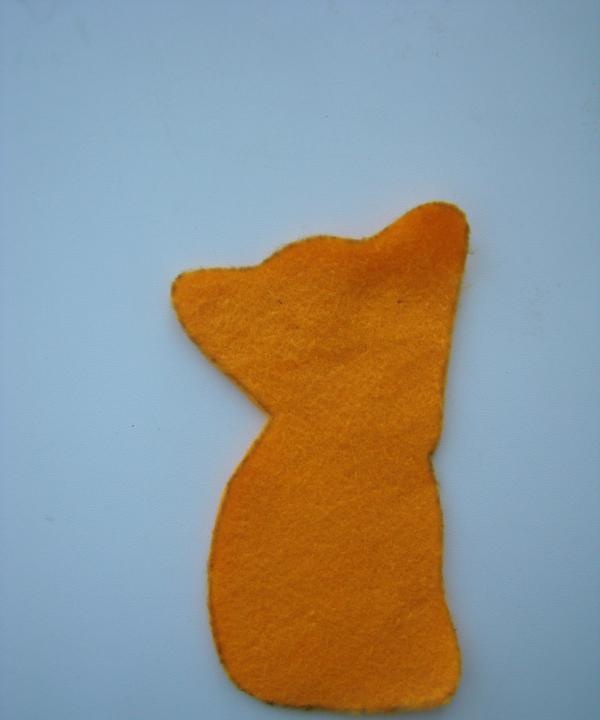
Cut out the part.
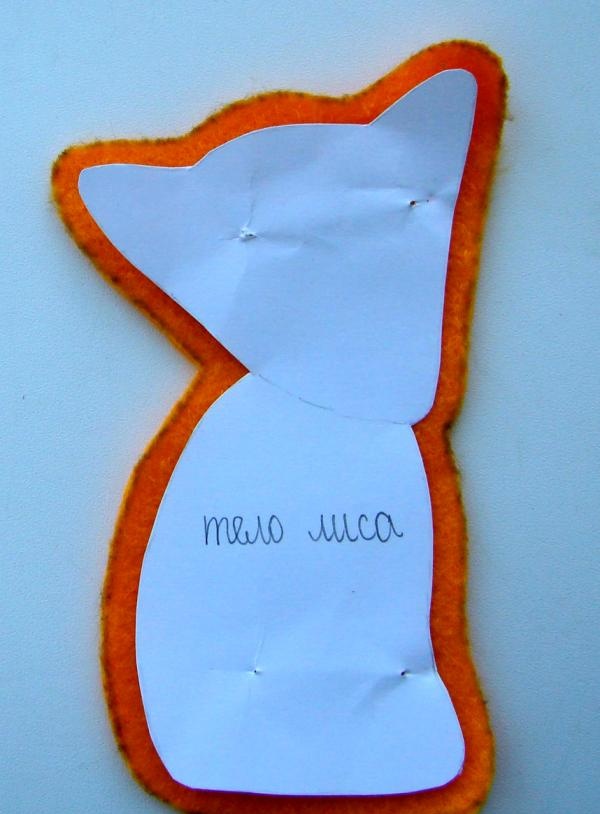
Since the felt is cut with additional space after the main outline, we attach the pattern to the material again, but without the extra grooves. We outline the outline.
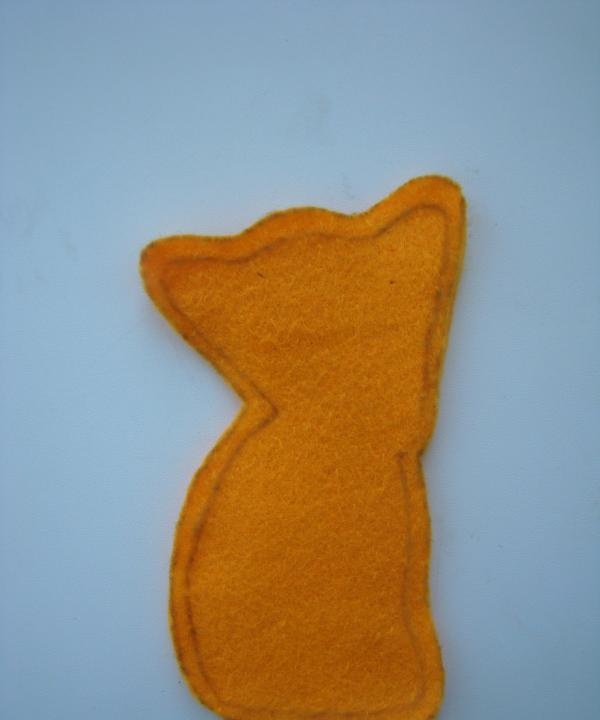
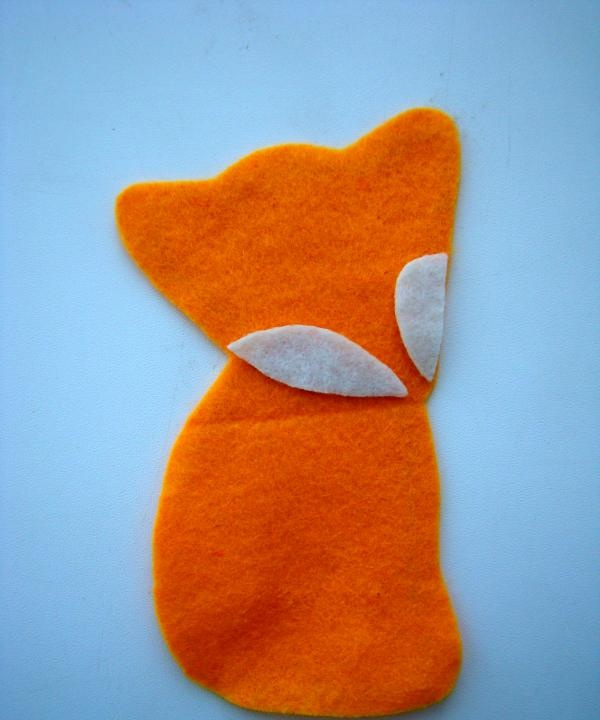
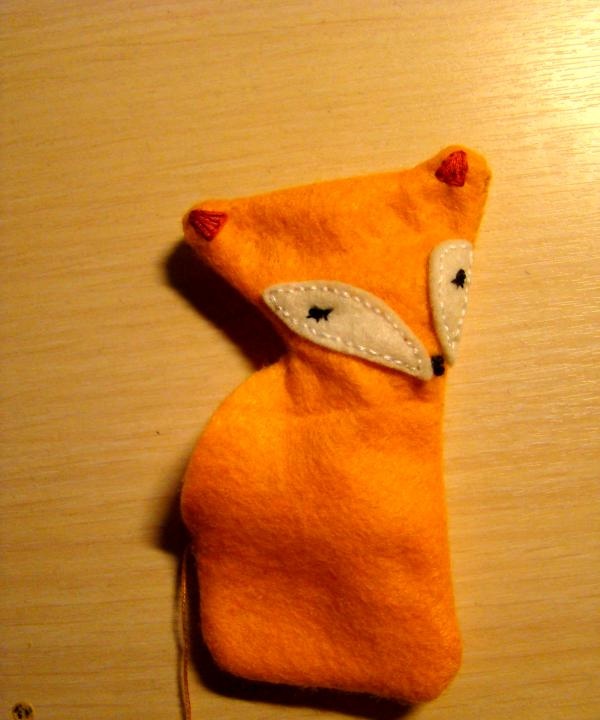
Now let's start working on the muzzle - cut out the cheeks from white felt and try them on the muzzle. Don’t forget about the remaining space; you need to sew on the parts without going beyond the drawn outline. On the details we embroider eyes, nose, and ears.
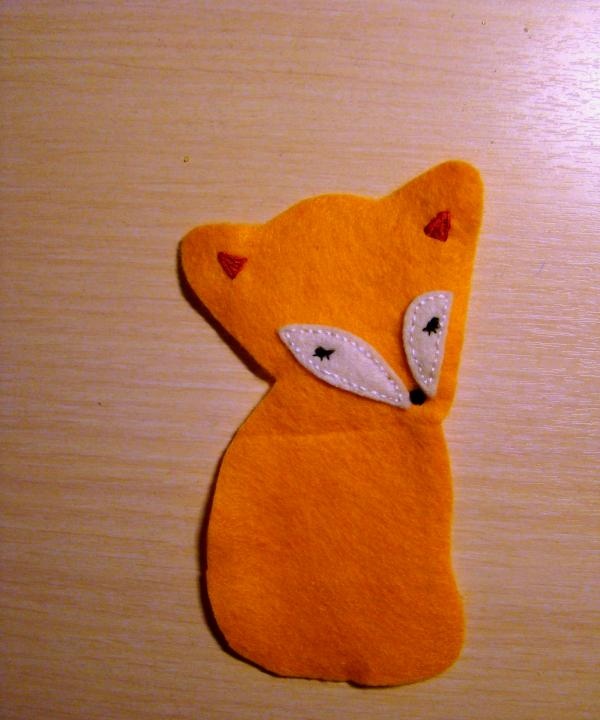
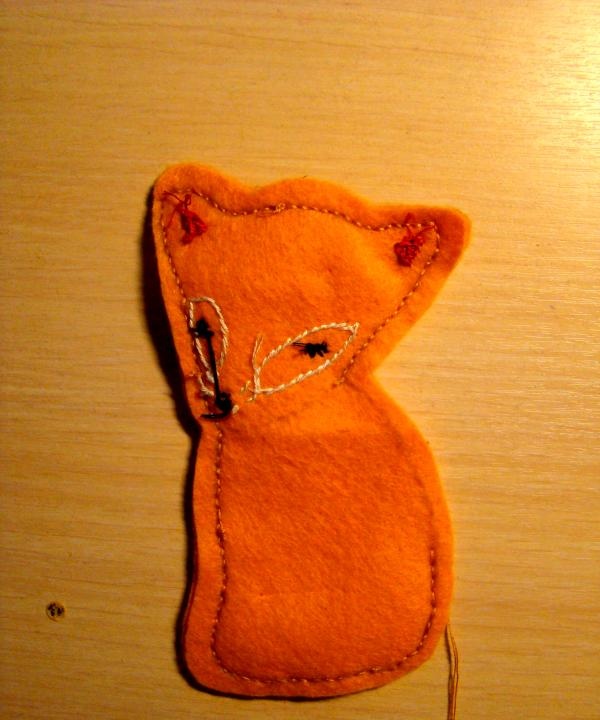
Now you can start sewing the two pieces together using the back needle technique. We leave room so that you can turn the toy inside out. We turn it inside out.
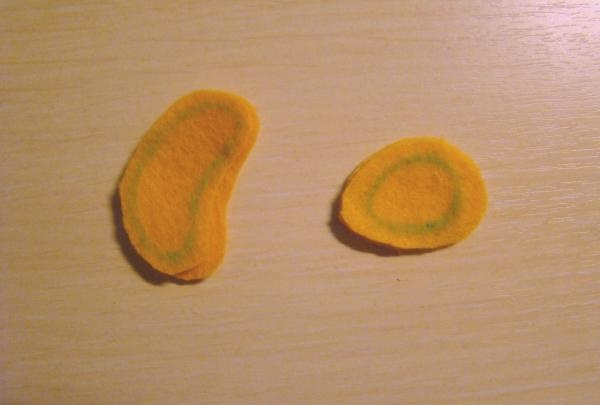
The next step is making the paws. We cut out each piece twice, sew it together with the right side inward, turn the element inside out and stuff it with filler. Sew up the remaining space.
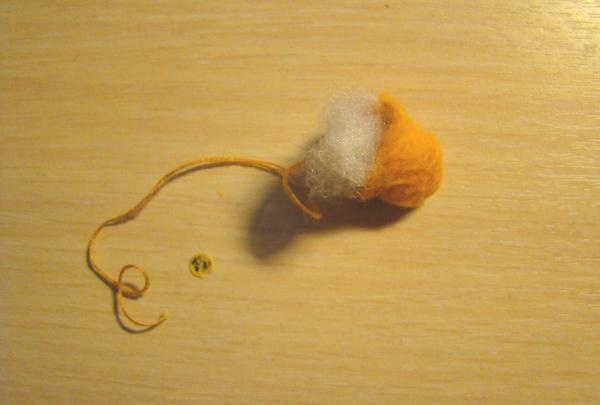
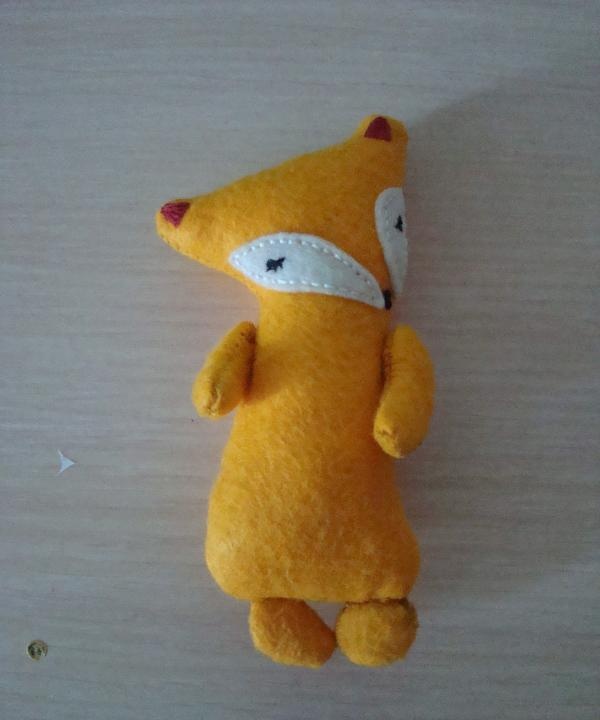
We stuff the main part of the fox with padding polyester and sew on additional elements.
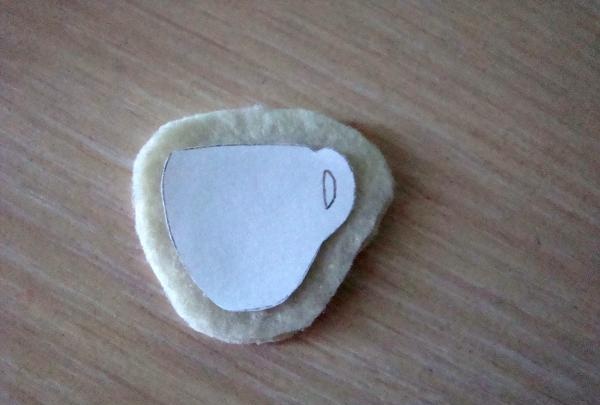
Let's start making the mug. To do this, you also need to cut out two parts and sew them together, stuff them with padding polyester. The resulting part can be sewn to the paws of the toy.
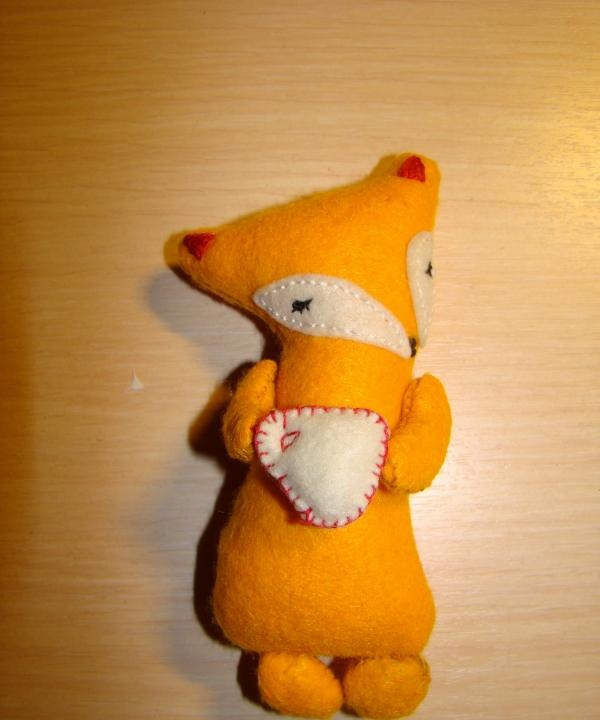
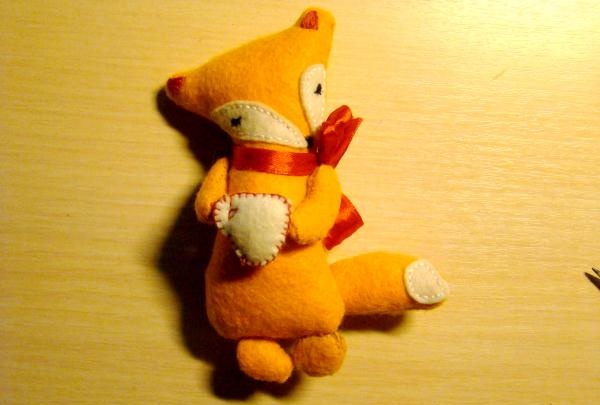
If desired, you can decorate the toy with a ribbon by tying it to your neck and tying a bow.
This is such a funny and soft fox we got today!
First you need to prepare the elements necessary for the work:
•Felt in two colors (red and white);
•Floss threads (red, white, black and red);
•Pins;
•Needles;
•Chalk for marking the outline of the pattern;
•Scissors;
•Narrow tape;
•Pattern.


After you have prepared the necessary things, you can begin making the pattern from which the toy will be created. On a sheet of white paper we will make a ready-made drawing of the future toy - this will make it easier to make individual parts of the fox. Don't forget to leave extra space after the outline.


We cut out the template of the fox's body, apply it to the red felt and secure it with pins - this will make it easier for you to cut out the fabric.

We trace the pattern along the contour, remove the paper and fold the felt in half, leaving the pins.

Cut out the part.

Since the felt is cut with additional space after the main outline, we attach the pattern to the material again, but without the extra grooves. We outline the outline.


Now let's start working on the muzzle - cut out the cheeks from white felt and try them on the muzzle. Don’t forget about the remaining space; you need to sew on the parts without going beyond the drawn outline. On the details we embroider eyes, nose, and ears.


Now you can start sewing the two pieces together using the back needle technique. We leave room so that you can turn the toy inside out. We turn it inside out.


The next step is making the paws. We cut out each piece twice, sew it together with the right side inward, turn the element inside out and stuff it with filler. Sew up the remaining space.


We stuff the main part of the fox with padding polyester and sew on additional elements.
Let's start making the mug. To do this, you also need to cut out two parts and sew them together, stuff them with padding polyester. The resulting part can be sewn to the paws of the toy.


If desired, you can decorate the toy with a ribbon by tying it to your neck and tying a bow.
This is such a funny and soft fox we got today!
Similar master classes
Particularly interesting
Comments (1)

